

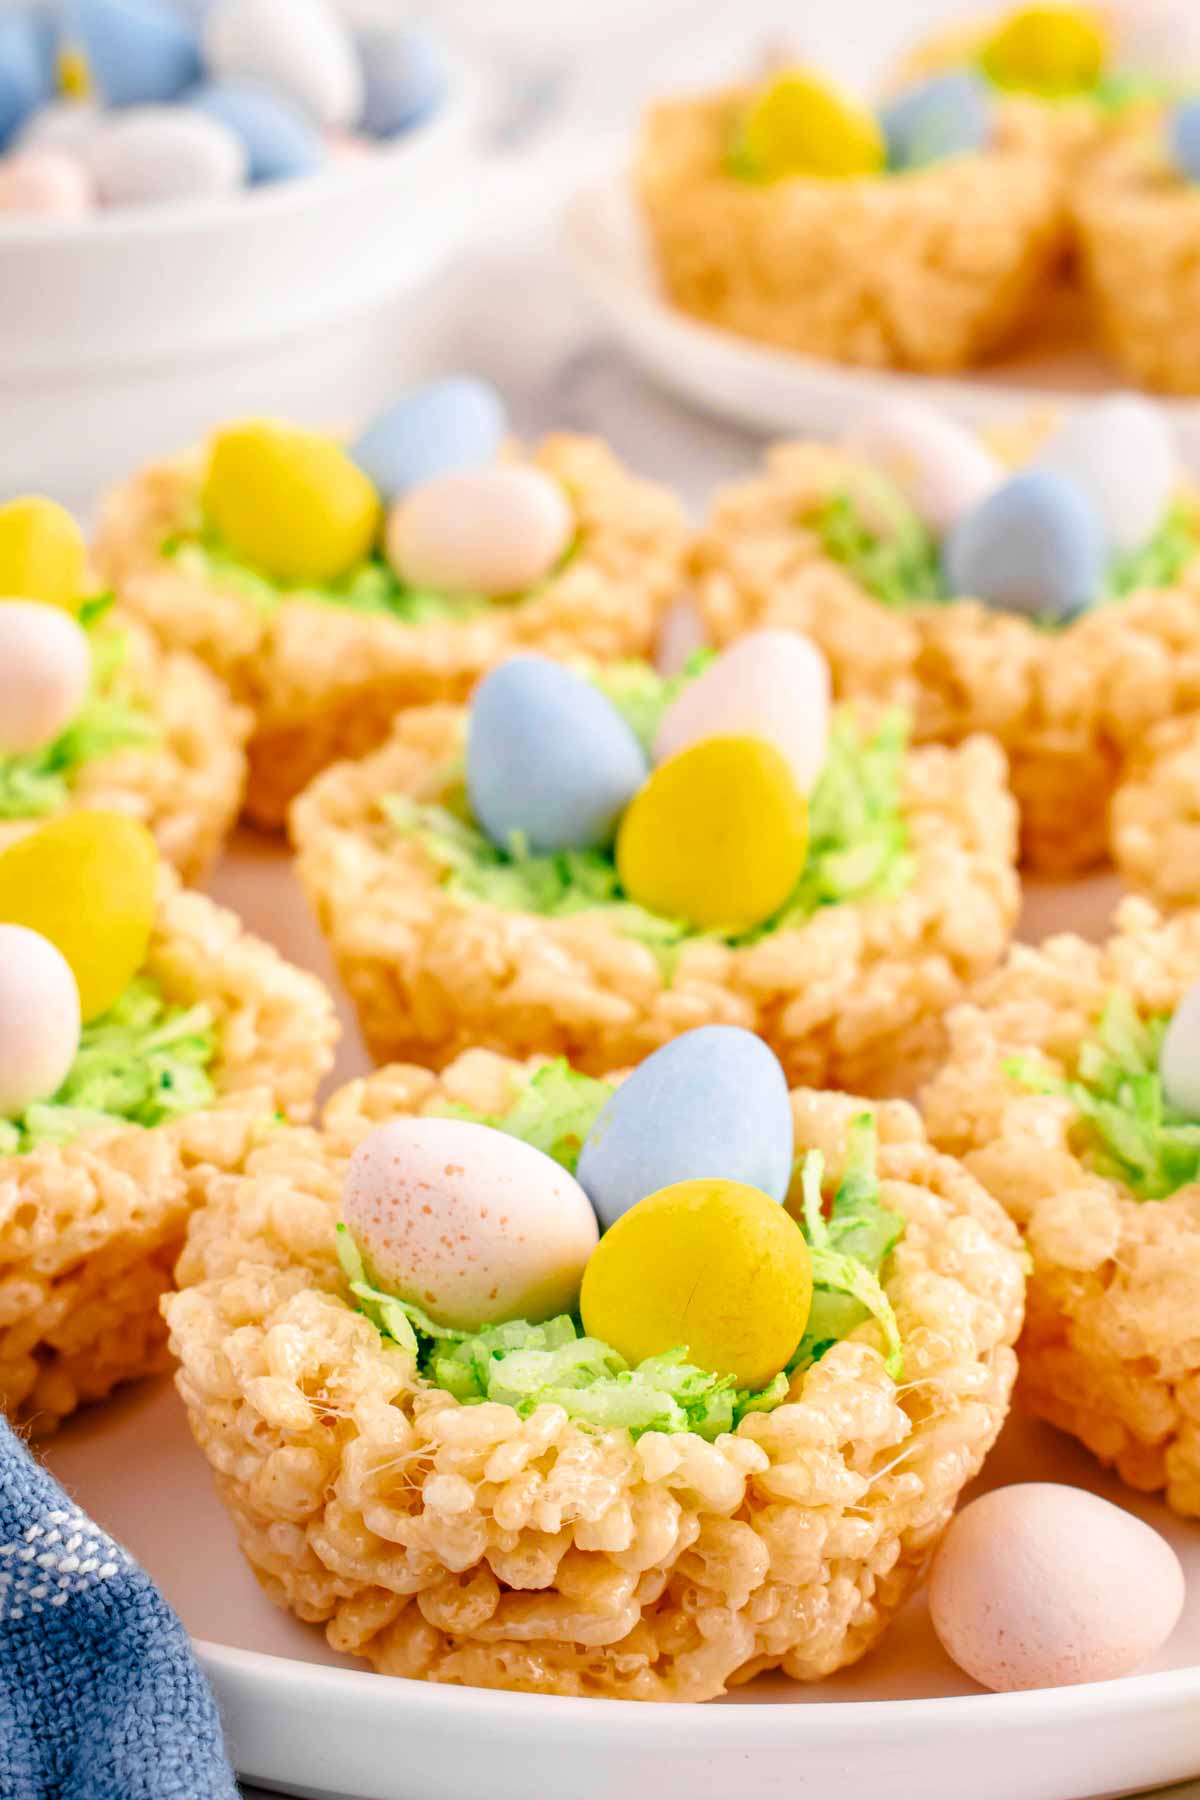
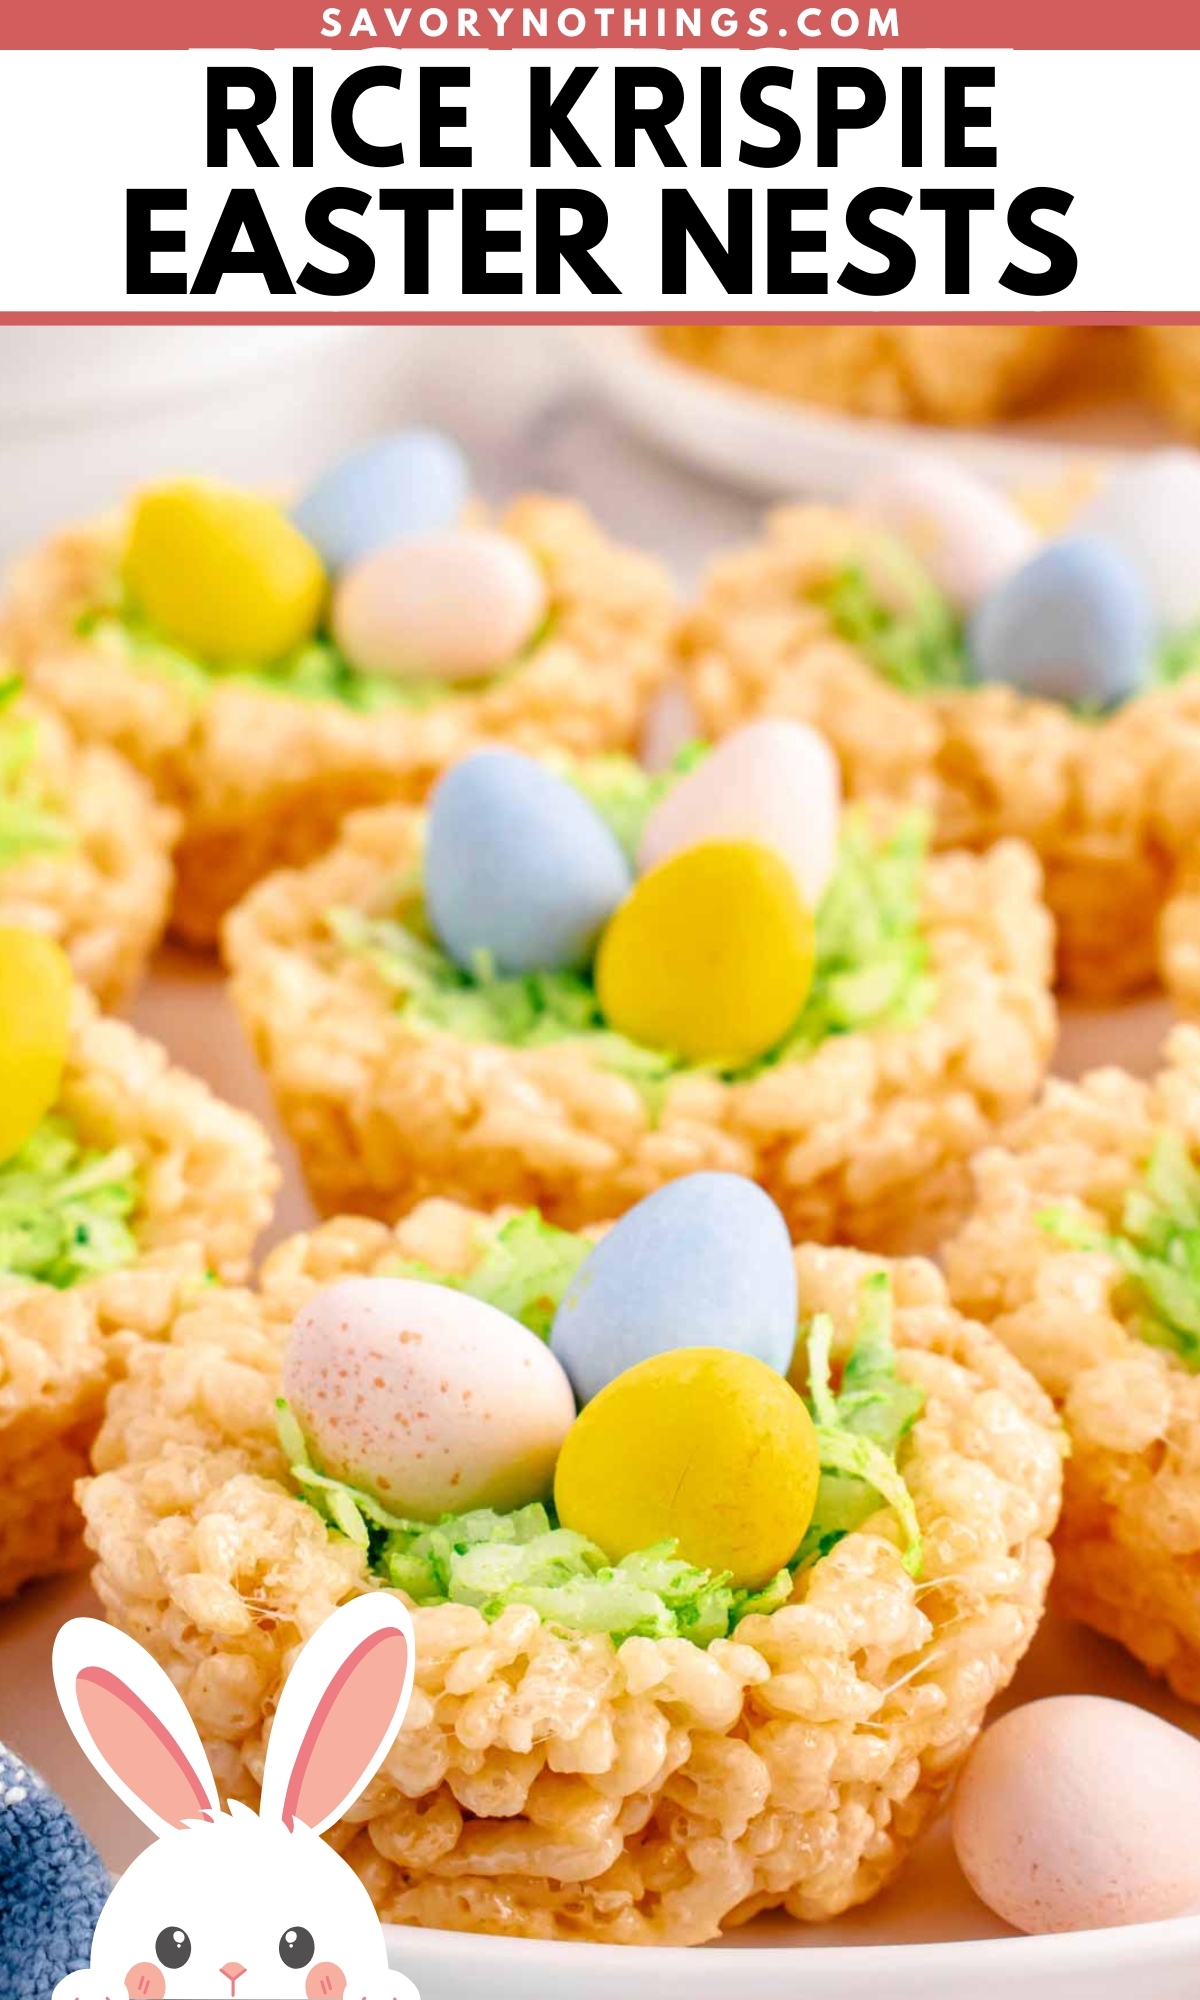
These Rice Krispie Easter Nests are one of my favorite kinds of holiday treats: zero stress, maximum cuteness, and totally crowd-pleasing. They look like you spent all afternoon being that mom… but really, you whipped them up between lunch dishes and school pickup. Now that’s a win.
These Rice Krispie Easter Nests are everything:
Adorable, no-bake, and completely irresistible. They’re the kind of treat that looks like you tried way harder than you actually did—which, frankly, is the sweet spot for cute holiday treats.
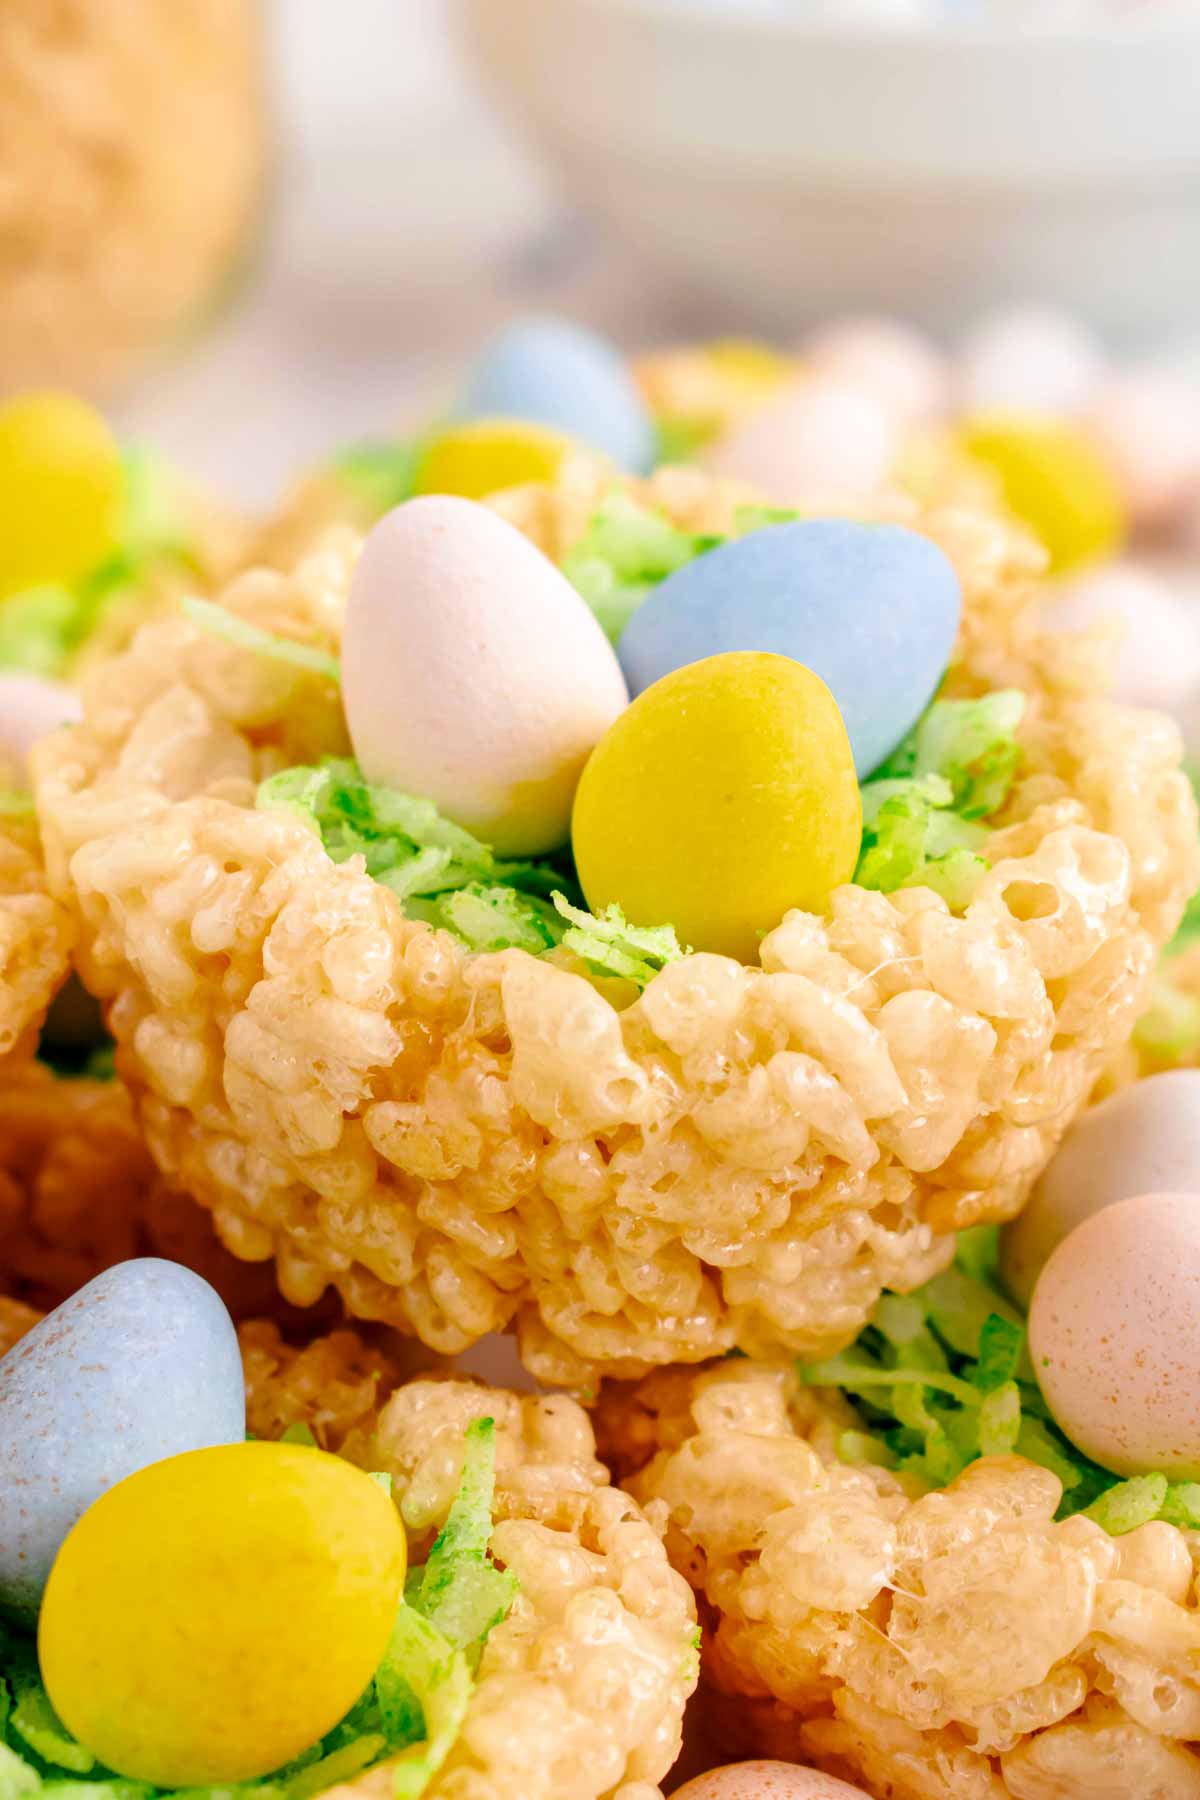
We’re talking gooey, buttery cereal bars shaped into little nests, a handful of green-tinted coconut “grass” (relax, it’s just food coloring), and some pastel mini eggs to top it off. No baking, no special equipment, no weird ingredients—just sweet, simple fun you can make with your kids without needing a full kitchen cleanup afterward.
Why I keep coming back to these
- No oven. No drama. These are completely no-bake and take about 30 minutes start to finish—including the time it takes for them to set.
- They’re actually good. Some themed treats are more cute than tasty, but these? Buttery, chewy, marshmallowy perfection.
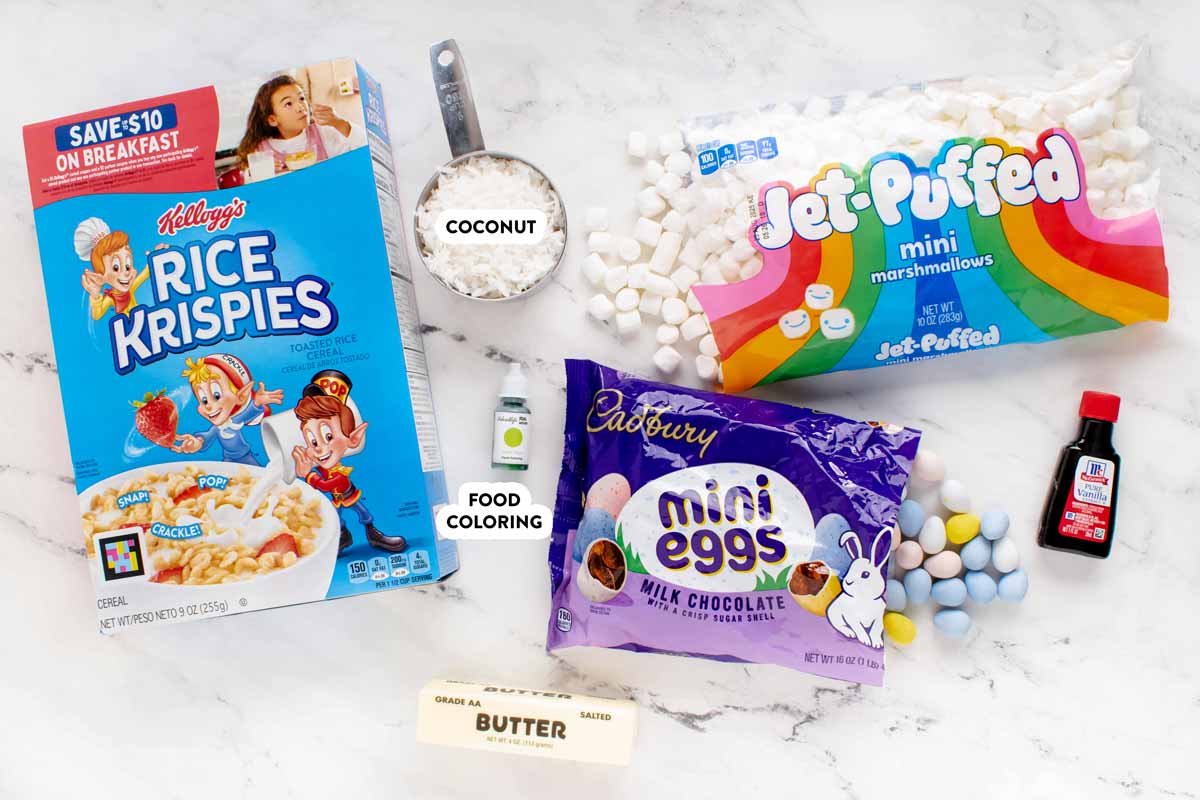
- Five ingredients, tops. I’m not pulling out 17 things to make something festive. We’re using pantry staples—marshmallows, cereal, butter, coconut, food coloring, and chocolate eggs. That’s it.
Printable recipe

Rice Krispie Easter Nests
Ingredients
Nests:
- 3 tablespoons salted butter
- 1 (10-oz) bag mini marshmallows (~6 cups)
- ½ teaspoon vanilla extract
- 6 cups Rice Krispies cereal
Grass:
- 1 cup sweetened shredded coconut
- 4-6 drops green food coloring
Topping:
- mini chocolate eggs (this recipe makes about 16–20 nests, depending on how full you pack each one. You’ll need approximately 3 mini eggs per nest—so one 9 oz (255g bag of Cadbury Mini Eggs is just right; but if you want to be on the safe side, get two bags))
Instructions
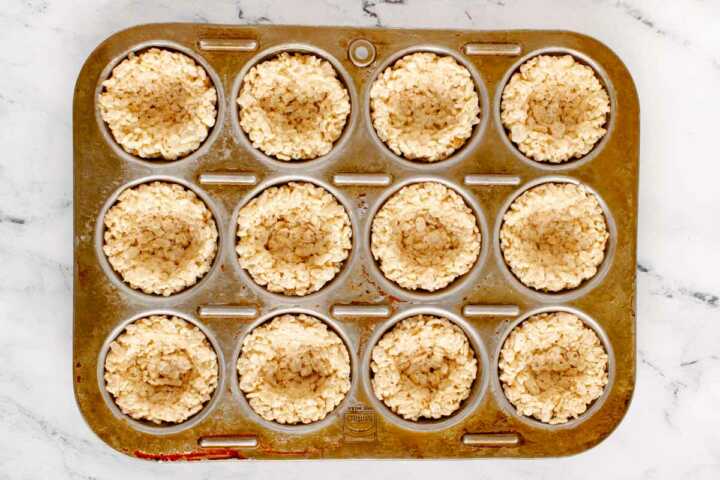
- Prep the pan: Lightly grease two 12-cup muffin pans with butter or nonstick spray. You can also use paper or silicone liners for easier removal.
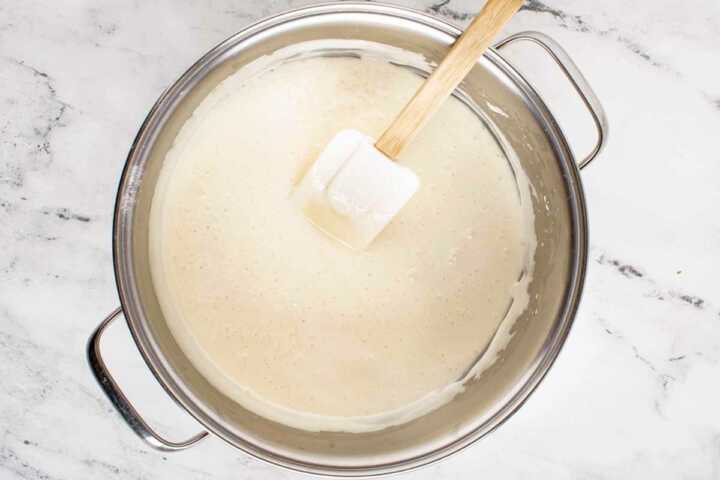
- Make the marshmallow base: In a large saucepan, melt butter over medium heat. Add marshmallows and stir until melted and smooth. Remove from heat and stir in vanilla.3 tablespoons salted butter, 1 (10-oz) bag mini marshmallows, ½ teaspoon vanilla extract

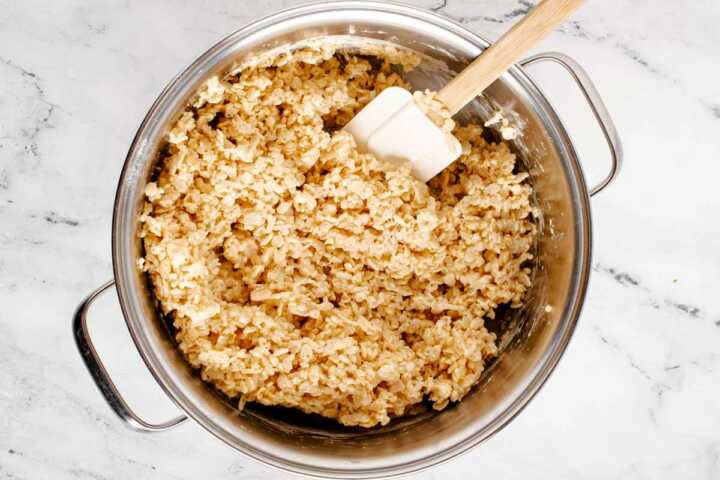
- Add cereal: Stir in Rice Krispies until evenly coated. Let cool for 2–3 minutes so the mixture is easier to handle.6 cups Rice Krispies cereal
- Form the nests: Grease your hands (or use a piece of wax paper). Scoop about ⅓ cup of mixture into each muffin cup. Press down gently and create a well in the center to form a nest (recipe makes 16-20 nests, depending on exact size you’re making). Let set for 20–30 minutes.
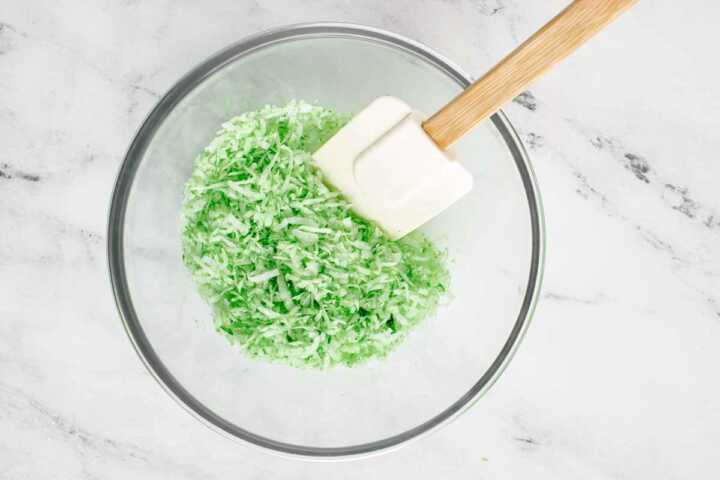
- Make the “grass”: In a zip-top bag or small bowl, combine coconut and green food coloring. Shake or stir until evenly tinted.1 cup sweetened shredded coconut, 4-6 drops green food coloring
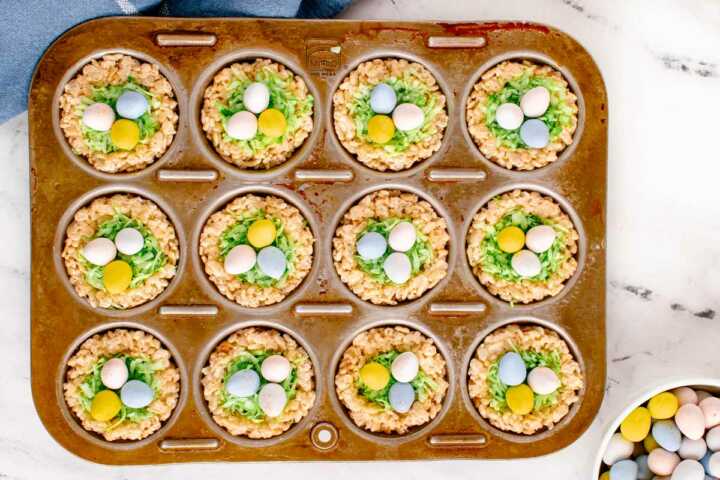
- Decorate: Add a pinch of coconut “grass” to each nest, then top each with 3 mini eggs.mini chocolate eggs
FAQs from one tired mom to another
Can I make these ahead of time?
You bet. These hold up like champs for a couple of days—just store them in an airtight container at room temp. Do notrefrigerate them unless you like biting into cement.
Do I have to use the coconut “grass”?
Nope! It’s cute, but if your kids act personally victimized by the texture of shredded coconut (relatable), feel free to skip it. Or swap in green frosting, edible grass, or just go rogue and do plain nests. Or a scoop of Nutella, whatever. Nobody’s calling the holiday police.
What if I don’t have a muffin pan?
You can totally freehand these on a parchment-lined baking sheet. Just scoop, smush, and make a little well in the middle. They’ll look more “rustic” (aka messy but adorable). We love an imperfect queen.
Can I use different candy on top?
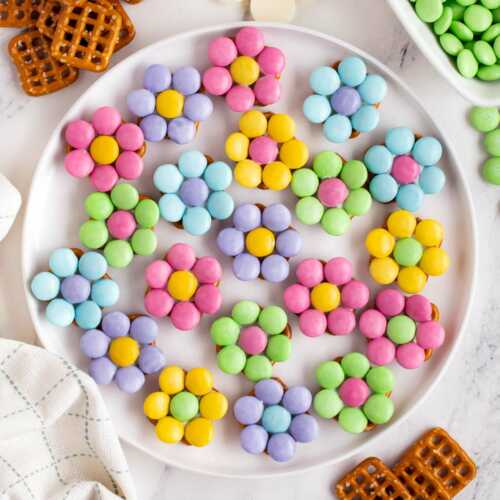
Totally. M&M’s, jelly beans, whatever your sugar-fueled heart desires. Just make sure it’s pastel enough to say “spring” and not “oops, leftover Halloween stash.” Unless that’s your vibe, then leftover Halloween Easter is totally fine.
Help! The marshmallow mix is sticking to my hands!
Grease your hands with butter or spray. Or use wax paper. Or let your kid do it and pretend it’s sensory play. Problem solved.
How do I get these to school/church/daycare without a total meltdown (mine, not theirs)?
Pop them back into the muffin tin once they’re set—it’s basically built-in bubble wrap for sugar. Cover the whole pan with foil or plastic wrap, and you’re golden. Bonus points if you put the whole thing in a box or basket so it doesn’t slide around like your patience at 7:45 AM. You’re welcome. 💁♀️
Made these? Laughed, cried, survived the class party?
Drop a comment and leave a star rating—I love knowing when a recipe saves your sanity.
And if you crushed it (or at least looked like you did), go ahead and Pin this one so you’ve got it ready for next time. Bonus: making these officially earns you an imaginary “Survived the Class Party” badge. You’ve earned it, queen mama! 💪👑🐣


Comments
No Comments