

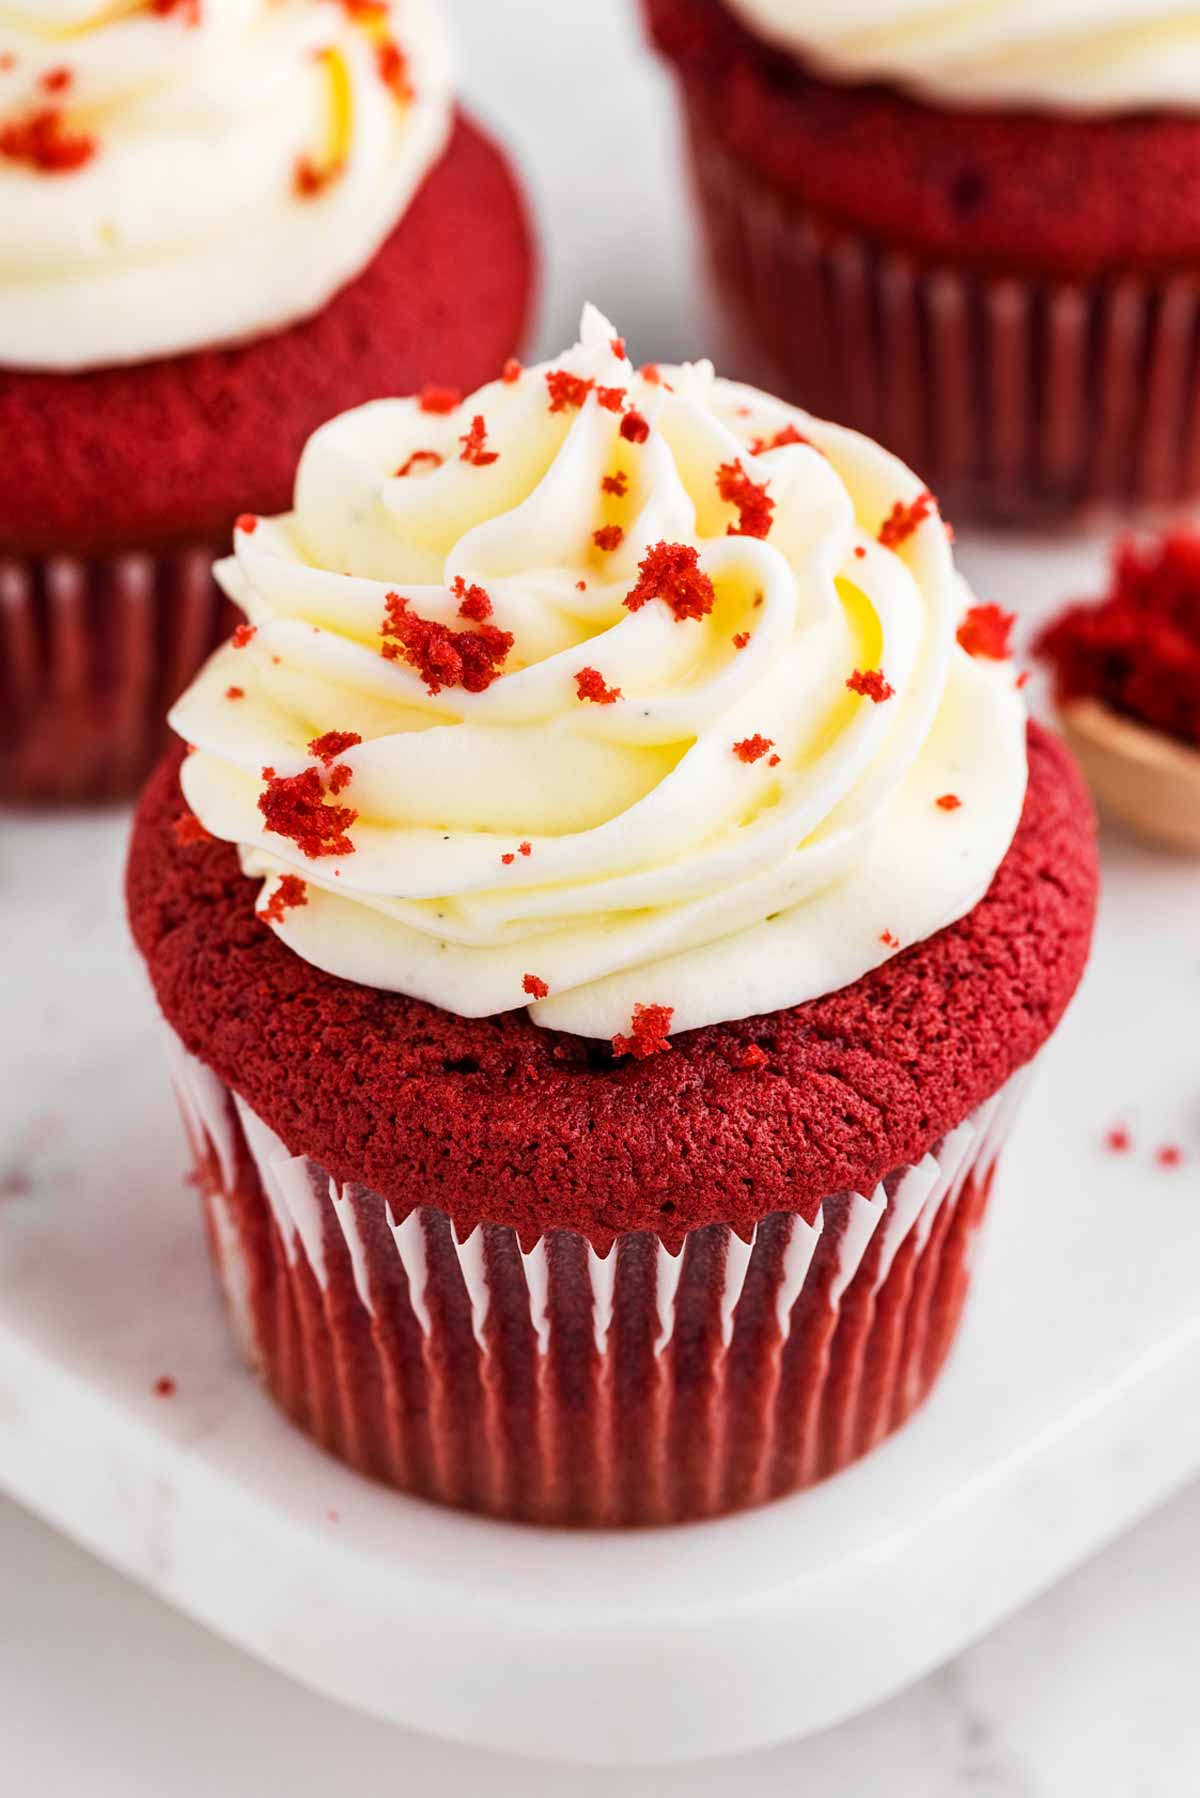
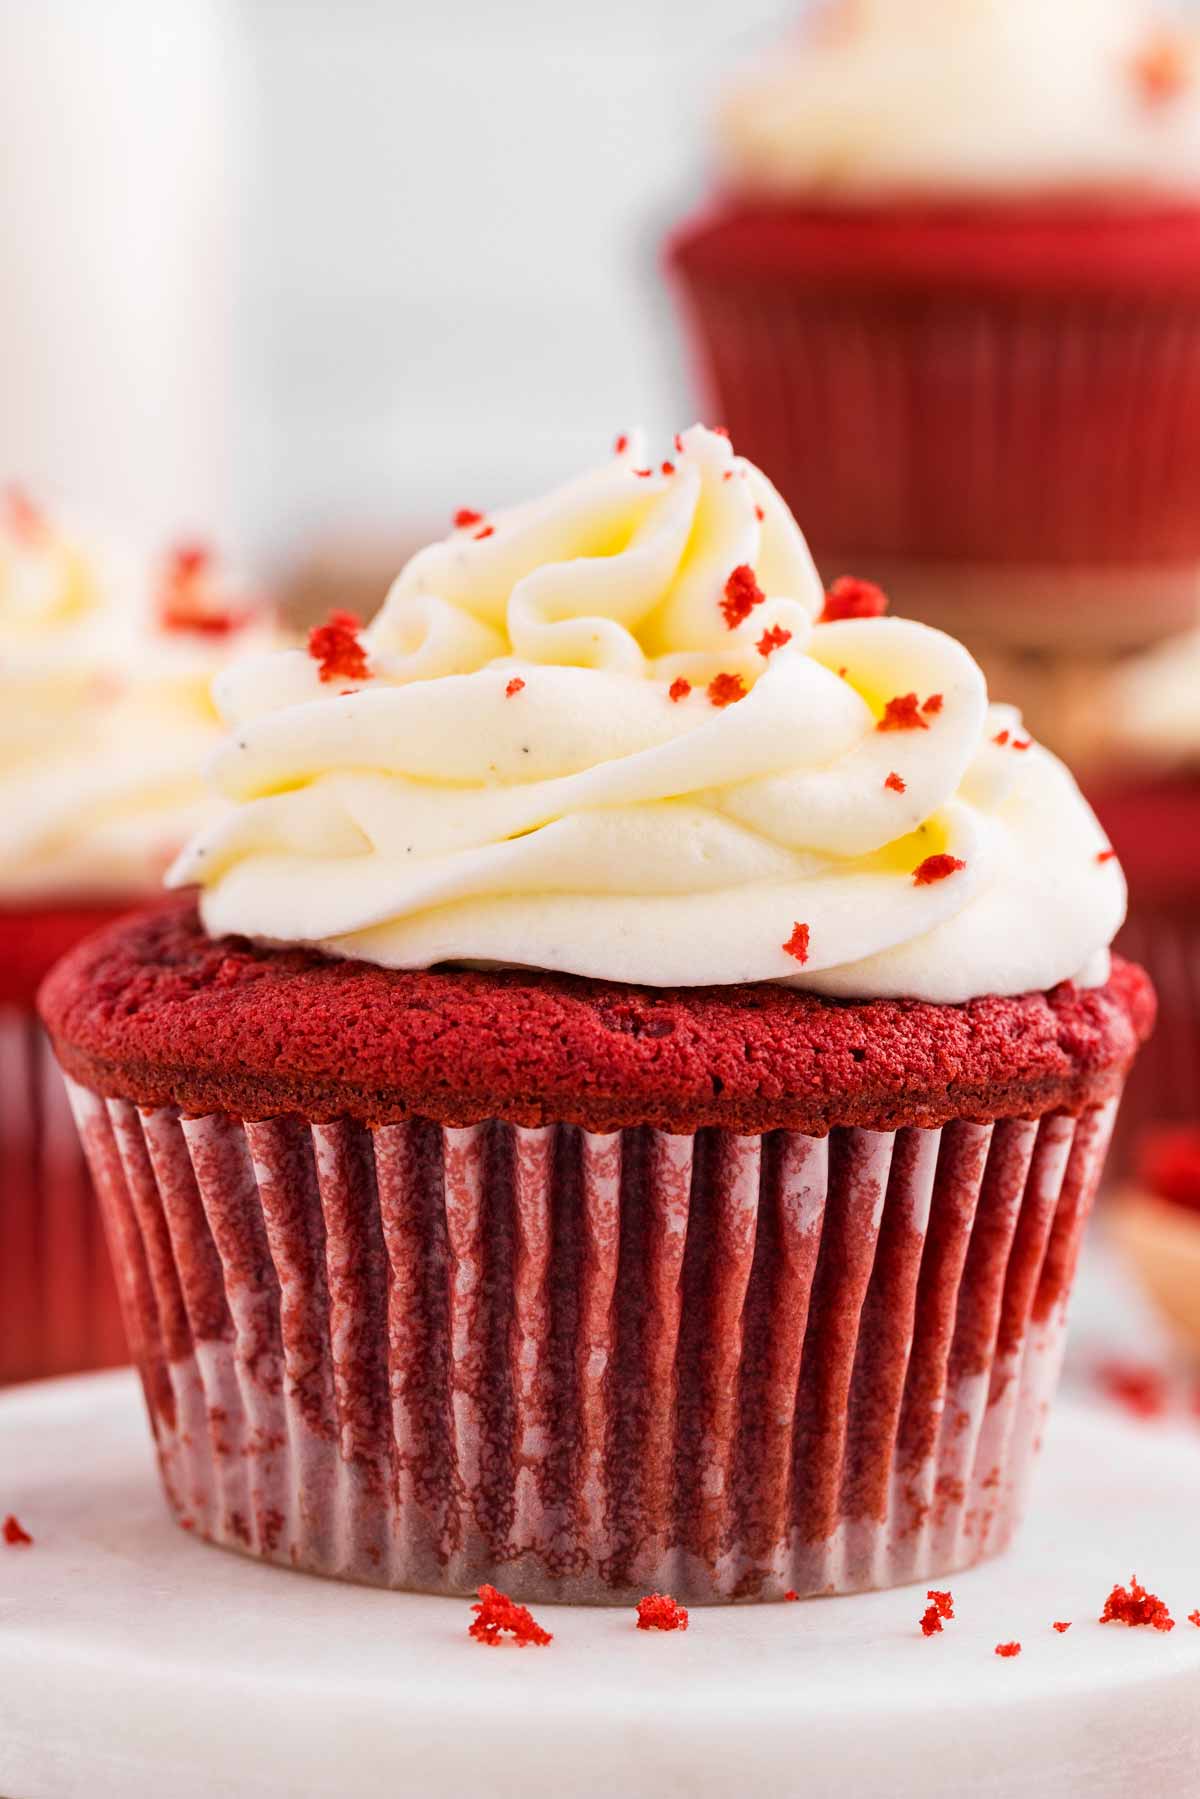
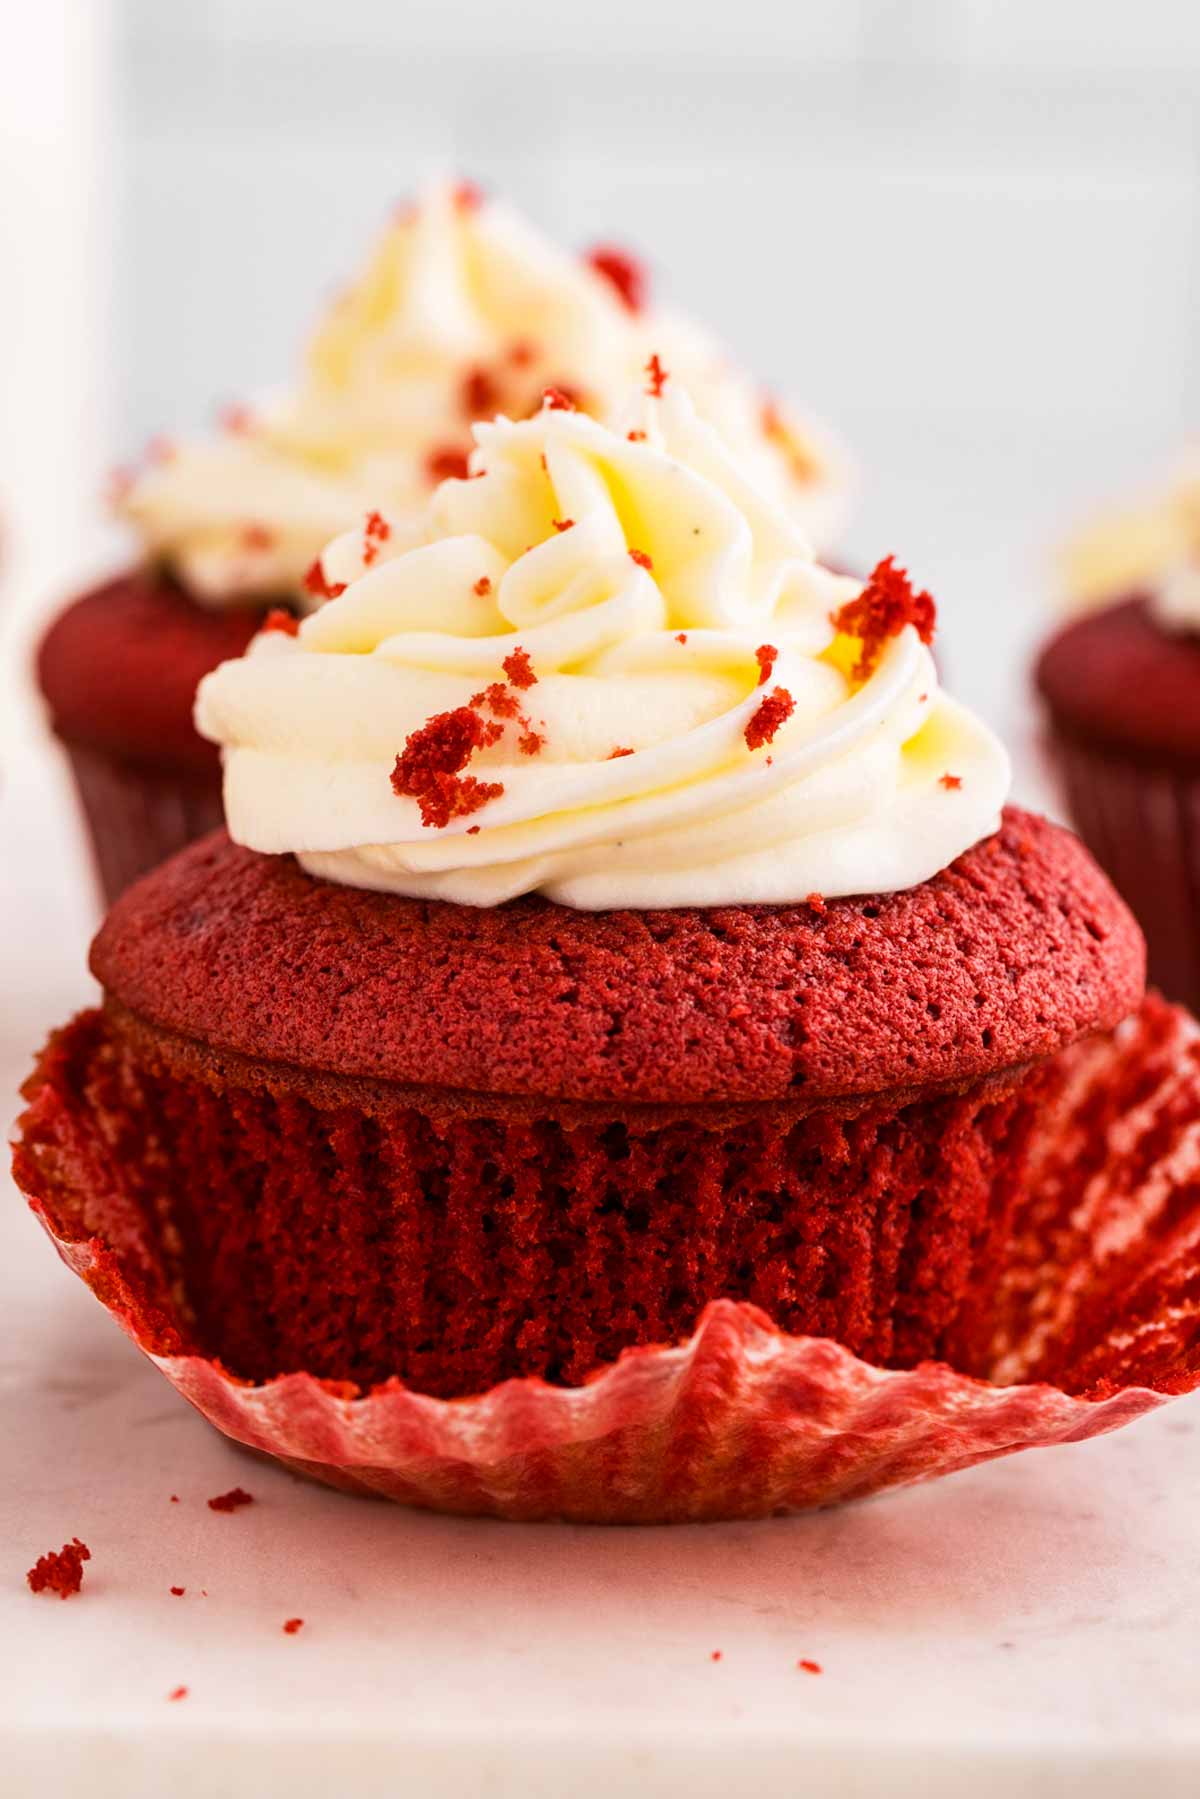
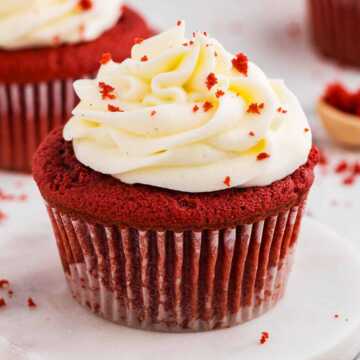
If you’re looking for the perfect red velvet cupcake recipe – one that’s soft, buttery, and just the right balance of chocolate and vanilla – you’ve just found it. These cupcakes bake up with a velvety texture (hence the name!) and that classic, vibrant red color, topped with the dreamiest cream cheese frosting.
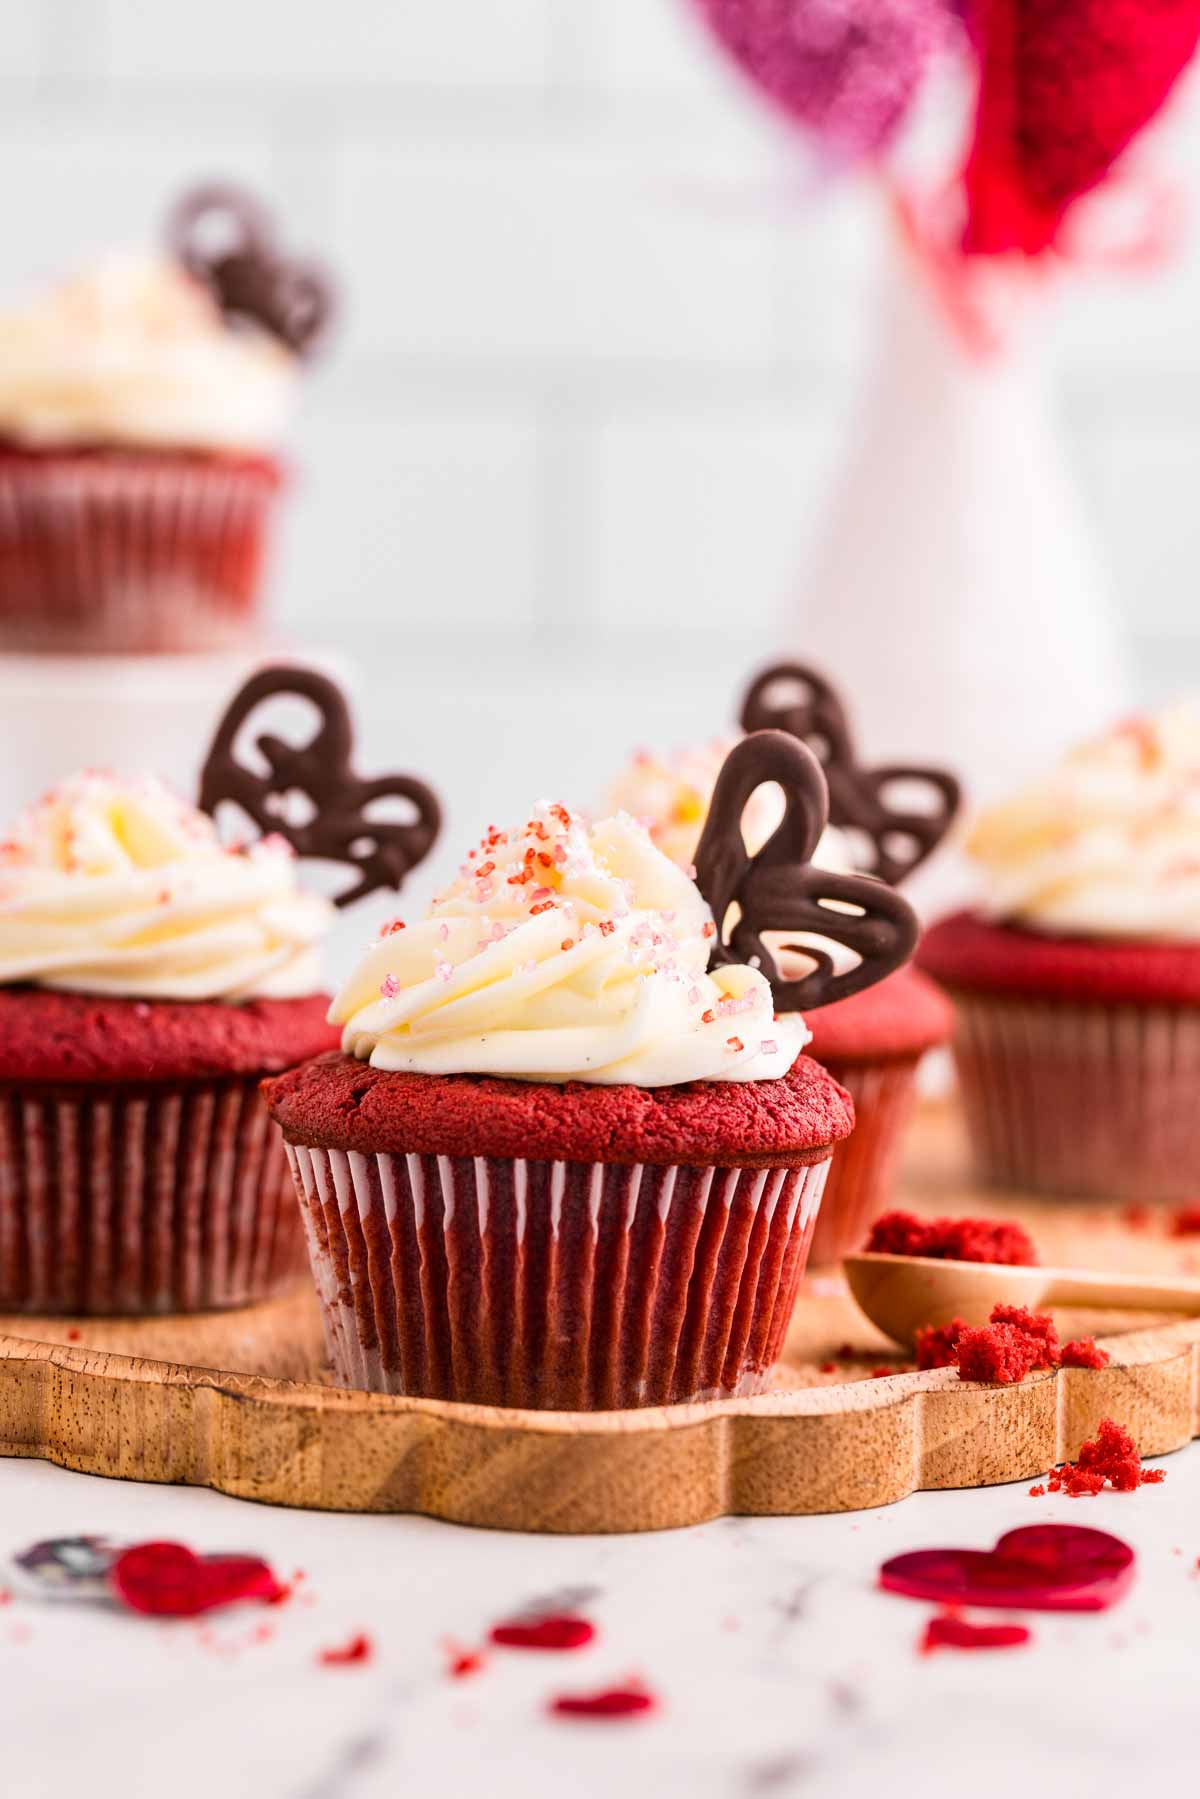
Making these for a birthday? Valentine’s Day? Just because you had a craving that wouldn’t quit? Whatever the reason, you’ll find yourself reaching for this recipe again and again.
Why you’ll love this recipe
I’ve made a lot of red velvet cupcakes over the years – some too dry, some too bland, and some that just felt like they were missing something. After plenty of trial and error, I finally landed on the one. This recipe has the perfect balance of flavor, texture, and that rich red color – basically, everything a red velvet cupcake should be.
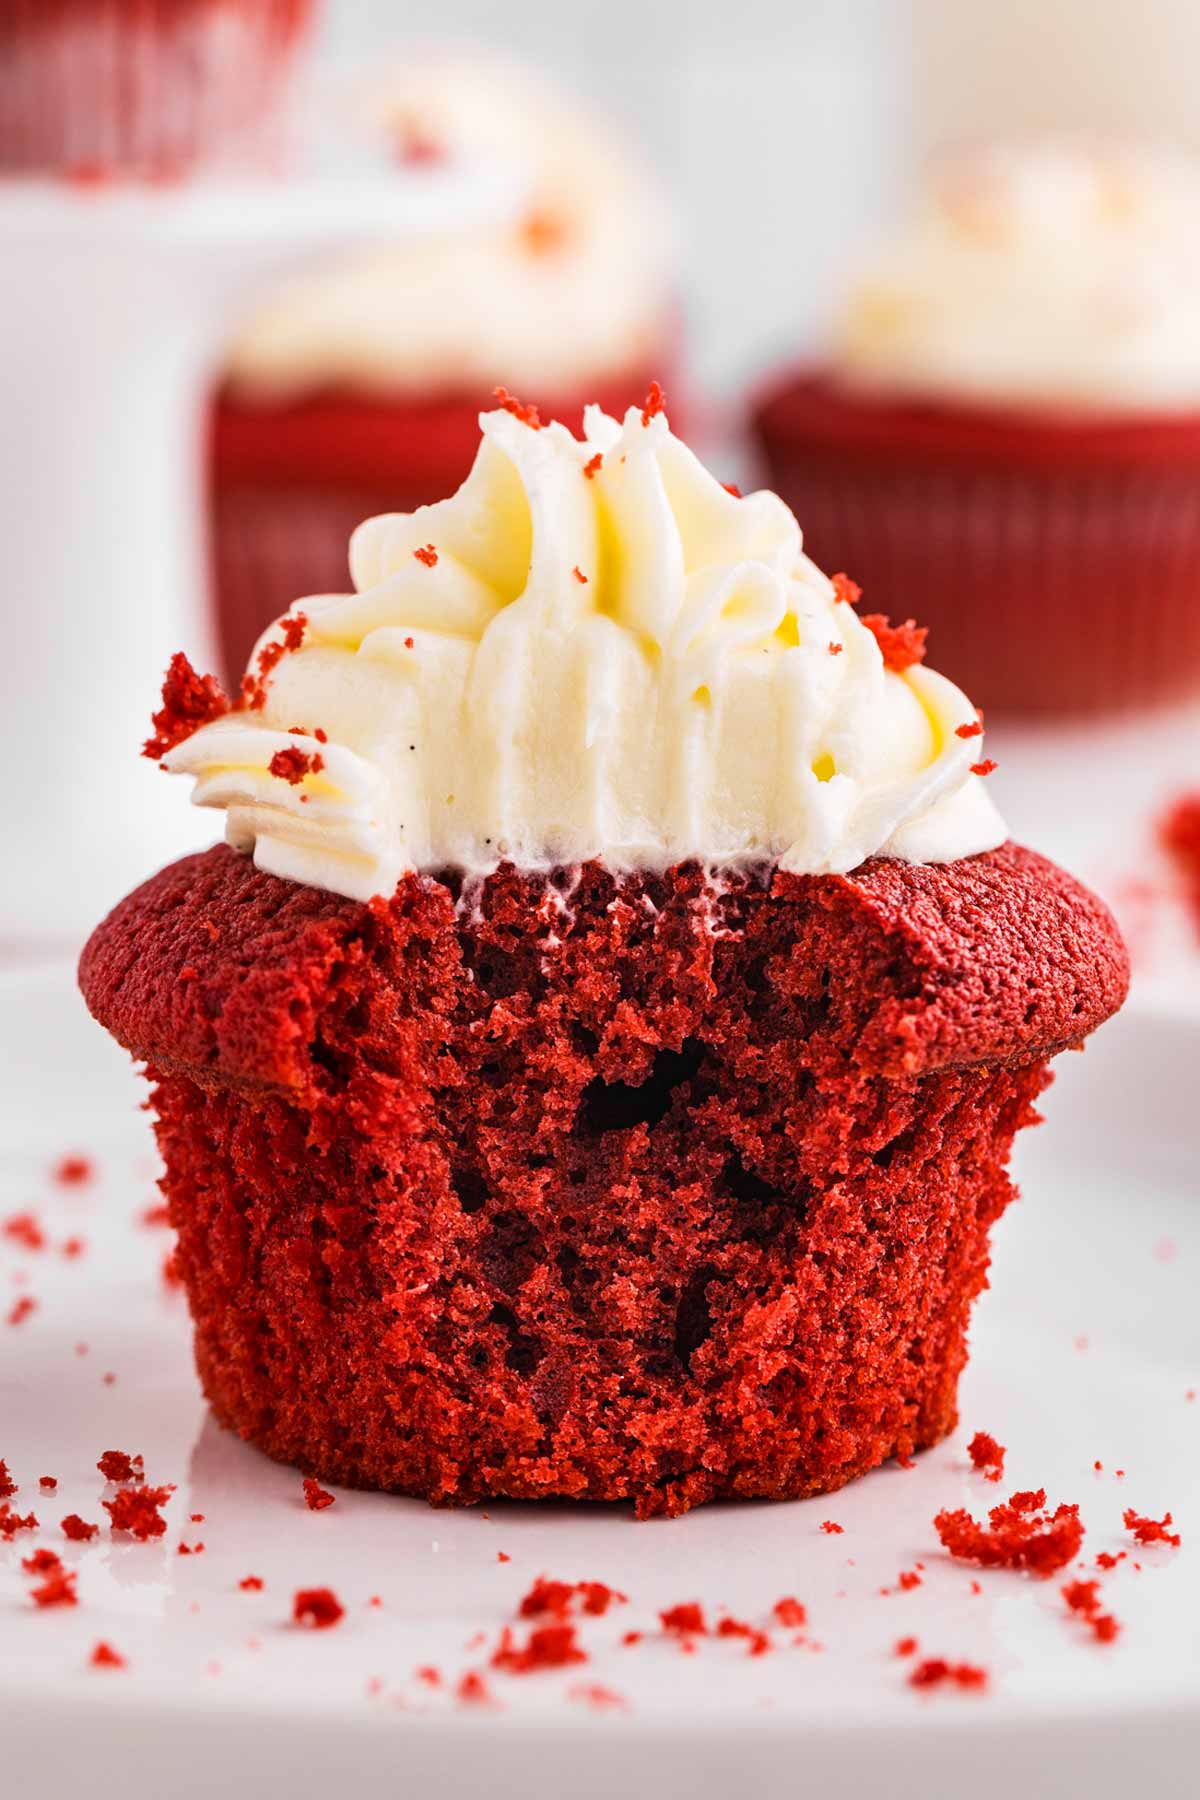
- Velvety soft & perfectly moist – No dry, crumbly cupcakes here! The secret? A mix of buttermilk, sour cream, and just the right amount of cocoa for a tender, flavorful crumb.
- That classic red velvet flavor – A hint of cocoa, a little tang from the buttermilk, and a sweet, buttery finish – it’s the perfect blend of flavors.
- Cream cheese frosting magic – Let’s be real, the frosting is half the reason we love red velvet. This one is smooth, creamy, and just the right amount of sweet to complement the cupcakes.
Ingredients you’ll need
Here is a visual overview of the ingredients in the recipe. Scroll down to the printable recipe card at the bottom of this post for quantities!

Ingredient notes
- Cocoa powder – Traditional red velvet has a hint of chocolate, not an overpowering flavor. I often like to use 3 tbsp for a richer taste, but if you want a brighter red, use 1.5 tbsp and increase the cornstarch to keep the texture perfect. The cupcakes in the photos used 1.5 tbsp cocoa powder.
- Cornstarch – This helps create a lighter, softer crumb. If reducing the cocoa powder, increasing the cornstarch ensures the cupcakes stay tender.
- Buttermilk & vinegar – The acidity in these ingredients is what gives red velvet its signature tang and helps create that soft, fluffy texture. If you don’t have buttermilk, mix ⅓ c. milk with 1 tsp white vinegar and let it sit for 5 minutes.
- Sour cream – Keeps the cupcakes extra moist and gives them a rich flavor. You can swap it for full-fat Greek yogurt if needed, but I highly recommend sticking with sour cream if you can.
- Red food coloring – I use liquid food coloring, but gel works too – just use less since it’s more concentrated. If you prefer a natural option, beet powder can work, but the color won’t be as vibrant.
- Cream cheese frosting – I use a mix of cream cheese, butter, and sour cream for an ultra-smooth, creamy frosting with just the right balance of tang and sweetness. You can skip the sour cream, but it adds a little extra something special.
- Vanilla pod – Fresh vanilla seeds give the frosting amazing flavor. If you don’t have a vanilla pod, just swap in 1 tsp vanilla extract.
How to make Red Velvet Cupcakes
Alright, let’s make some amazing red velvet cupcakes together! Grab your ingredients, preheat your oven to 350°F, and line a 12-cup muffin pan with cupcake liners. You’ll need a total of 14 cupcakes, so either use two extra silicone cups or stack three liners together to make extra space. Now let’s get to it!
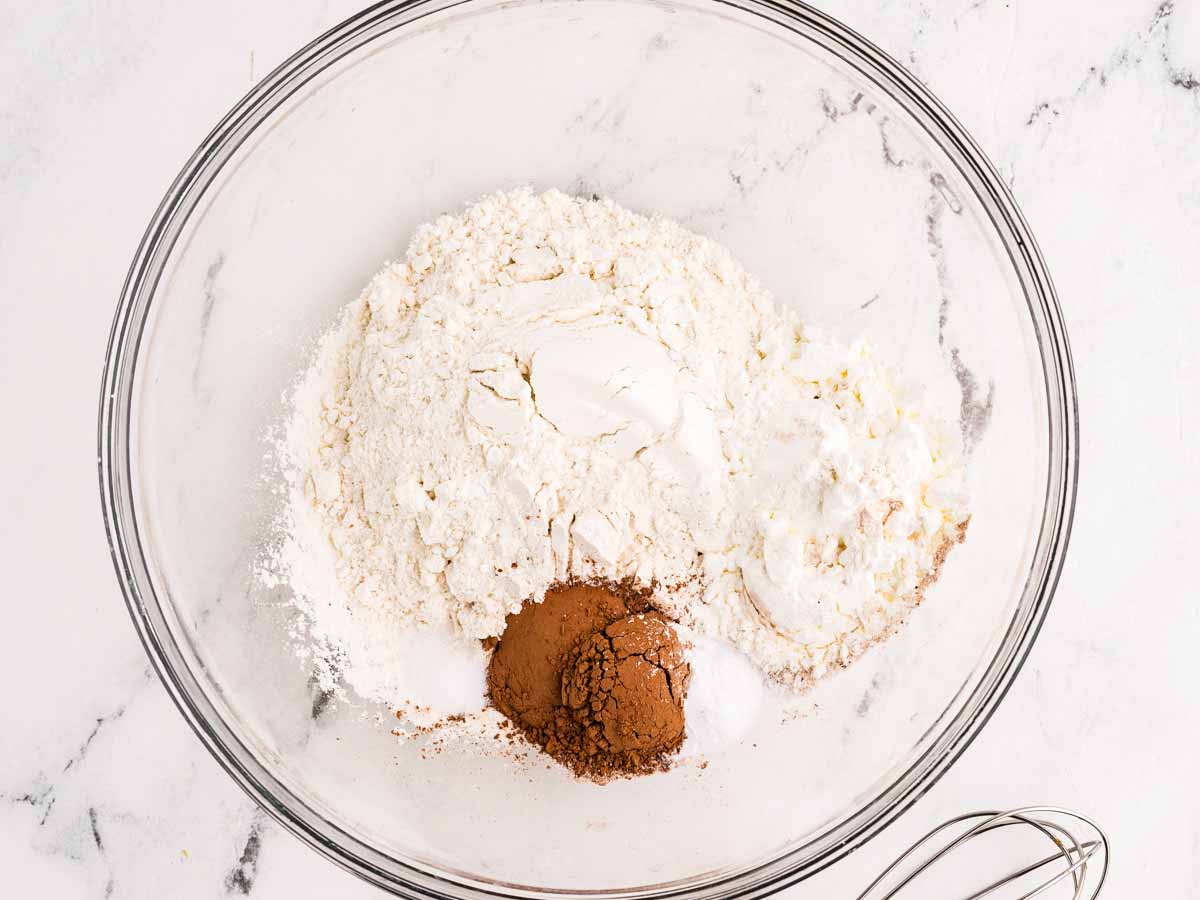
Step 1: Mix the dry ingredients
In a medium bowl, whisk together 1 cup all-purpose flour, 3 tablespoons cocoa powder (or 1.5 tablespoons if you want a brighter red), 3 tablespoons cornstarch (or 4.5 tablespoons if using less cocoa powder), ½ teaspoon baking soda, and ¼ teaspoon salt.
This ensures everything is evenly distributed and there won’t be any clumps later on. If your cocoa powder tends to be lumpy, it’s a good idea to sift it first!
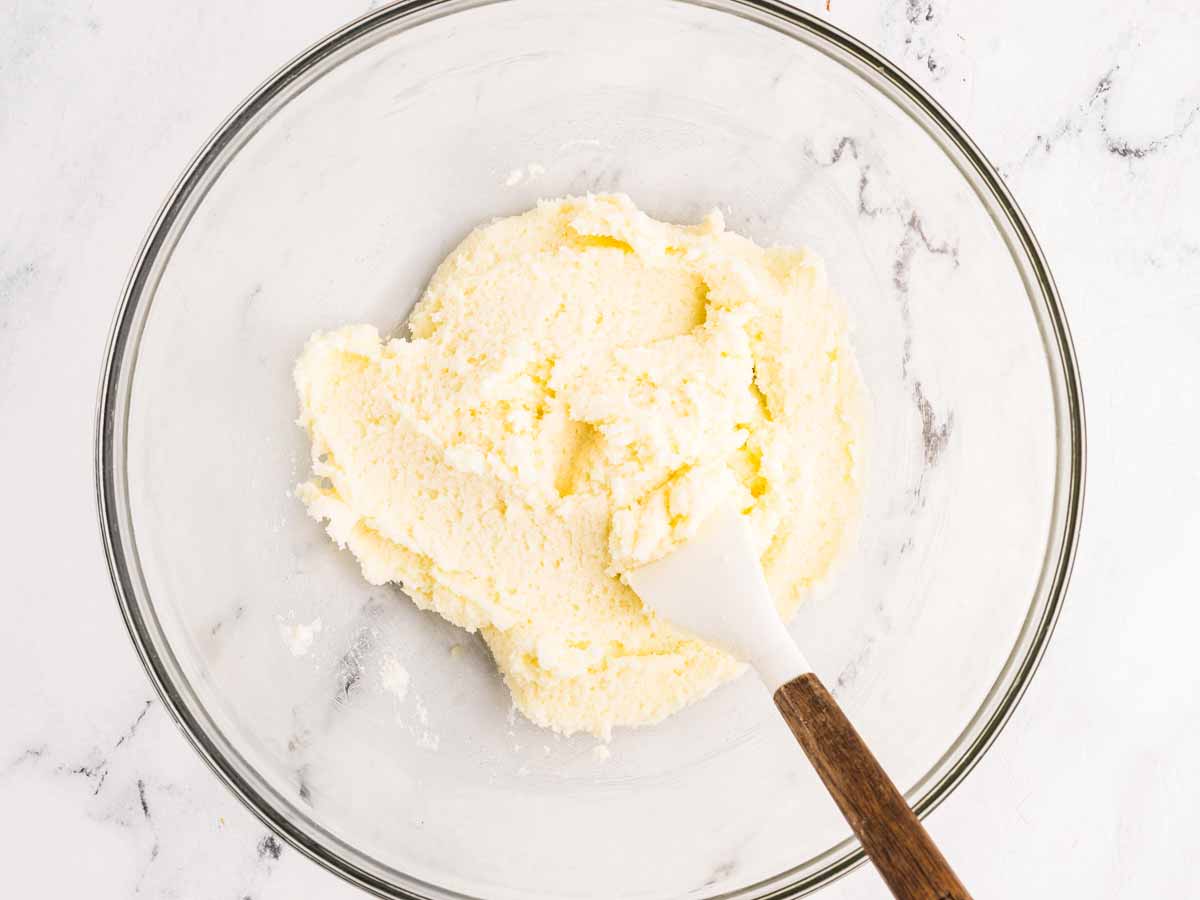
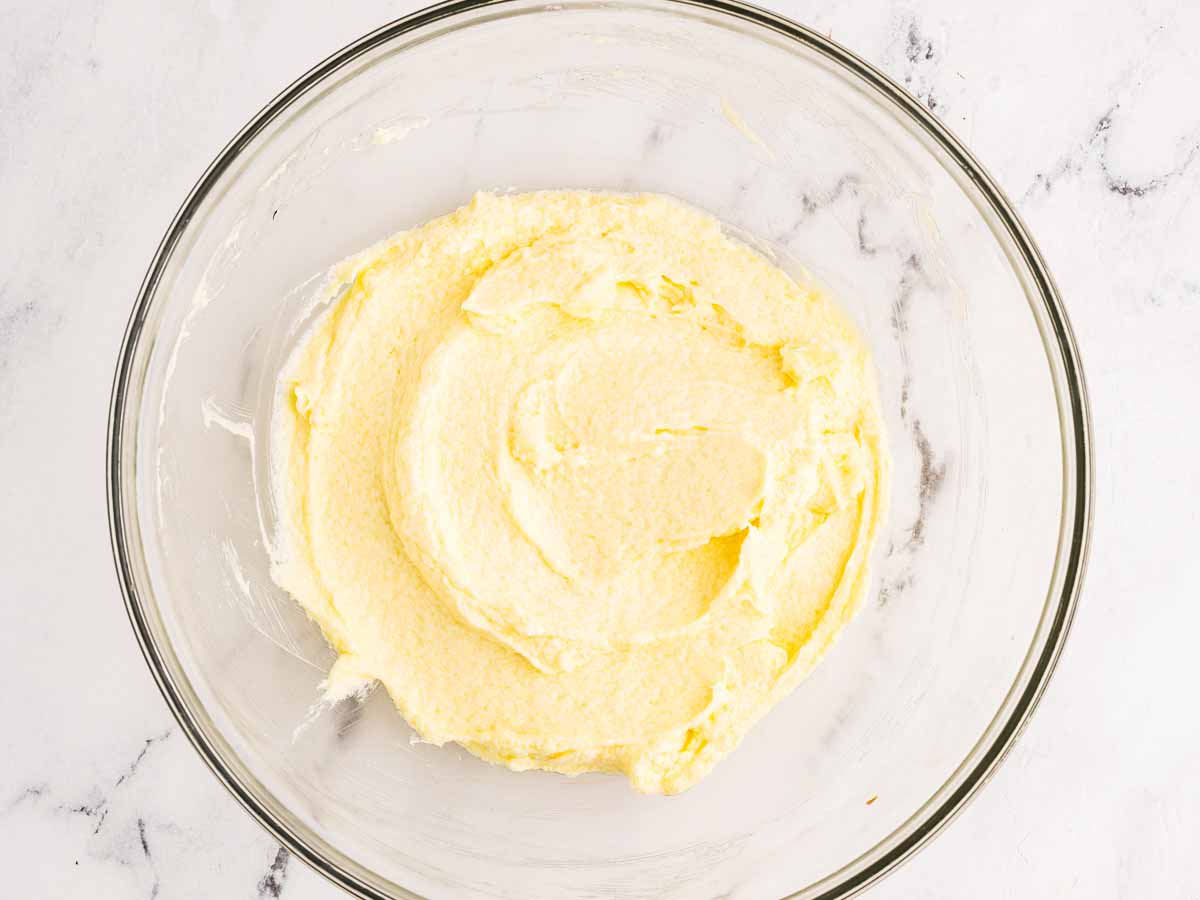
Step 2: Cream the butter & sugar
In a large mixing bowl, beat ½ cup softened butter and 1 cup granulated sugar together using an electric mixer on medium-high speed. This step is key for creating light and fluffy cupcakes, so don’t rush it!
Let the mixer run for about 5 minutes, until the mixture looks pale, creamy, and fluffy. Scrape down the sides of the bowl once or twice to make sure everything is incorporated.
Step 3: Add the eggs
Now, add 2 large eggs, one at a time. Beat well after each addition until the batter looks creamy and smooth again. If it starts to look a little separated, don’t panic – it’ll come together once we add the wet ingredients.
Step 4: Mix in the wet ingredients
Now, for the magic of red velvet! Add ½ cup sour cream, ⅓ cup buttermilk, 1 teaspoon white vinegar, up to 1 ounce red food coloring (I usually use ½ ounce), and ½ tablespoon vanilla extract to the butter mixture. Mix until fully combined.
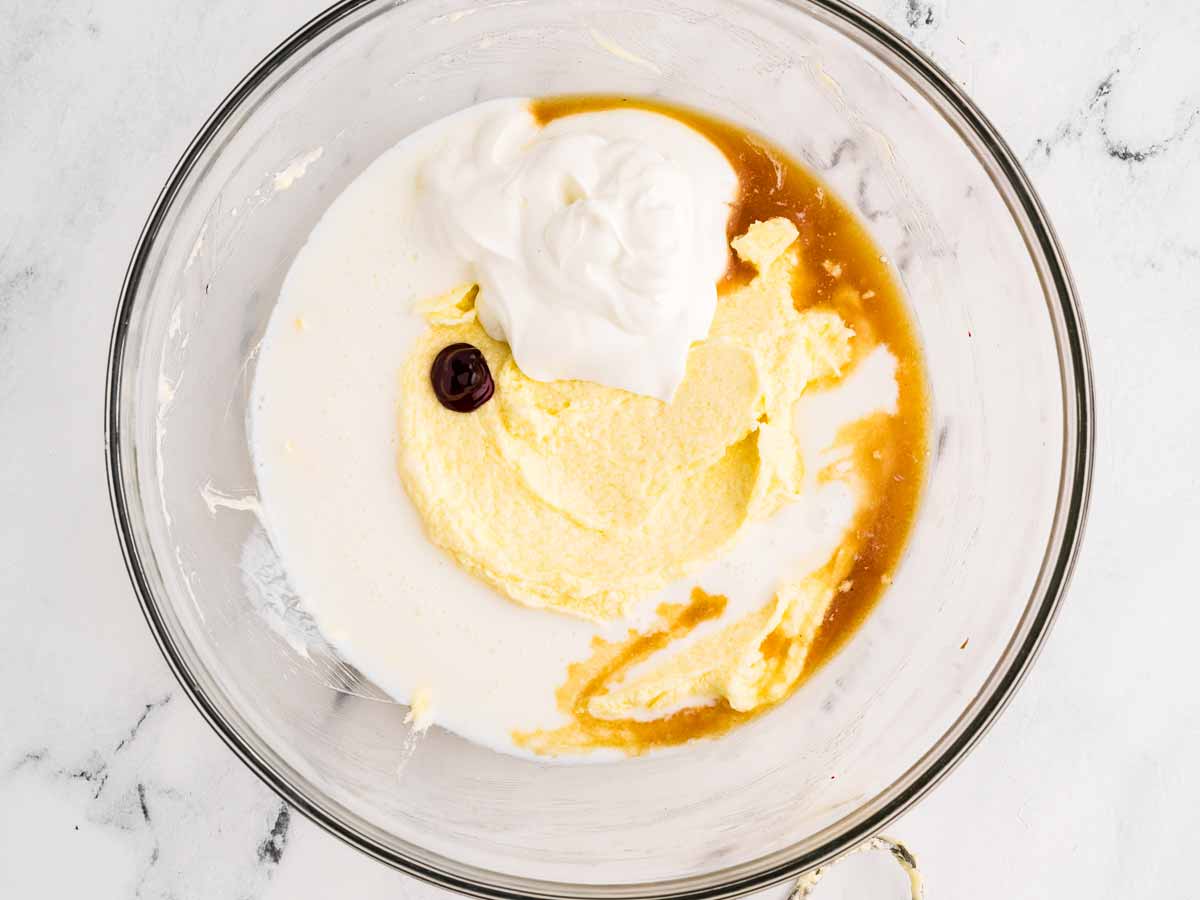
The batter may look a little curdled at this point – that’s totally normal! The acidity in the buttermilk and vinegar is reacting with the ingredients, which helps make the cupcakes soft and tender.
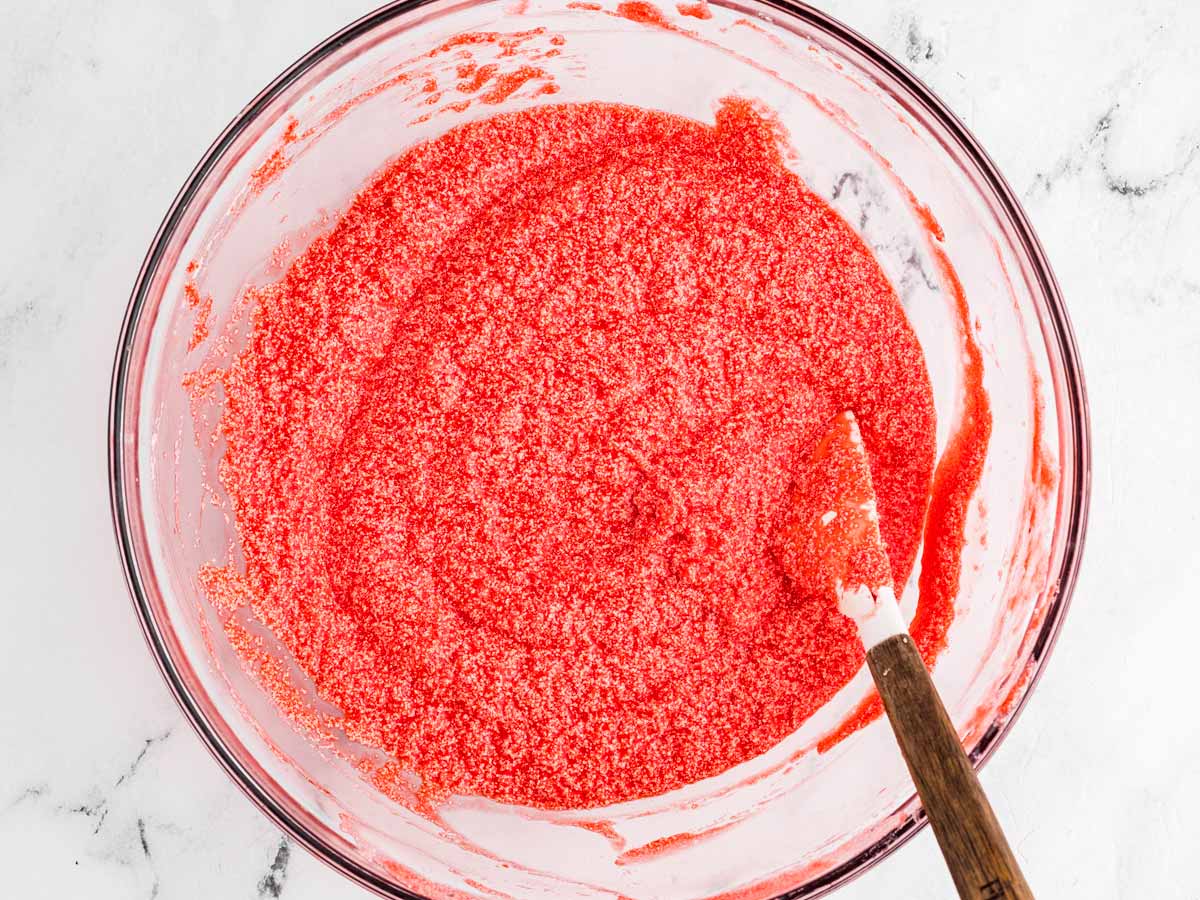
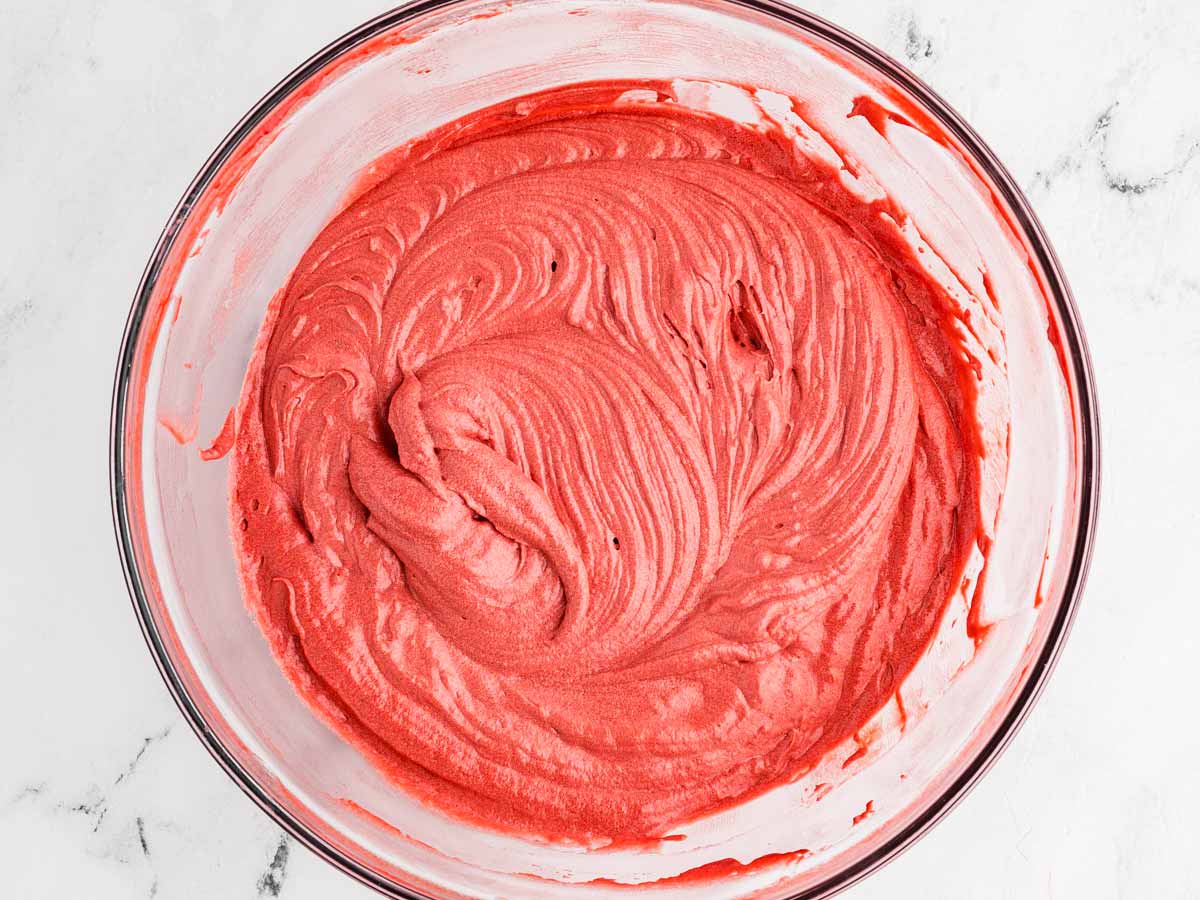
Step 5: Add the dry ingredients
With your mixer on low speed, gradually add the dry ingredients to the wet mixture, a spoonful at a time. Go slow here – you don’t want flour flying everywhere!
Mix just until the batter is smooth and velvety. Overmixing at this stage can make the cupcakes dense instead of soft, so as soon as you don’t see streaks of flour, you’re done!
Step 6: Fill the cupcake liners
Evenly divide the batter between the 14 prepared muffin liners. I like to use a cookie scoop or a measuring cup to make this easier and ensure all my cupcakes bake evenly.
Fill each liner about ⅔ full – any more, and they might spill over while baking.

Step 7: Bake
Pop the cupcakes into your preheated oven and bake for 16–20 minutes. You’ll know they’re done when a toothpick inserted in the center comes out clean or with just a few moist crumbs – but no wet batter! If they look puffy in the oven but sink after you take them out, they might be slightly underbaked, so double-check with a toothpick before pulling them out.
Once they’re done, let them cool in the pan for 5 minutes, then transfer them to a wire rack to cool completely. Don’t frost warm cupcakes—the frosting will slide right off!
Step 8: Make the frosting
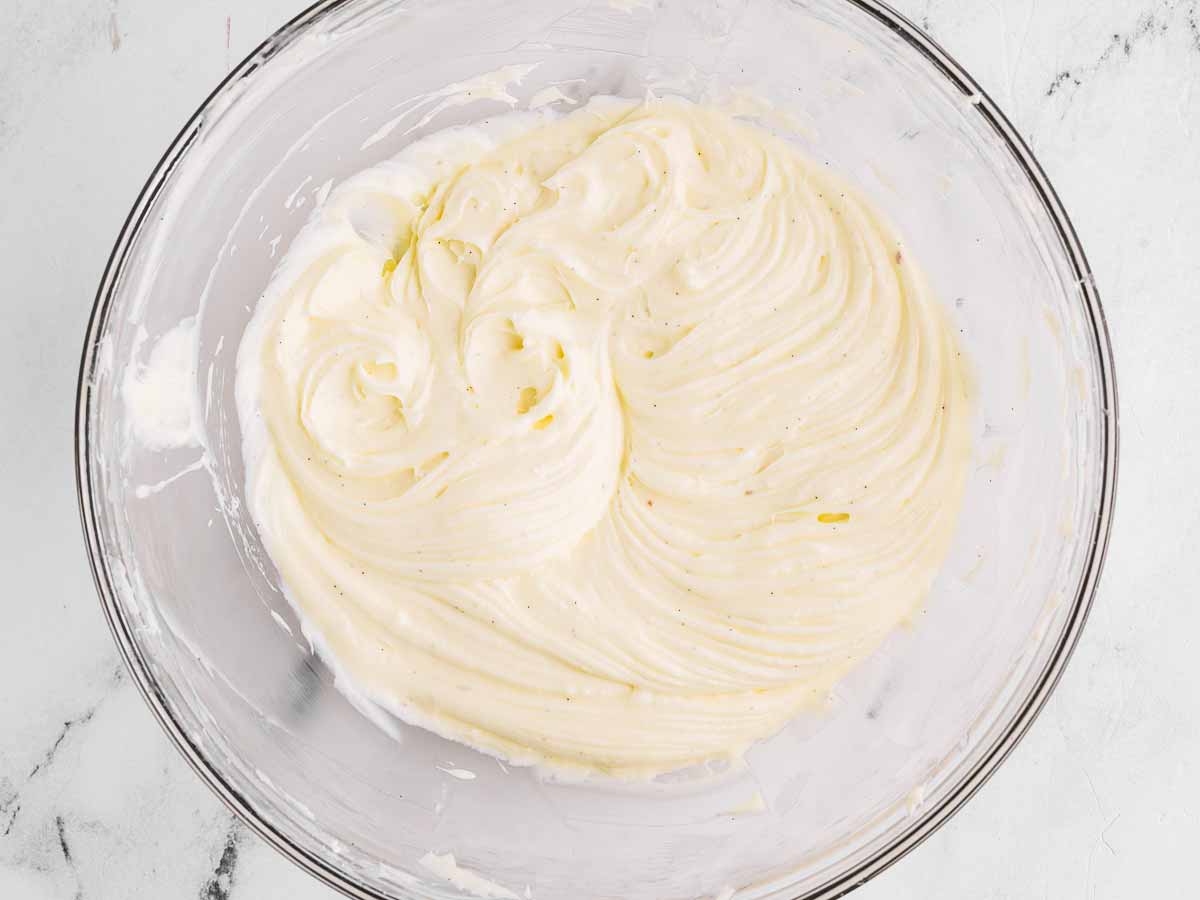
While the cupcakes cool, let’s make the dreamiest cream cheese frosting. In a medium bowl, beat together 8 ounces softened cream cheese, 2 tablespoons softened butter, 1 tablespoon sour cream, and the seeds from ½ a vanilla pod until smooth and creamy. The sour cream makes the frosting extra luscious and smooth!
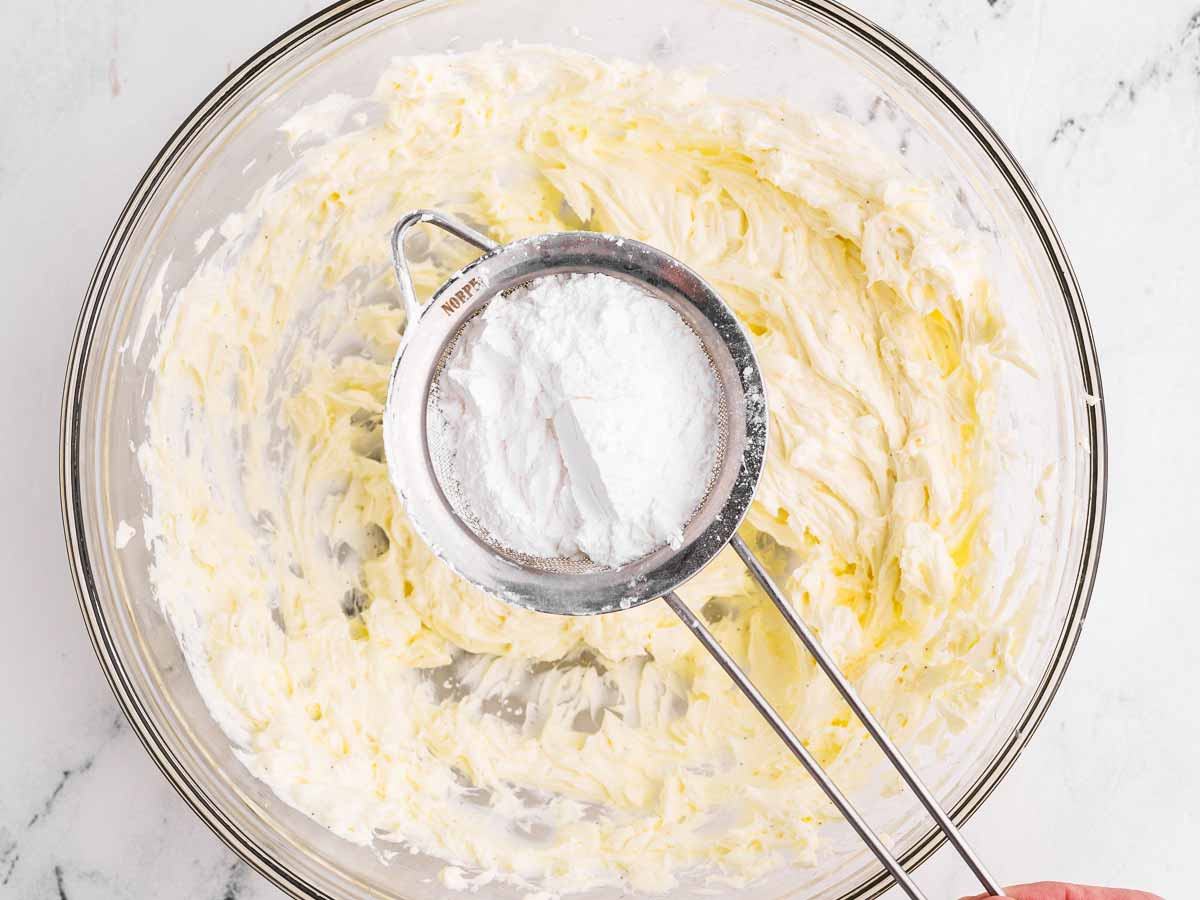
With your mixer on low, gradually add 8 ounces sifted icing sugar, beating until everything is combined and fluffy. If your frosting feels too soft, pop it in the fridge for 10–15 minutes before piping – it will firm up beautifully.
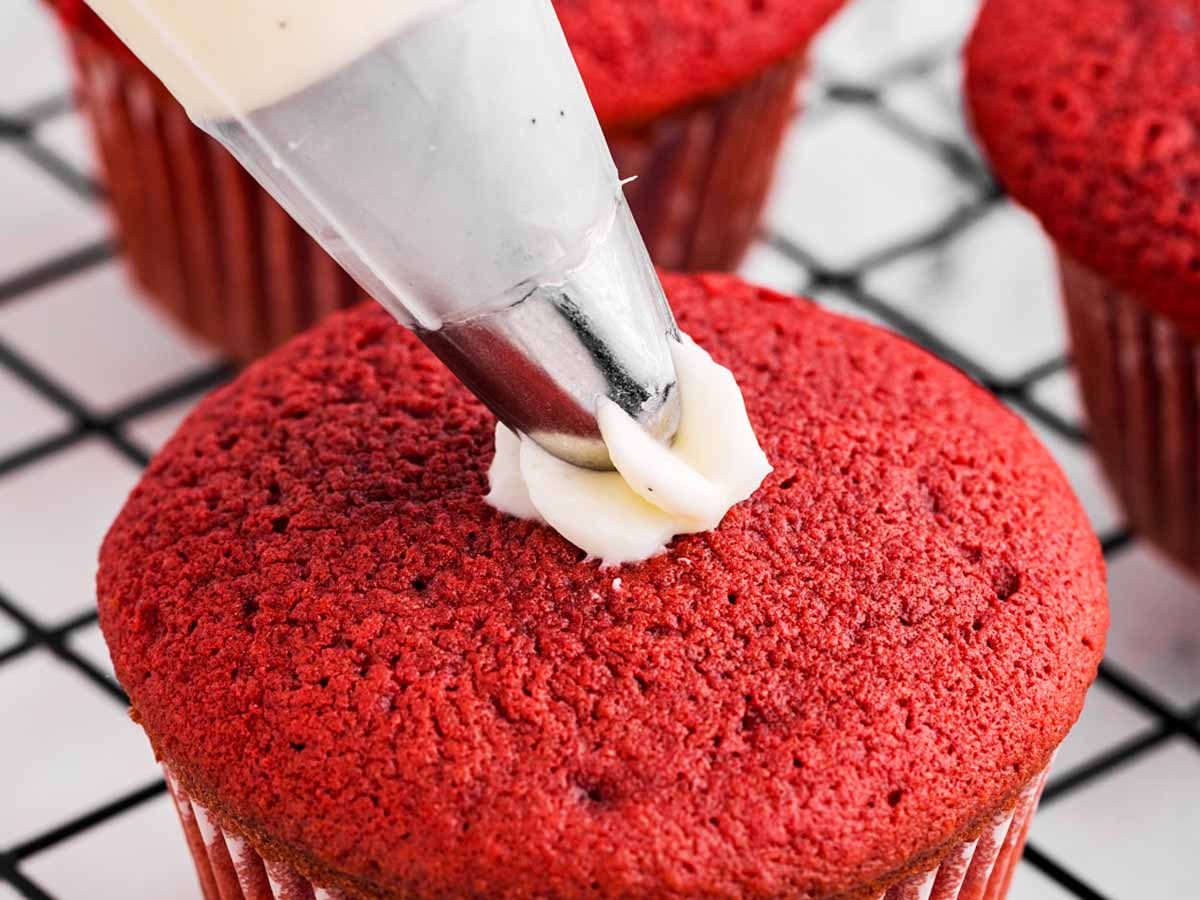
Step 9: Frost & enjoy!
Once the cupcakes are completely cool, pipe or spread the frosting on top. I love using a star piping tip for a classic look, but you can also swirl it on with a spoon for a more rustic vibe.
Now, step back, admire your gorgeous red velvet cupcakes, and dig in! These are perfect for birthdays, Valentine’s Day, or, let’s be honest – just because you deserve a treat. Enjoy!
Recipe tips
- Cream the butter and sugar really well. Take your time with this step! Beating them together for a full 5 minutesmakes a huge difference in the texture. It helps create a light, fluffy cupcake instead of one that’s dense or too muffin-like.
- Make sure your batter is smooth and velvety. You want to fully incorporate the dry ingredients without overmixing. No streaks of flour, no lumps – just a silky, even batter. This gives the cupcakes that perfect shiny, slightly flatter top instead of a domed, muffin-like shape.
- Sift the icing sugar for the frosting! I know it’s tempting to skip this step, but trust me – it makes a big difference. No sifting = a slightly grainy, lumpy frosting. Take the extra minute to do it, and you’ll have the smoothest, creamiest frosting ever.
- Chill the frosting before piping. If the frosting is too soft, it won’t hold its shape on the cupcakes. A quick 10–15 minute chill in the fridge helps it firm up just enough. And absolutely do not frost warm cupcakes, or you’ll end up with a melty mess sliding down the sides!
- The batter color is your preview of the final cupcakes. If the batter looks too brown, add a little more red food coloring. If you want a richer cocoa flavor, add 1 more tablespoon of cocoa powder plus ½ tablespoon buttermilk to keep the texture just right.
- Don’t overfill the cupcake liners. Fill them ⅔ full – any more, and they’ll overflow or end up with odd, uneven tops. Using a cookie scoop or measuring cup helps keep them even.
- Toothpick test = your best friend. Check for doneness by inserting a toothpick into the center of a cupcake. It should come out clean or with just a few moist crumbs – not wet batter. Overbaking makes them dry, so keep an eye on them!
Helpful recipe hints
Recipe variations
- Mini Red Velvet Cupcakes – Perfect for parties or lunchbox treats! I make these in a mini muffin pan and bake them for 10–12 minutes instead of the full bake time. Same great flavor, just in bite-sized form (which somehow makes them disappear even faster).
- Chocolate Red Velvet Cupcakes – Sometimes, I up the cocoa for a richer chocolate flavor by adding 1 extra tablespoon of cocoa powder and ½ tablespoon more buttermilk. It deepens the flavor but still keeps the classic red velvet vibe.
- Red Velvet Cheesecake Cupcakes – This one is so good! Drop a small spoonful of sweetened cream cheese (just cream cheese + powdered sugar mixed together) into the center of each cupcake before baking. It bakes into the batter for a little hidden cheesecake surprise.
Storage tips
The cupcakes keep well for 3 days without the frosting. Once fully cooled, wrap in plastic wrap and store in the pantry until ready to use. Frost right before serving.
The cupcakes also freeze well. Wrap the fully cooled, unfrosted cupcakes in plastic wrap (each individually!). Then place in a large ziploc bag and freeze for up to 3 months. To defrost, unwrap and place on a wire rack at room temperature for several hours, until no longer frozen. Frost right before serving.
The frosted cupcakes keep in the fridge for a day.
Serving ideas
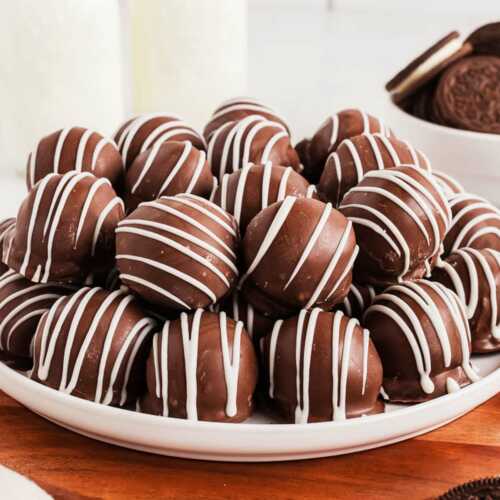
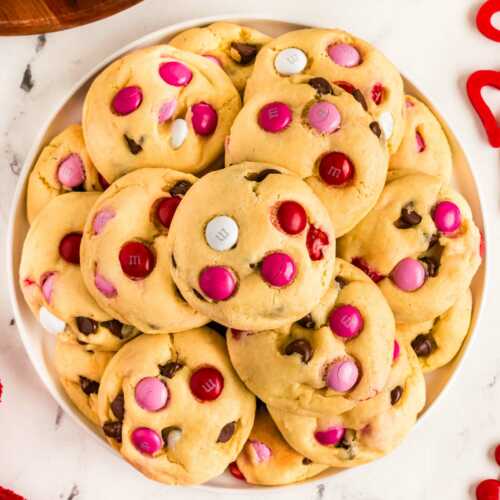
If you’re putting together a sweet little Valentine’s spread, these red velvet cupcakes should definitely be front and center. Pair them with Valentine’s Day Cake Mix Cookies and Oreo Truffles for an easy, festive touch, and add a Strawberry Banana Smoothie for a fun, fruity drink option.
Want to go all out? Set up a Crockpot Hot Chocolate bar with whipped cream, marshmallows, and chocolate shavings for an extra cozy, chocolatey finish. It’s the kind of dessert table that makes February 14th feel extra special (or honestly, just a regular Tuesday feel a lot more fun).
More easy Valentine’s Day recipes

PS If you try this recipe, please leave a review in the comment section and add a star rating in the recipe card – I appreciate your feedback! Follow along on Pinterest, Facebook or Instagram.
Printable recipe
Red Velvet Cupcakes
Recipe details
Ingredients
For the cupcakes
- 1 cup all-purpose flour
- 1 ½ tablespoons unsweetened cocoa powder use 3 tablespoons for deeper chocolate flavor and darker color
- 4 ½ tablespoons cornstarch if using the 3 tablespoons cocoa powder, decrease cornstarch to 3 tablespoons
- ½ teaspoon baking soda
- ¼ teaspoon salt
- ½ cup butter softened
- 1 cup granulated sugar
- 2 large eggs
- ½ cup sour cream
- ⅓ cup buttermilk
- 1 teaspoon white vinegar
- 1 oz red food coloring or less; use more or less according to your taste; start with ½ oz
- ½ tablespoon vanilla extract
For the frosting
- 1 (8-oz) package cream cheese softened
- 2 tablespoons butter softened
- 1 tablespoon sour cream
- ½ vanilla pod scraped seeds only
- 8 oz icing sugar sifted
Instructions
- Prep: Preheat oven to 350°F. Line a 12 cup muffin pan with cupcake liners. Use 2 additional silicone cups, or stack 3 liners together to have space for 14 cupcakes.
- Combine dry ingredients: Mix 1 cup all-purpose flour, 1 ½ tablespoons unsweetened cocoa powder, 4 ½ tablespoons cornstarch, ½ teaspoon baking soda and ¼ teaspoon salt in medium bowl. Set aside.
- Make creamed mixture: Using an electric mixer on medium-high speed, beat ½ cup butter and 1 cup granulated sugar in large bowl for 5 minutes, or until creamy, light in color and fluffy. Beat in 2 large eggs, one at a time, beating after each addition until mixture is creamy.
- Add wet ingredients: Add ½ cup sour cream, ⅓ cup buttermilk, 1 teaspoon white vinegar, 1 oz red food coloring (or less; start with ½ oz) and ½ tablespoon vanilla extract to the butter mixture. Mix to fully combine (mixture may look slightly curdled, that's fine).
- Combine batter: With the mixer running on low speed, beat in the flour mixture a spoonful at a time, until batter is velvety.
- Fill cupcakes: Evenly divide batter between 14 prepared muffin cups.
- Bake: Bake cupcakes for 16-20 minutes, or until a toothpick inserted into cupcake center comes out clean. Cool in pan on cooling rack for 5 minutes, then remove from pan to cool completely on the cooling rack.
- Make frosting: While cupcakes are baking, prepare frosting by beating 1 (8-oz) package cream cheese (softened), 2 tablespoons butter, 1 tablespoon sour cream and seeds from ½ vanilla pod in a medium bowl until smooth. With the mixer running on low, gradually add 8 oz icing sugar (sifted) until frosting is smooth. Transfer to piping bag fitted with a round tip and refrigerate until ready to use.
- Frost: Once cupcakes are completely cooled, top with frosting and serve.
Notes
Ingredient notes
- Cocoa powder – Use 3 tbsp for more chocolate flavor or 1.5 tbsp for a brighter red color (increase cornstarch to 4.5 tbsp if reducing cocoa).
- Buttermilk & vinegar – Essential for the classic red velvet texture and tang. Substitute ⅓ c. milk + 1 tsp vinegar if needed.
- Sour cream – Keeps cupcakes moist. Swap with full-fat Greek yogurt if necessary.
- Red food coloring – Gel is more concentrated; use less. Natural alternatives like beet powder work but won’t be as vibrant.
- Icing sugar – Always sift for smooth frosting.
Recipe Tips
- Cream butter & sugar well – Beat for 5 minutes for a light, fluffy texture.
- Smooth batter = velvety cupcakes – Mix just until combined; overmixing makes them dense.
- Batter color matters – Too brown? Add more red food coloring. Want more chocolate? Add 1 tbsp cocoa + ½ tbsp buttermilk.
- Don’t overfill liners – ⅔ full prevents overflow and keeps cupcakes even.
- Toothpick test for doneness – Should come out clean or with a few moist crumbs.
- Chill frosting before piping – Firms up for a smooth, mess-free finish.
- Cool cupcakes completely – Frosting will melt if applied too soon.
Storage Tips
- Fridge – Store frosted cupcakes in fridge for up to 1 day.
- Room temperature – Unfrosted cupcakes stay fresh for 2 days in an airtight container.
- Freezer – Freeze unfrosted cupcakes for up to 3 months; thaw and frost before serving.
More recipe information
Recipe first shared on 02/11/2021. Updated with new photos and text on 01/29/2025.


Larson says
I was slightly concerned to start this recipe because of how few reviews.
But it blew me out of the water with delicious fluff. mhmm
well done. I owe you a review.
simply smashing and decadent.
Nora says
Yes, it can be tough for newer recipes to get appreciated because of the lacking reviews, but I’m so glad you gave these a chance!
Jamie says
Want to bake these today with my daughter! Only have pink food coloring tho and don’t want to go to store (we live out in the country and its quite the adventurous drive with the snow, lol), Do you think they are still worth making? She is begging me
Nora says
Jamie, if she is so crazy about making them, I would totally go ahead ☺️ The cupcakes will obviously not get the deep red hue, but I’m assuming they will get a nice pink if you use enough of the food coloring. I hope you’ll enjoy baking with your daughter!