This is the best No Knead Bread Recipe out there! It’s so simple, absolutely no fussing with the dough (none of that folding madness!) and turns out perfect every single time!
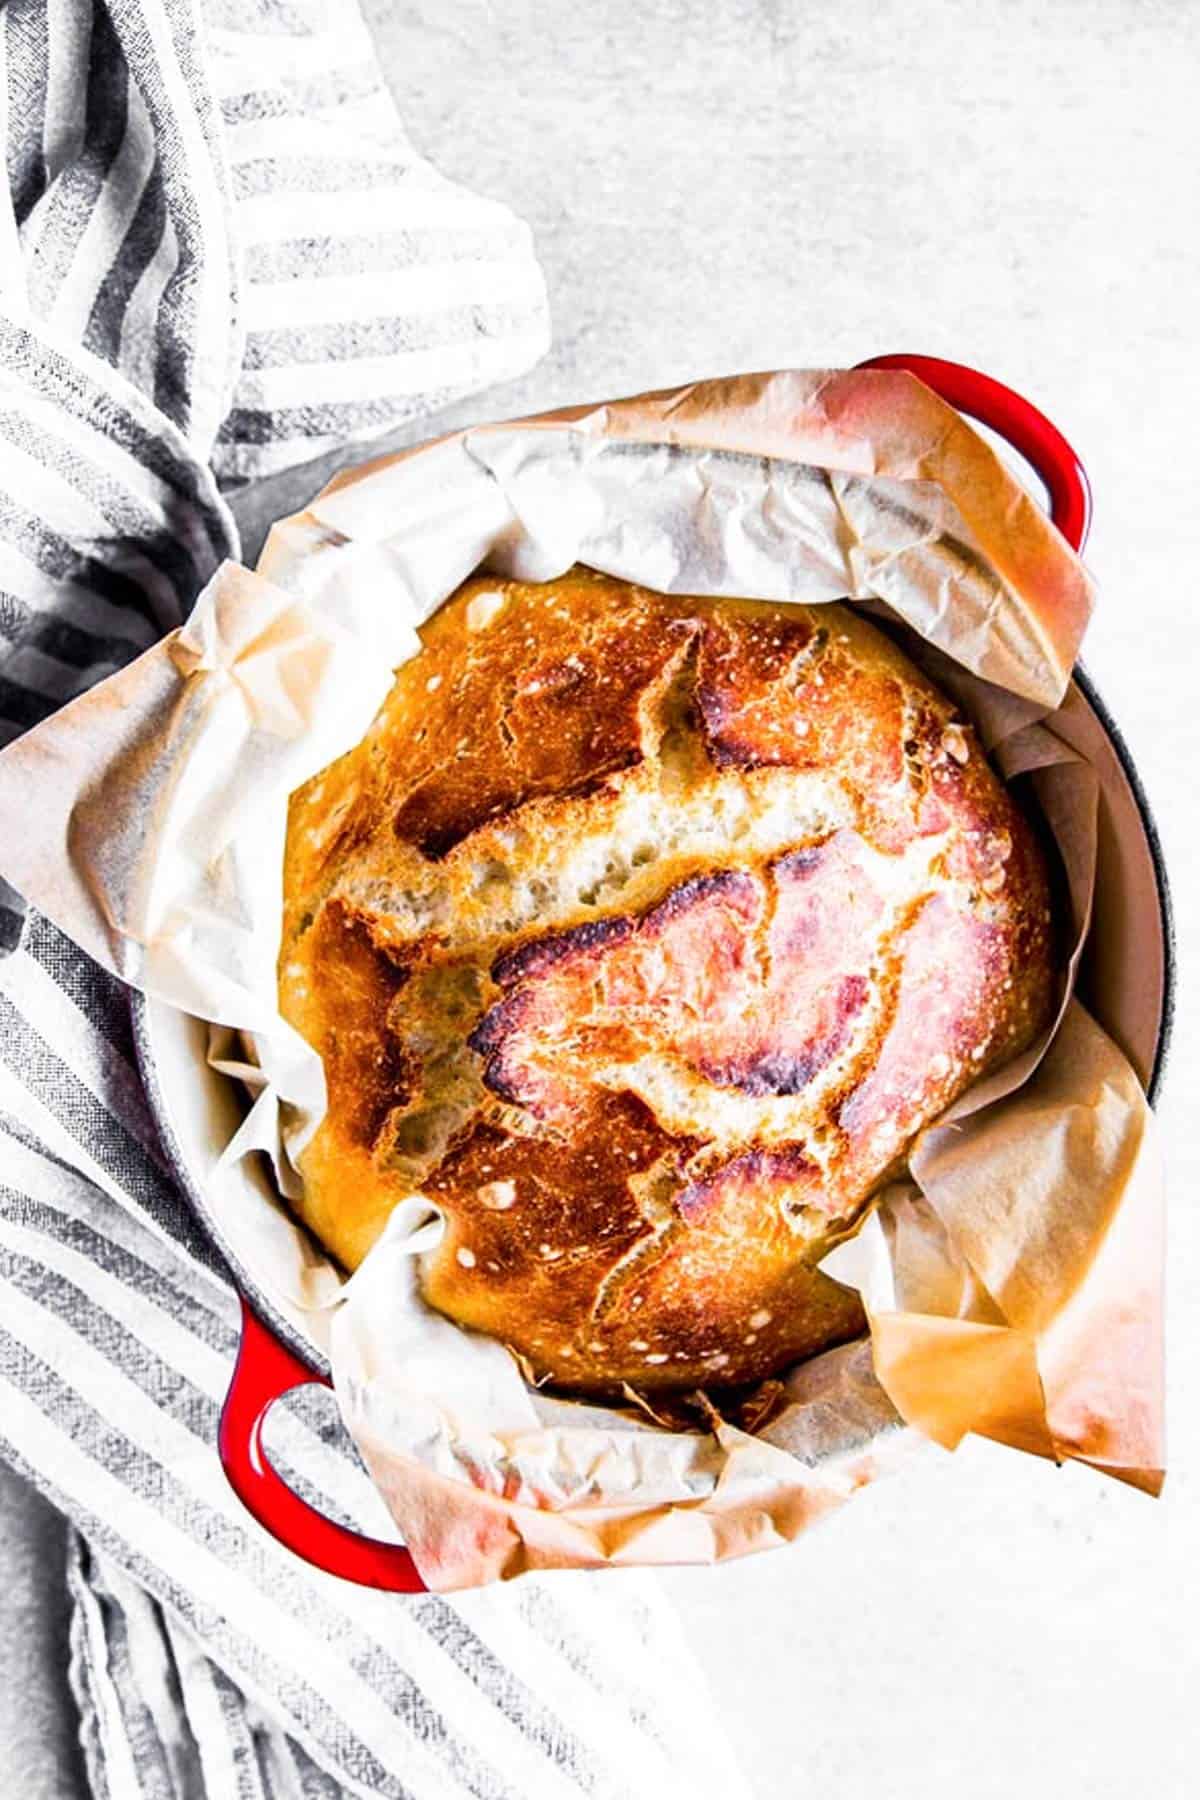
Where did you first hear about no knead bread? I heard it first from friends of us. We were having dinner with them. Then the husband casually walks into the kitchen… And starts handling this blazing hot Dutch oven. I’m a bread baker, so I was curious and asked him all sorts of questions in disbelief.
Then, obviously, I forgot all about it, ha!
The original no knead bread recipe
I then saw this bread again in a TV show with Paul Hollywood from The Great British Bake Off. He went to Sullivan Street Bakery and made no knead bread with Jim Lahey, who is considered no knead bread’s baby daddy.
It looked so easy, but then I went on the Interwebs and tried a million recipes and they were all… Not easy. The dough was SO sloppy and wet. All the long rising and folding and proofing in floured dishtowels.
Seriously. The original no knead bread might not need any kneading, but it is NOT easy. It requires actual, serious bread making skills.
I’m not terrible at making bread, but I’m pretty terrible at planning right now. And I have mini humans who have demands. In short: I neither have the time nor patience to fiddle my bread dough for any length of time.
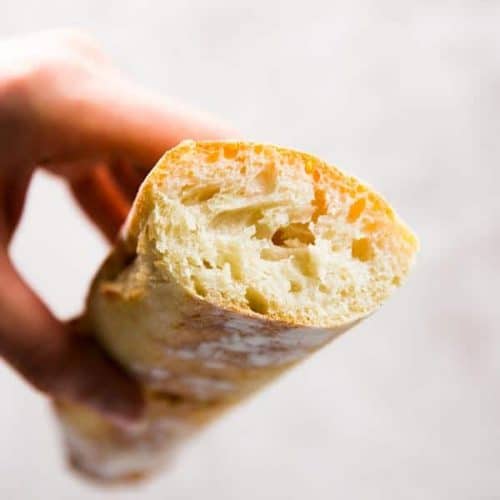
And thus, for my own convenience, I figured out an easy way to make no knead bread. I bake this pretty much every week. It’s so easy, just like my No Knead French Bread!
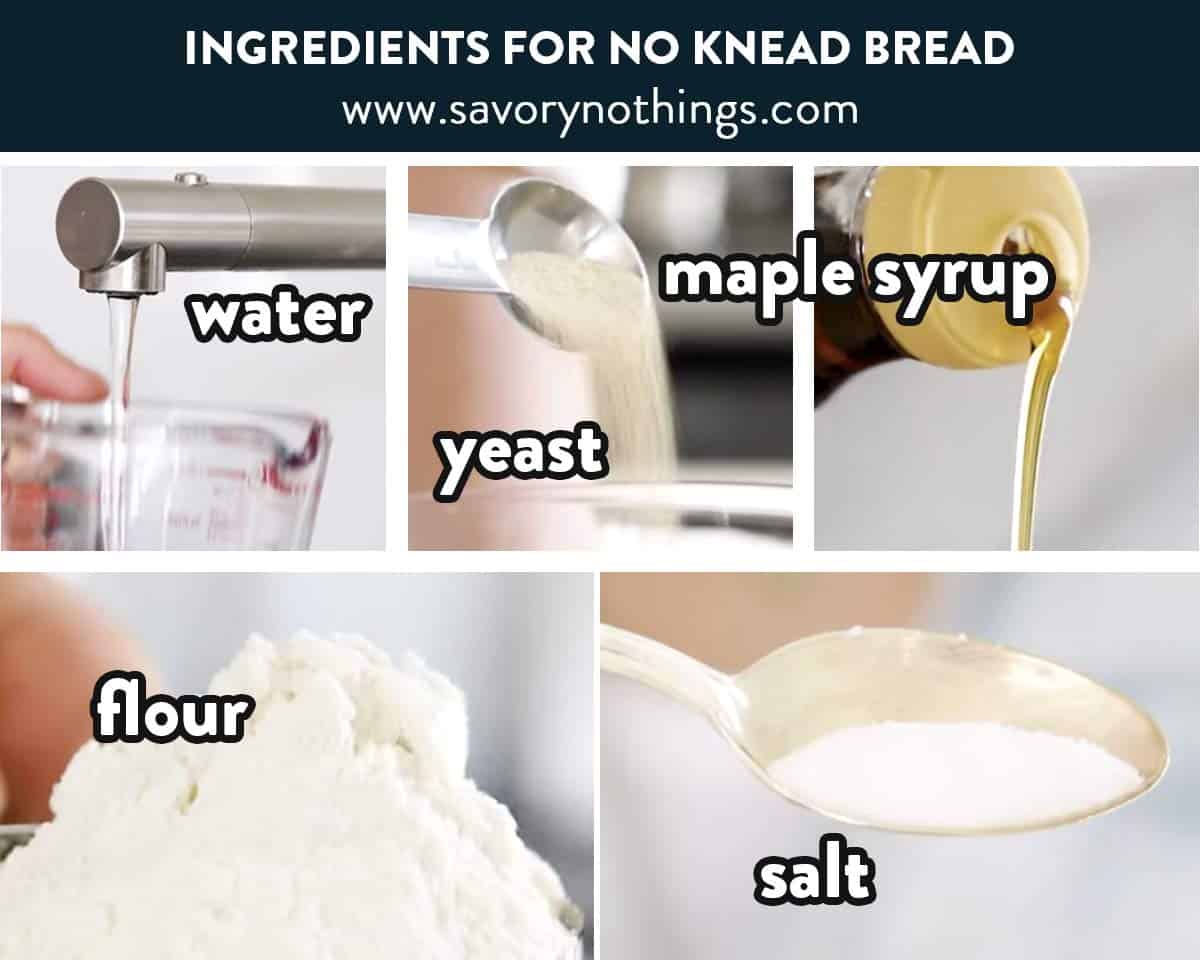
Ingredients for no knead bread
Here is a visual overview of the ingredients in the recipe. Scroll down to the printable recipe card at the bottom of this post for quantities!
Ingredient notes
You can replace up to HALF of the flour with whole wheat flour, but if you use any more than that the bread will become more dense.
If you don’t have any active dry yeast, you can use use instant dry yeast (which will make the bread rise faster; try using a little less than the recipe calls for for best results).
Organic yeast may be used, too, but please note that organic yeast takes MUCH longer to proof. My mom made this recipe with organic yeast the other week and had to let it proof overnight!
Step by step photos
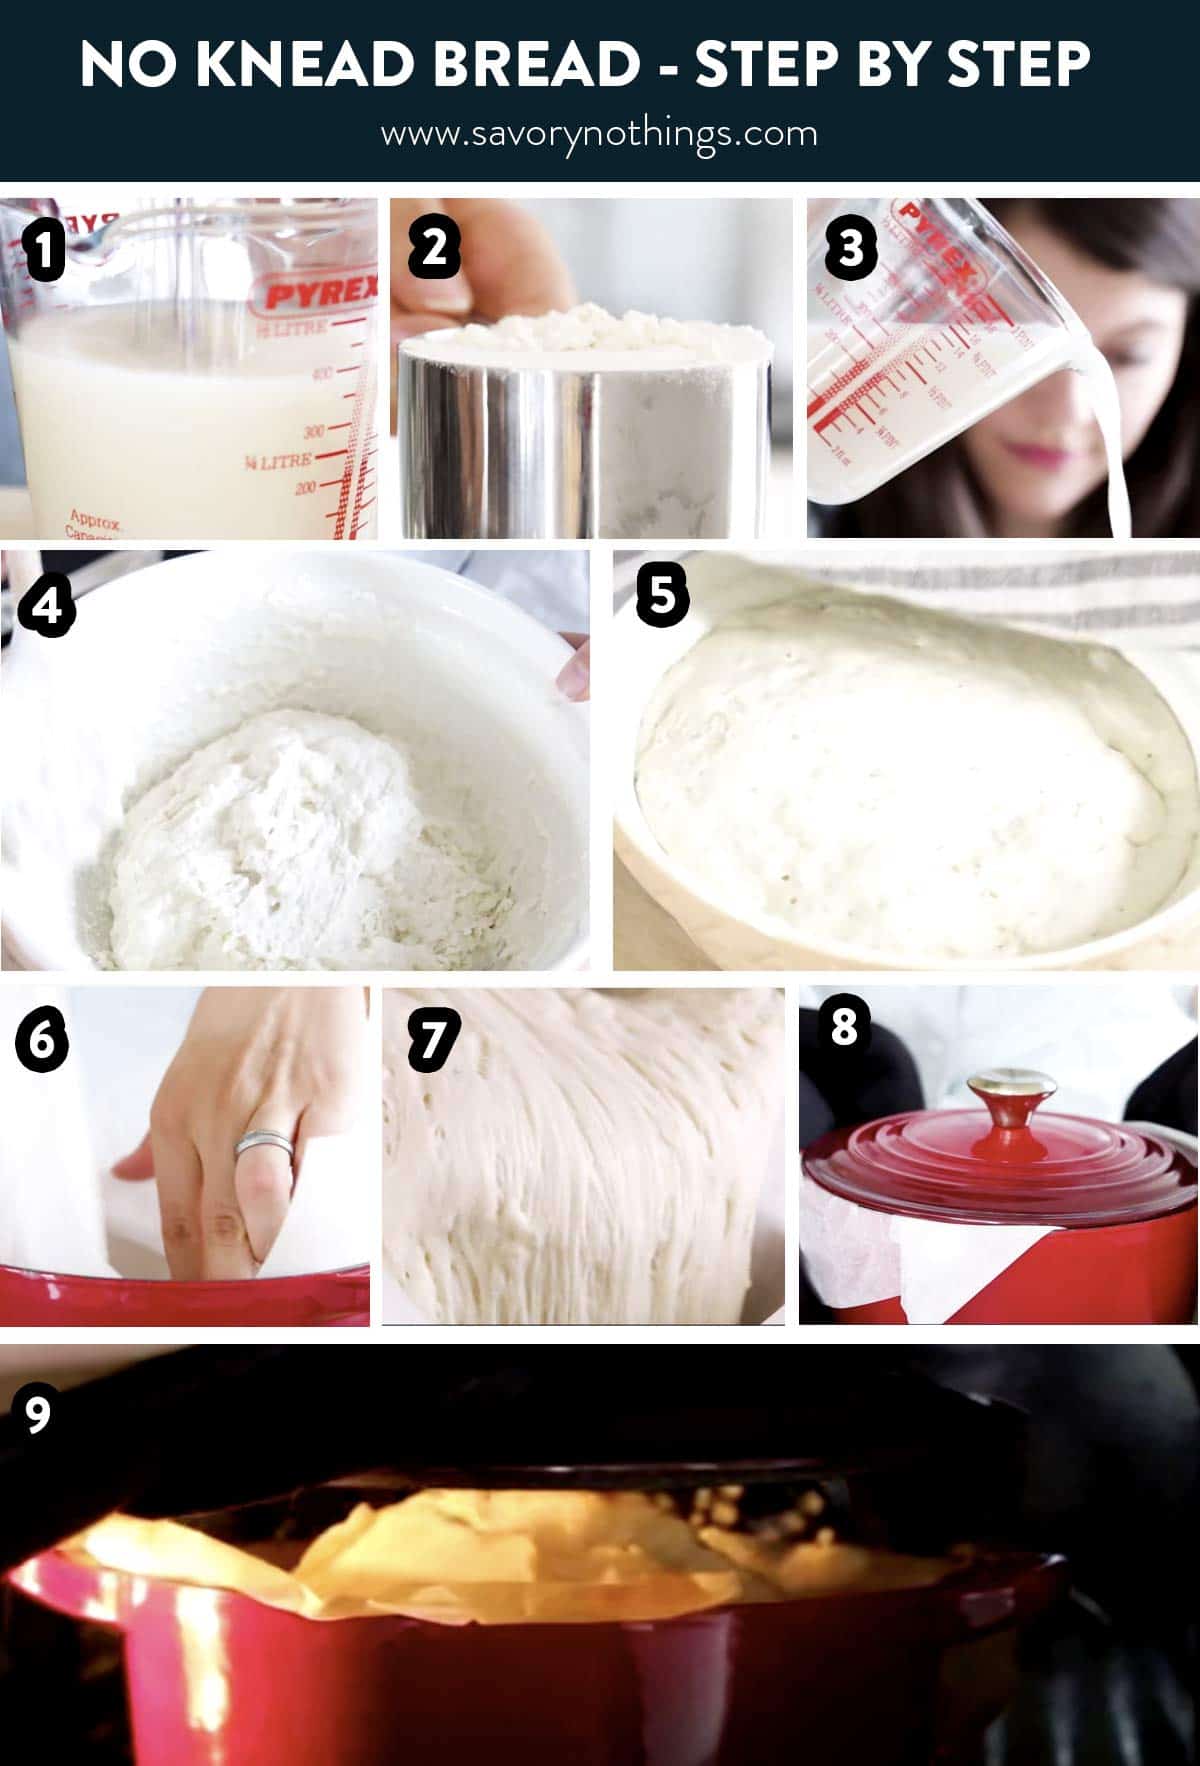
This bread has 3 steps:
- stir ingredients together, cover and let sit for 2 hours
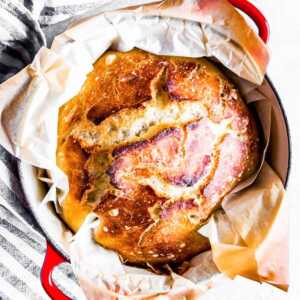
- heat a Dutch oven with the lid, add baking parchment, flour and dump in the risen dough
- bake for 28 minutes with the lid on and then for around 10 minutes with the lid off
OK, 4 steps: Remove from the Dutch oven and immediately slather with butter and devour because you have zero self restraint around freshly baked bread.
Or is that just me??
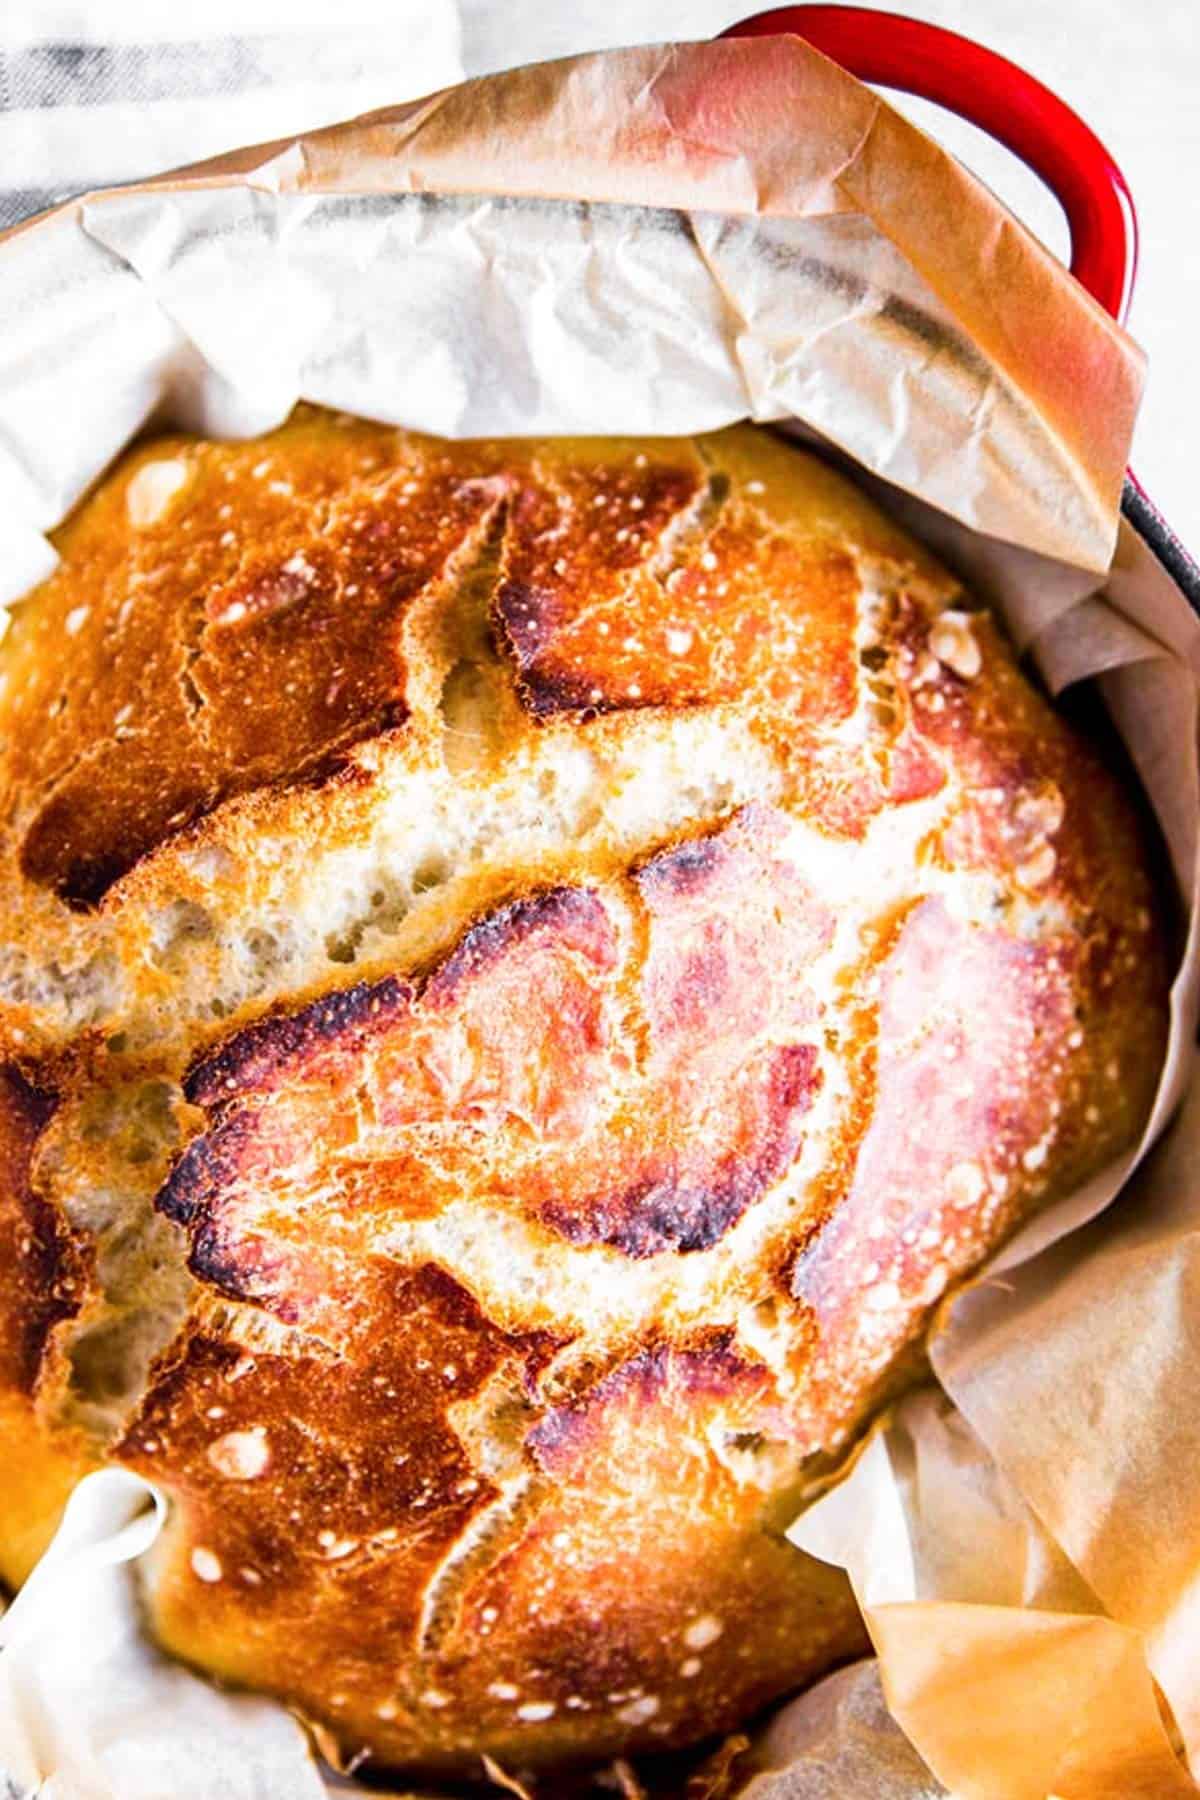
There is NO folding. NO need to even touch the dough. NO need to mess with getting sticky dough out of a dish towel.
It’s so easy, it’s almost ridiculous.
Other ways to use this dough
- French bread! Yes, really.
- I actually make pizza with this dough, too. See here: Easy Homemade Pizza Dough
- a massive bread. Double the recipe and use a large Dutch oven – feeds a crowd!
- Cinnamon Rolls! So good. See here: No Knead Pumpkin Cinnamon Rolls
Serving suggestions
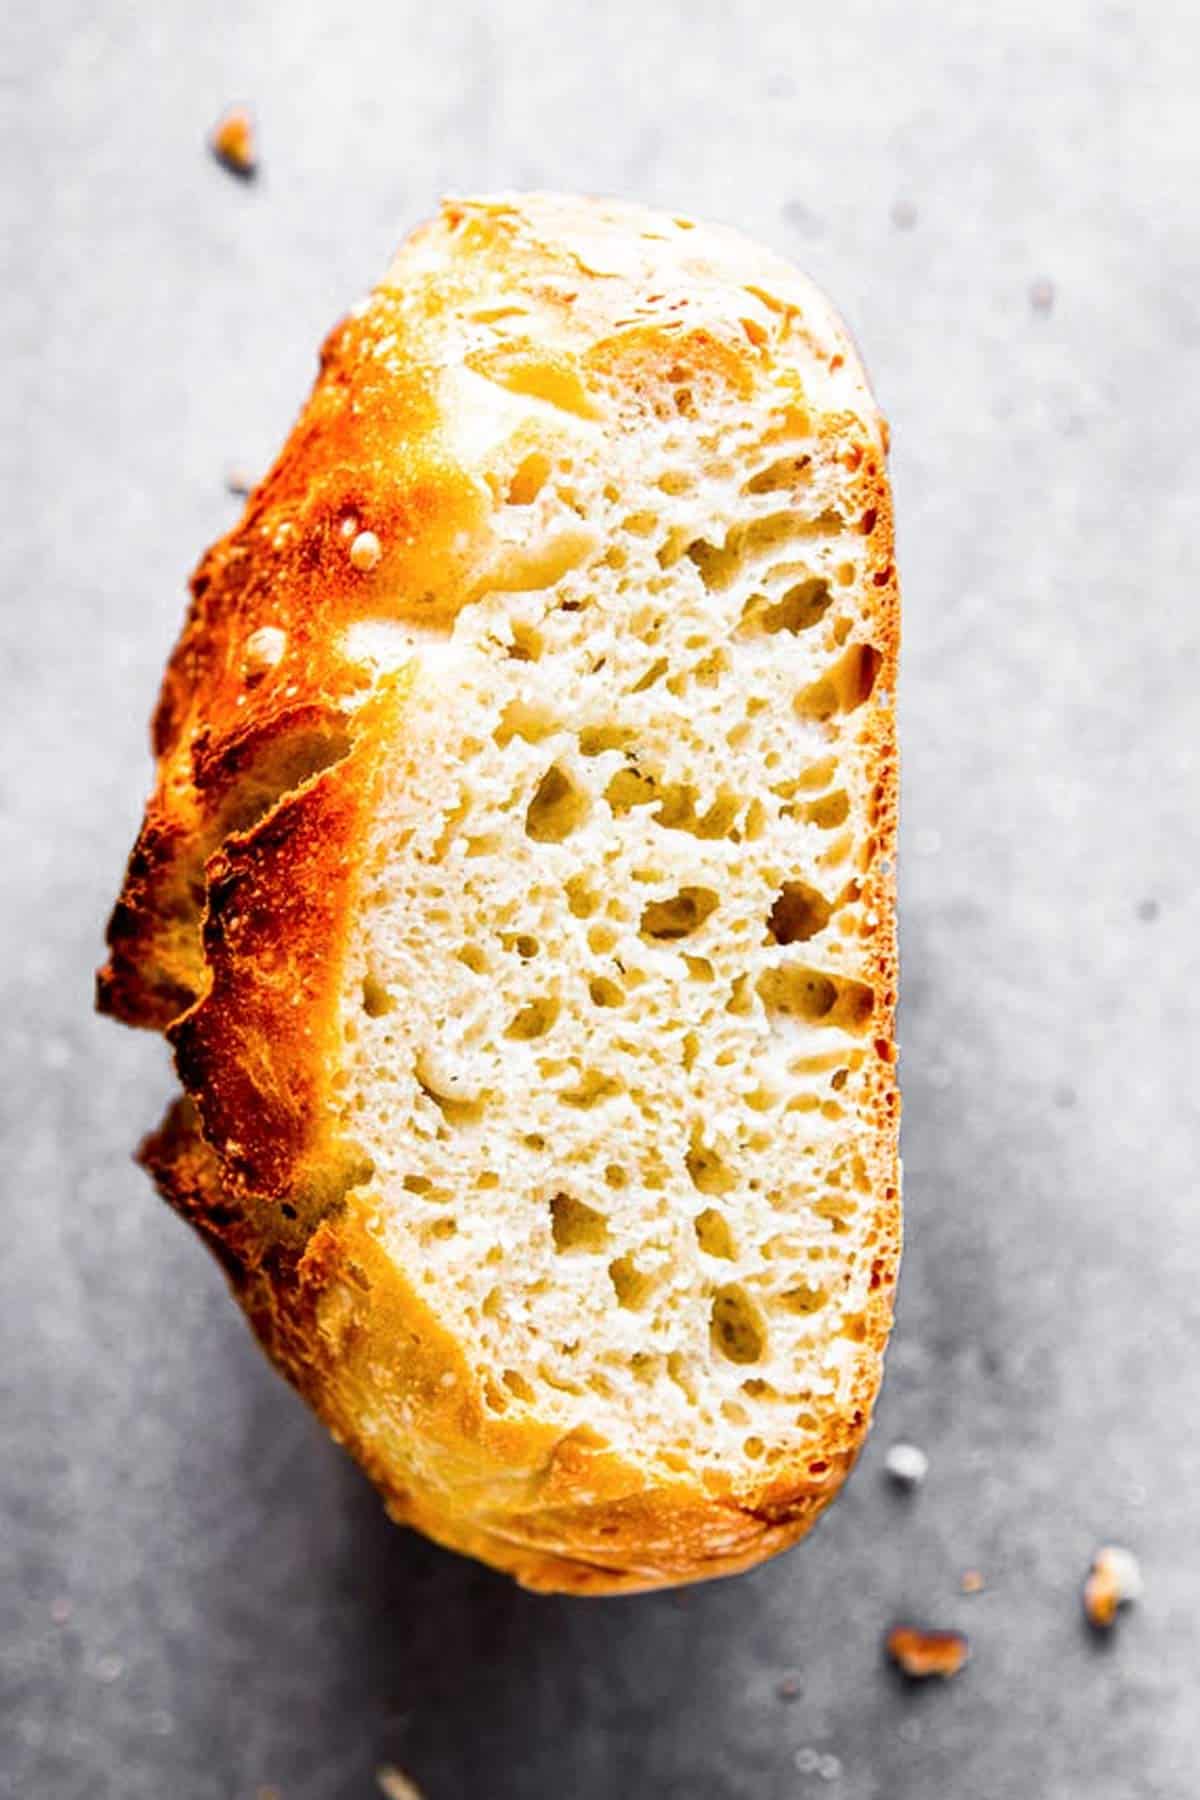
We love this warm after about 1 hours cooling time, or on the next day slightly toasted and loaded with butter.
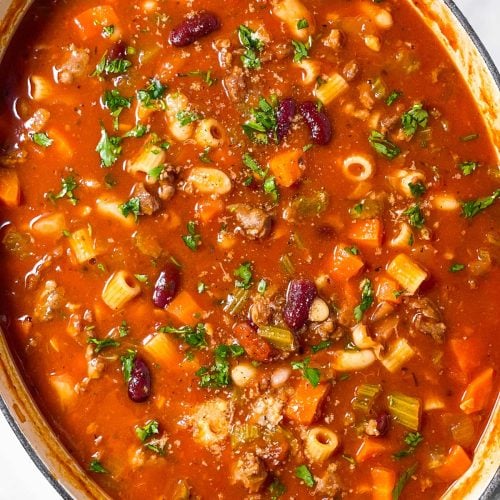
And it goes perfectly with a cozy soup!
Or serve it slathered in your favorite spread! This is seriously delicious warm with honey butter, or cooled with cream cheese spread and raspberry jam.
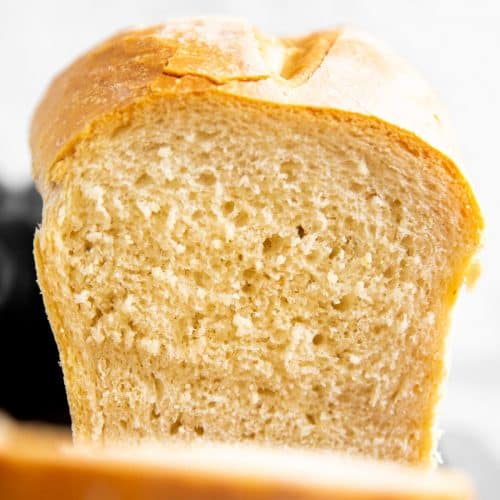
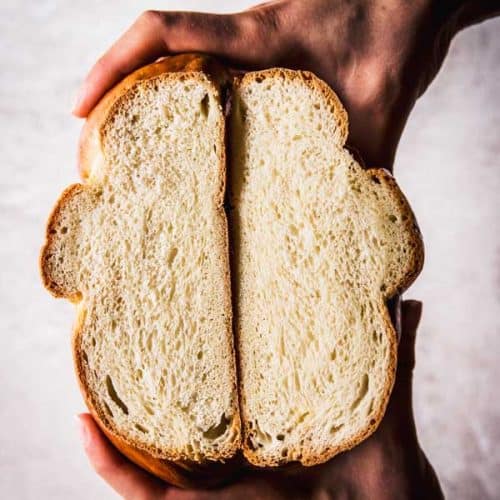
More homemade breads
If no knead bread recipes have been annoying you beyond measure, this is THE recipe for you. No fuss, no work. Just a simple, straight-forward and ACTUALLY easy recipe for homemade bread.
Enjoy!
PS If you try this recipe, please leave a review in the comment section and add a star rating in the recipe card – I appreciate your feedback! Follow along on Pinterest, Facebook or Instagram.
Printable recipe
No Knead Bread
Recipe details
Equipment
- wooden spoon
- Large Dutch Oven
Ingredients
- 1 ¼ cups lukewarm water not too hot or it will kill the yeast
- 1 ½ teaspoons active dry yeast
- 1 teaspoon maple syrup OR honey OR sugar
- 3 cups all-purpose flour
- 1 teaspoon salt
Instructions
- Make dough: Whisk water, yeast and maple syrup together in a measuring jug. Set aside until bubbles appear on the surface. In the meantime, stir flour and salt together in a large mixing bowl. Add water mix to flour mix and stir until combined (it will look scraggly and that’s perfectly fine).
- Rest: Cover the bowl with a clean dishtowel and leave to rise at room temperature for about 2 hours, or until big and puffy (time will vary depending on altitude, humidity and temperature).
- Prep: Once dough is ready, preheat the oven to 445°F (230°C). Place a 8-9 inch (20-22cm) round Dutch oven with an oven-safe lid in the oven as it preheats. Once oven and Dutch oven are blazing hot, carefully remove the Dutch oven to a heat-proof surface. Remove the lid and carefully line with a piece of baking parchment (the Dutch oven is HOT! There will be parchment overhang, that's fine.)
- Bake: Scrape the dough into the lined Dutch oven in one piece. Cover with the lid (just place the lid over the parchment overhang). Bake for 25 minutes, then carefully (!) remove the lid and finish baking for around 10 minutes or until golden brown, crusty and baked through. Remove from the Dutch oven and place on a rack to cool.
Nutrition
More recipe information
I first published this post in September 2018. I updated it in May 2020 to make it better for you.








Rehana Fazli says
Hi Nora,
I live in Islamabad, Pakistan, and I have adapted the Jim Lahey recipe to suit me. I follow his recipe, but, I, too, don’t touch the dough!
While the lidded cast iron pot is heating, I line a large Pyrex bowl with parchment paper, ‘pour’ the dough into the lined bowl. When it comes time to place it in the pot, I lift the paper by its four corners and dump paper and dough into the pot. I then proceed the way you do.
Steve says
So easy to make and delicious
Cathy Fontaine says
My little trick is to dump the dough onto a piece of parchment paper after it rises. I shape it on the parchment paper, then transfer it on the parchment to the Dutch oven with no mess left behind. I also made it with 2 cups white flour and 1 cup whole wheat and it turned out great.
Nora says
Thanks for sharing your tip, Cathy!
Pam says
Best laid out recipe made it last night excellent bread so easy to follow the recipe the pictures were great I added a little bit more liquid to mine cuz it got pretty stiff. Makes great toast.
Cindy Carter says
Hi Nora, I don’t have a dutch oven but all the stuff for bread making. I’ve done the traditional breads but never no knead. I’m currently crockpotting your Irish Stew recipe and would love to include a crusty loaf. I saw the comment about the cake pan and wonder if the sides would contain/support a loose rounded shape. Would a spring form pan do as well as a dutch oven?
Nora says
Cindy, I know this is probably a little late, but my sister does make this recipe in a spring form pan tightly covered with aluminium foil. It’s not exactly the same as the Dutch oven, but comes pretty close. Hope this helps for next time!
Abby says
Wow, I love this recipe! My first time ever making bread at home — it was easy, fast, and most importantly… delicious!! Thanks for the great recipe 🙂
Sandra King says
Easy recipe! Bread shape a little odd but still pleasant. Will try for more rounded next time. Flavor was excellent. This recipe might be too easy to resist once a week!
Nora says
Sandra, it’s true – it’s a little funny to shape. Mine definitely always looks very handmade 😉 Glad you enjoyed it otherwise though!
Mikaela says
This was such an easy and delicious recipe. I added Herbs de Provence to my dry ingredients and was absolutely thrilled. The bread ends up with such a great crust and texture.
DuskyLuna says
Hi, just wondering if you absolutely need to use a Dutch oven for this recipe? Or if there is another alternative?
Nora Rusev says
Well, the original recipe is in a Dutch oven, but honestly… I have baked this in so many ways. The tricky bit is that it needs at least something to help it hols its shape, and it definitely comes out the crustiest in the Dutch oven. That being said, you can absolutely bake it in a lined cake pan. I also turn it into pizza… And I have even just ripped off pieces of dough and baked them into little crusty breads right on a lined baking sheet before (they flatten out a little but are OK). It’s super forgiving recipe! Hope that helps.
Jeri says
Nora. Your no knead bread recipe sounds wonderful. Question: Will it work using gluten-free all purpose flour? Hope to hear from you….
Nora says
Jeri, I have not personally tried it. BUT I know readers have tried it with cup-for-cup gluten free flour and it worked well for them. I think it comes out a little more dense and flat vs with glutinous flour, but very delicious. If your flour doesn’t have xanthan gum already added, you may want to add it separately for best results. You may need to adjust the flour amount slightly to get the right consistency (sloppy but not too runny). Hope this helps!
Tina says
What is the trick in blending in all of the flour? No matter what I do with mixing, I end up with 2 tablespoons + of dry flour at the bottom and end up kneading. Do I add more water? Need to use a different tool to blend (I’ve used Spoon/fork). Otherwise love the recipe. I’ve made it 5 times.
Nora says
I use a clean hand to blend in all of the flour!
Kerry Toney says
Just one little suggestion… I preform/wrinkle the parchment in the dutch oven prior to heating. After the pot is hot I transfer the dough to the parchment and plop it into the pot with minimal risk of burnt fingers.
Nora Rusev says
Thanks for the tip, Kerry! That is so helpful.
Mary says
Hi Nora! Have you tried your recipe with bread flour? I’m a novice baker so just wondering how it would work out? Thanks!
Nora Rusev says
Mary, my husband say she has (he is actually the main bread baker around here ?) and it worked out fine. The texture seems to be a little different, but good nonetheless. Hope that helps!
Mary says
I decided to make 2 loaves, one with all purpose flour and one with bread flour. They both turned out incredible! Chewy, slightly sweet inside with a nice crispy shell. What’s your recommendation on storage? I put mine in a gallon baggie and it lost some of the crusty outside.
Nora Rusev says
Mary, thanks for reporting back! I wrap them in a clean tea towel so there’s some air to keep the crust from softening too much. It’s still the crunchiest after baking – but we heat day-old slices in the toaster, helps a lot!
Mary says
Awesome! Thank you! Heated in the toaster oven then adding a pat of butter is divine!
Candy says
I agree with you all the way. No hassles and probably the best bread I ever tasted
Nora Rusev says
So glad you enjoyed the bread, Candy!
Lesley Currie says
I have a dutch oven that is rated to only 280C . Can I use this for the bread and if so, what adjustments should I make?
Thank you
Nora Rusev says
Lesley, you shouldn’t have to go that high? 445°F is 230°C, so your Dutch oven should be fine as long as the knob on the lid is safe to that temperature, too.
Gus says
I tried the overnight no-knead bread recipe three times, and got a beautiful crumb … and a soggy layer toward the bottom, even when I cut back on the water!
This recipe took 16 hours less, and I–and my family–liked the bread better. (I suspect a true bread-head would say that it wasn’t as … something, but we just loved the fresh-baked loaf!) Thanks!
Nora Rusev says
Gus, I’m so happy to hear this. It’s exactly why I started making this recipe for my family – the original is just so much work, and I never managed to make it come out right. Thanks for your lovely feedback, I appreciate it.