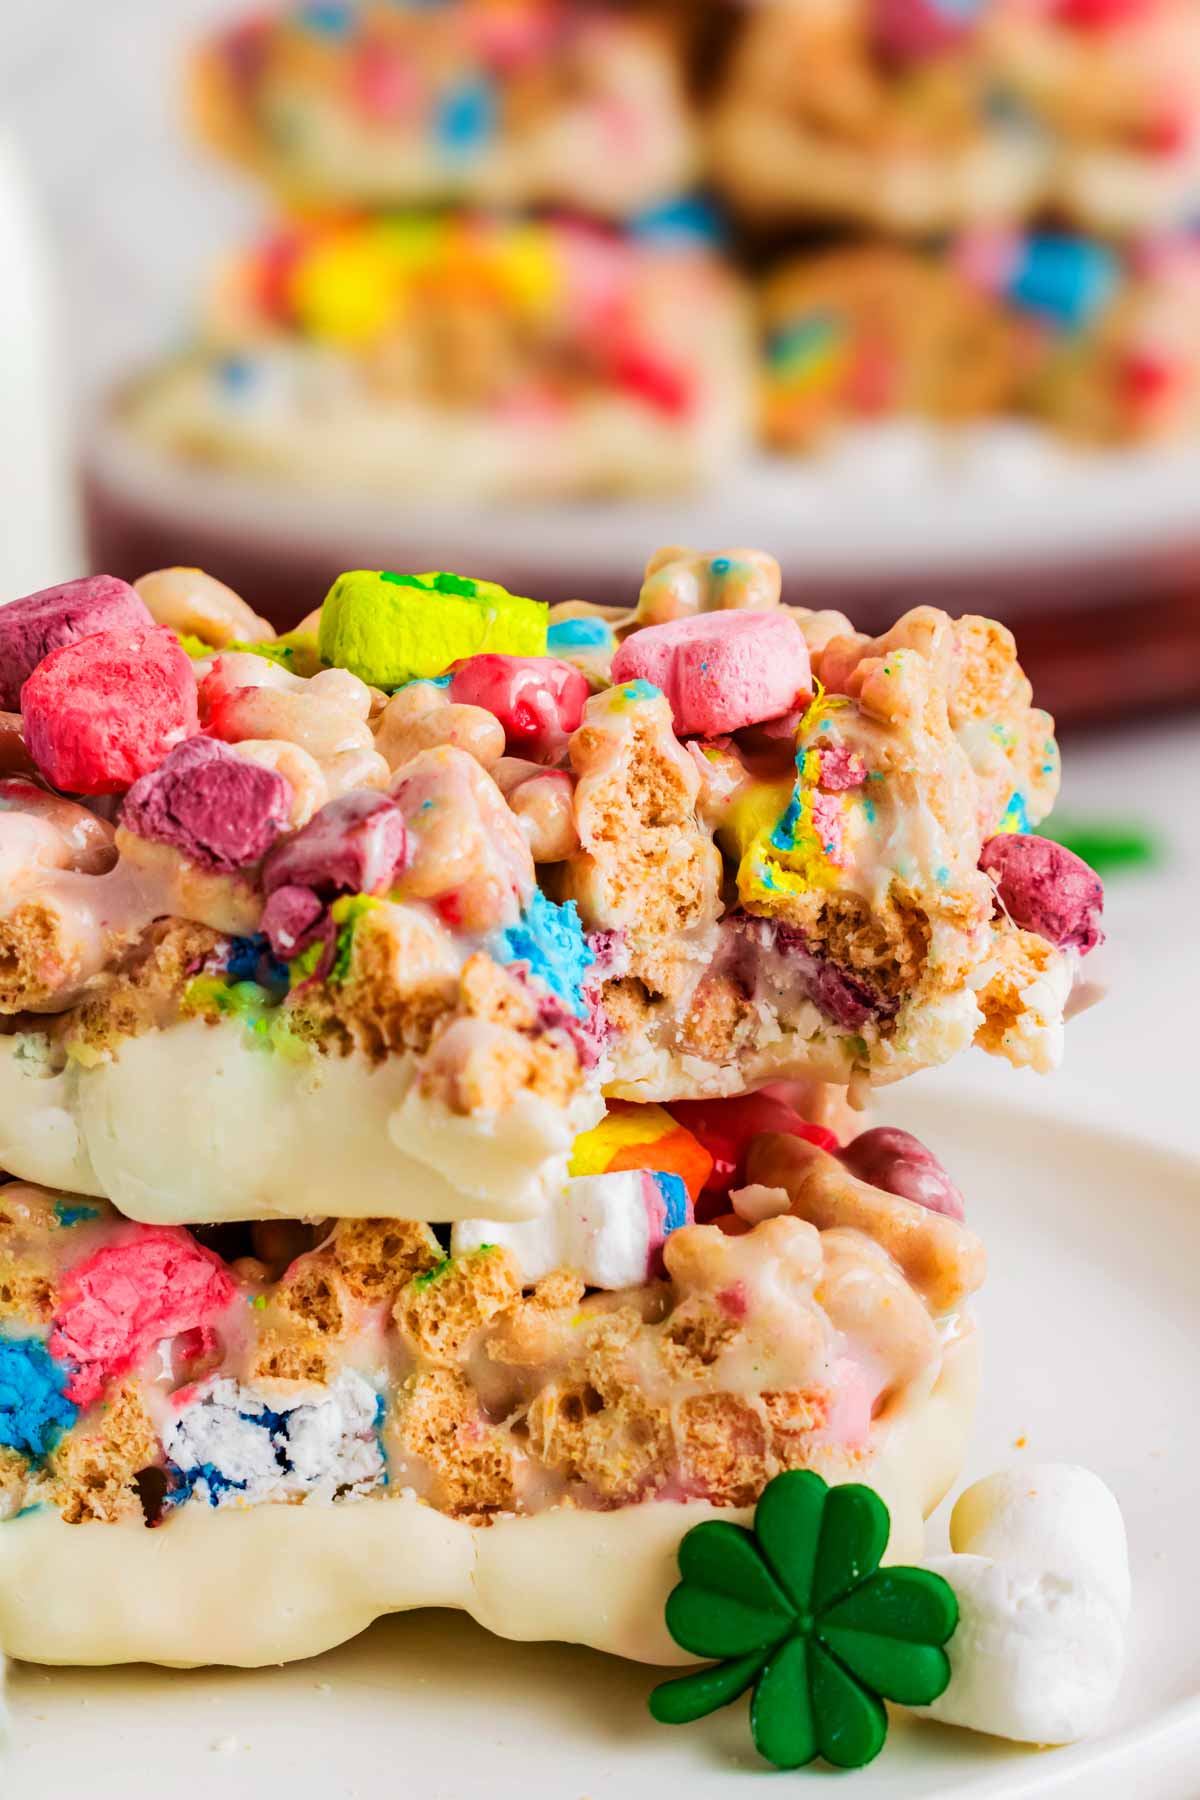
My Lucky Charms Bars are the easiest, most fun treat you can make! Think of them as classic marshmallow cereal bars with a little extra magic! Perfect for St. Patrick’s Day celebrations, school parties, or just because you’re feeling nostalgic.
Why I make my Lucky Charms Bars this way
OK, I admit it: I love a fun holiday treat I can surprise my kids with. Even though I cook from scratch most of the time, anything goes when it comes to a fun little treat.
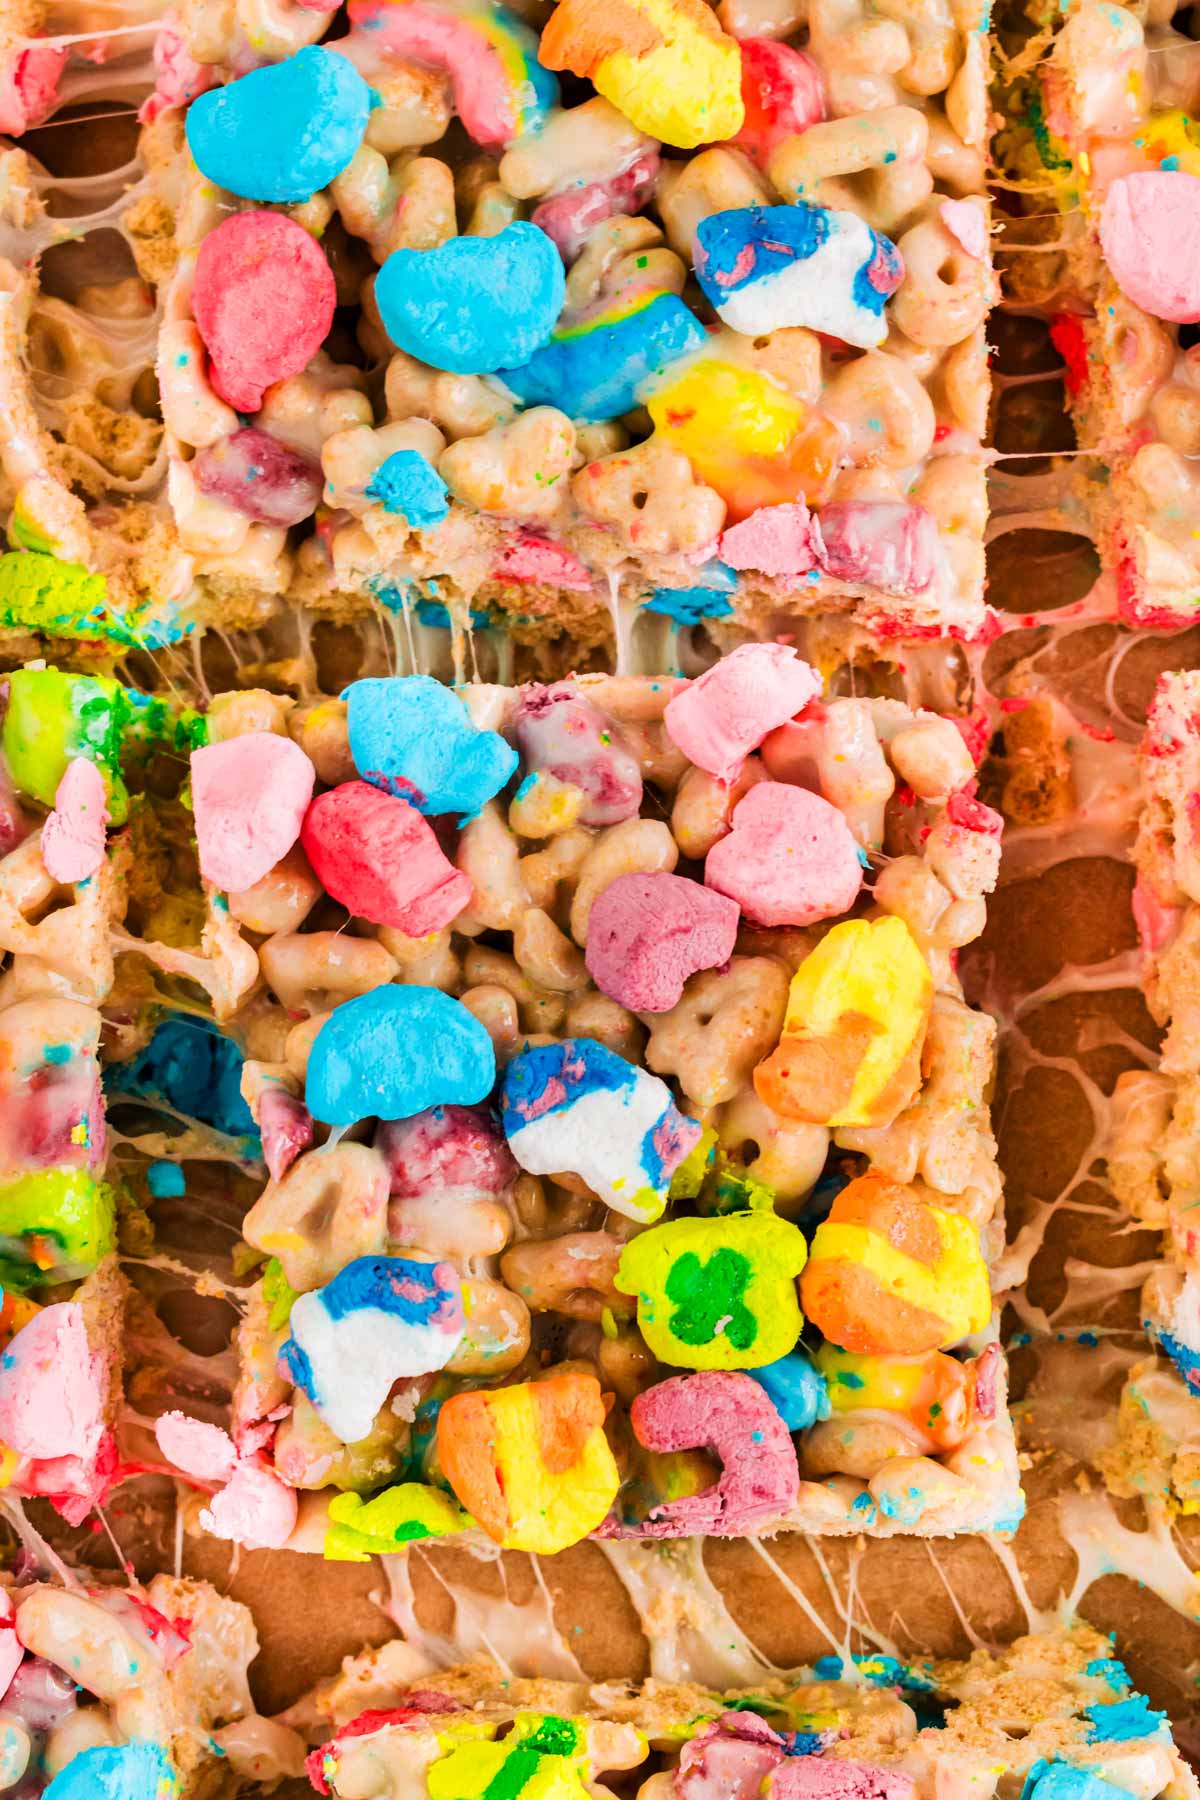
Unfortunately, a lot of cereal/marshmallow bar recipes are a mess – either too greasy, too dry or just plain messy. But I’ve made a lot of these, haha! And with experience comes wisdom, so my recipe turns out perfectly gooey, chewy and loaded with those iconic Lucky Charms marshmallows.
- Gooey & Chewy Perfection – The marshmallow-to-cereal-to-butter ratio is just right, giving you soft, stretchy bites without being too sticky or greasy.
- Easy to Make – Just six ingredients, one pot, and 10 minutes of work. Plus I’ve got the tips to keep you from covering everything in your kitchen in molten marshmallows!
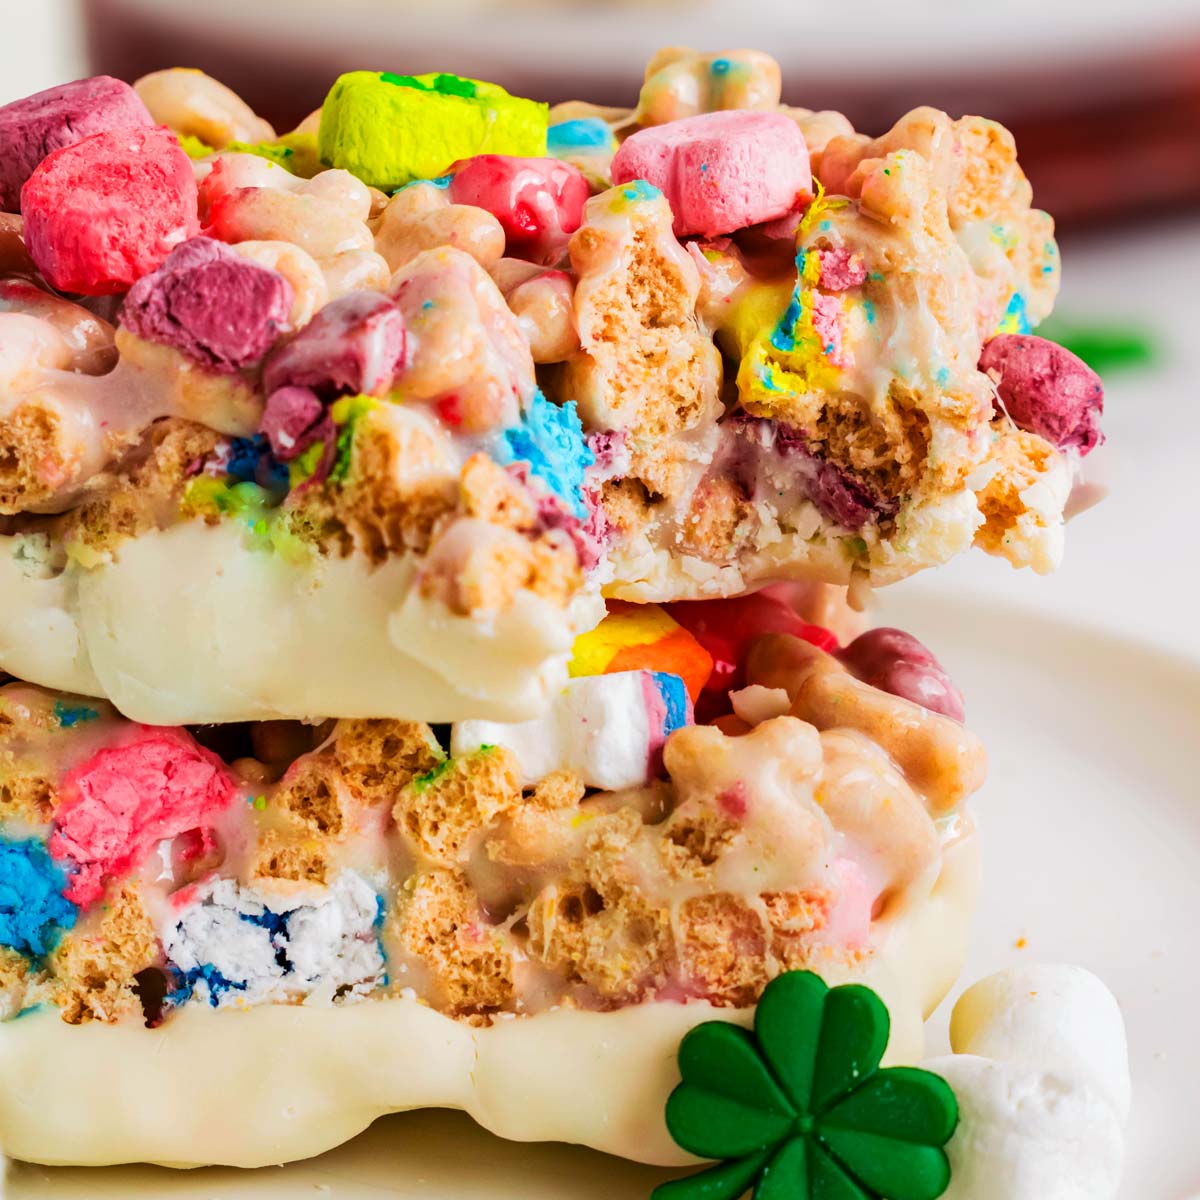
- Festive & Fun – With colorful marshmallows and an optional white chocolate dip, these bars feel extra special.
Printable recipe
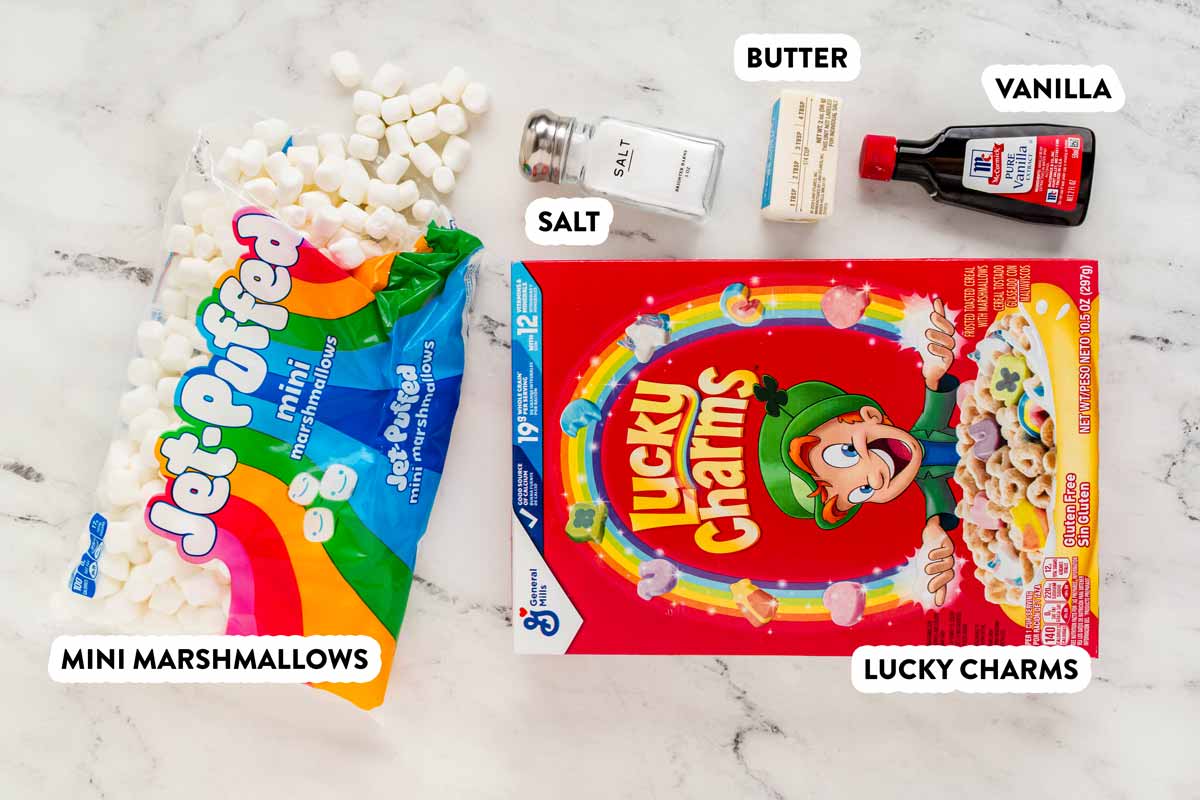
Ingredients
- ¼ cup unsalted butter (½ stick, or 4 tablespoons)
- 1 (12-oz) bag marshmallows
- ⅛ teaspoon salt
- ½ teaspoon vanilla extract
- 6 cups Lucky Charms cereal (including marshmallows)
- ½ cup Lucky Charms marshmallows (if using 6 cups cereal from an 11.5-oz box, you should have enough left over in the box to pick out ½ cup marshmallows)
- 8 oz white chocolate (optional, for dipping the bottoms)
Instructions
- Prepare the pan: Spray a 9×9-inch pan with non-stick spray (this will help paper stay in place), then line with parchment paper leaving some overhang for easy removal. If paper isn’t non-stick, spray with non-stick spray as well.
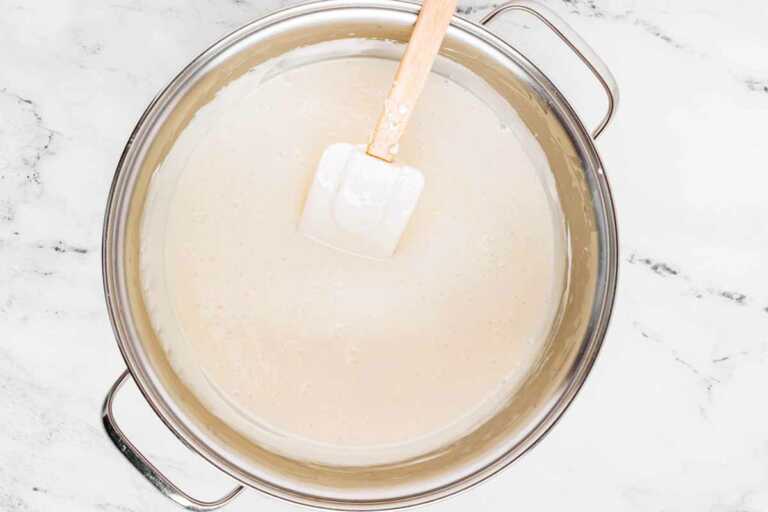
- Melt the butter & marshmallows: In a large pot over medium heat, melt the butter completely. Add the marshmallows and salt, stirring constantly until melted and smooth. Do not overheat! Remove from heat and stir in the vanilla extract.¼ cup unsalted butter, 1 (12-oz) bag marshmallows, ⅛ teaspoon salt, ½ teaspoon vanilla extract
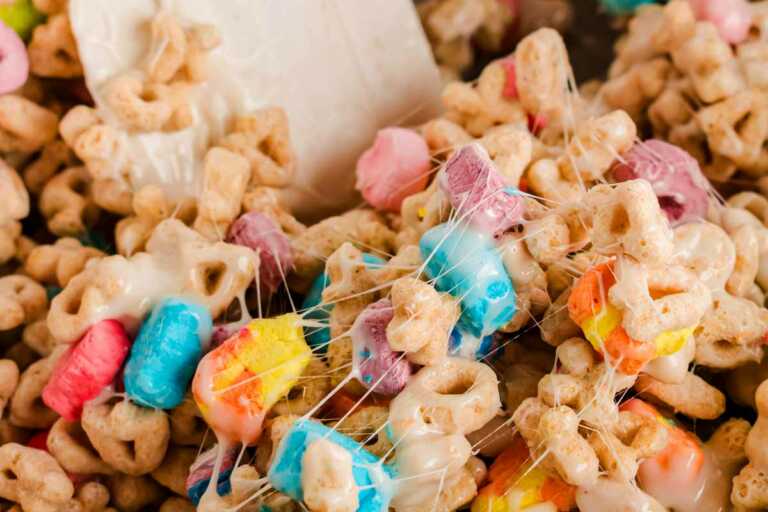
- Mix in the cereal: Gently fold in the Lucky Charms cereal, stirring until everything is evenly coated. Be careful not to crush the cereal too much.6 cups Lucky Charms cereal
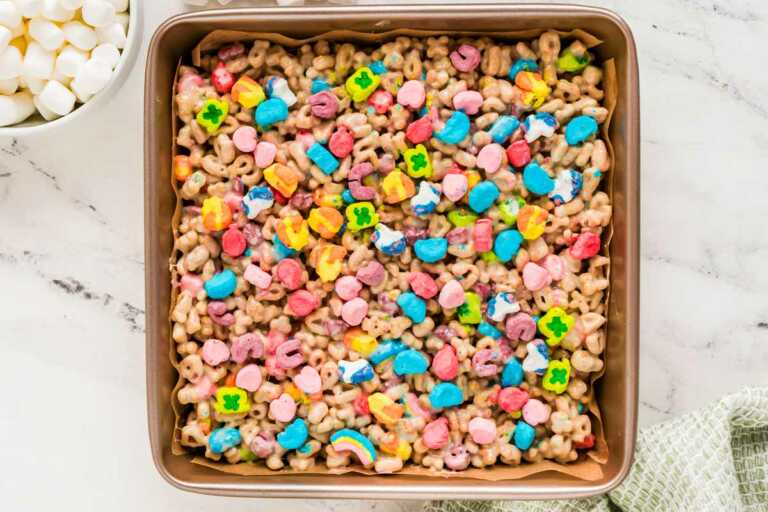
- Press into the pan: Transfer the mixture to the prepared pan and gently press it down using a buttered spatula or greased hands. Be careful not to compact it too much, or the bars will be dense instead of chewy. Immediately press the extra Lucky Charms marshmallows onto the top so they stick in place.½ cup Lucky Charms marshmallows
- Cool and cut: Let the bars cool at room temperature for 1 hour before lifting them from the pan. Transfer to a cutting board and slice into 9-12 bars.
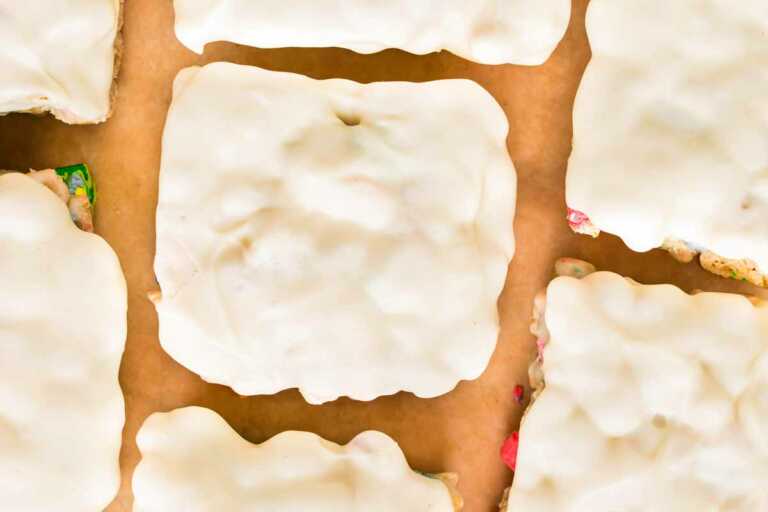
- Optional white chocolate dip: In a microwave-safe bowl, melt the white chocolate in 15-second intervals, stirring in between, until smooth. Take each bar and dip the bottom into the melted white chocolate, letting any excess drip off. Place them upside-down on a parchment-lined baking sheet. Let the bars sit at room temperature until the white chocolate hardens.8 oz white chocolate
My best tips for success
- Prep your pan this way: Spray your pan with nonstick spray, line it with parchment paper and if your paper isn’t nonstick, spray again lightly. This keeps the paper from slipping around, and it prevents sticking and makes removal easy.
- Don’t overheat the marshmallows – Remove from heat as soon as they melt to keep bars soft.
- Mix right – Gently fold in the cereal to avoid crushing it all. But still work quickly to keep the mixture from getting too firm to combine thoroughly! The mixture sets REALLY fast, so stir and press it into the pan immediately.
- Press gently – If you compact the bars too much, they’ll turn dense instead of chewy. Also, you want to use a greased spatula, or greased hand to keep things from sticking to everything!
- White chocolate dipping trick – If the chocolate starts thickening, reheat in 10-second bursts to keep it smooth.
- Serving: These bars are best at room temperature, so let them sit out if you’ve stored them in the fridge. Serve as a fun St. Patrick’s Day dessert, wrap them up for party favors, or enjoy them as a nostalgic snack with a glass of milk!
Ingredients I like to use
- Lucky Charms – The star of the show! If you want extra marshmallows on top, pick some out before mixing.
- Butter – Unsalted works best, and it’s what I usually have on hand. If you’re using salted butter, reduce or omit the added salt.
- Marshmallows – Regular or mini marshmallows both work; mini ones melt faster and are my favorite, but my store doesn’t always carry them. I’ve cut up regulars before, but in the end it cost more time than it saved. Sometimes I stir an extra cup of mini marshmallows into the bars for extra pillowy fluff.
- Vanilla extract – I like adding a few drops for extra flavor, but you can skip it if needed!
- White chocolate (optional) – If you’re choosing to dip your bars, use high-quality white chocolate or candy melts for the best texture. White chocolate chips are a little hard to melt, so I avoid that when I can. Instead of dipping, you can also just drizzle melted white or dark chocolate over the bars.
- Rainbow sprinkles – One of my kids is obsessed with sprinkles, so for even more fun, I sometimes sprinkle rainbow sprinkles over the top before the bars set.
FAQs answered by yours truly
If your bars turned out too hard instead of soft and chewy, the likely culprit is overheating the marshmallow mixture. When marshmallows are melted at too high a temperature, the sugar crystallizes and hardens as it cools. Always melt them over medium heat, stirring constantly, and remove from heat as soon as they’re smooth.
Another tip—don’t press the mixture too firmly into the pan, or the bars will be too dense!
If your bars aren’t holding together, it’s likely due to not enough marshmallow coating or not pressing them firmly enough into the pan. Make sure the cereal is fully coated in the melted marshmallow mixture—stir quickly but gently to ensure even distribution.
Also, when pressing the mixture into the pan, apply light but firm pressure—too loose, and the bars won’t hold; too firm, and they’ll be dense. Let them cool completely before cutting to help them set!
Store in an airtight container at room temperature for up to 3 days. Avoid refrigerating, as it makes them too hard.
PS If you try this recipe, please leave a review in the comment section and add a star rating in the recipe card – I appreciate your feedback! Follow along on Pinterest, Facebook or Instagram.




Comments
No Comments