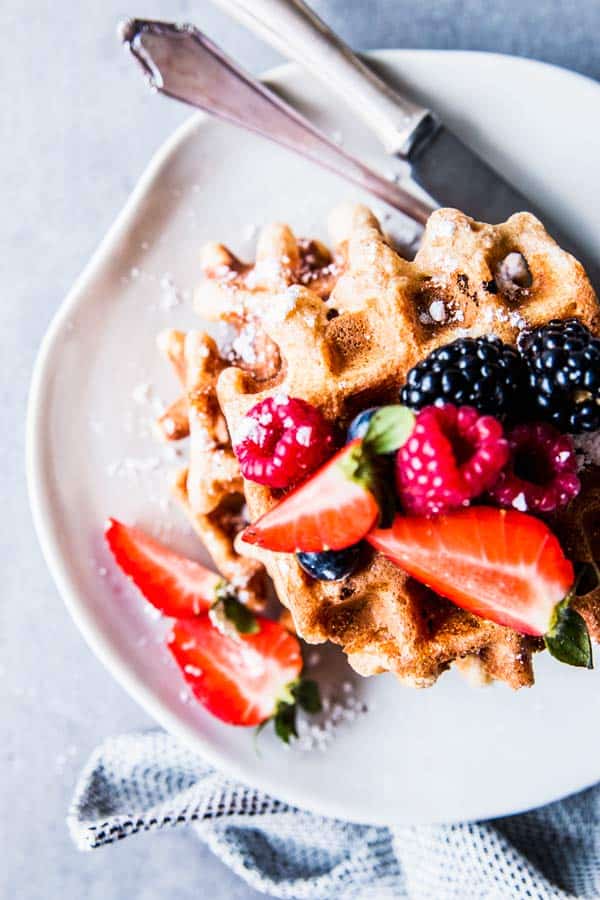
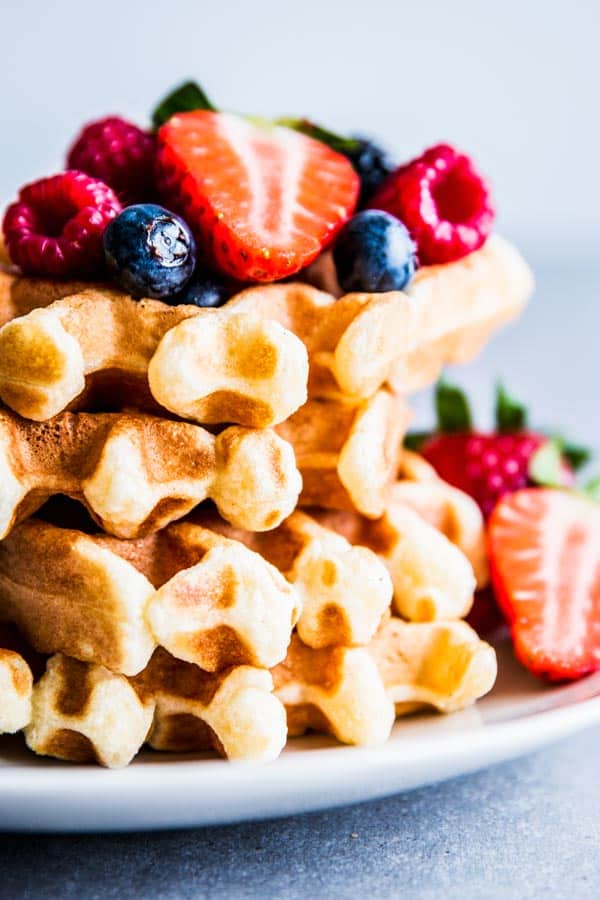
Wondering how to make homemade waffles? You only need a few simple ingredients to make a batch of crispy on the outside, fluffy on the inside waffles. This is the best way to make them – foolproof, delicious and they’ll keep everyone begging for your recipe!
When I ask my kids what they want to eat for dinner, I know there’s only one answer I’m going to get.
Waffles.
Yes, we have waffles a few times for dinner every month. Yes, I know the recipe by heart. And yes, I’ve gotten amazing at making the absolutely best homemade waffles.
No wonder, I have two little drill sergeants who make sure I don’t mess up their brinner… My most requested waffles are definitely Chocolate Chip Waffles and Blueberry Waffles – but they’ll take them all, as long as they’re crispy and golden.
There’s really not much science behind making a great batch of waffles. Just pay attention to a few simple tips and they will turn out absolutely wonderful.
My tips for making the best homemade waffles:
- carefully mix the dry and wet ingredients in separate bowls
- do not skip beating the egg whites separately
- do not overmix the batter
- don’t undercook your waffles (they’ll be dense and limp!)
- either serve the waffles hot out of the waffle iron or freeze them to reheat later
See? Just a few rules to follow ?
Since we love waffles so much (and judging by the amount of attention my pumpkin waffles get each fall, you love them just as much!), I thought it would be good to share a little tutorial with you how I make my best ever waffles.
I’ll explain what ingredients I use, why I do some things how I do them, and even though they’ll seem minor, together they help make the perfect waffles!
What ingredients you need to make waffles:
You only need a few simple ingredients you can find at any grocery store. But it’s important to use the right ones!
- flour: you can use all-purpose or a mix of all-purpose and whole wheat for Fluffy Whole Wheat Waffles
- sugar: I only use 2 tablespoons of white sugar in my waffle recipe for a light touch of sweetness. You can leave it out or replace it with 1-2 tablespoons of maple syrup. If you’re choosing to use maple syrup, reduce the buttermilk by 2 tablespoons.
- baking powder: make sure your baking powder isn’t expired, otherwise your waffles might end up dense
- salt: a pinch of salt helps the waffles taste even better. They won’t taste salty.
- eggs: do not skip separating the eggs and beating the egg whites to stiff peaks. This simple steps is the difference between a good waffle and an amazing waffle! Especially if you’re using whole wheat flour.
- buttermilk: I love using buttermilk for waffles! They turn out extra fluffy and have such a delicious taste.
- oil: I know some waffle recipes use a larger amount of oil than I do, but I find just a few tablespoons is enough to yield crispy yet light waffles.
- vanilla extract: not necessary, but nice ?
Making Homemade Waffles, Step by Step:
The shortcut version:
- Mix the dry and wet ingredients in separate bowls
- Beat the egg whites until still peaks form
- Fold the wet into the dry ingredients just until combined
- Fold the beaten egg whites into the batter
- Preheat the waffle iron
- Bake waffles
- Indulge ASAP!
The detailed version with lots of tips:
Mixing the dry ingredients
This is always my first step, because the dry ingredients won’t spoil or split if they stand for a longer amount of time at room temperature.
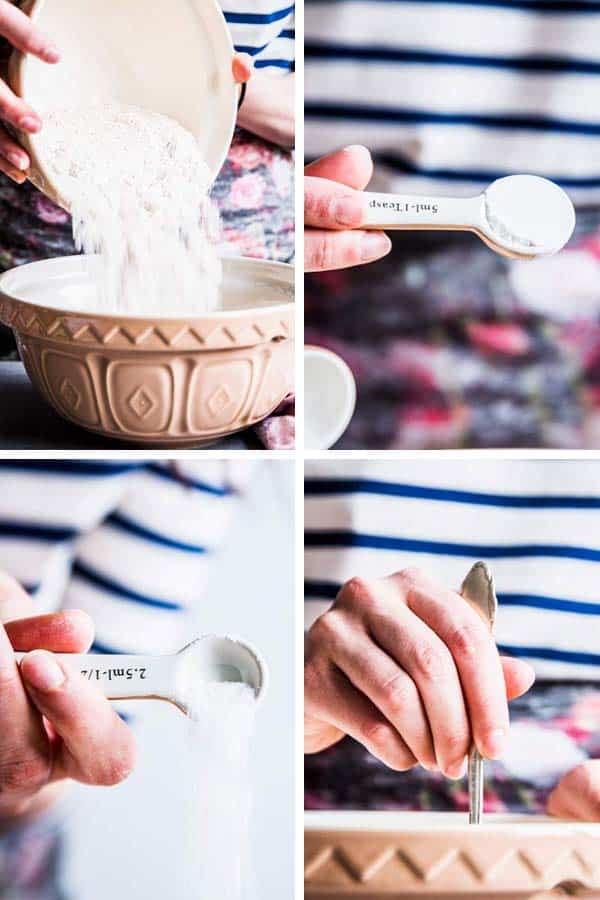
Use a large bowl so it’s easier to fold everything together later. Mix the dry ingredients very well, to make sure the baking powder is evenly distributed among the flour. Otherwise your waffles won’t rise evenly.
Mixing the wet ingredients
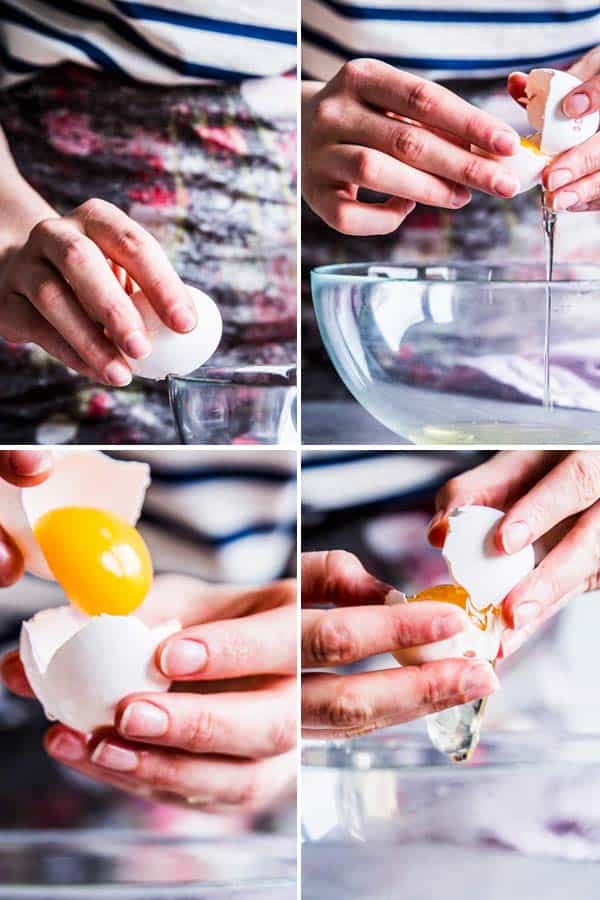
First off, it’s very important to remember to separate your eggs! Don’t forget. It happens to me more often than I’ll ever care to admit, and it annoys me. So – remember to separate those eggs!
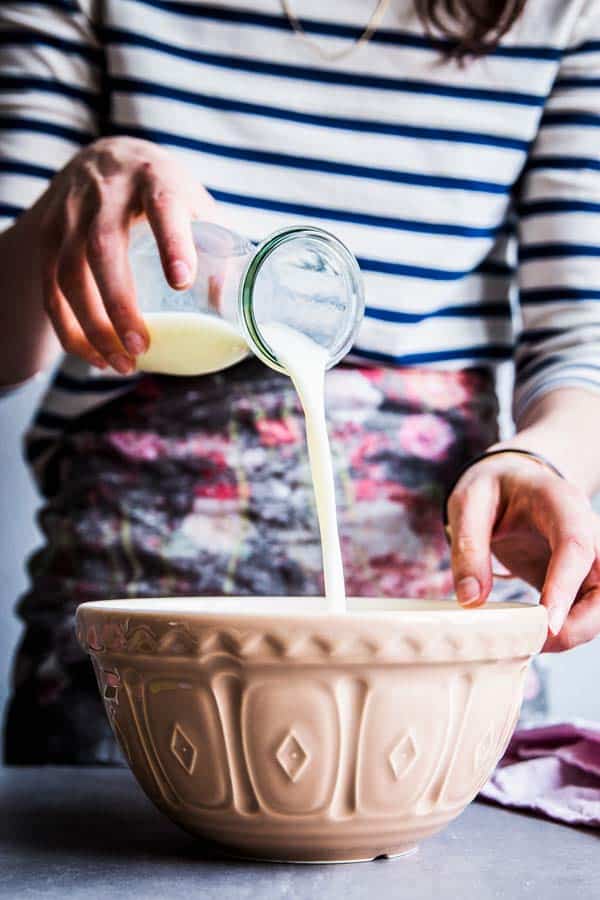
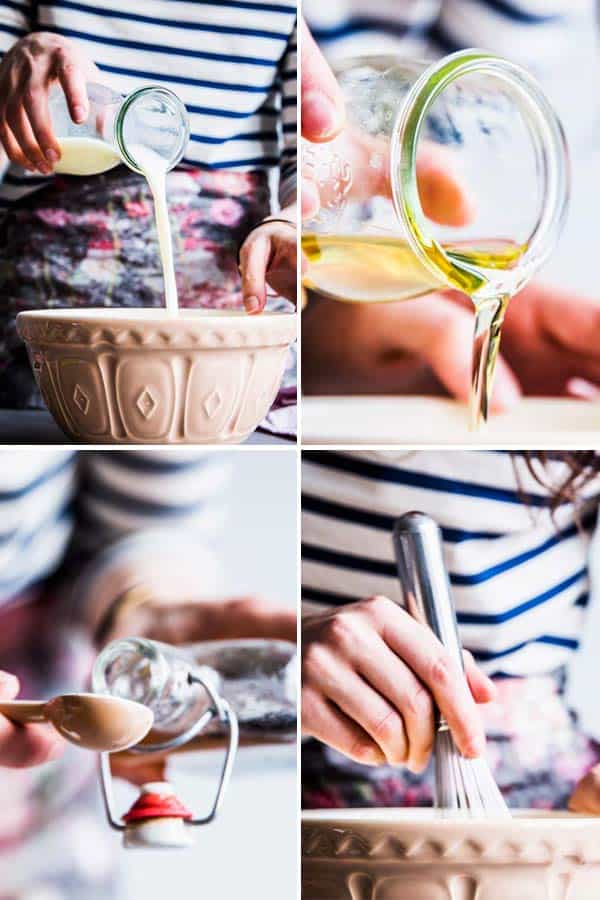
The YOLKS go into a measuring jug along with all the other wet ingredients (EXCEPT for the egg whites!). I like using a measuring jug because it makes it very simple to pour the wet into the bowl with the dry ingredients later.
YES I know that’s not a measuring jug in the pics. Still waiting for Amazon to deliver my new Pyrex one ?
Make sure you’re whisking these together very well, until smooth. Otherwise you’ll end up with bits of cooked egg yolk in your waffles – not the best experience.
If you’re making something like pumpkin or banana waffles – like my Healthy Banana Waffles, Banana Nut Waffles, Healthy Chocolate Chip Banana Waffles or Banana Oatmeal Waffles – you’ll want to mix the mashed banana with the wet ingredients now.
Beating the egg whites
I do this step only when the wet and dry ingredients are mixed separately. I don’t like beaten egg whites to stand around for any length of time, because they tend to get runny again.
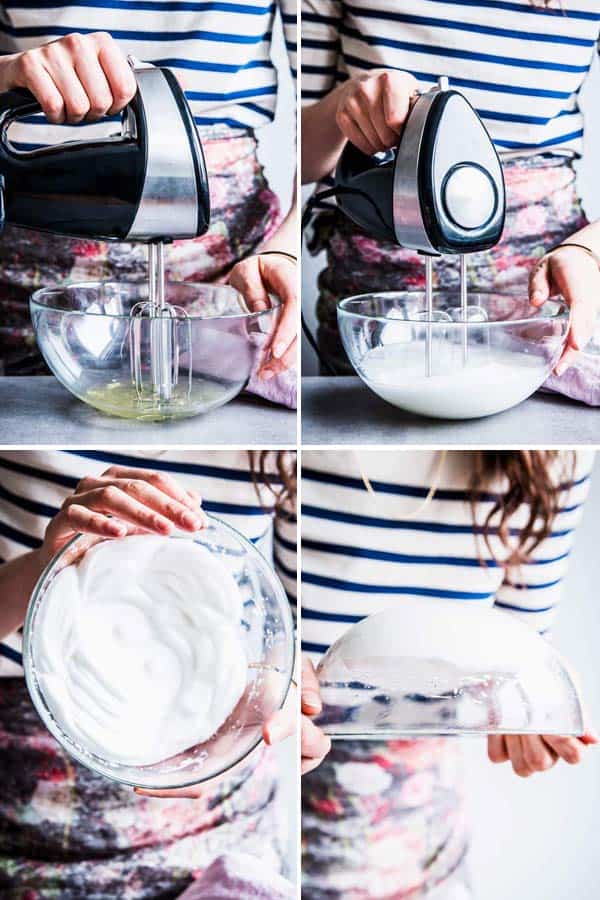
Use a smaller mixing bowl and a handheld mixer to whip those egg whites, because that’s by far the fastest way to do this.
You’ll know you’ve reached stiff peaks when you can slowly invert the bowl without the egg whites falling out – still, don’t try it over your head ?
Combining the batter
Only once the dry ingredients, wet ingredients and beaten egg whites are ready in separate bowls do I start combining them to make the batter.
The reason for this is because I want to minimize the amount of time the batter has to stand around for before I start making waffles – it will stand for long enough while all the single batches of waffles need to be cooked in the waffle maker!
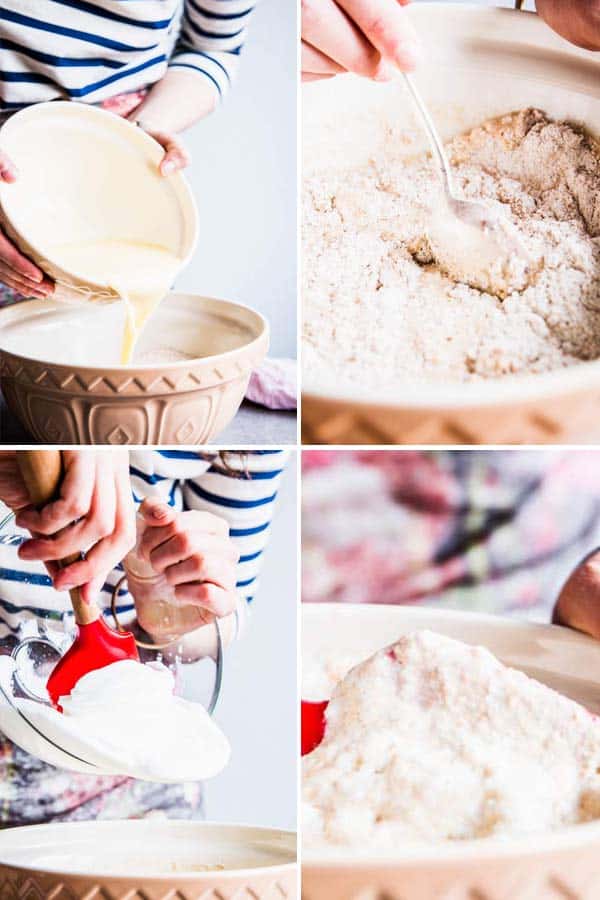
Pour the wet ingredients into the dry ingredients and stir just until combined. Use a spoon or a wooden spoon, NOT a whisk! Only stir a few times until you have a very lumpy mix.
Then, add the beaten egg whites and carefully fold into the batter. You’ll want to do this as gently as you can, so you don’t knock out too much air. At the same time, don’t be shy about wanting to combine the batter and egg whites. You want to avoid clouds of egg white floating in the batter, as that will cook up into scrambled egg whites inside the waffles.
If you’re going to make waffles with some mix-ins (like chocolate chips, berries or chopped nuts), you’ll want to quickly fold these in now. Try to use 2-3 stirs only, to avoid overmixing the batter. The batter will look lumpy, but that’s perfectly fine – pinky promise.
Heating the waffle iron
I don’t start preheating my waffle iron until my batter is nearly done. I always get interrupted mid-waffle-batter-making, and I try to avoid having a plugged in waffle iron heating and heating while I’m stressing to get the batter finished.
I always use mine on a medium-high setting, but you’ll need to experiment with yours to figure out what works best. AS waffle irons don’t have set temperatures, it can be hard to gauge at first. Start at medium heat if you don’t know how hot your iron runs, and then take it from there.
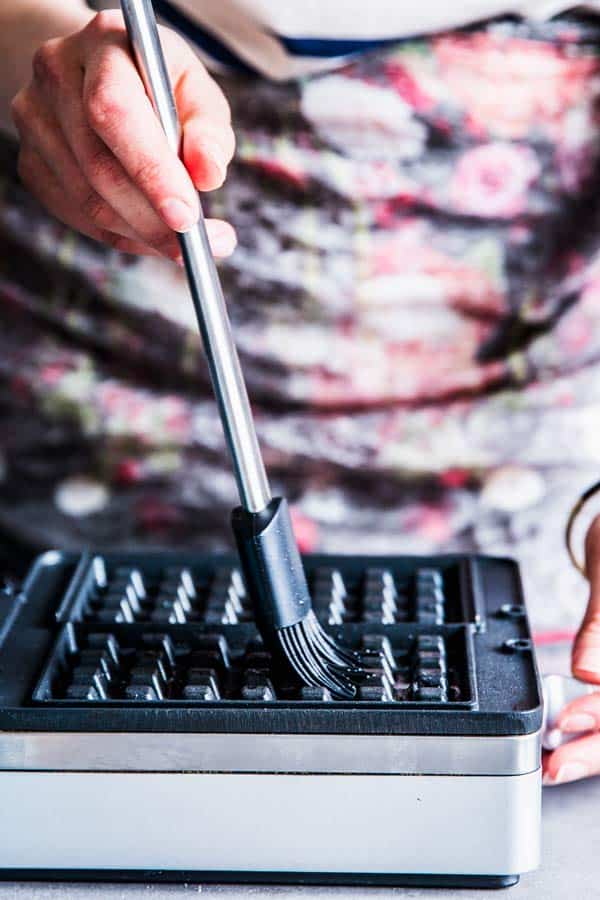
I lightly grease the waffle iron using a silicone brush and a tiny bit of oil. Mine is non-stick, so I usually only have to grease once before the first batch.
Baking the waffles
Once the waffle iron is hot, it’s time to start actually cooking the waffles!
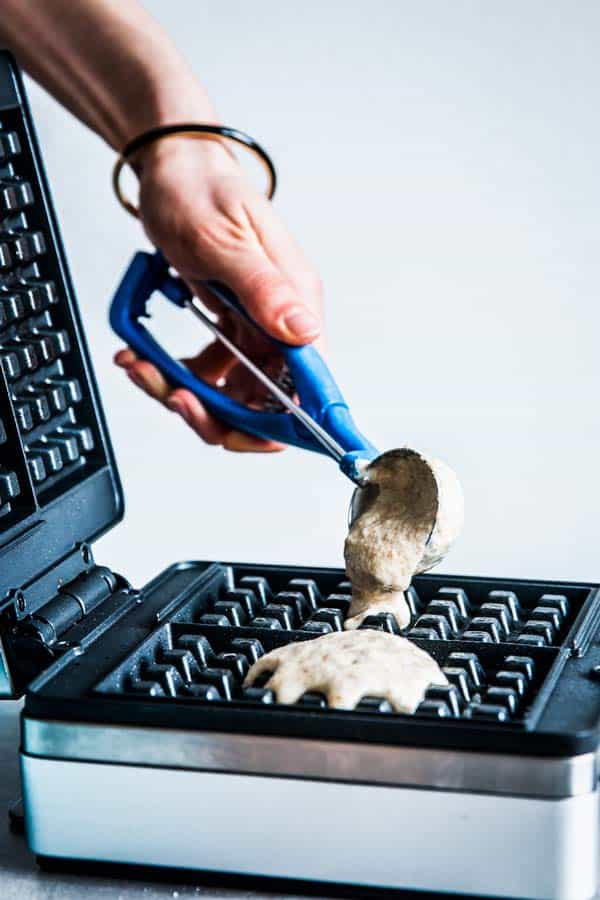
I know it can get REALLY messy when you’re scooping the waffle batter over onto the waffle iron. But… I found a way to avoid most of this mess!
Just use a cookie scoop!
I have a large 3 tablespoon sized cookie scoop like this one, and it’s a total game changer. It makes scooping batter so easy and mess-free, I’m still amazed. FYI, I make a commission for purchases made through that link.
I use about ¼ cup of batter per waffle, but make sure to check your waffle iron’s instructions.
How long to bake a waffle for
It can be tricky to determine how long to keep your waffle in the waffle iron, because you can’t see them. if you open the iron too soon, the waffle could rip apart because it’s not cooked through yet.
I found another trick though!
When you add a new portion of waffle batter to the waffle maker, at first you’ll notice large wafts of steam coming out of the closed iron. That’s the wet ingredients cooking.
Once the steam reduces to a small amount, it’s safe to open the waffle maker and check on your waffle. It should feel crispy to the touch and be a nice golden brown color.
Do waffles keep?
I’ll tell anyone to eat their waffles fresh out of the waffle iron. That’s when they’re at their best! Fluffy, crispy and warm. If you need some meal inspiration, you’ll find some great ideas for what to serve with waffles for breakfast here
They certainly still taste nice after a few hours, but they will soften back up.
You can also freeze your waffles if you want to make them ahead for easy meal prep!
Just freeze them on a lined baking sheet in a single layer until firm. Then bag up into freezer bags and label with the name and date.
To reheat, simply remove as many as you need from the bag and pop them straight into a toaster. You can also reheat them in the oven at 360°F for 5-10 minutes, or until hot and crispy.
And that’s all there is to making fluffy homemade waffles!
P.S: if your waffle iron is a hot mess now, let it cool down and then give it a thorough clean. And if you’re not sure how to do that, I have a whole post on how to clean a waffle iron ?
Get the printable recipe to make amazing buttermilk waffles:
Printable recipe
Fluffy Buttermilk Waffles
Recipe details
Ingredients
- 2 cups all purpose flour
- 2 tablespoons white sugar
- 2 teaspoons baking powder
- ½ teaspoon salt
- 2 large eggs separated
- 1 ½ cups low fat buttermilk
- 3 tablespoons oil
- 1 teaspoon vanilla extract
- berries, syrup or any toppings you love!
Instructions
- Mix the dry ingredients: Add the flour, sugar, baking powder and salt to a bowl. Stir very well until evenly mixed.
- Mix the wet ingredients: MAKE SURE YOU SEPARATE THE EGGS! In a large measuring jug, whisk together the egg YOLKS, buttermilk, oil and vanilla extract until smooth.
- Beat the egg whites: Beat the egg WHITES in a clean bowl with electric beaters until still peaks form. You'll know they're ready when you can slowly invert the bowl without the egg whites falling out.
- Make the batter: Pour the wet ingredients into the bowl with the dry ingredients and stir a few times just to combine. Add the beaten egg whites and carefully fold in just until incorporated. Do NOT overmix, or the waffles will be dense.
- Bake waffles: Preheat your waffle iron on medium-high. Lightly grease and bake waffles according to your manufacturer's instructions. I use about ¼ cup of batter per waffle, and I scoop it with a cookie scoop to make less of a mess.
- Serve the waffles hot right out of the waffle iron - that's when they're the crispiest!
Notes
Ingredient notes
- Oil: I prefer to use canola oil for these, as it is mild in taste and works great for cooking and baking. Feel free to use melted butter in place of the oil!
- Buttermilk: If you don’t have any buttermilk on hand, use the same amount of regular milk with ½ tablespoon white vinegar stirred in. Let sit on the counter for 10 minutes, then stir again before using.
- Flour: I use all-purpose flour for these waffles. You can also use half whole wheat and half all-purpose. If you want to use all whole wheat, I recommend substituting 2 tablespoons of the flour with cornstarch for a fluffier result. You will also need an extra tablespoon of oil and 1-2 extra tablespoons of buttermilk, as the whole wheat flour soaks up more of the liquid.





Comments
No Comments