
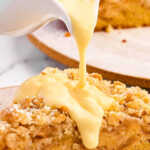
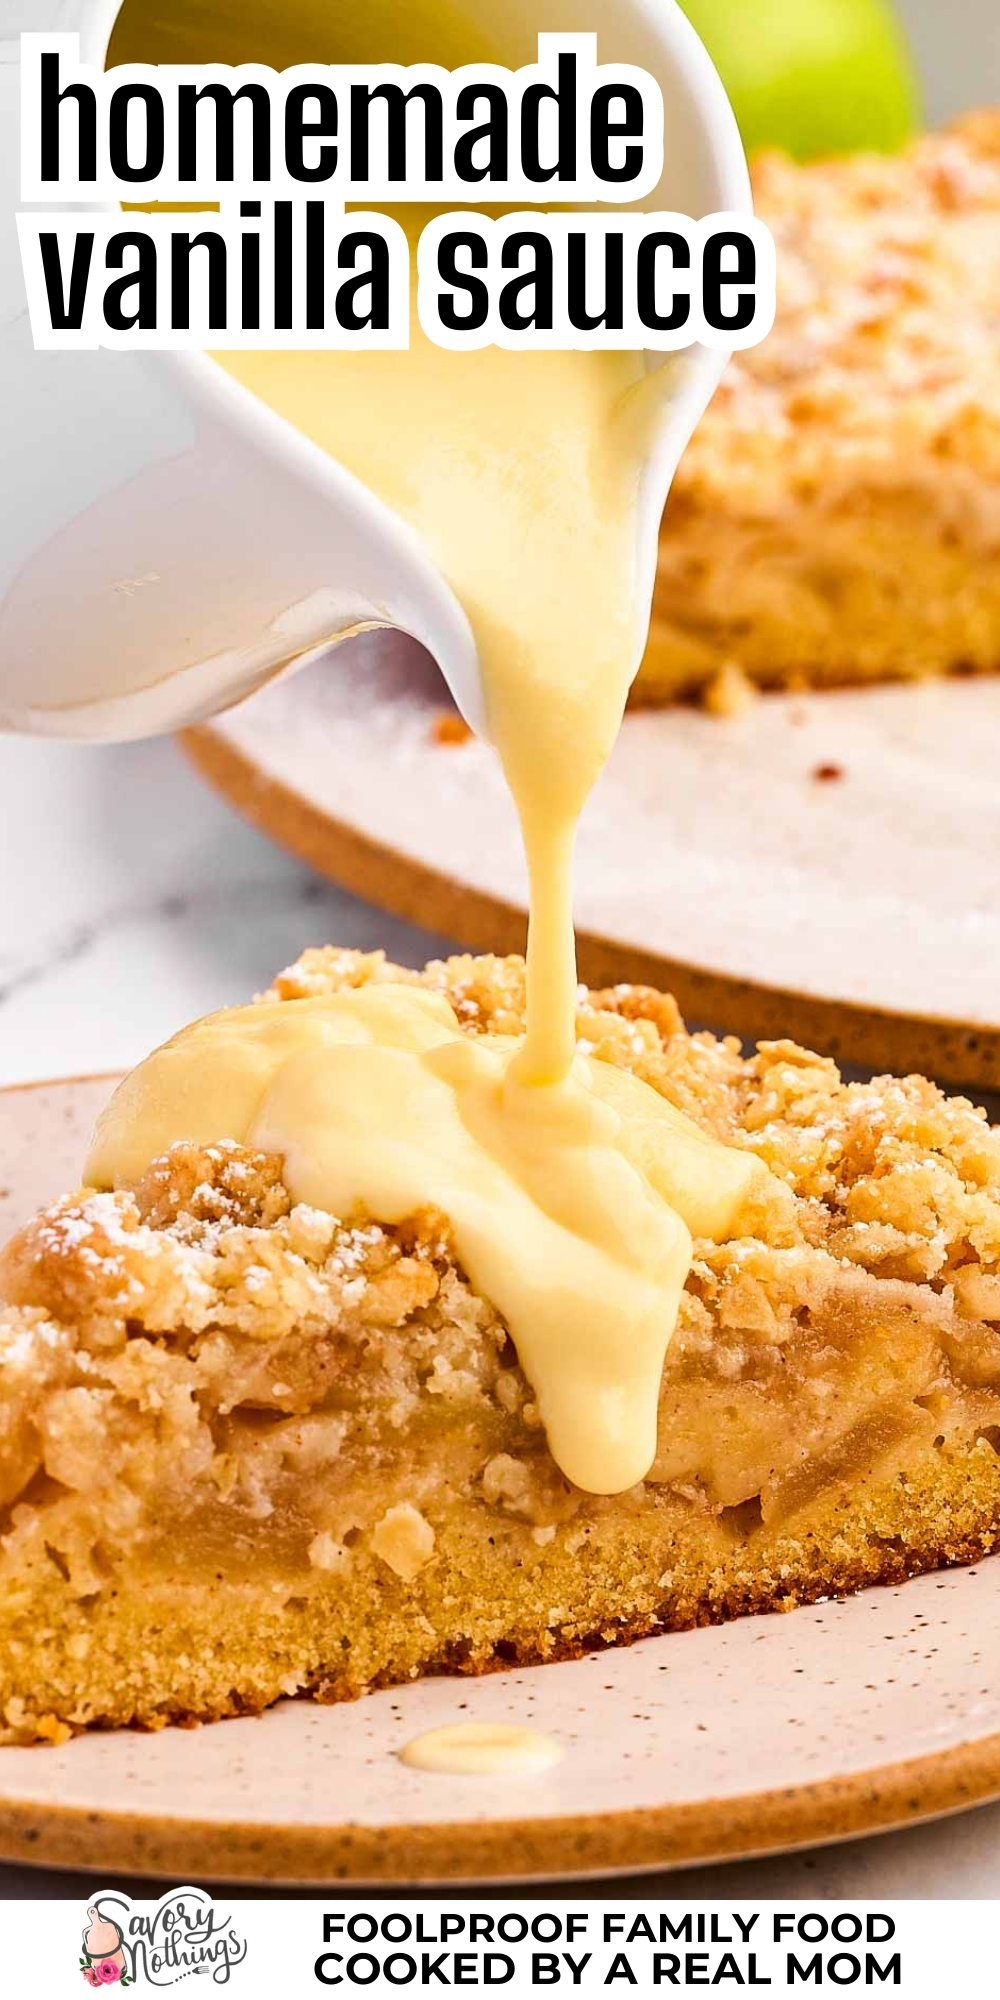
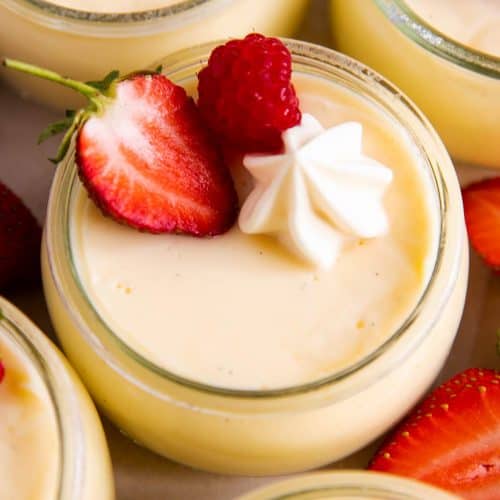
This is the vanilla sauce I make when I want something cozy, creamy, and nostalgic—but don’t feel like fussing with fancy techniques or pastry chef energy. It’s smooth, rich, and just sweet enough to pour over apple crisp, bread pudding, cakes, or honestly… eat with a spoon. No tempering eggs. No straining. No double boiler. Just one saucepan and a whisk, that’s it!

Why I make my vanilla sauce this way
There are so many classic custard sauce recipes out there that ask you to temper yolks, heat cream in a double boiler, strain it twice, say a prayer, and hope for the best. I don’t do any of that.
My method? You whisk everything together cold—right in the pan—and then gently warm it while whisking. Once it’s warm, bump up the heat just enough to bring it to a low simmer. No boiling, no curdling, no drama. Just smooth, creamy vanilla sauce every single time.
- No tempering required: You don’t need a culinary degree to make custard. You just need a whisk, a little patience (and some cornstarch to stabilize everything).
- It’s fast and foolproof: From start to finish, this takes about 10 minutes. The eggs thicken the sauce beautifully as long as you don’t crank the heat or walk away.
- Perfectly pourable texture: Not gloopy. Not runny. Just thick enough to coat a spoon—and your favorite dessert.
Printable recipe
Homemade Vanilla Sauce
Ingredients
- 2 ½ cups whole milk
- ⅔ cup heavy cream
- ¼ cup granulated sugar
- 2 tablespoons cornstarch
- 4 large egg yolks (freeze the egg whites for later, or throw them in scrambled eggs or an omelette!)
- 2 ½ teaspoons vanilla extract
Instructions
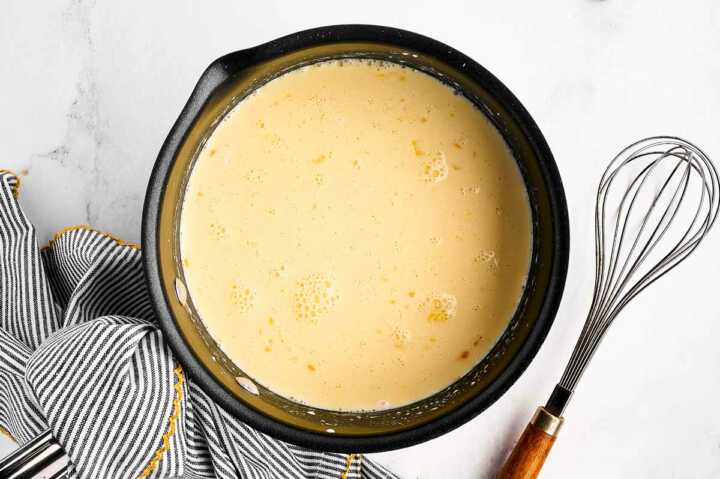
- Whisk all ingredients together in a medium saucepan off the heat.2 ½ cups whole milk, ⅔ cup heavy cream, ¼ cup granulated sugar, 2 tablespoons cornstarch, 4 large egg yolks, 2 ½ teaspoons vanilla extract

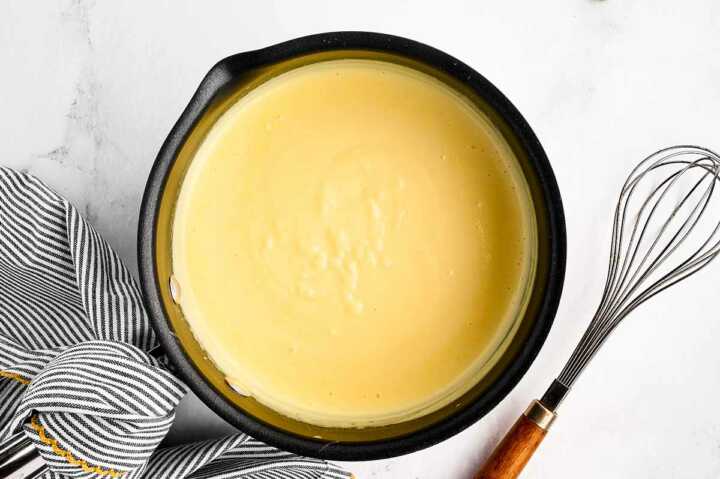
- Gently warm over low-medium heat, whisking constantly. Once mixture is starting to warm, increase heat to medium. Gently simmer, whisking constantly, until the vanilla custard has thickened. Only simmer gently, do not let it boil or you will end up with scrambled eggs – make sure you simmer long enough to reach 160°F for food safety.
- If desired, pour through a sieve for the smoothest custard (I don’t ever do this unless I accidentally get some lumps from not paying attention). Serve warm, or chill in the fridge for a thicker, cold custard.
Vanilla sauce tips I stand by
This recipe is simple if you follow a few key rules. I’ve tested and tweaked this method so many times, and here’s exactly how I get silky, lump-free, perfectly pourable custard—without any unnecessary drama:
- Start cold: Whisk everything—milk, cream, yolks, cornstarch, sugar, vanilla—together in the saucepan before turning on the heat. No tempering. No extra bowls. Just one pot and a whisk.
- Low and slow is key: Start over medium-low heat, whisking constantly. Once it starts to warm up, you can increase the heat a bit—but no cranking it up. This is a “gentle simmer” kind of situation. High heat = scrambled egg custard = we cry.
- Whisk like you mean it: Don’t walk away. Whisk constantly to keep the mixture smooth and the eggs from scrambling. It only takes a few minutes!
- Simmer, don’t boil: You want small bubbles around the edges and just enough heat for the custard to thicken. A rolling boil? Abort mission.
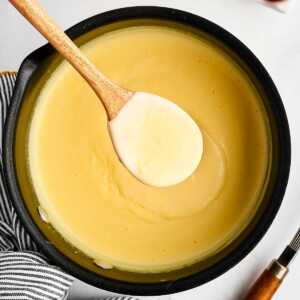
- Coat-the-spoon test: You’ll know it’s ready when it thickens enough to coat the back of a spoon. It’ll set up a little more as it cools.
- Yes, it still needs to be hot enough: Even with the cornstarch helping out, the custard should hit 160°F to ensure the yolks are safe to eat. Use a thermometer if you’re not sure.
(Source: USDA Safe Minimum Internal Temperature Chart – fsis.usda.gov)
But what if I do get lumps?
It happens! Even if you’re careful, sometimes a bit of the egg cooks too fast and you end up with a few lumps. Don’t panic—it’s fixable.
- If it’s just a few: Give it a really good whisk (or use a silicone spatula to stir vigorously) off the heat. That’s usually enough to smooth it out.
- If it’s more than that: Pour the sauce through a fine mesh sieve into a clean bowl or container. Boom—silky-smooth again, and no one will ever know.
- Next time: Whisk constantly and keep the heat lower—slow and steady really is the trick here. If you follow the steps exactly, the sauce will be silky-smooth all on its own. Promise.
My go-to ingredients for vanilla sauce
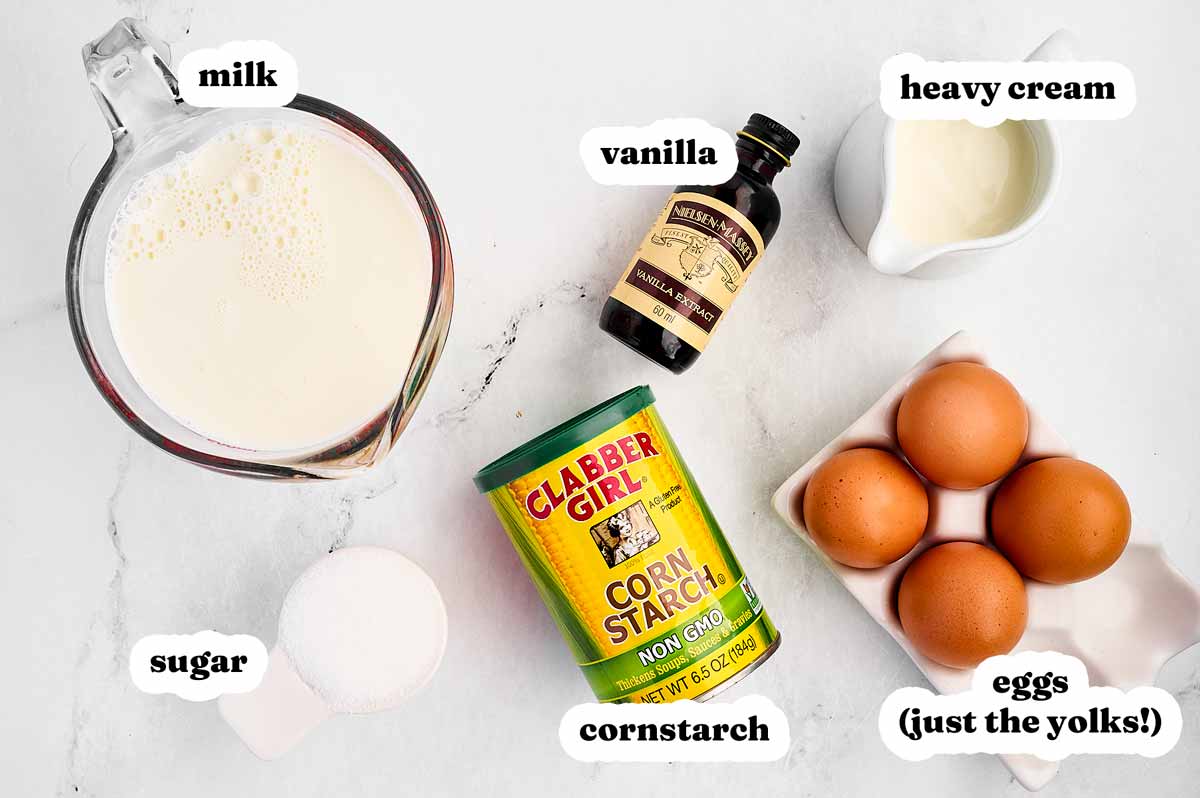
The ingredients are simple, but here’s what I think you need to know before grabbing ingredients or making swaps:
- Milk + cream: I use a mix of whole milk and heavy cream for a silky, rich texture that’s still perfectly pourable. You can use all milk in a pinch, but it won’t feel quite as luxurious.
- Egg yolks: Yes, just the yolks! They give the sauce that classic custard feel—smooth, golden, and rich without being too heavy. And since we whisk everything together cold, you don’t need to fuss with tempering.
Psst… don’t toss those extra egg whites! I usually freeze mine for later, throw them into scrambled eggs or whip up a quick batch of meringues. Waste not, bake more 😉 - Cornstarch: This is what makes the sauce totally stress-free. It helps thicken things up without needing to temper the yolks, and it keeps the custard silky instead of fussy. I never skip it—it’s the insurance policy that makes this recipe work every time.
- Sugar: Regular granulated sugar—don’t get fancy. Alternatives like honey or syrup can throw off the consistency and flavor.
- Vanilla: I used extract only here because it’s easy and reliable (and a pantry staple recipe never hurts), but vanilla bean paste or a scraped vanilla bean are my favorite splurges for special occasions when I want that speckled look and a little extra flair.
So can I make it dairy-free or egg-free?
I know someone’s going to ask—but here’s the deal:
This recipe is designed to work with whole milk, cream, and egg yolks. That’s how you get the rich texture, smooth pour, and classic flavor. You can experiment with plant-based milk or dairy-free cream, but I haven’t tested it and can’t promise it’ll thicken or taste the same.
As for skipping the eggs? That’s a different sauce entirely. There are eggless “vanilla pudding” type recipes out there, but this one is a classic pouring custard—and the yolks are essential for the texture and richness.
TL;DR: This one’s best as written. If you need a dairy-free or egg-free version, I’d recommend finding a recipe that’s specifically built that way from the start because I really do not have any experience with that, and I want your vanilla sauce to turn out well 💛 (I was once accused of being mean and exclusive when I said to look for a different recipe for their specific dietary requests; I do want to stress this – I’m not trying to exclude anyone, I just really don’t feel confident giving advice regarding something I have no experience with.)
What to pour this on
This vanilla sauce is like the little black dress of dessert toppings—it goes with everything and instantly makes it feel fancier. Here’s what I love it with:
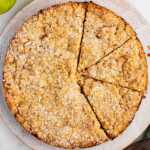
- Apple crisp or cobbler (or apple cake!): A big drizzle over warm fruit dessert? Yes please.
- Bread pudding: Honestly, this sauce makes the dish.
- Chocolate cake or brownies: Trust me. That rich + creamy combo is next-level.
- Bundt cakes, pound cake, or spice cake: Turns a simple slice into something special.
- Spoonfuls straight from the fridge: No judgment. I’ve done it. Will do it again.
Serve it warm for a cozier, pudding-like vibe—or chilled for something silkier and more elegant. Either way, you win with this one!

How to store leftovers
This sauce keeps great, which makes it perfect for prepping ahead or enjoying over a few days (if it lasts that long).
- Fridge: Let it cool, then store in an airtight container in the fridge for up to 3 days.
- Reheat gently: Warm it on the stove over low heat, whisking constantly. Don’t let it boil, or it might split. Or just serve it cold!
How did you serve it? I need details.
If you try this vanilla sauce, I’d love to hear how it turned out! What did you pour it over? Did you sneak a spoonful from the fridge the next day like I always do?
👇 Leave a comment and a star rating below—I seriously love hearing how my recipes show up in your kitchen.
📌 And don’t forget to pin it! So it’s ready for the next time your dessert needs a little cozy, creamy magic.

Comments
No Comments