

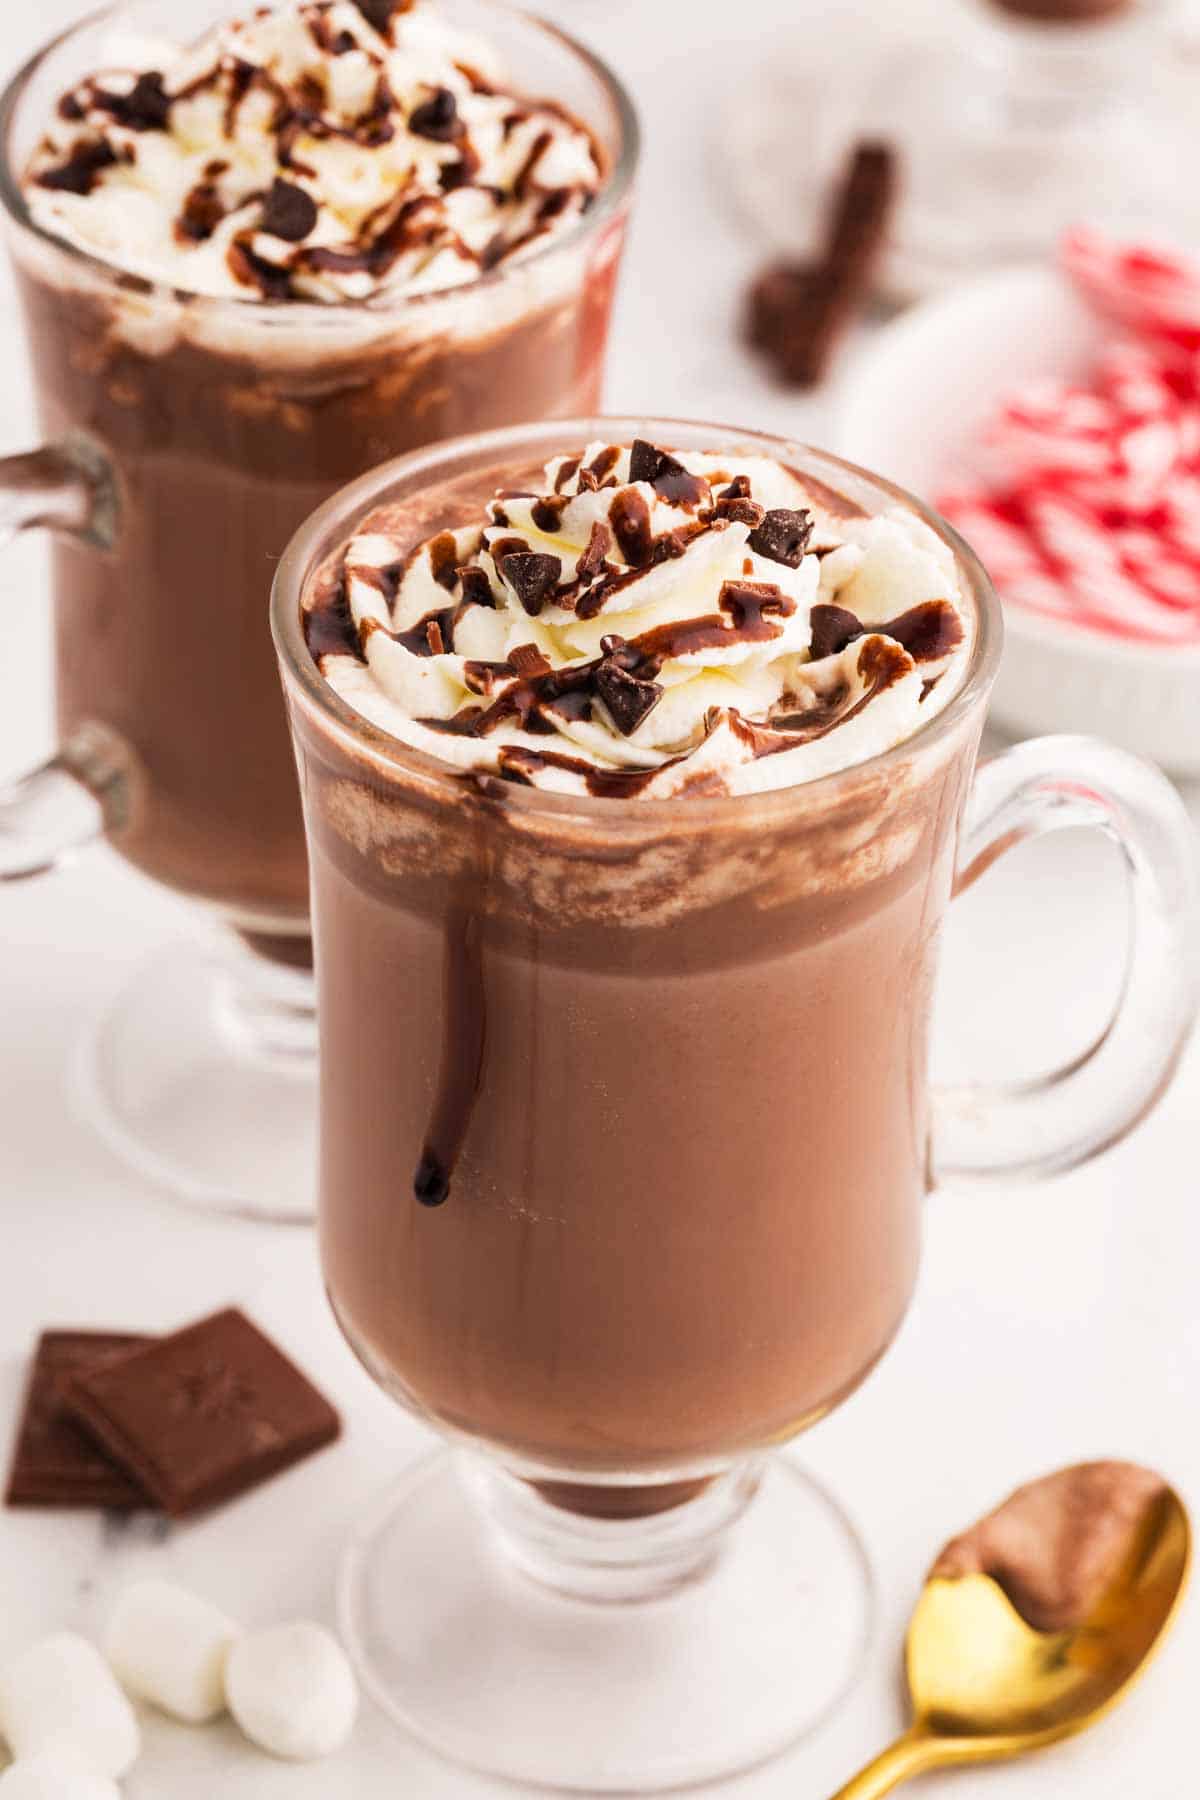
I think there’s nothing quite like wrapping your hands around a steaming mug of homemade hot chocolate during the cozy Christmas season – rich, velvety, and brimming with festive cheer.
Why I make my hot chocolate this way
This isn’t your average cocoa mix: I add real chocolate to my hot chocolate (otherwise it really is hot cocoa, but this here is an extra-indulgent hot chocolate!). Creamy milk, and a hint of holiday sweetness help to make every sip feel like a warm hug by the twinkling tree!
- Cozy and indulgent: It’s like a warm hug in a mug, perfect for chilly days and special moments. And your house is going to smell amazing!
- Simple ingredients, big flavor: I don’t use any packets or weird additives, just rich chocolatey goodness you can tweak to your liking.
- Make it your own: Customize it with whipped cream, sprinkles, or a holiday twist to make it extra special for everyone!
Alright, let’s get started on this dreamy hot chocolate – it’s going to be the coziest treat of the season!
Printable recipe
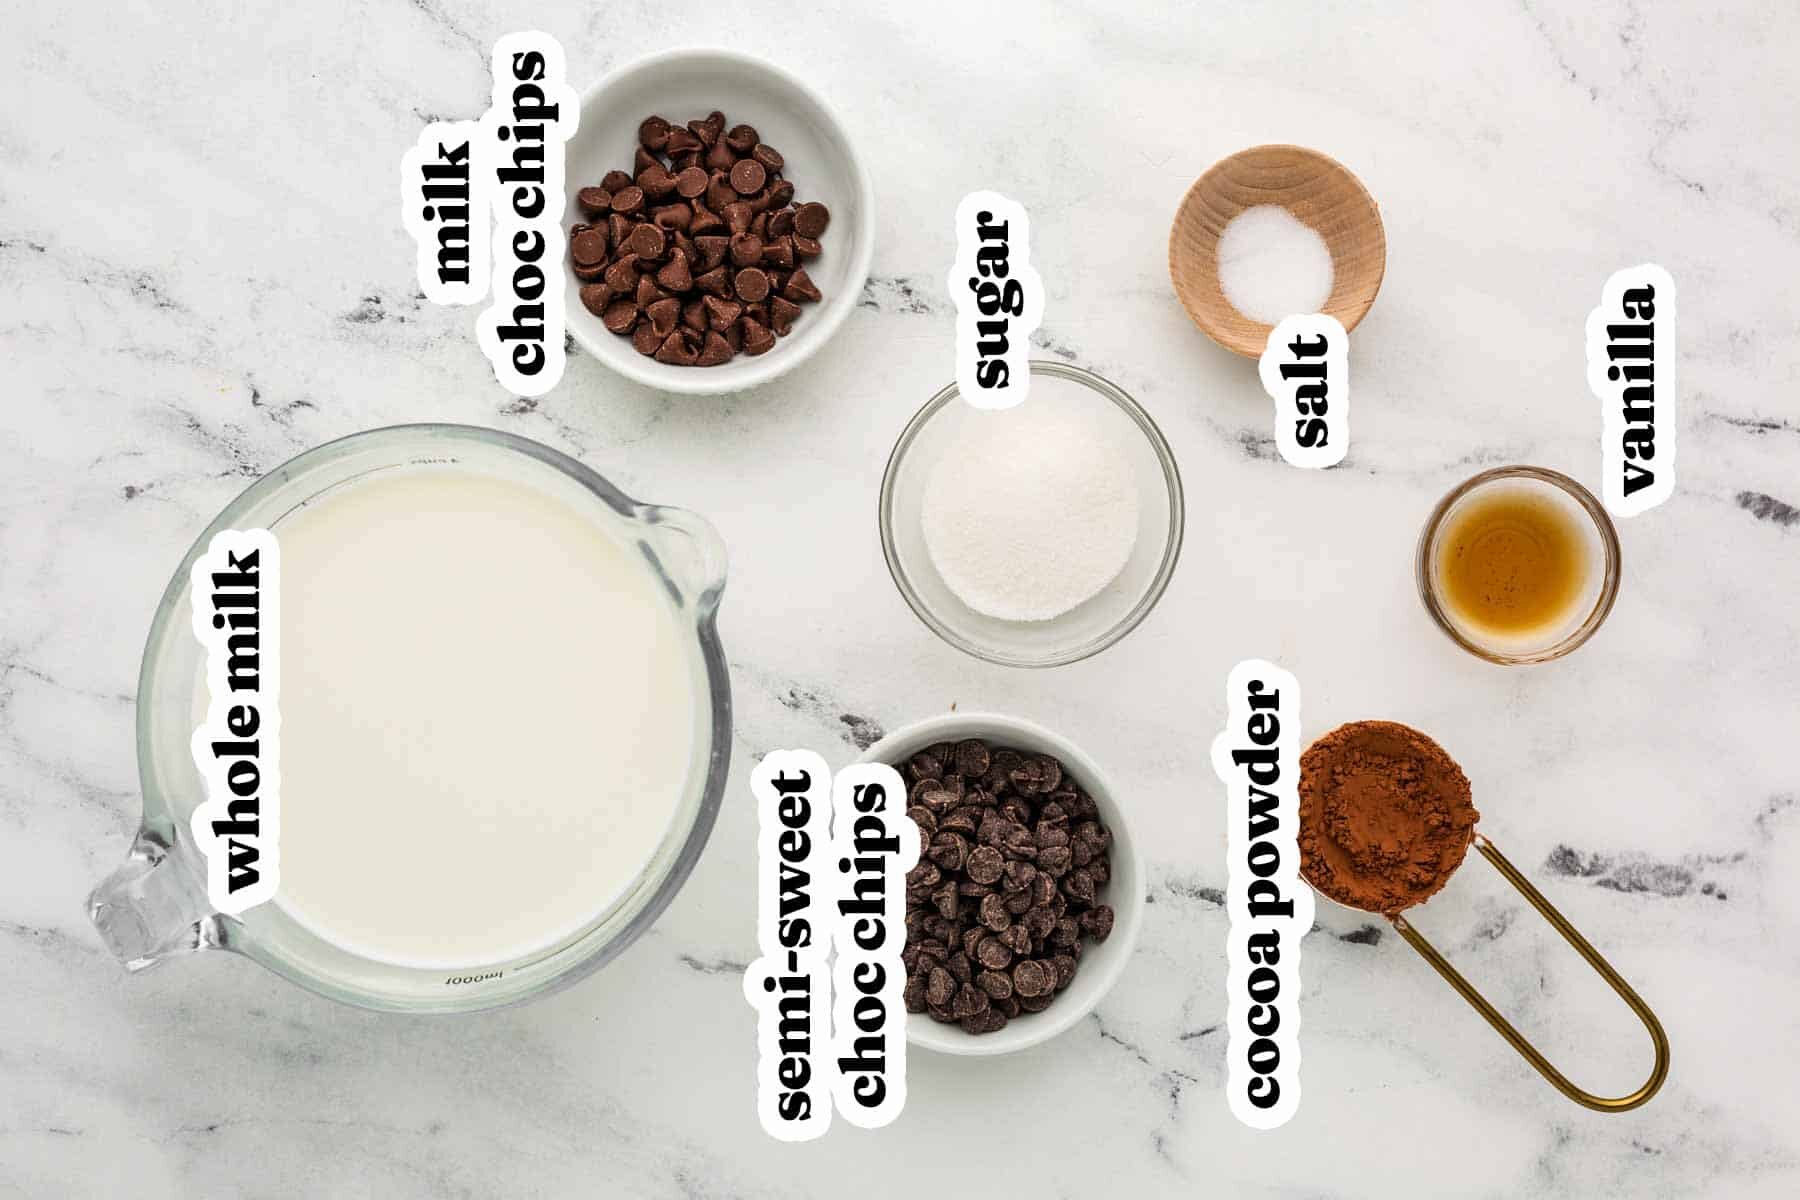
Ingredients
- 2 tablespoons granulated sugar (or more to taste)
- ¼ cup unsweetened cocoa powder
- 1 pinch salt
- 4 cups whole milk
- ½ teaspoon vanilla extract
- ½ cup semi-sweet chocolate chips
- ¼ cup milk chocolate chips
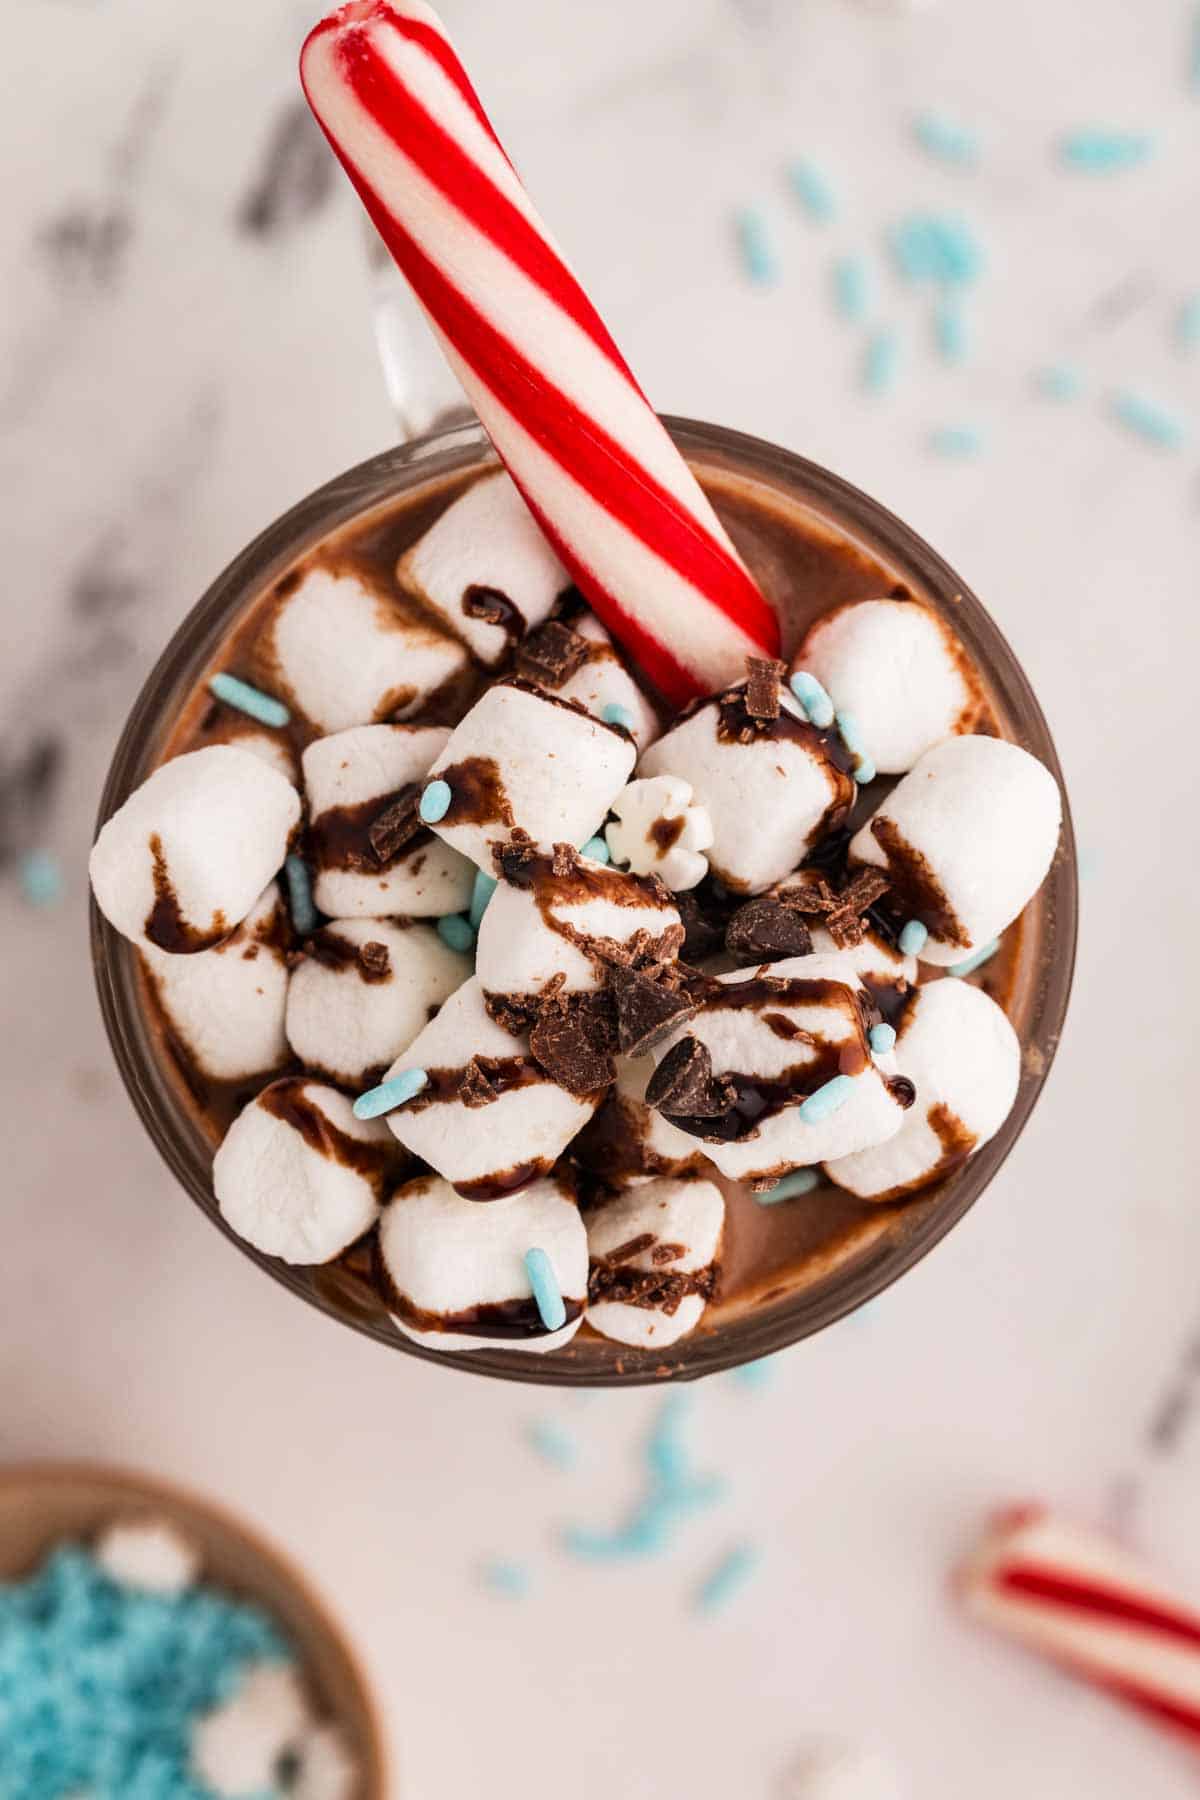
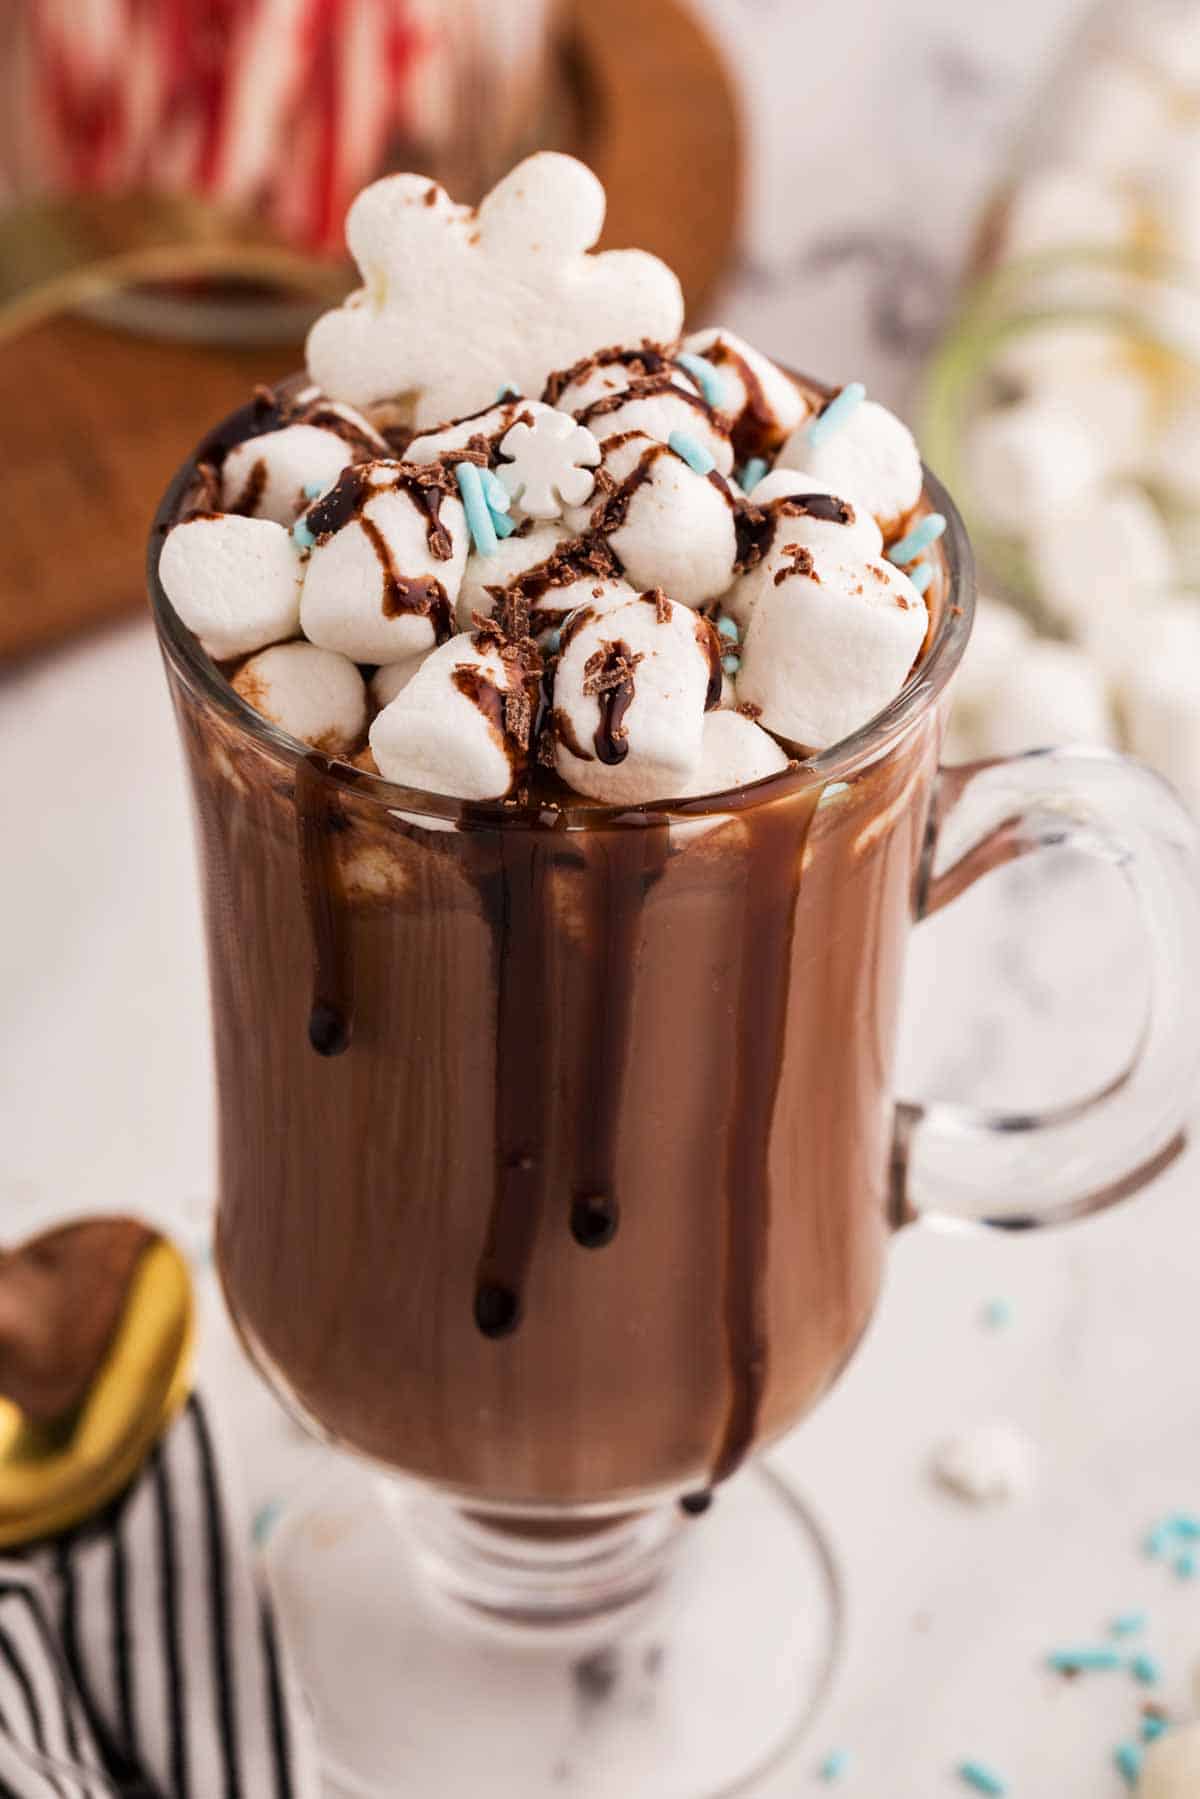
- optional toppings (chocolate shavings whipped cream, marshmallows, sprinkles…)
Instructions
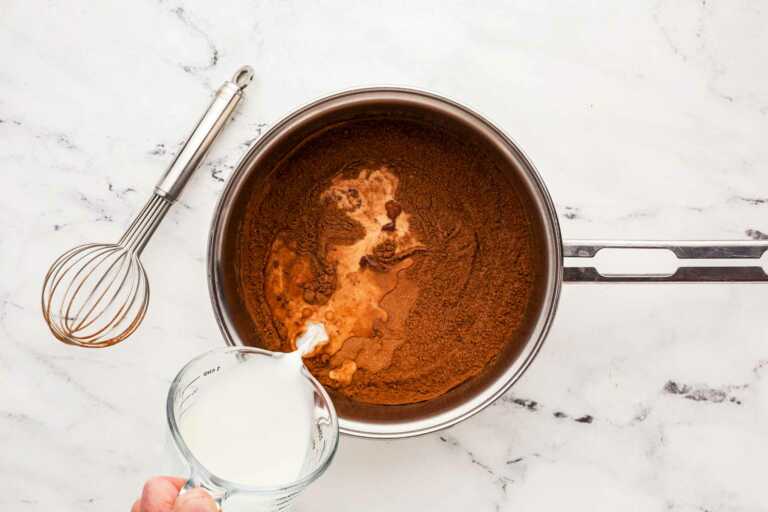
- Prep cocoa powder: Whisk together 2 tablespoons granulated sugar, ¼ cup unsweetened cocoa powder and 1 pinch salt in a medium saucepan. Gradually add ½ cup cold milk, whisking constantly, until cocoa powder is fully dissolved in milk.

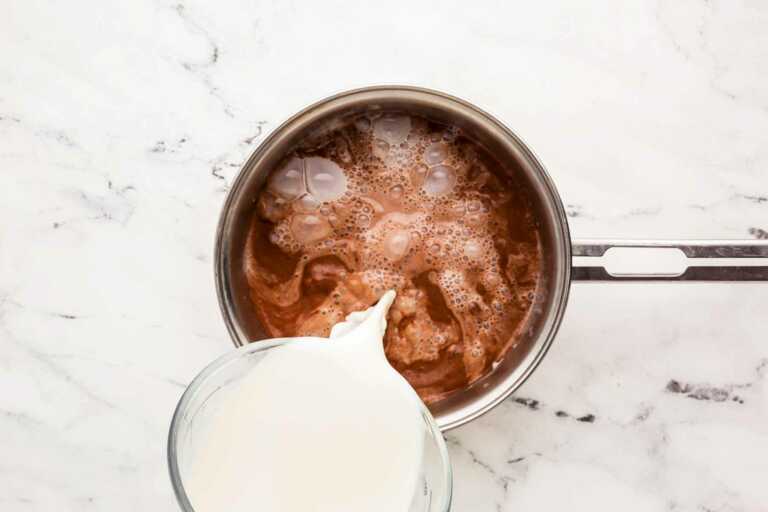
- Cook cocoa: Add remaining 3½ cups milk and ½ teaspoon vanilla extract. Bring to a simmer over medium-high heat, whisking constantly. Simmer for 1-2 minutes, then take off the heat.
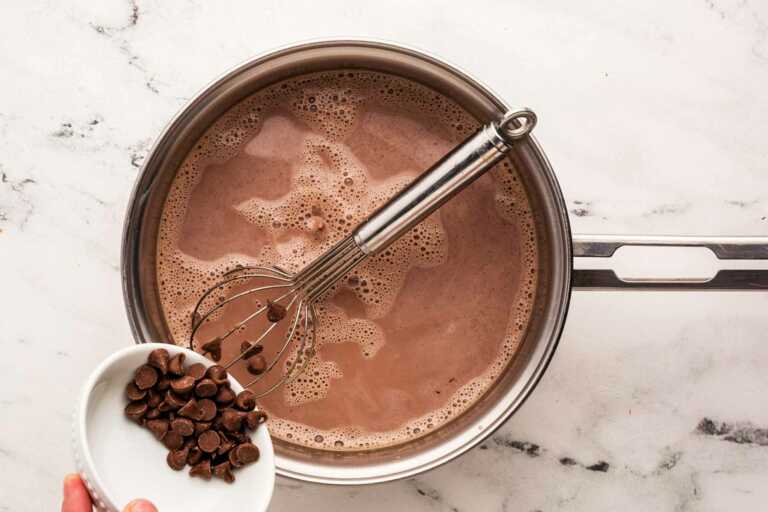
- Add chocolate: Stir in ½ cup semi-sweet chocolate chips and ¼ cup milk chocolate chips until melted. If not melting completely, gently warm over low heat until melted, do not boil once chocolate has been added, or it may seize up!
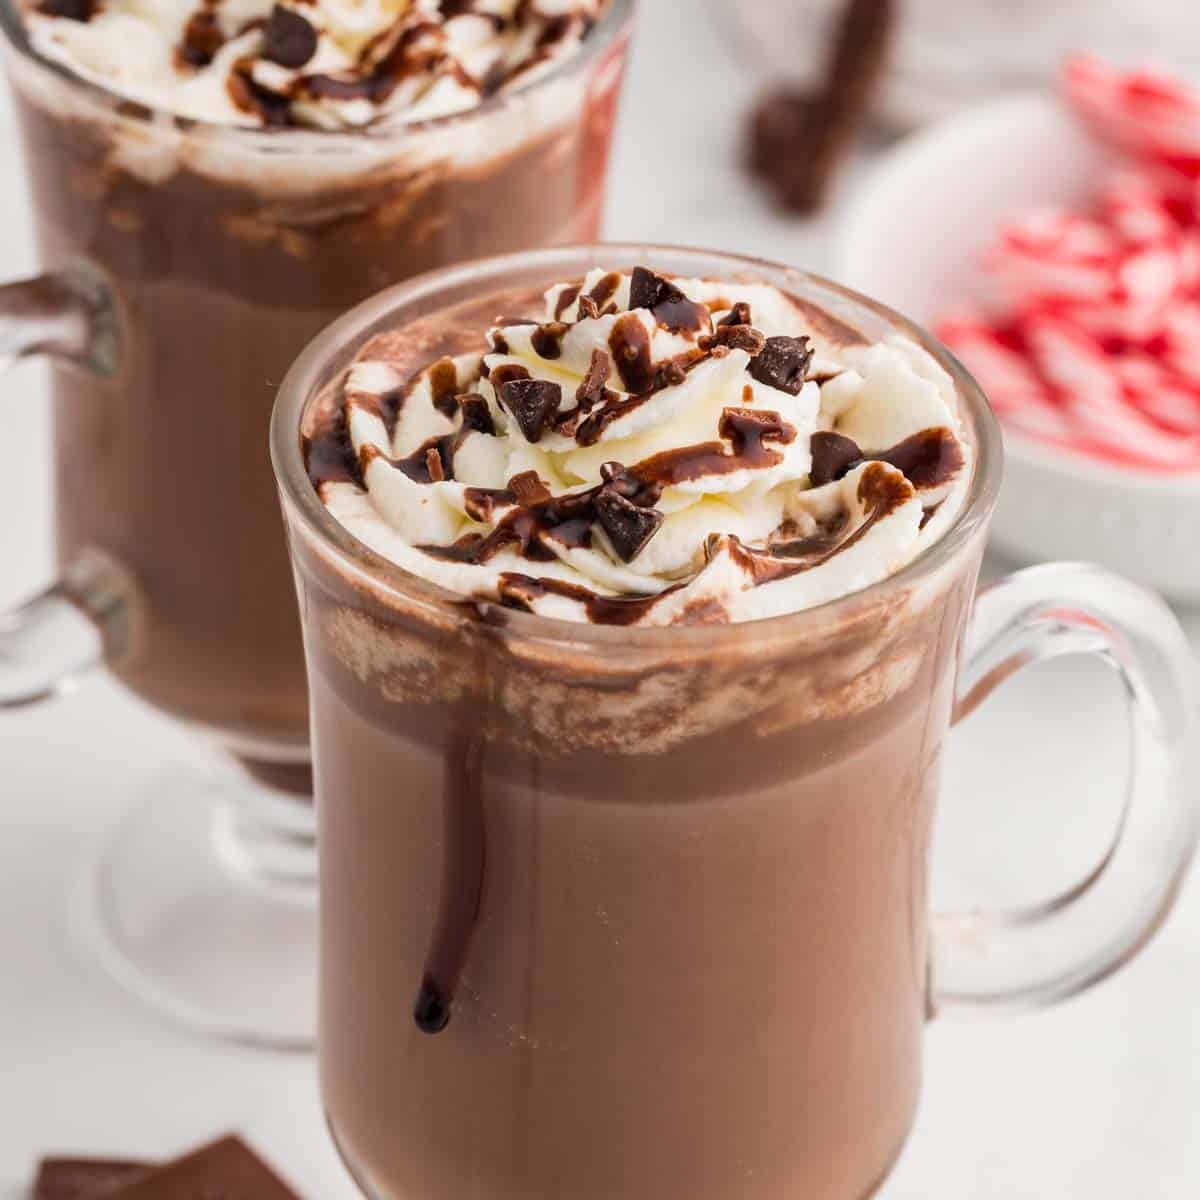
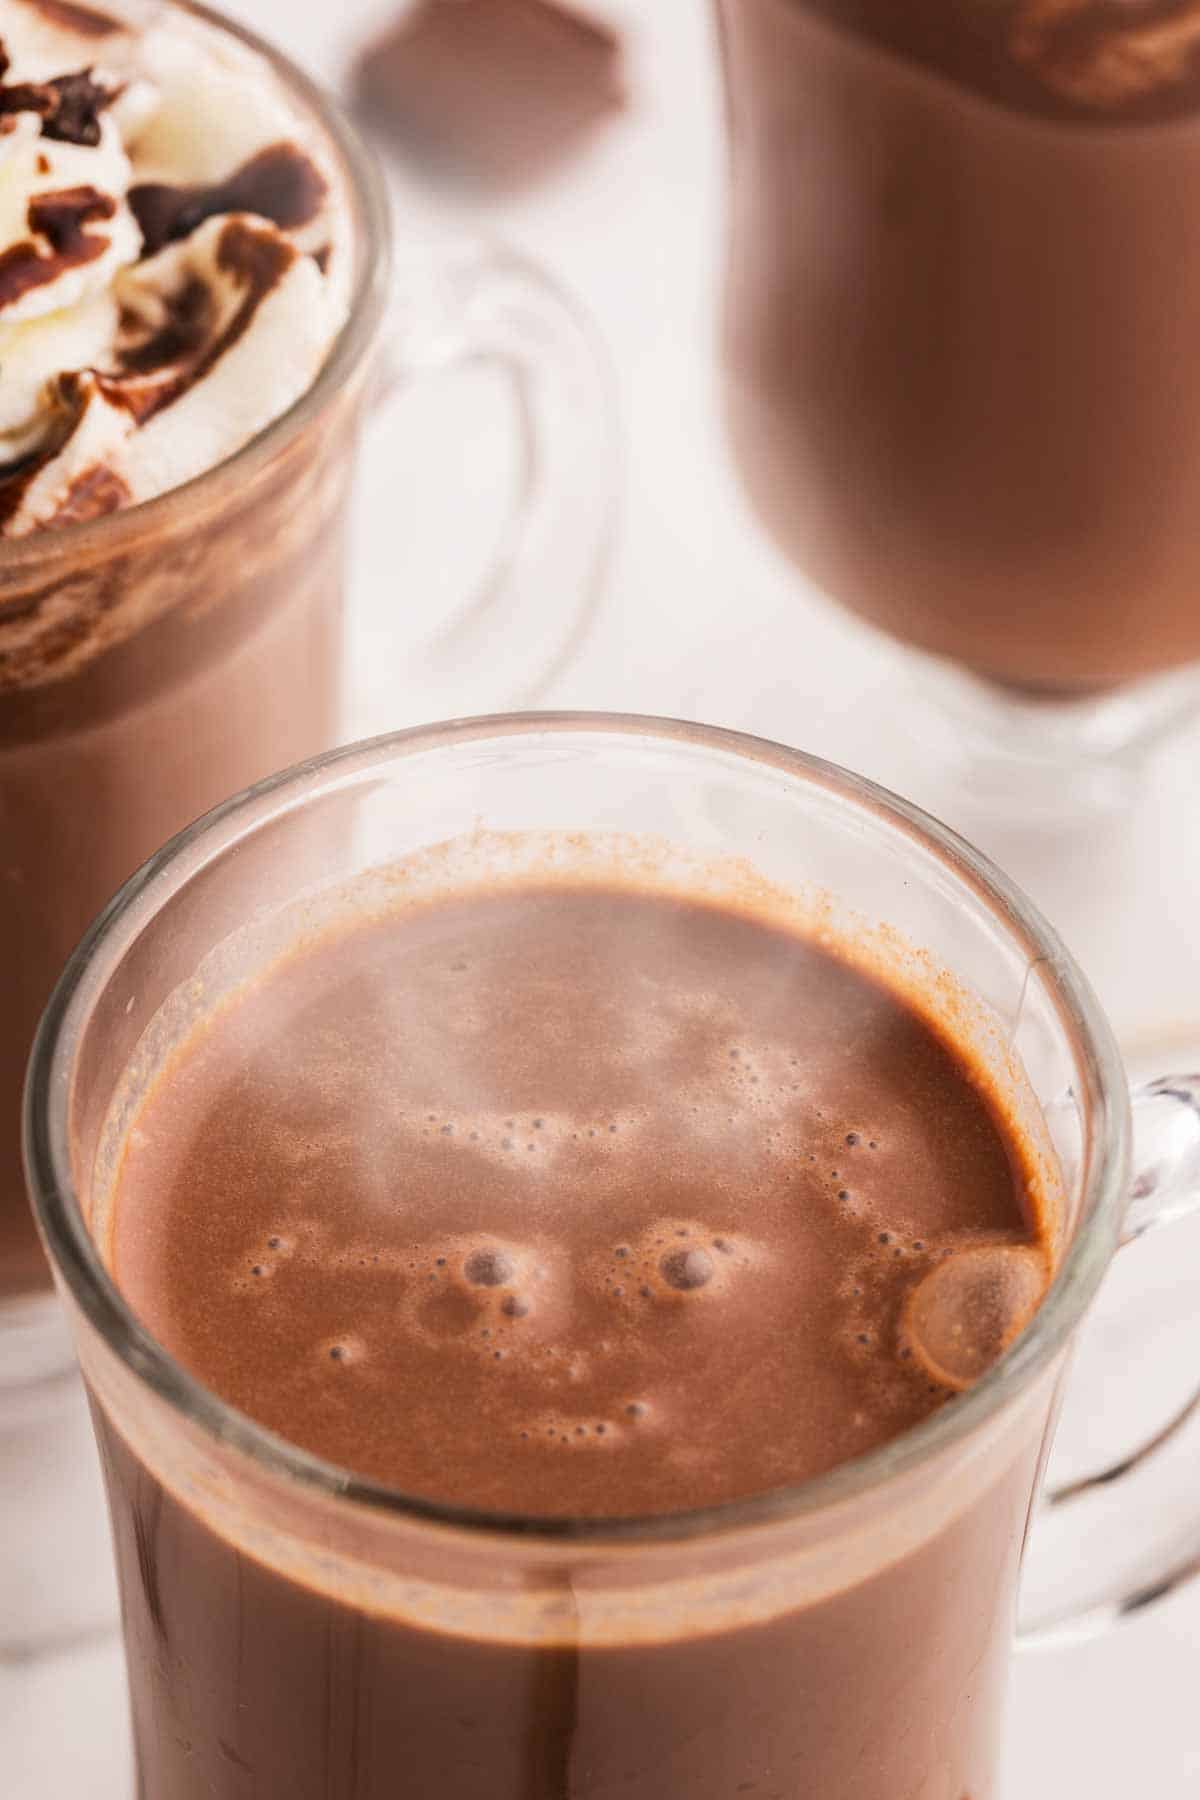
- Serve: Serve at desired temperature with desired toppings.
My top tips for success
- Whisk it smooth: Take your time whisking the cocoa powder into the cold milk to avoid any lumps. A smooth start makes for a creamy finish! Pop the saucepan on the stove over medium-high heat and whisk, whisk, whisk! You don’t want it to burn on the bottom, so keep it moving.
- Keep an eye on the heat: Simmer gently; don’t let the milk boil. Boiling can cause the chocolate to seize or make the drink too frothy.
- Melt the chocolate slowly: Stir in the chocolate chips off the heat and warm gently if needed. Too much heat will make the chocolate grainy instead of silky. If they’re being a little stubborn and not melting all the way, just put the saucepan back on low heat for a minute or two – but be careful not to let it boil, or the chocolate might seize up. You’re aiming for silky-smooth perfection.
- Serve at the perfect temp: Let it cool just slightly so it’s warm and cozy but not too hot to sip right away.
Ingredients I like to use
- Unsweetened cocoa powder – I like to use a high-quality cocoa powder for the best flavor. Dutch-processed cocoa can add an extra rich, smooth taste if you prefer that!
- Whole milk – For an even creamier drink, I sometimes use half-and-half or a mix of milk and heavy cream.
- Vanilla extract – This adds warmth and depth, but you can experiment with almond extract or peppermint extract for a festive twist. My kids love the peppermint, I’m all about a hint of almond!
- Chocolate chips – I like a mix of semi-sweet and milk chocolate gives the perfect balance, but feel free to use dark chocolate if you prefer it less sweet; or even white chocolate for a unique treat.
- Salt: That pinch of salt may seem small, but trust me, it makes the chocolate flavor really pop!
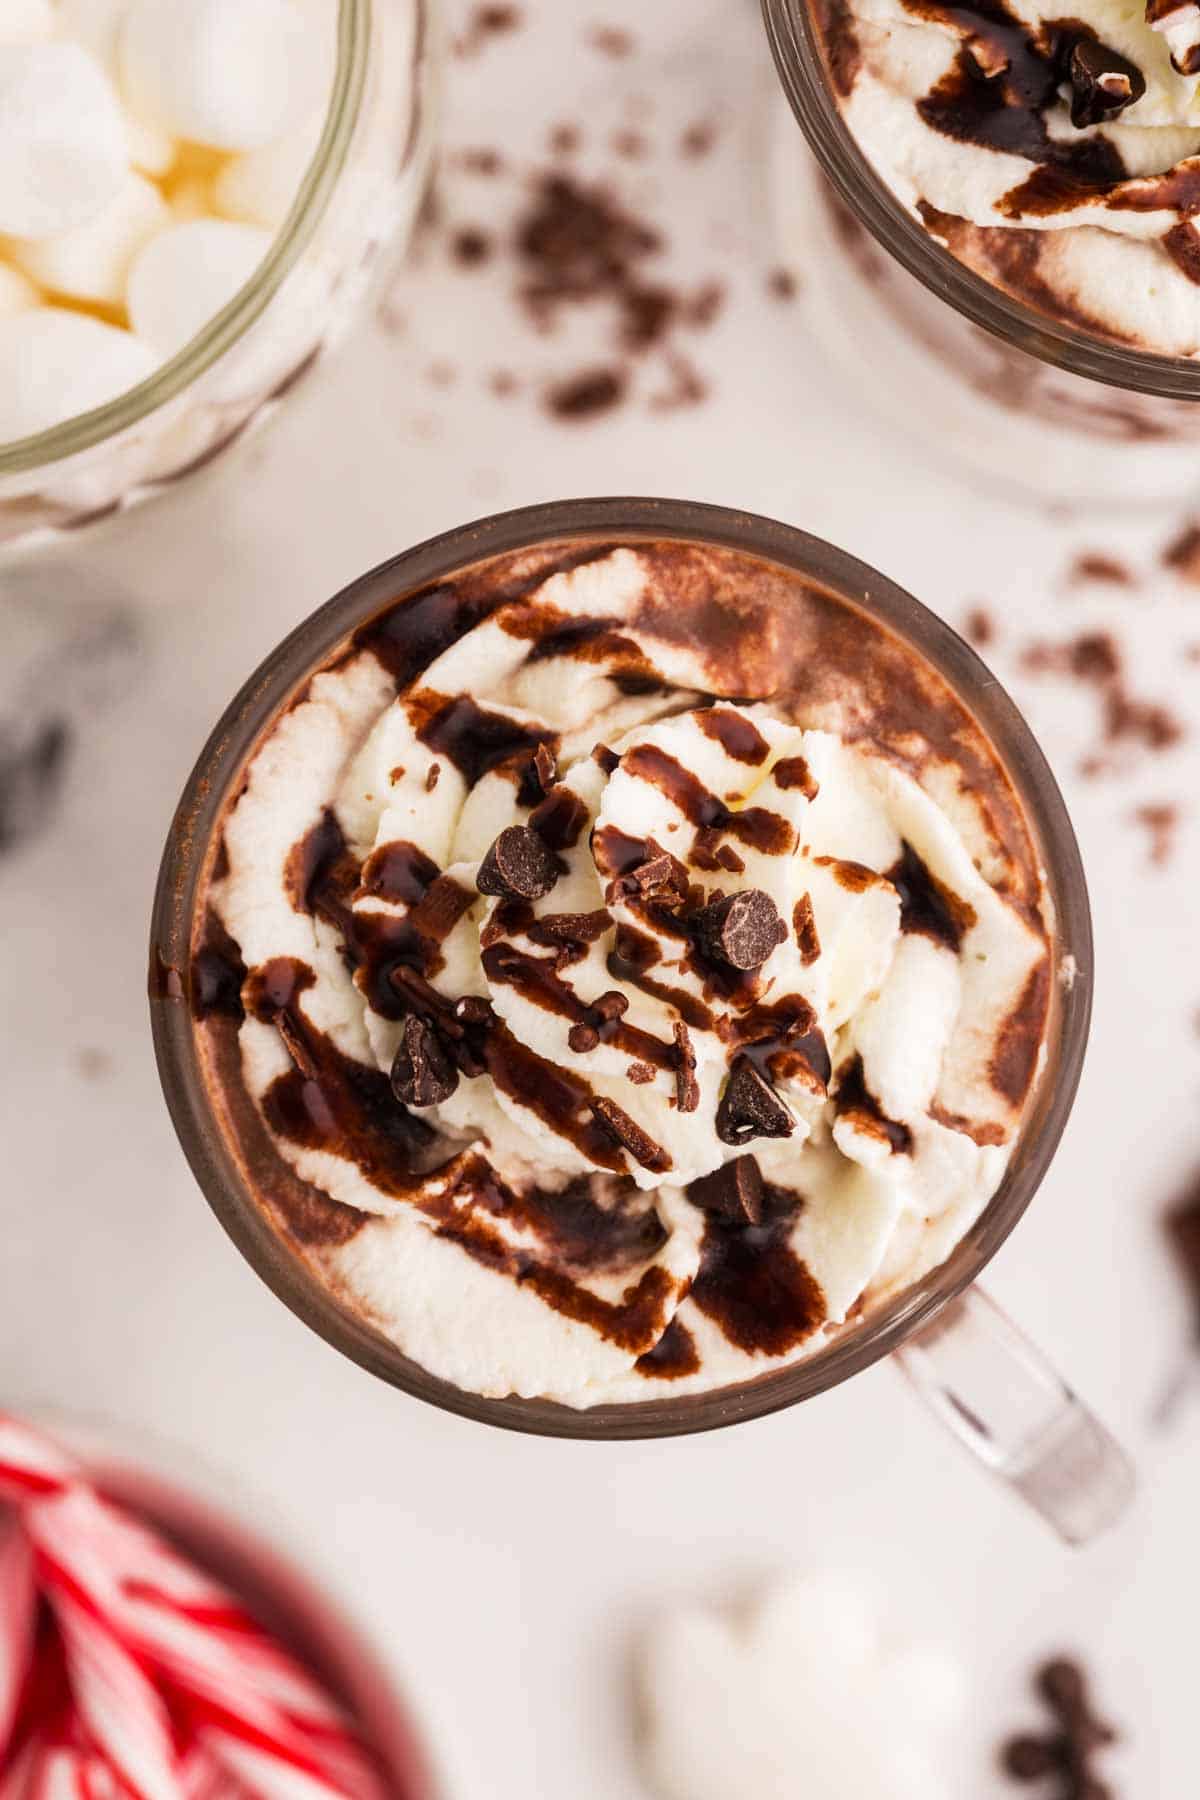
- Toppings – Go wild! Try crushed candy canes, chocolate sauce, festive sprinkles, white cream, marshmallows… Make it your own.
Hot Chocolate FAQs answered by yours truly
Cook ahead of time: Follow the recipe as usual, then let the hot chocolate cool before storing it in the fridge as directed above.
Reheat when needed: To serve, reheat on the stove over medium-low heat, whisking to ensure everything is smooth and creamy. This is a great way to get ahead for busy holiday mornings or parties.
Cool: Let your hot chocolate cool down for around 30 minutes before transferring it to an airtight container or mason jar.
Refrigerate: Store in the fridge for up to 2 days. Before reheating, give it a quick stir to mix in any ingredients that may have settled.
Reheat gently: Warm leftovers on the stovetop over medium-low heat, whisking often to restore that creamy texture. Be sure not to boil it, as boiling can affect the flavor and texture; but make sure it reaches 165°F.
Perfect for keeping it warm: Make the hot chocolate as directed on the stovetop, then transfer it to a pre-warmed slow cooker (set to “warm” or the lowest heat setting).
Serve easily: Ladle it directly from the crockpot for a self-serve setup, and keep a variety of toppings like whipped cream, marshmallows, and sprinkles nearby for guests to customize their mugs.
Keep it creamy: Give it an occasional stir to keep the chocolate well-mixed and prevent any film from forming on the surface. If it gets too thick, stir in a splash of milk to loosen it up.
Make it in the crockpot: To make the recipe directly in the crockpot, whisk together the sugar, cocoa powder, and salt, then add the milk, vanilla, and chocolate chips. Cook on low heat for about 2-3 hours, whisking occasionally until the chocolate is fully melted and the mixture is smooth. This is a hands-off way to prepare hot chocolate while you focus on party prep!
Get creative and add your own festive flair to this hot chocolate! Here are some fun variations to try:
Peppermint twist – Stir in a drop or two of peppermint extract and top with crushed candy canes for a cool, minty holiday vibe.
Spiced delight – Add a pinch of cinnamon, nutmeg, or even a dash of chili powder for a cozy, warming kick. Perfect for snowy evenings!
Salted caramel dream – Drizzle caramel sauce into your hot chocolate, then sprinkle with a touch of flaky sea salt for a decadent treat.
Mocha moment – Add a shot of espresso or strong brewed coffee for a grown-up mocha to keep you energized through the holiday hustle.
White Christmas – Swap out the cocoa powder and chocolate chips for white chocolate, and add a splash of almond extract for a snowy, sweet twist.
Boozy bliss (adults only) – Stir in a splash of Baileys, Kahlua, or peppermint schnapps for a festive grown-up treat. Serve with a candy cane garnish for extra cheer.
With so many ways to make it your own, this recipe is the gift that keeps on giving! 🎄✨
How I like to serve hot chocolate for the Holidays
- Holiday brunch centerpiece: Serve this rich hot chocolate alongside a festive spread of cinnamon rolls, Gingerbread pancakes or buttermilk waffles for a holiday brunch that feels extra special. Pair with whipped cream and sprinkles for a kid-friendly treat, or a splash of espresso for the adults!
- Christmas lights outing: Pour the hot chocolate into insulated travel mugs and take it along for a family outing to see Christmas lights. Add peppermint candy canes as stir sticks for a festive touch.
- Dessert bar star: Set up a DIY hot chocolate bar with toppings like marshmallows, chocolate sauce, crushed cookies, and candy canes. Perfect for a family game night or movie marathon.
- Christmas Eve tradition: Pair this hot chocolate with freshly baked Christmas cookies to enjoy while reading holiday stories or watching Christmas movies as a family.
Or for a casual family night, just pour your hot chocolate into mugs (don’t forget to sneak a taste!) and top it with whatever makes your heart happy – whipped cream, marshmallows, a sprinkle of chocolate shavings, or even crushed candy canes if you’re feeling festive. Then gather everyone around and watch their faces light up with delight as they take their first sip.
And there you have it – rich, creamy hot chocolate that’s guaranteed to warm hearts and make memories. Enjoy every sip!
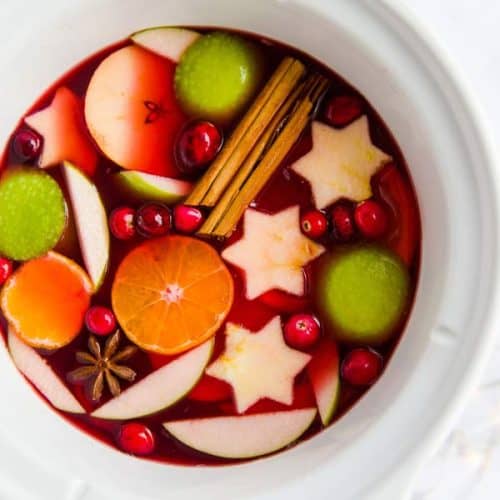
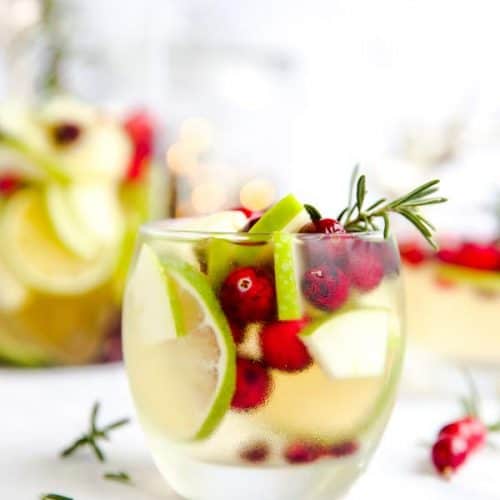
More festive drinks

PS If you try this recipe, please leave a review in the comment section and add a star rating in the recipe card – I appreciate your feedback! Follow along on Pinterest, Facebook or Instagram.
Recipe first published 12/22/2017. Updated with new text, new photos and a much improved recipe on 11/30/2024.


Lindsey says
There are next to no measurements for the ingredients here so I’m guessing they just want people to guess how much which would probably cause you to waste your time and ingredients. I should have looked through the whole recipe to make sure but I thought adding measurements was common sense.
Nora says
I’m confused, Lindsey – the recipe card lists the full and complete ingredient amounts. All you need to do is click “jump to recipe” at the top, and you will be taken there. The blog post also very, very clearly states right above the ingredient photo to go to the recipe at the bottom of the page for all the ingredient amounts. The top part is where you take a look if the recipe in general is what you want, and to see the step by step photos and tips if you need extra help. The recipe card is where you get your concise, organized recipe, including every measurement. Hope this helps.