It’s so quick and easy to make chocolate pudding from scratch – this recipe only takes 15 minutes to pull together (plus chilling time)! Serve it as an after school snack or dress it up as dessert: This is a delicious and versatile treat!
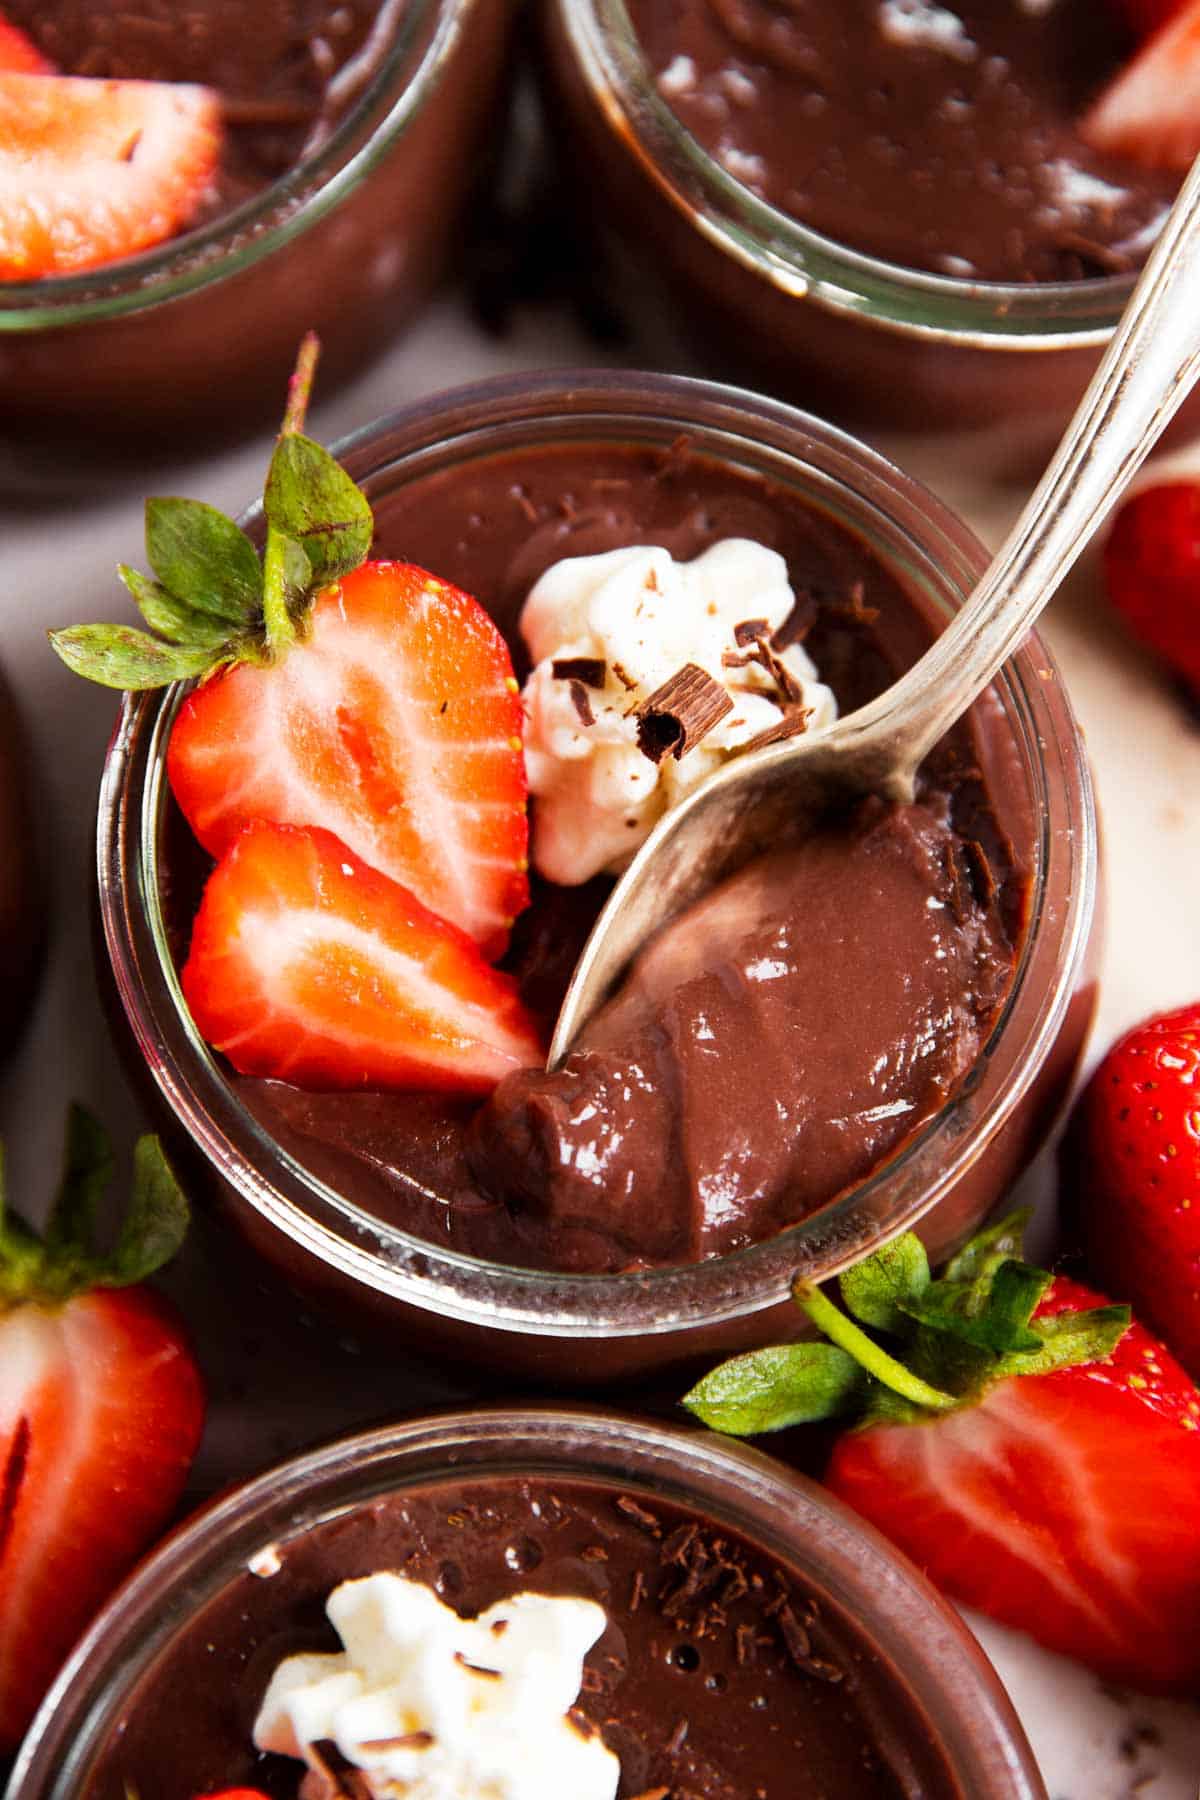
Easy Chocolate Pudding recipe
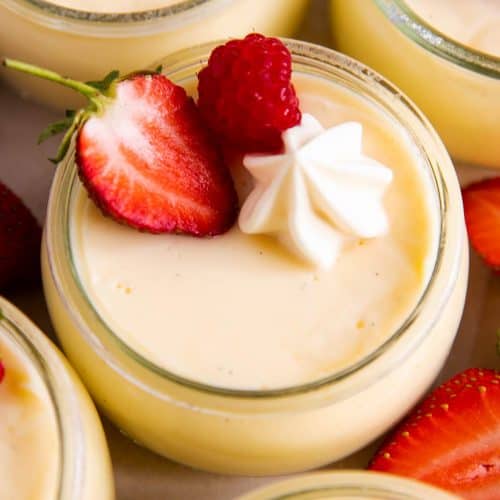
Pudding is such a favorite treat in my family. From the toddler to my husband, we all love to indulge in a good, old pudding cup. I usually alternate between my vanilla pudding and this chocolate pudding every week – they are both so quick and easy to whip up, there’s really no excuse!
Ingredients you’ll need
Here is a visual overview of the ingredients in the recipe. Scroll down to the printable recipe card at the bottom of this post for quantities!
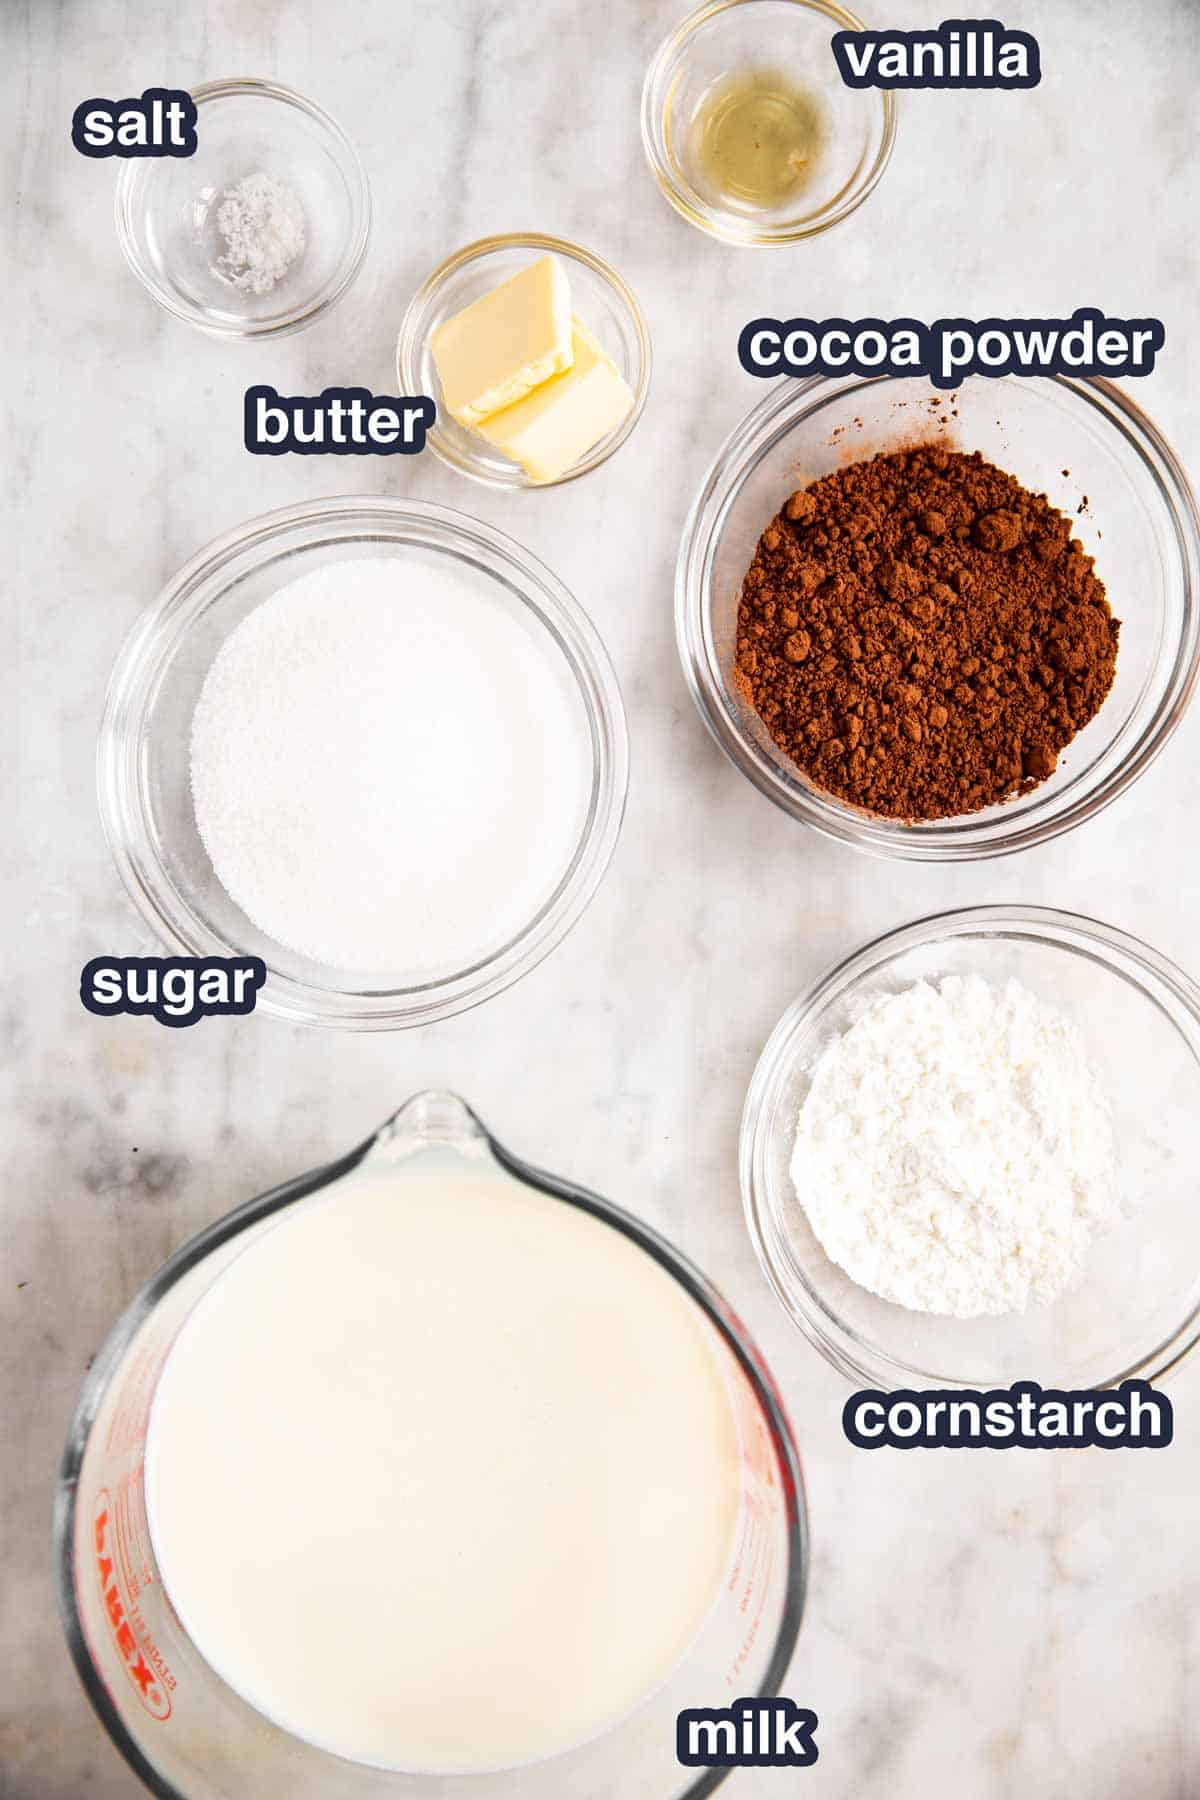
Ingredient notes
- Milk: I highly recommend using whole milk for the creamiest, perfectly set pudding. 2% is fine to use if you’re OK with a less rich taste. I do not recommend using skim milk, as the pudding tends to come out tasting watery.
- Cornstarch: Please use cornstarch, not flour. Flour doesn’t act the same as cornstarch in this recipe, so they are not interchangeable.
- Cocoa powder: I used unsweetened cocoa powder. If you only have sweetened hot cocoa mix on hand, reduce the amount of sugar added by 2-4 tablespoons (depending how sweet your mix is) and increase the hot cocoa mix by 2 tablespoons, or more to taste.
- Salt: Salt is not mandatory, but it does nicely enhance the flavor of the pudding.
How to make chocolate pudding from scratch
1. Combine the dry ingredients in a saucepan – use a whisk to completely break up the cocoa powder!
2. Gradually whisk in the milk, then whisk the mixture until fully smooth (the surface will be bubbly/foamy from whisking, that’s perfectly fine).
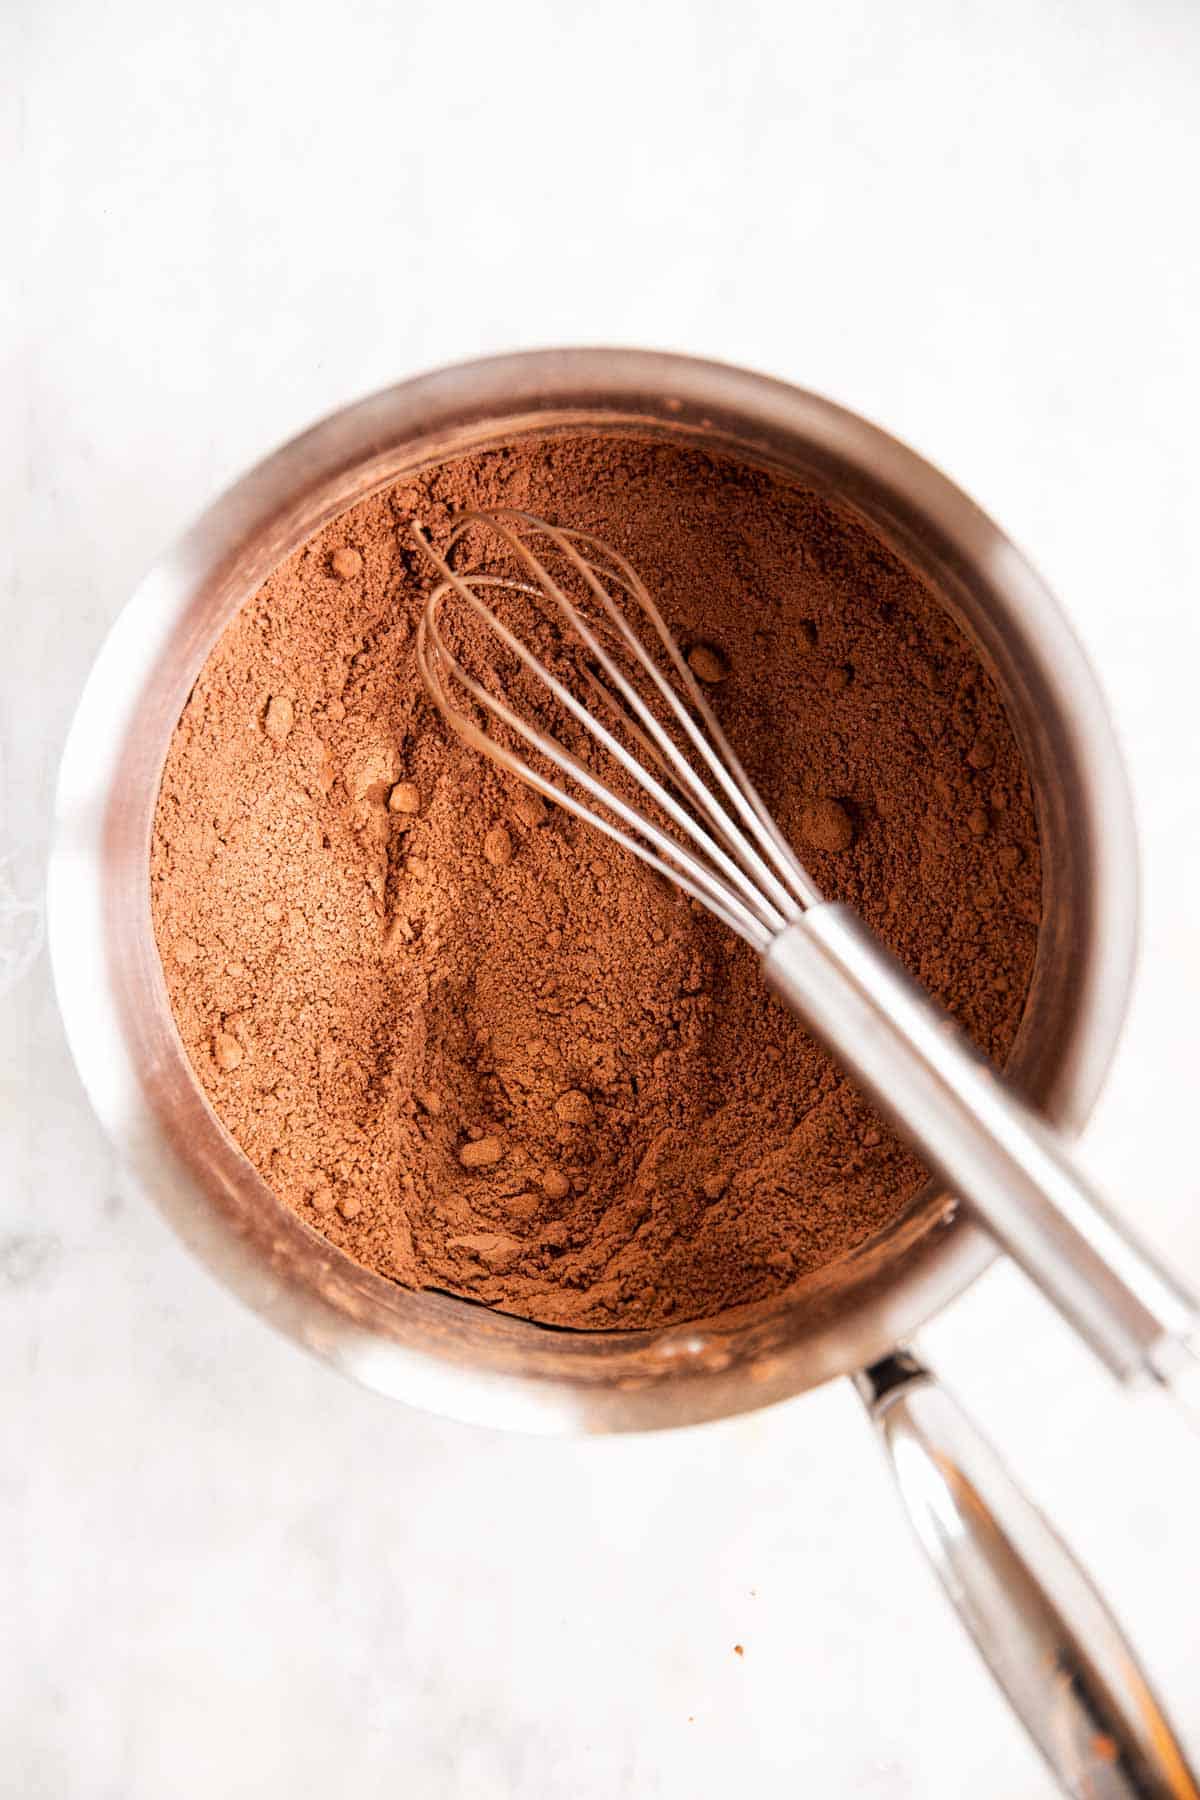
combine dry ingredients 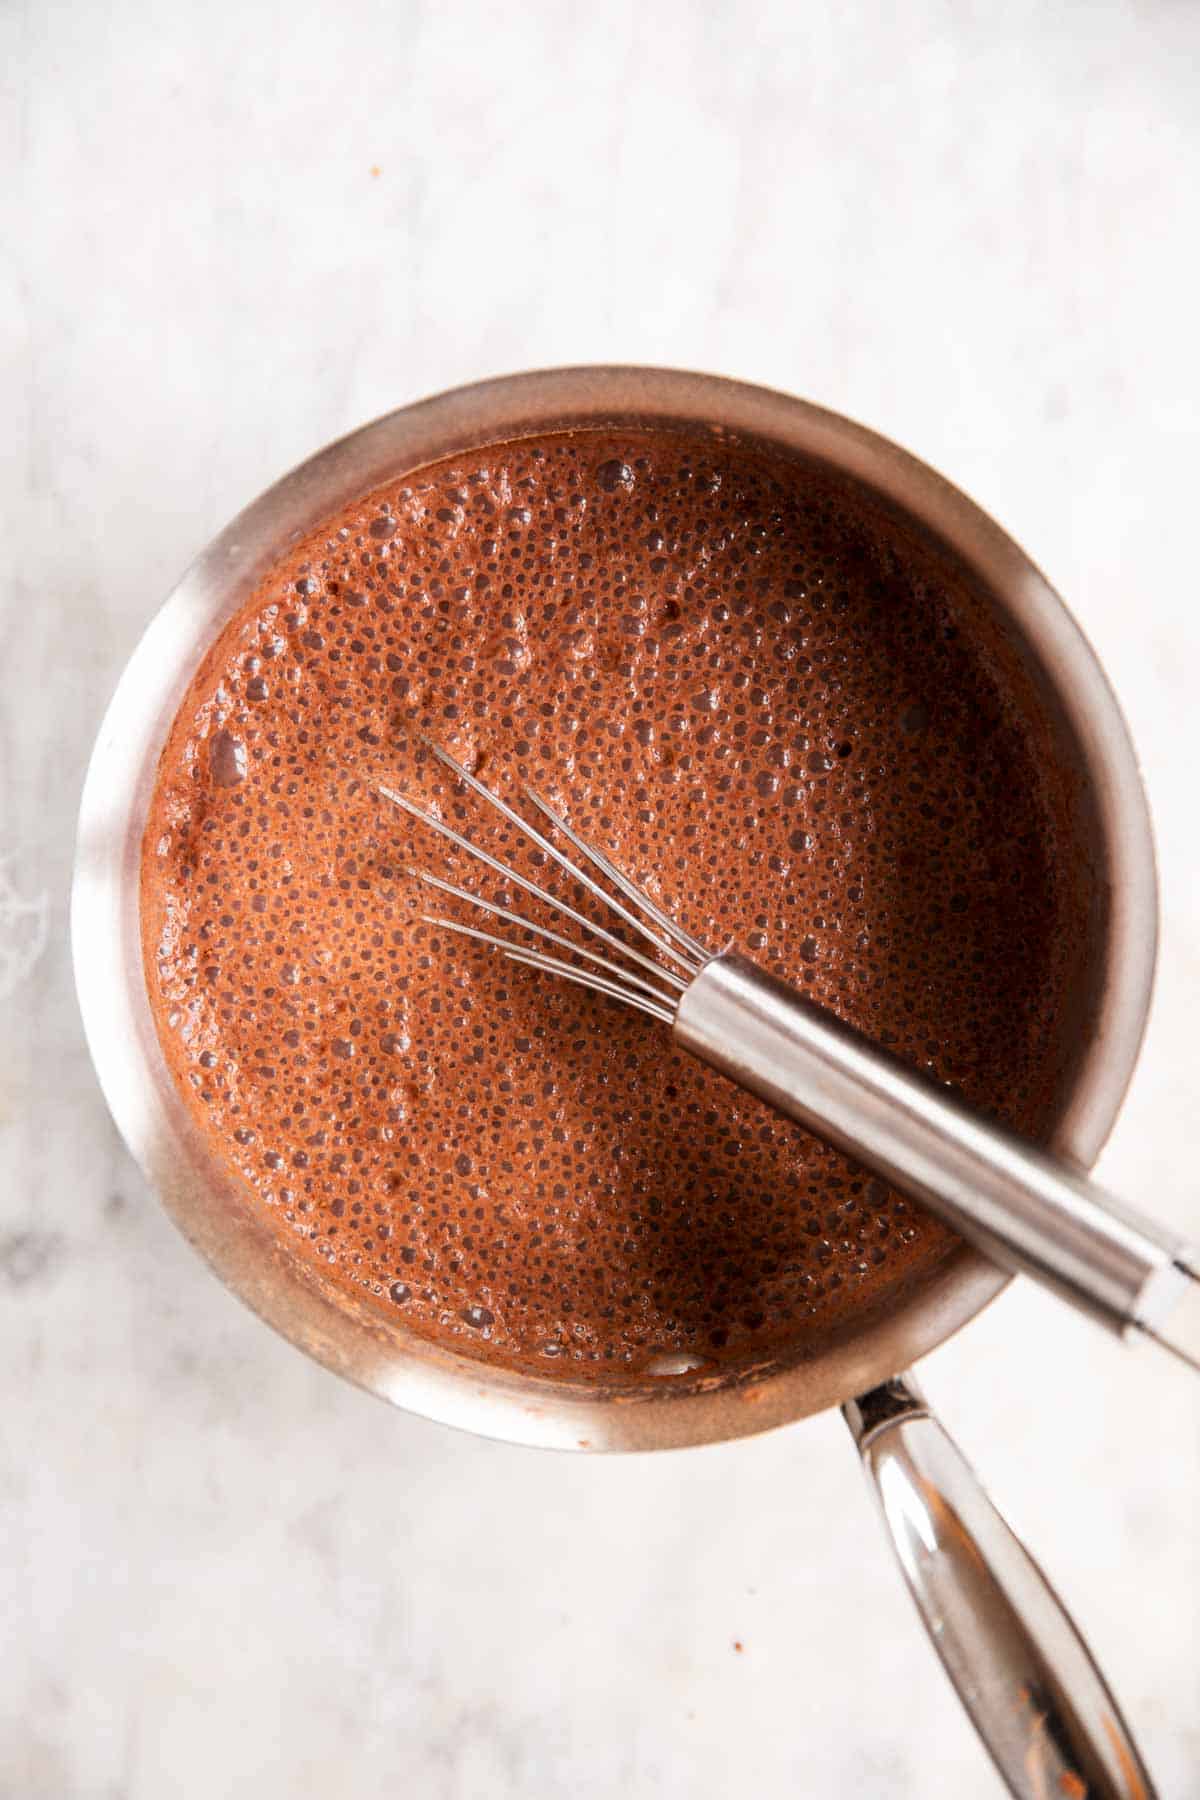
whisk in milk 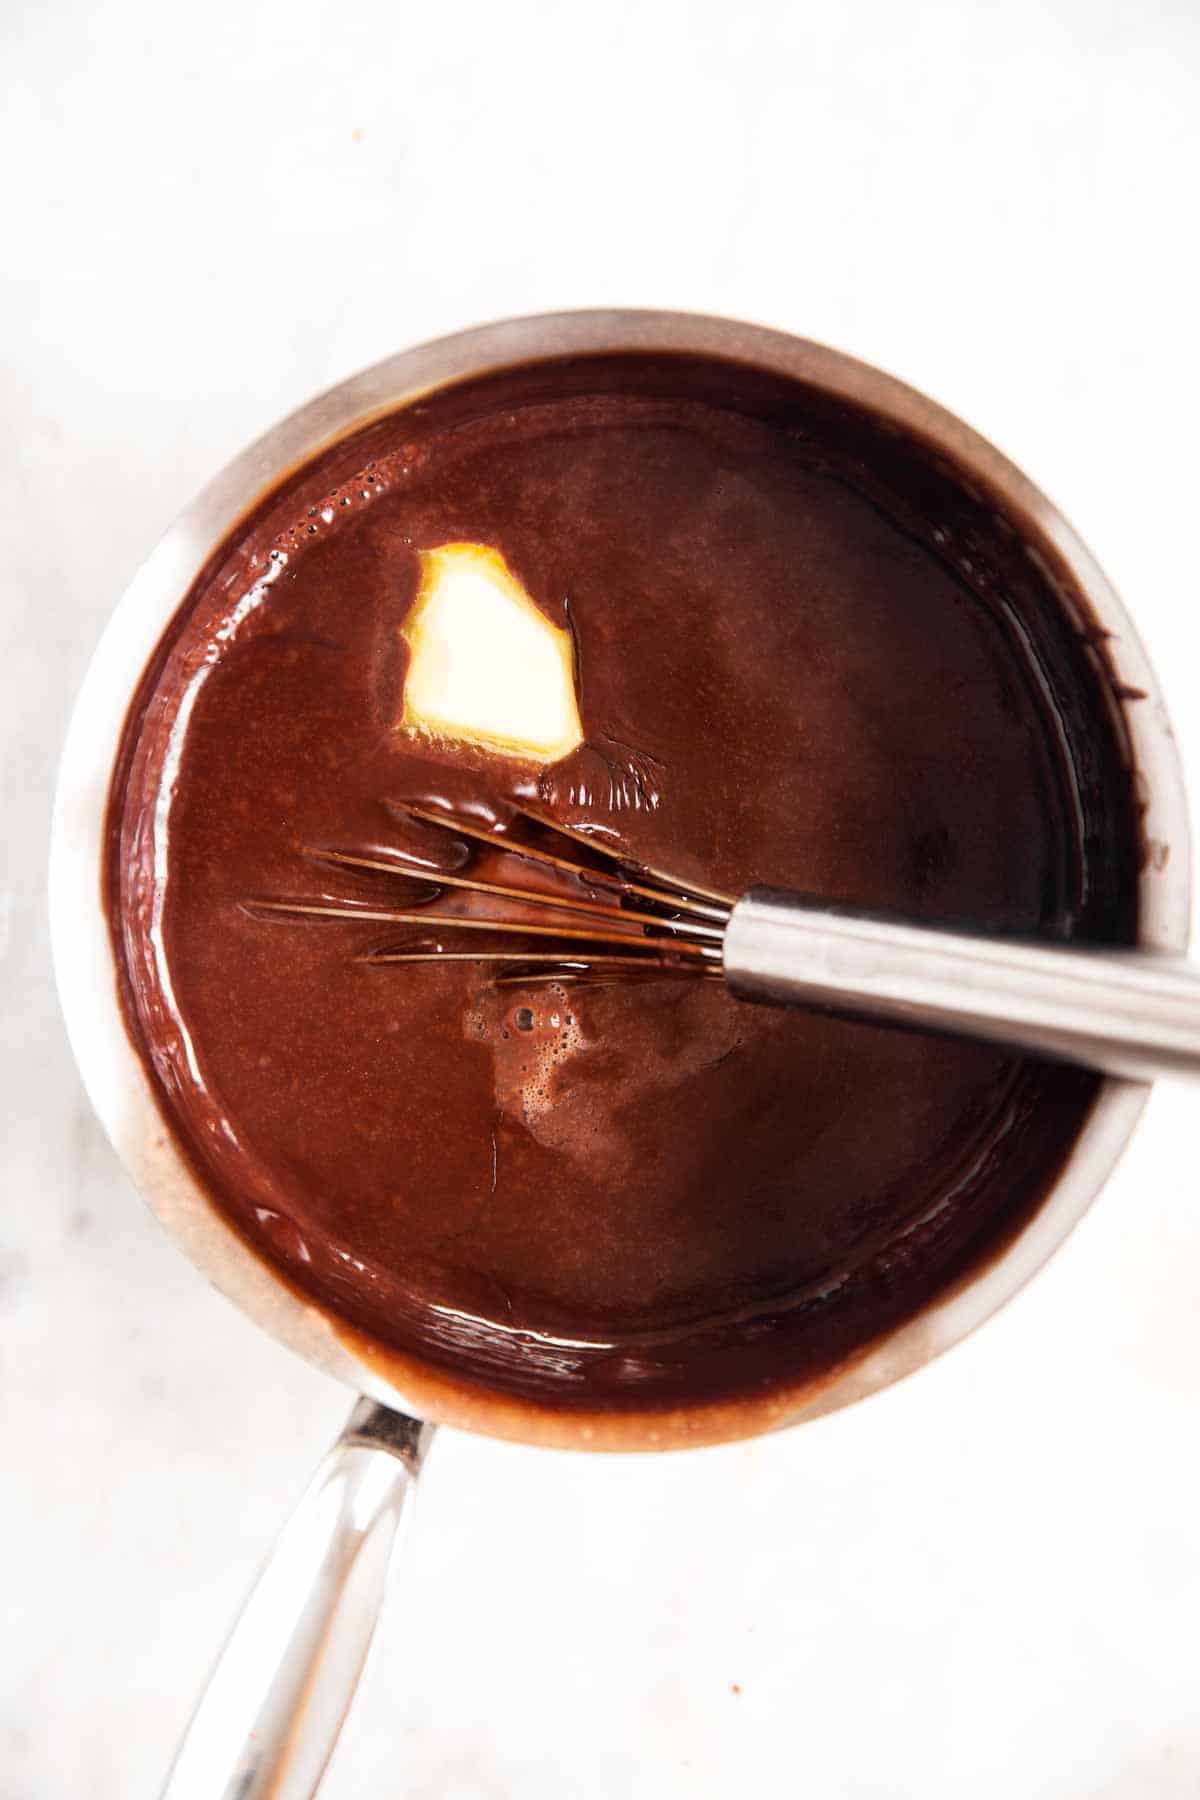
after boiling 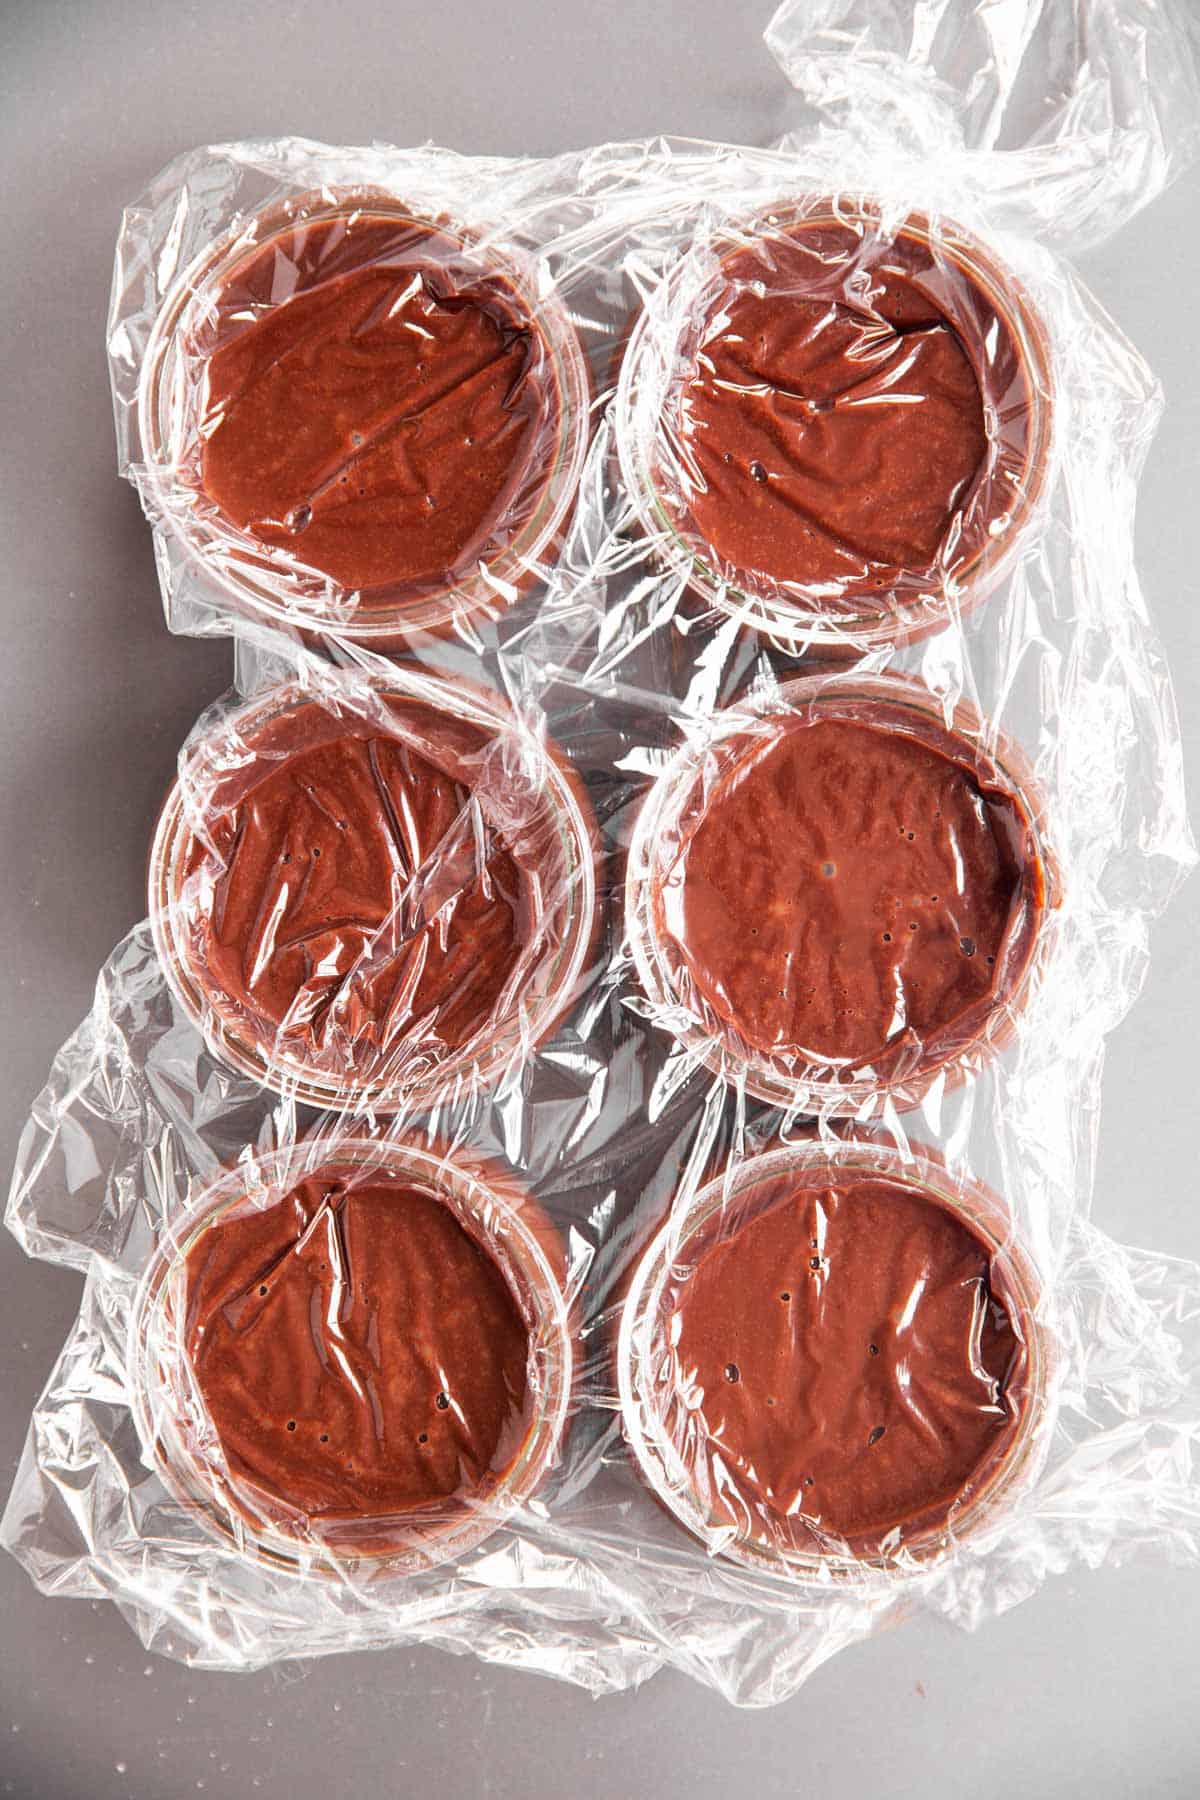
transfer to jars to cool
3. Bring the mixture to a boil over medium heat – it’s important to use medium heat in order to keep the pudding from scorching on the bottom of the saucepan. Whisk constantly. Once at a boil, cook the pudding for one minute before taking it off the heat.
It will still be pretty liquid at this point, don’t expect it to thicken to a pudding consistency yet – it will do this once it has cooled.
4. Immediately stir in the butter and vanilla, then immediately transfer the pudding to six ½ cup capacity serving dishes. Cover the surface directly with heat-proof, food-safe plastic wrap if you want to keep a skin from forming, then chill the pudding for several hours until firm.
Recipe tips
- Make sure to thoroughly combine the dry ingredients before adding the milk. It really does help with the mixture coming together more evenly.
- Only use medium heat to bring your pudding to a boil. The mixture burns and scorches easily on the bottom if you use a higher temperature. You’ll need a few more minutes of patience, but it’s worth it.
- Once the pudding is cooked, you need to stir in the butter/vanilla immediately. And then, you need to immediately transfer it to serving dishes – otherwise, a skin starts forming very quickly on the surface of the pudding.
- To keep the skin from forming on the pudding in the serving dishes, you can cover it with (food grade, heat safe!) plastic wrap directly on the pudding’s surface. This will completely keep a skin from forming, but only if you do it immediately after transferring the pudding to the serving dishes, and then leave it on until the pudding has cooled completely. I do not usually bother with this for us, but will do it if I’m serving the pudding to company.
Serving ideas
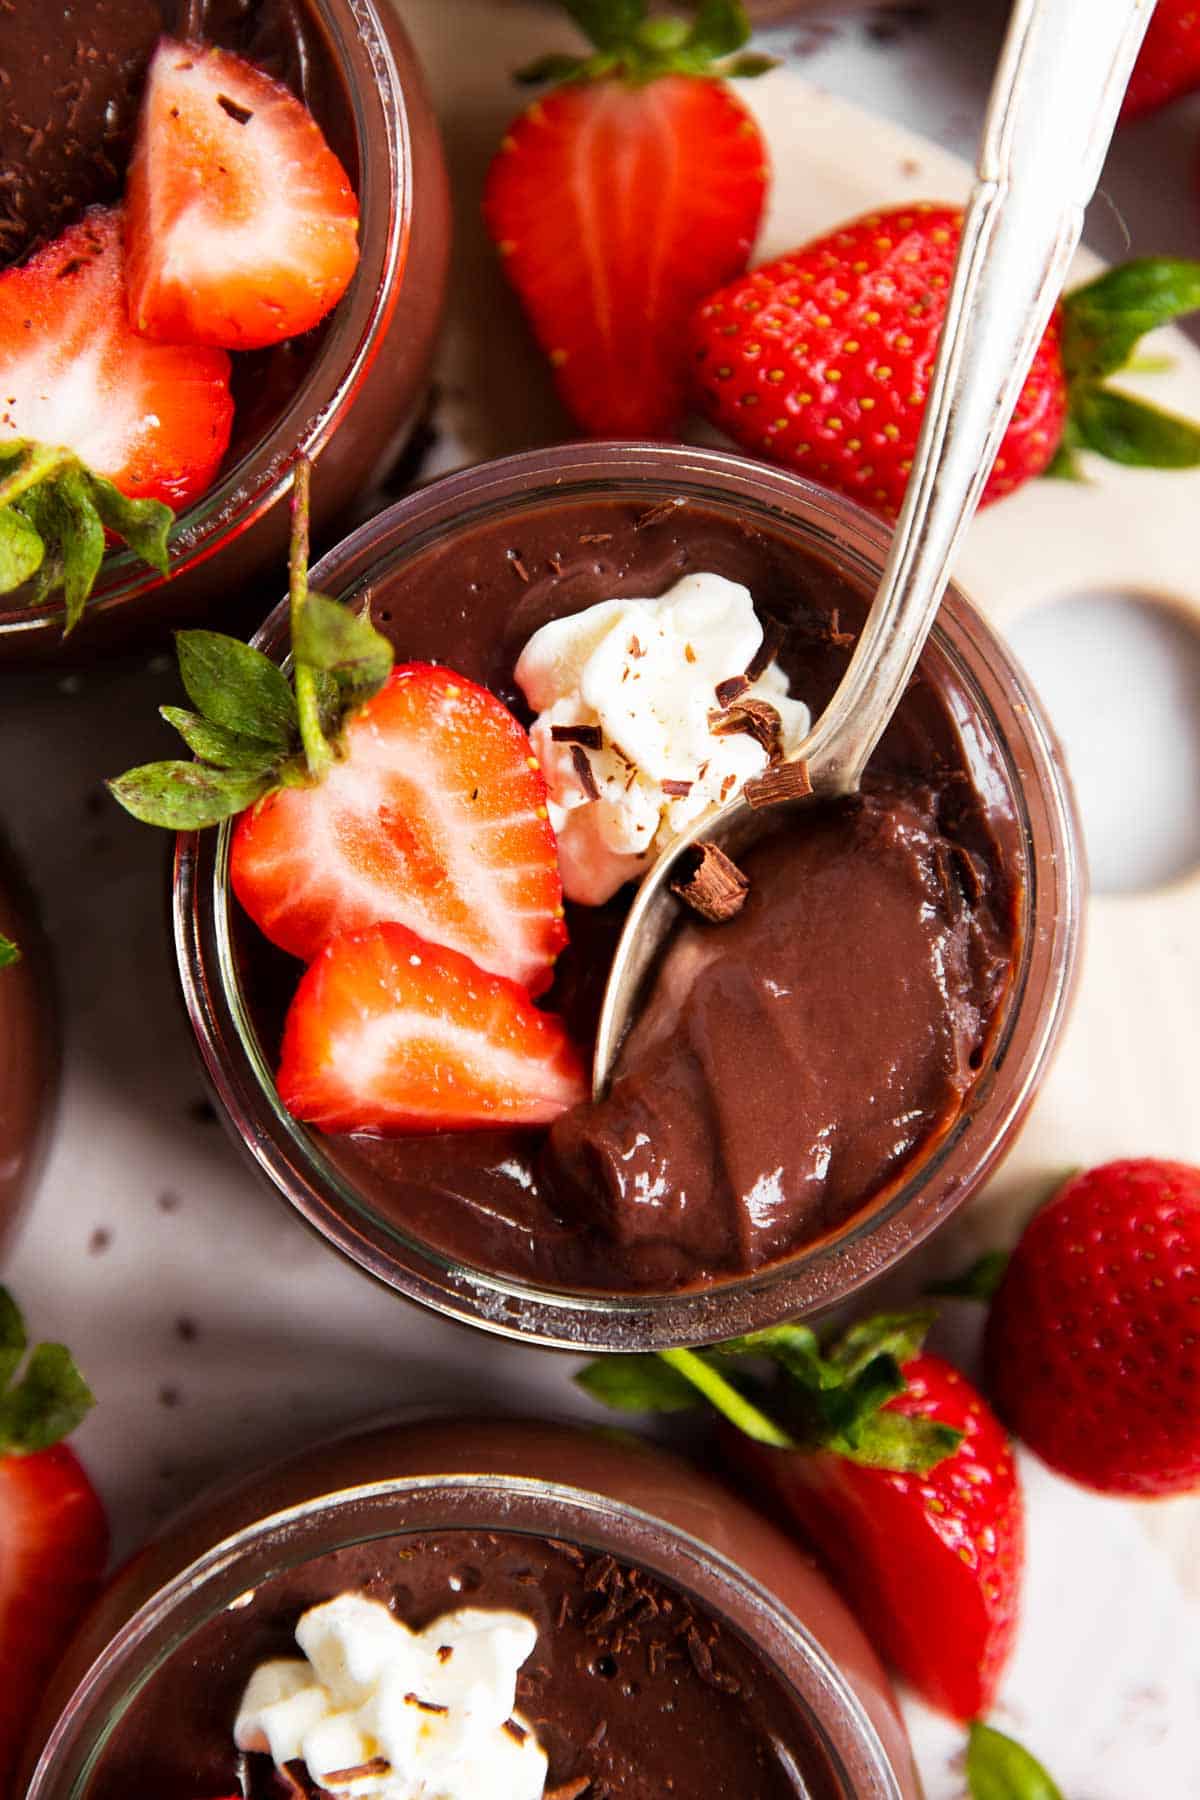
For a quick after school snack, my kids have the pudding either as-is or with a crushed up graham cracker sprinkled on top.
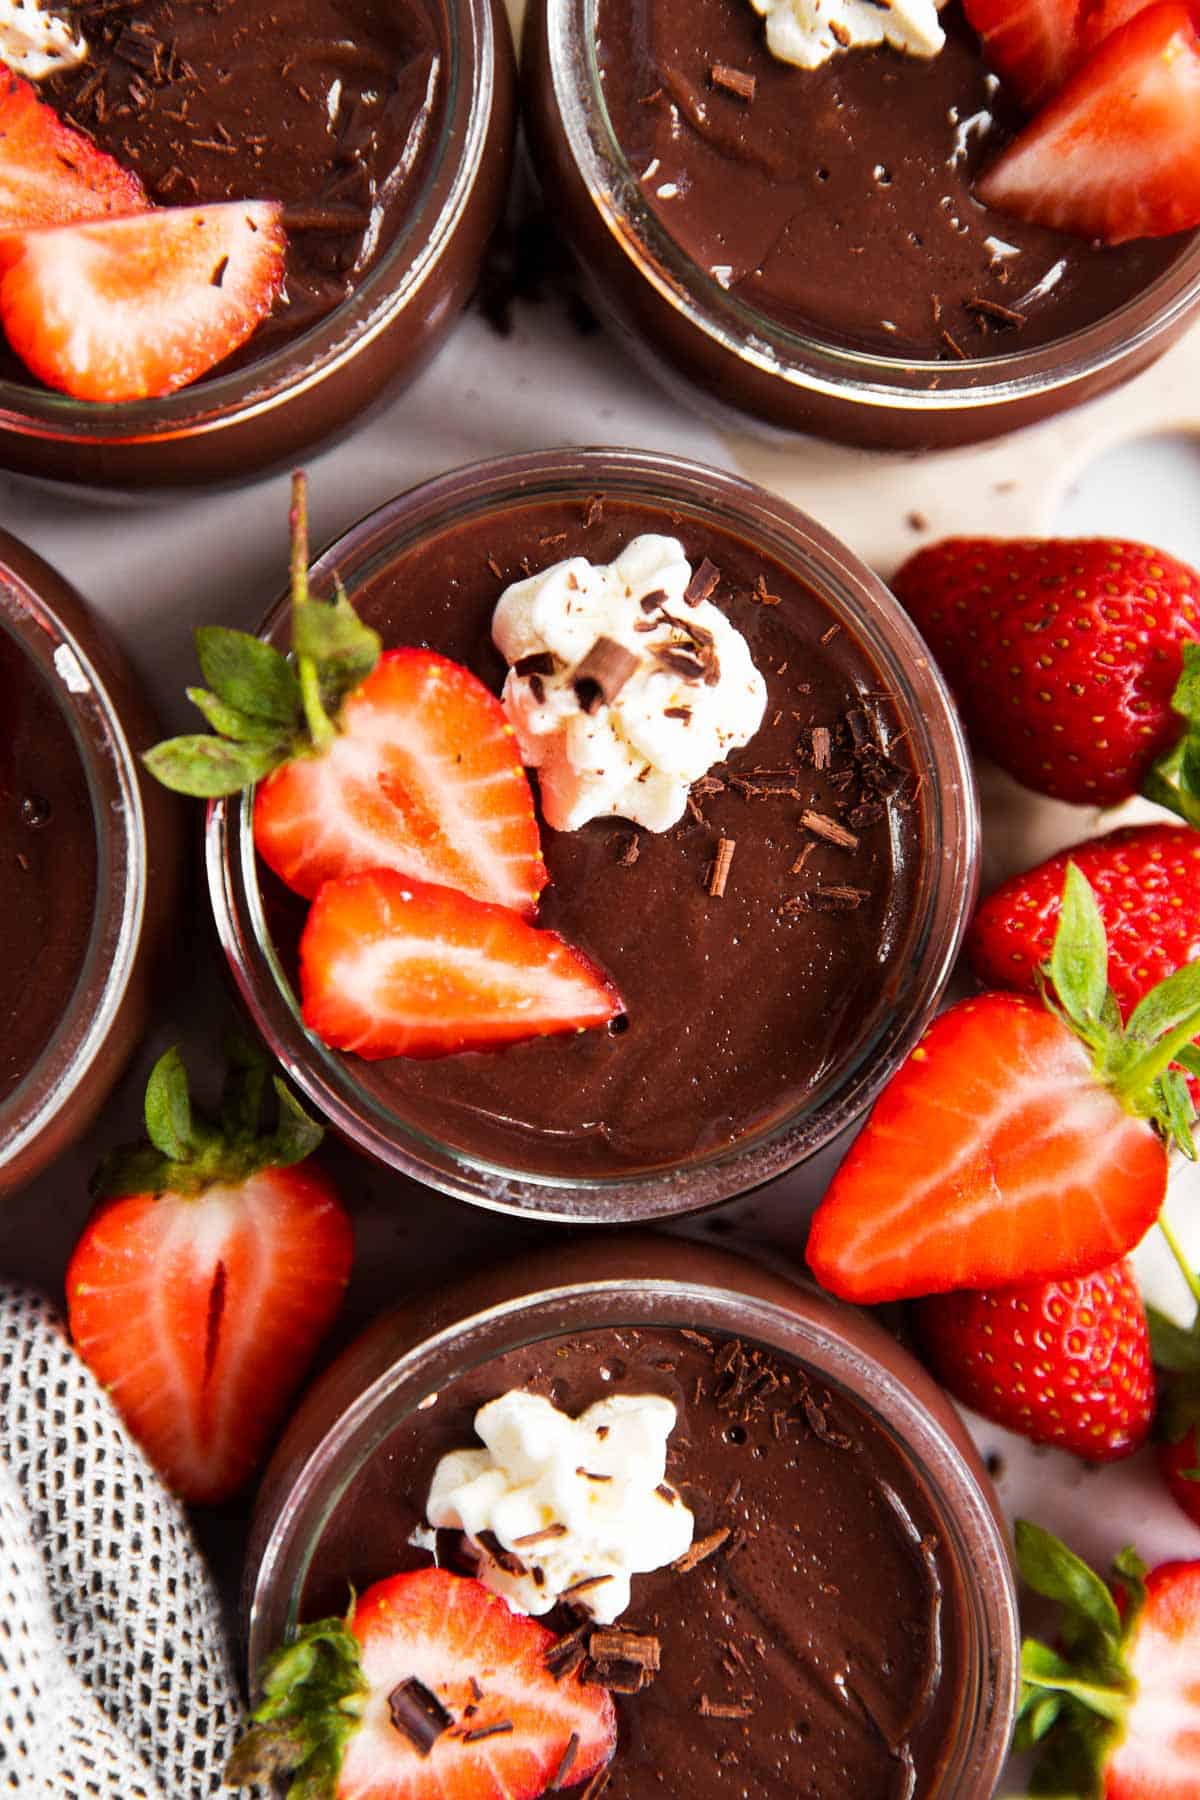
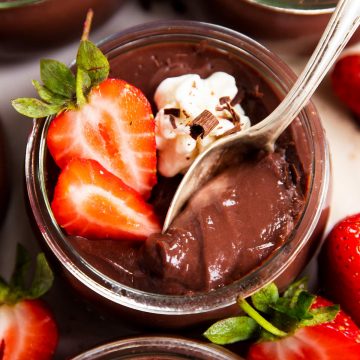
As a simple dessert, I love serving it with a dollop of whipped cream and fresh berries, plus some chocolate shavings. It looks so elegant, you’d never guess you could turn a simple pudding into something so company-worthy!
Although my kids think the best way to have the pudding is topped with M&M’s, marshmallows and sprinkles ?
PS If you try this recipe, please leave a review in the comment section and add a star rating in the recipe card – I appreciate your feedback! Follow along on Pinterest, Facebook or Instagram.
Printable recipe
Homemade Chocolate Pudding
Recipe details
Ingredients
- ¾ cup sugar
- 5 tablespoons unsweetened cocoa powder
- 3 ½ tablespoons cornstarch
- pinch of salt
- 2 ¾ cups milk
- 2 tablespoons butter
- ½ teaspoon vanilla extract
Instructions
- Whisk sugar, cocoa powder, cornstarch and salt in a medium saucepan until combined. Gradually whisk in milk until smooth.
- Place saucepan on stove over medium heat and bring to a boil, whisking constantly. Boil for one minute.
- Remove saucepan from heat (mixture will still be thin, pudding sets as it cools). Stir butter and vanilla extract into pudding mixture.
- Immediately divide hot pudding mixture between six ½-cup capacity serving dishes. Cover with food-safe, heat-safe plastic wrap on surface to keep a skin from forming, if desired. Chill for several hours, until thickened and cooled, before serving.
Notes
Ingredient notes
- Milk: I highly recommend using whole milk for the creamiest, perfectly set pudding. 2% is fine to use if you’re OK with a less rich taste. I do not recommend using skim milk, as the pudding tends to come out tasting watery.
- Cornstarch: Please use cornstarch, not flour. Flour doesn’t act the same as cornstarch in this recipe, so they are not interchangeable.
- Cocoa powder: I used unsweetened cocoa powder. If you only have sweetened hot cocoa mix on hand, reduce the amount of sugar added by 2-4 tablespoons (depending how sweet your mix is) and increase the hot cocoa mix by 2 tablespoons, or more to taste.
- Salt: Salt is not mandatory, but it does nicely enhance the flavor of the pudding.
Recipe tips
- Make sure to thoroughly combine the dry ingredients before adding the milk. It really does help with the mixture coming together more evenly.
- Only use medium heat to bring your pudding to a boil. The mixture burns and scorches easily on the bottom if you use a higher temperature. You’ll need a few more minutes of patience, but it’s worth it.
- Once the pudding is cooked, you need to stir in the butter/vanilla immediately. And then, you need to immediately transfer it to serving dishes – otherwise, a skin starts forming very quickly on the surface of the pudding.
- To keep the skin from forming on the pudding in the serving dishes, you can cover it with (food grade, heat safe!) plastic wrap directly on the pudding’s surface. This will completely keep a skin from forming, but only if you do it immediately after transferring the pudding to the serving dishes, and then leave it on until the pudding has cooled completely. I do not usually bother with this for us, but will do it if I’m serving the pudding to company.






Emily says
made this fir my bf who is a huge choc pudding lover. he said its the best pudding he’s ever eaten – and he is picky!!!
Nora says
I’m so glad, Emily!
Saralynn says
delish and so easy! 2 and 4 year olds loved it, and now the 2 year old can say “more pudding” lol
Nora says
I’m so glad, Saralynn!
Cassie says
My family is trying to pull back on packaged food now that we all have a year of frozen pizza behind us, lol. We go thru a ton of pudding cups with 4 elementary and kinder aged kiddos. Was looking for a recipe to try and make my own, and tried several that were too cocoa-y, too sweet, not set… Well, this one is a clear winner, and I’m so glad I found it! Perfect taste, perfect texture, super quick and easy to pull together. will be trying my hand at your vanilla pudding next. Thank u for sharing!
Nora says
Haha, yes, we all need some freshness after 2020! I’m so glad my chocolate pudding recipe was to your family’s taste, Cassie – and I do hope the vanilla pudding will be the same!