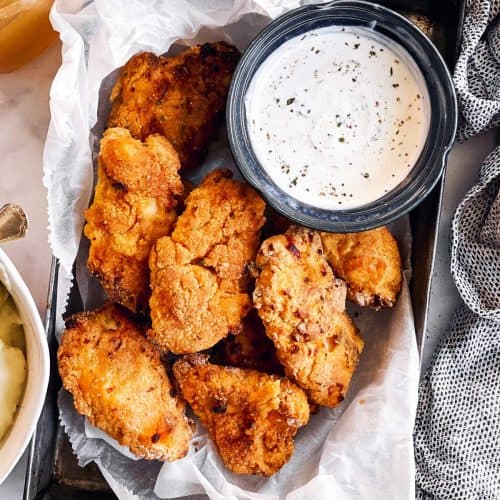
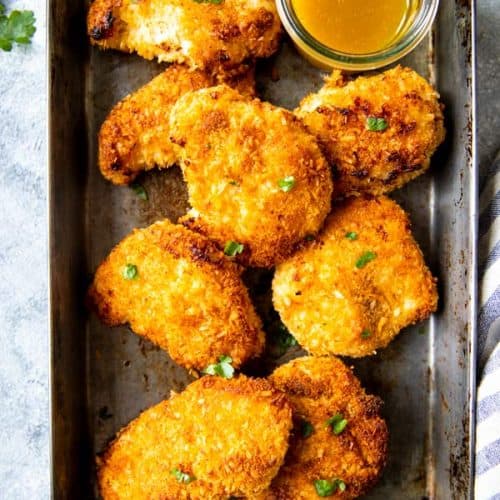
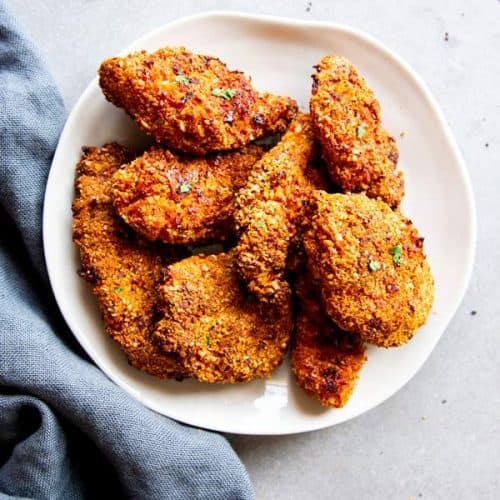
This is the BEST Garlic Parmesan Oven Fried Chicken recipe! Full of flavor and the crispy coating actually sticks to the chicken – try it for yourself tonight.
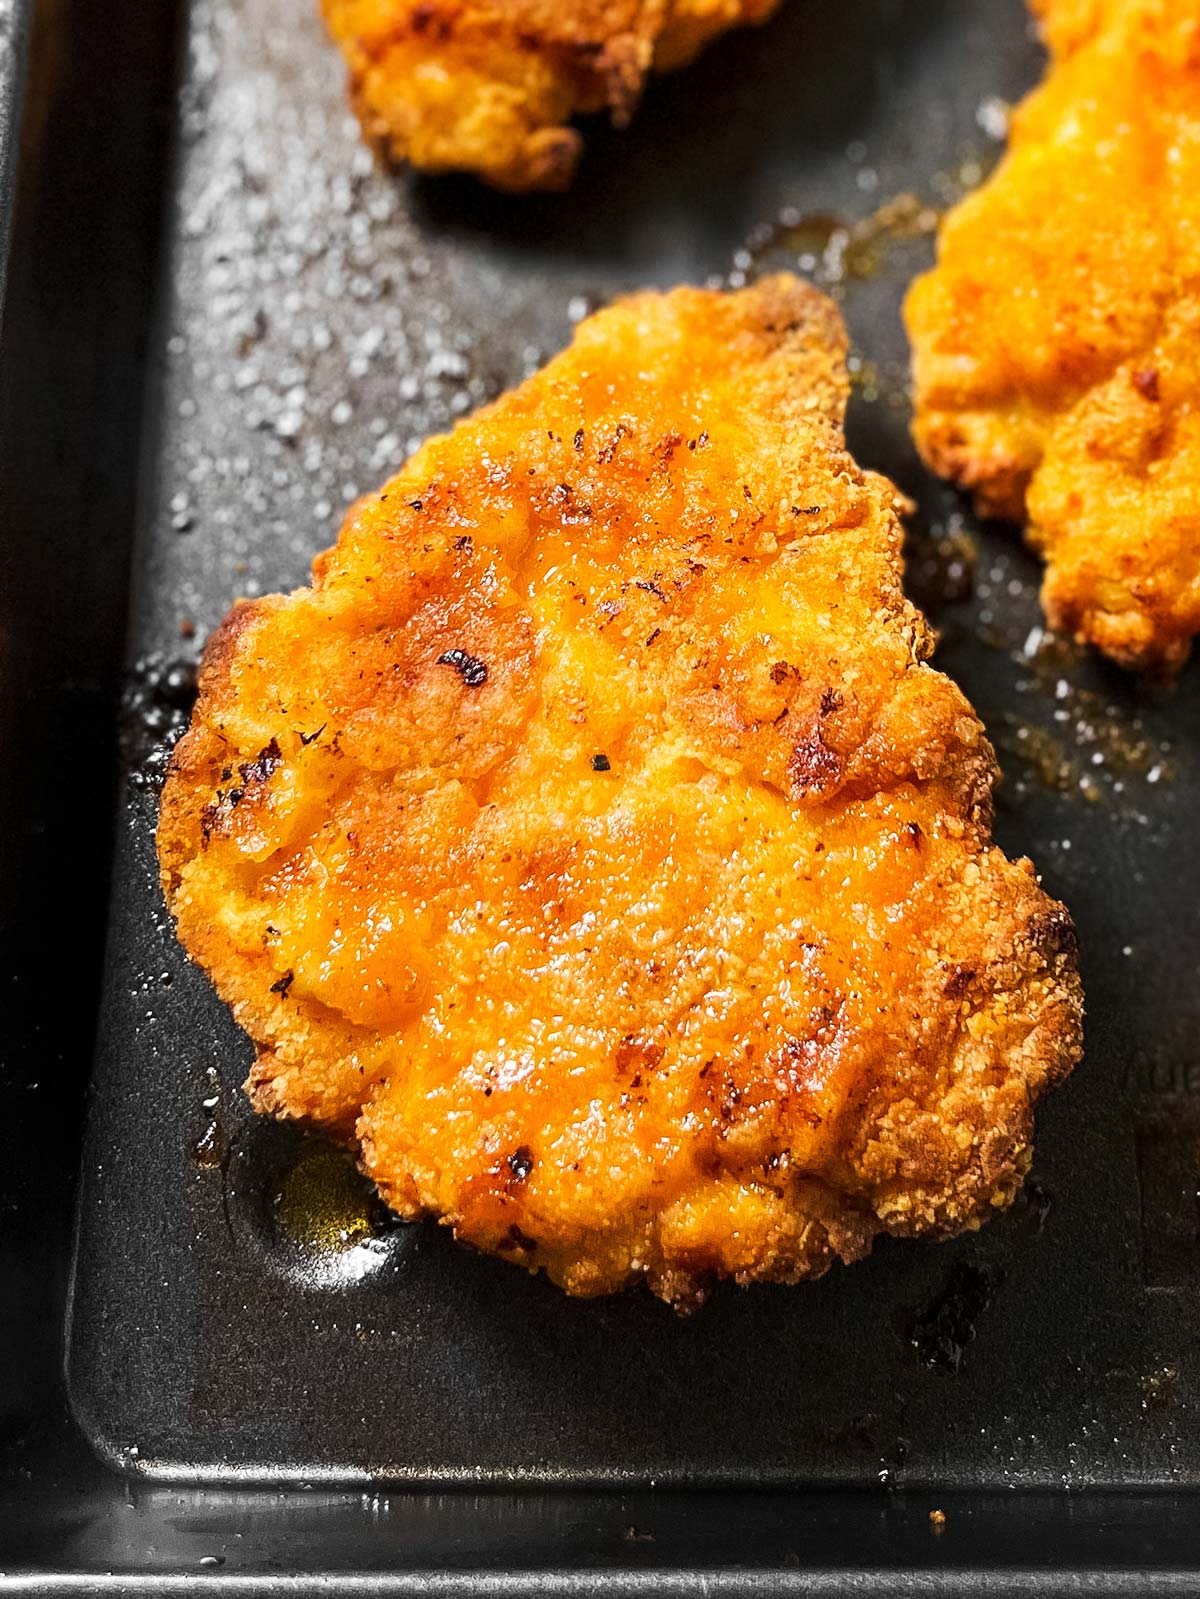
I make this Garlic Parmesan Crispy Oven Fried Chicken whenever I crave crispy chicken but don’t feel like getting takeout! (I actually think this tastes better than KFC, but I might be biased…)
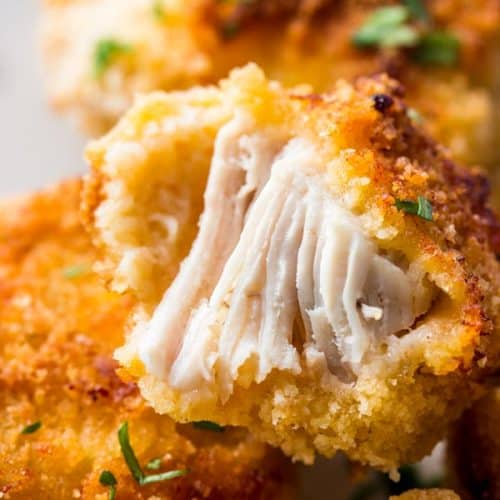
My recipes makes the BEST golden breading that actually sticks to the chicken. I’ve been using this method for about a decade and convinced even the most hardcore fast-foodies that baked chicken can truly be wonderful ?
Ingredients you’ll need
Here is a visual overview of the ingredients in the recipe. Scroll down to the printable recipe card at the bottom of this post for quantities!
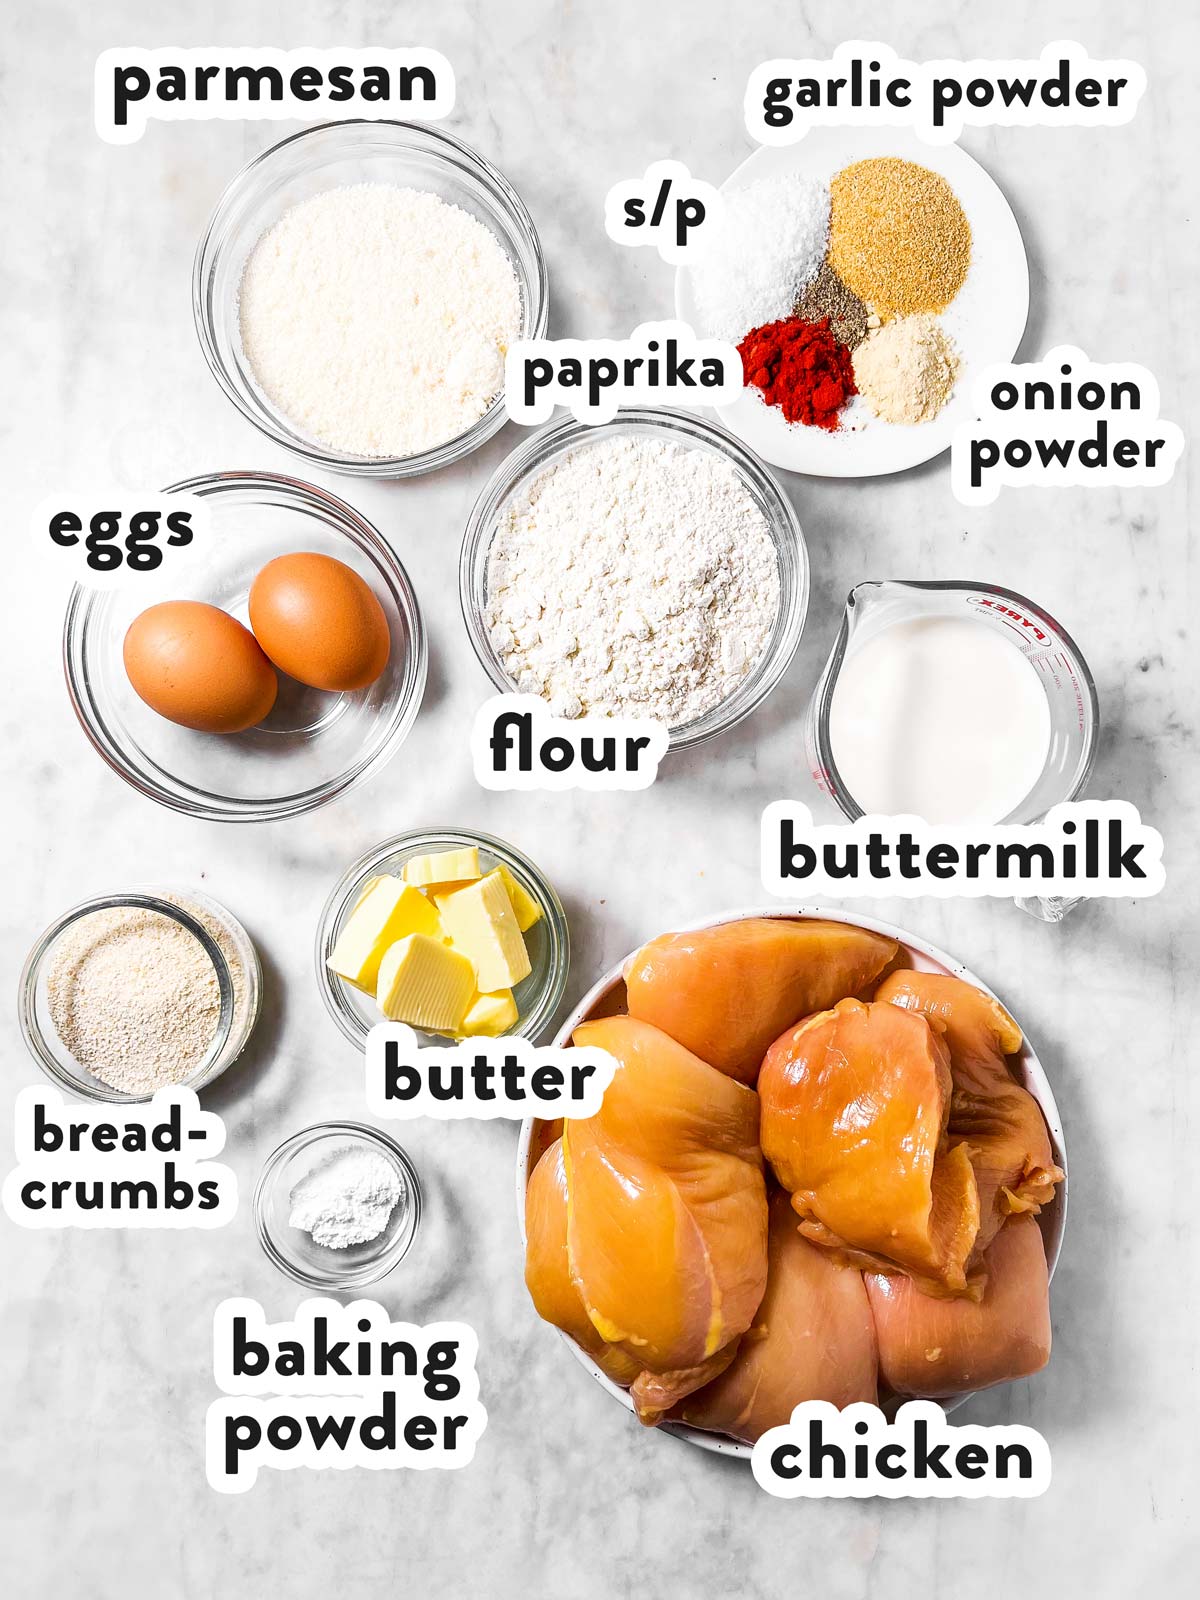
Ingredient notes
- Chicken: I use boneless, skinless chicken breast for this recipe. Readers have reported great success using chicken thighs, even bone-in. Chicken tenders work wonderfully to make homemade chicken fingers. Just keep in mind, different pieces will require different baking times.
- Buttermilk: You need old-fashioned buttermilk for this recipe (the thick kind, not the “modern” runny kind). If you don’t have any available, use half buttermilk, half natural Greek yogurt.
- Parmesan cheese: I use finely grated cheese from the store. If you want to grate your own, please make sure to grate it VERY finely.
- Breadcrumbs: I make this with regular breadcrumbs, because that’s what I always have on hand. Panko works great, though! Italian seasoned breadcrumbs can work in a pinch, if that’s all you have.
- Butter: I know this seems like an odd ingredient, but it just works best here. If you want to avoid butter, use a neutral vegetable oil instead. It does turn out best with butter, but oil still yields fine results.
- Salt: Please be mindful of the exact salt you use. Kosher salt can take 1 teaspoon per pound of meat, easily. Regular table salt yields the same saltiness with about ½ teaspoon of salt per pound of meat. With natural sea salt, it heavily depends on the size of the flakes – the larger the flakes, the more volume you’ll need. I always suggest to start with less and then increase the salt the next time you make the recipe, in case it wasn’t enough. You can always add salt at the table, or use a dip like ketchup or Ranch to add more flavor.
How to make Garlic Parmesan Oven Fried Chicken
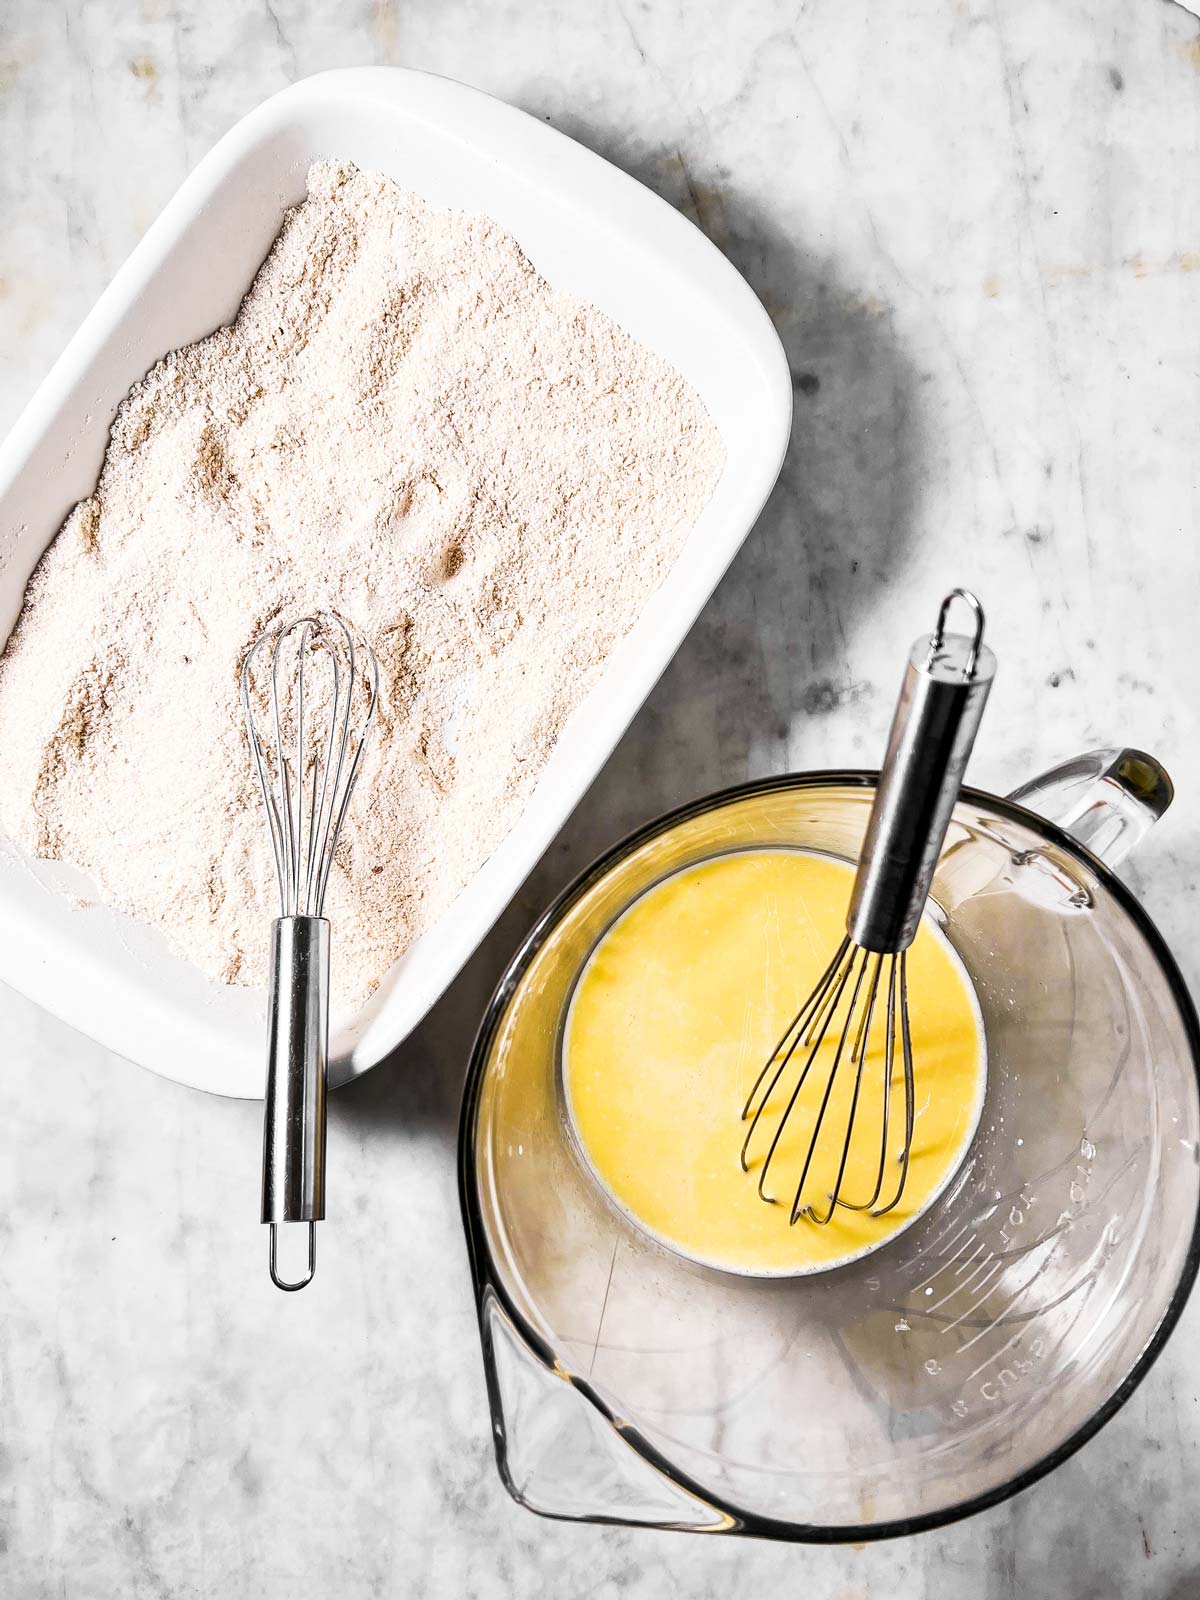
1. Start by combining the wet ingredients in one bowl, and the dry ingredients in a shallow dish.
2. Then dip the chicken pieces in the following order:
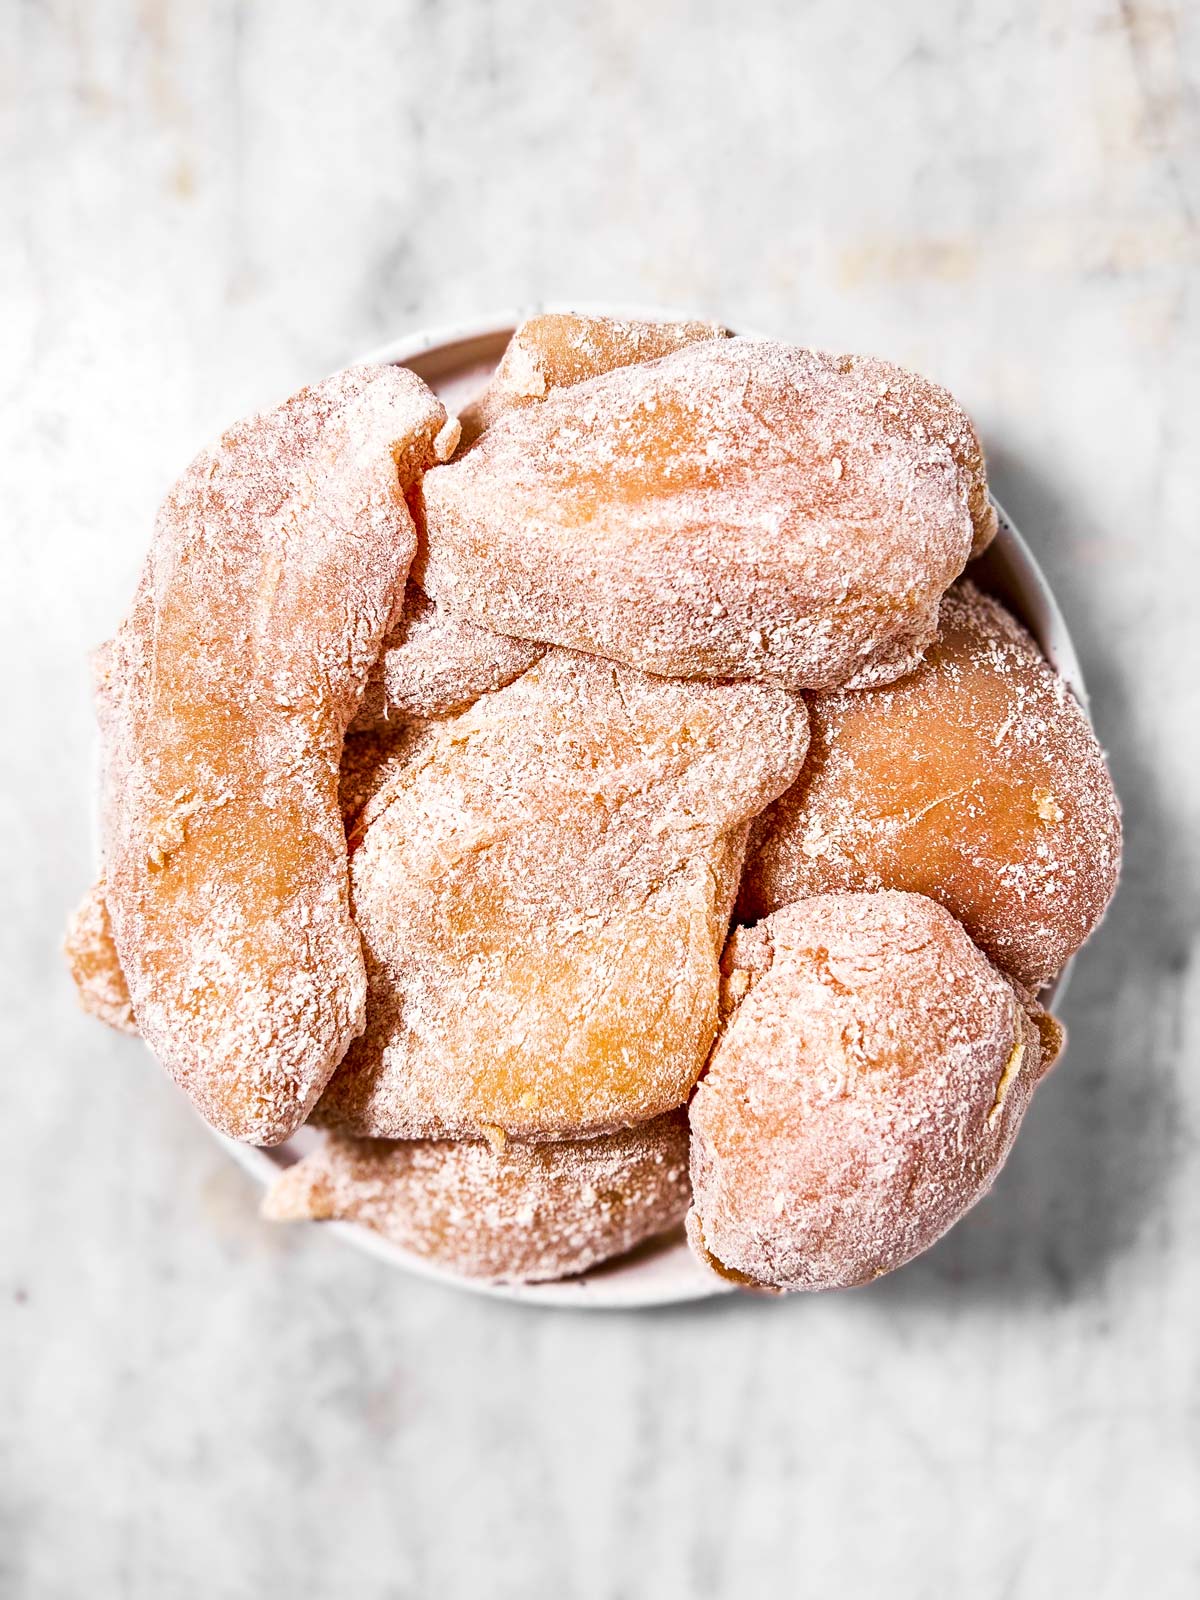
- FIRST toss all pieces in the dry ingredients, you just need a light coating at this point
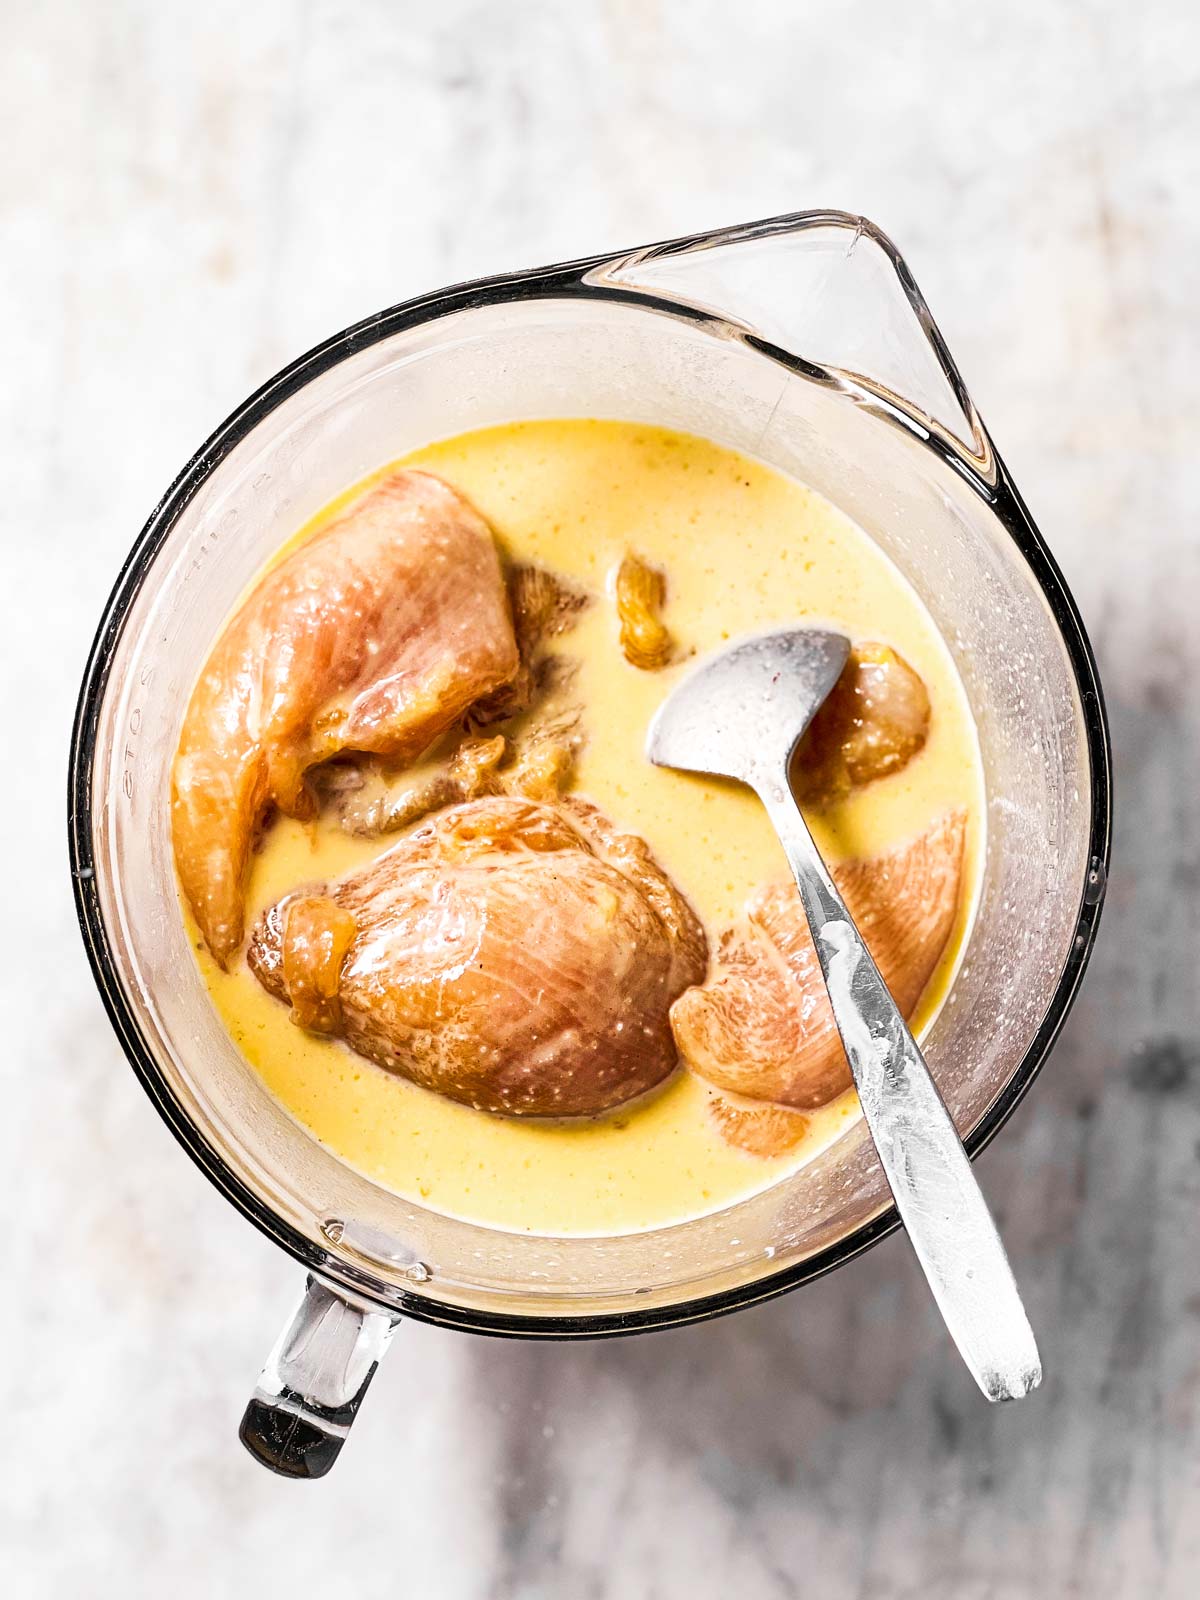
- Then toss the pieces in the egg mix to fully coat.
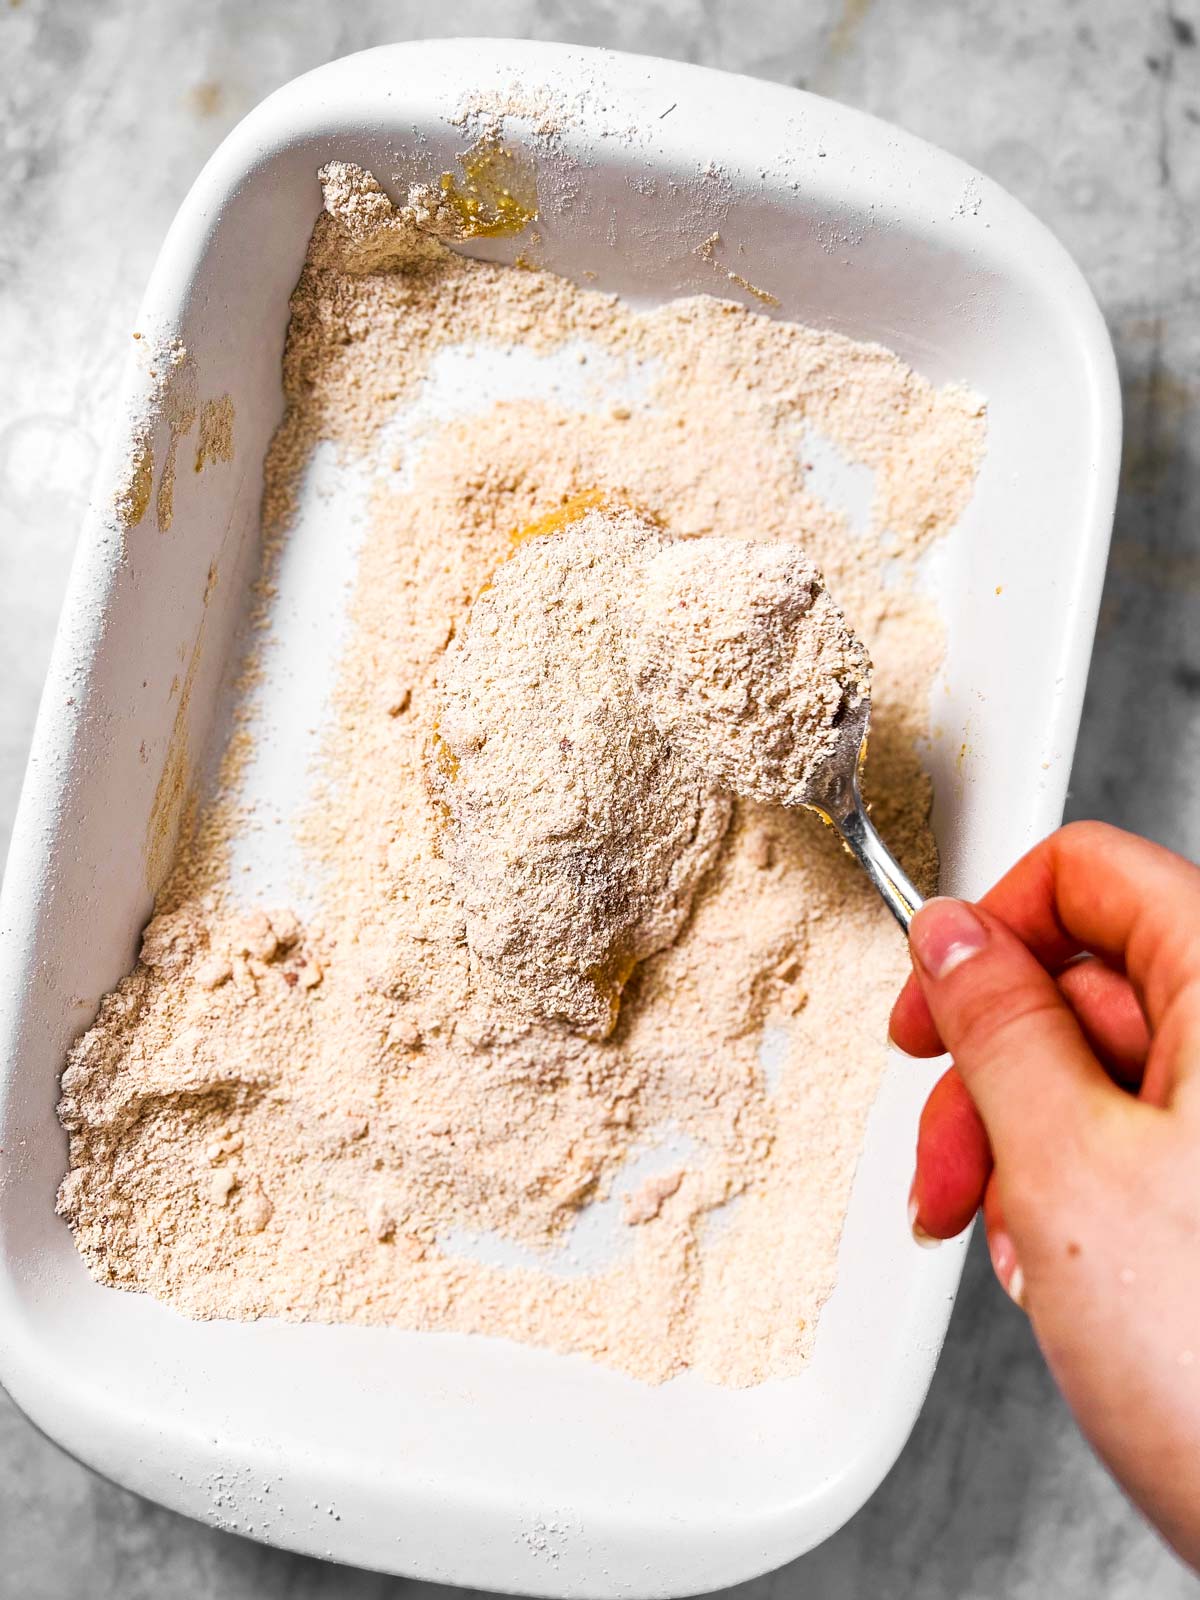
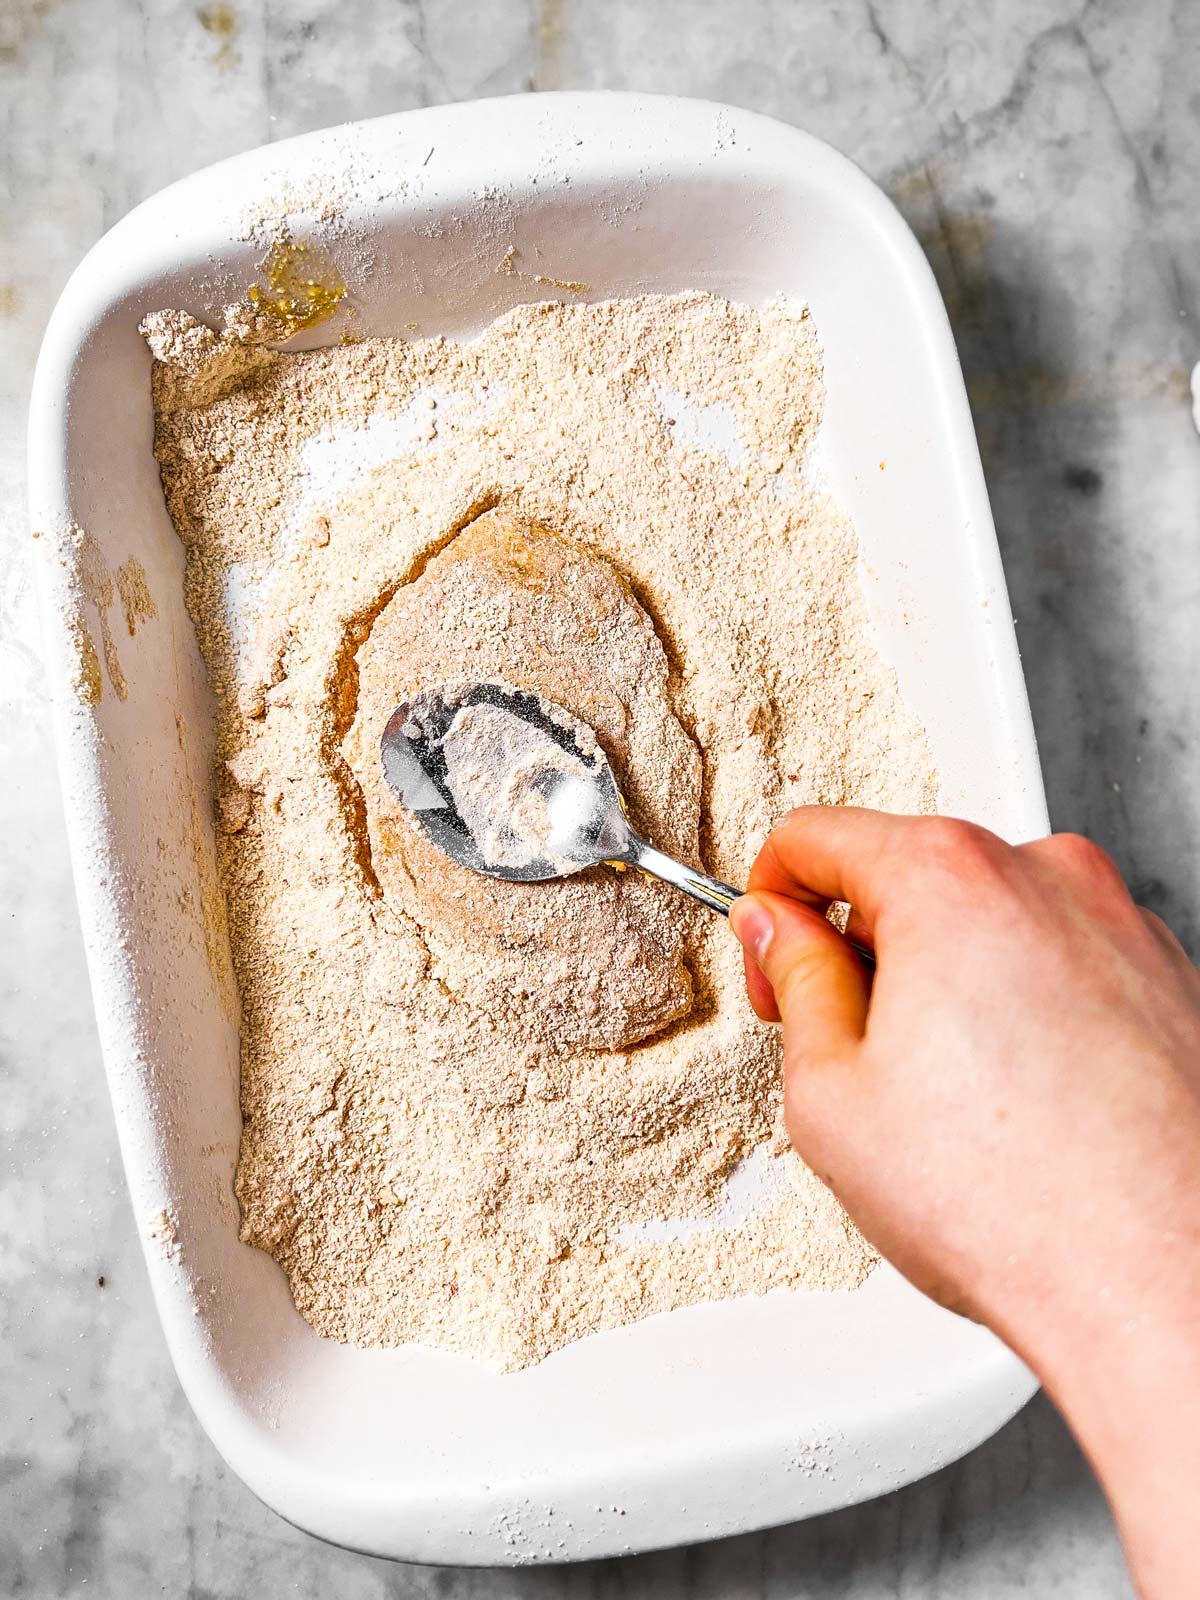
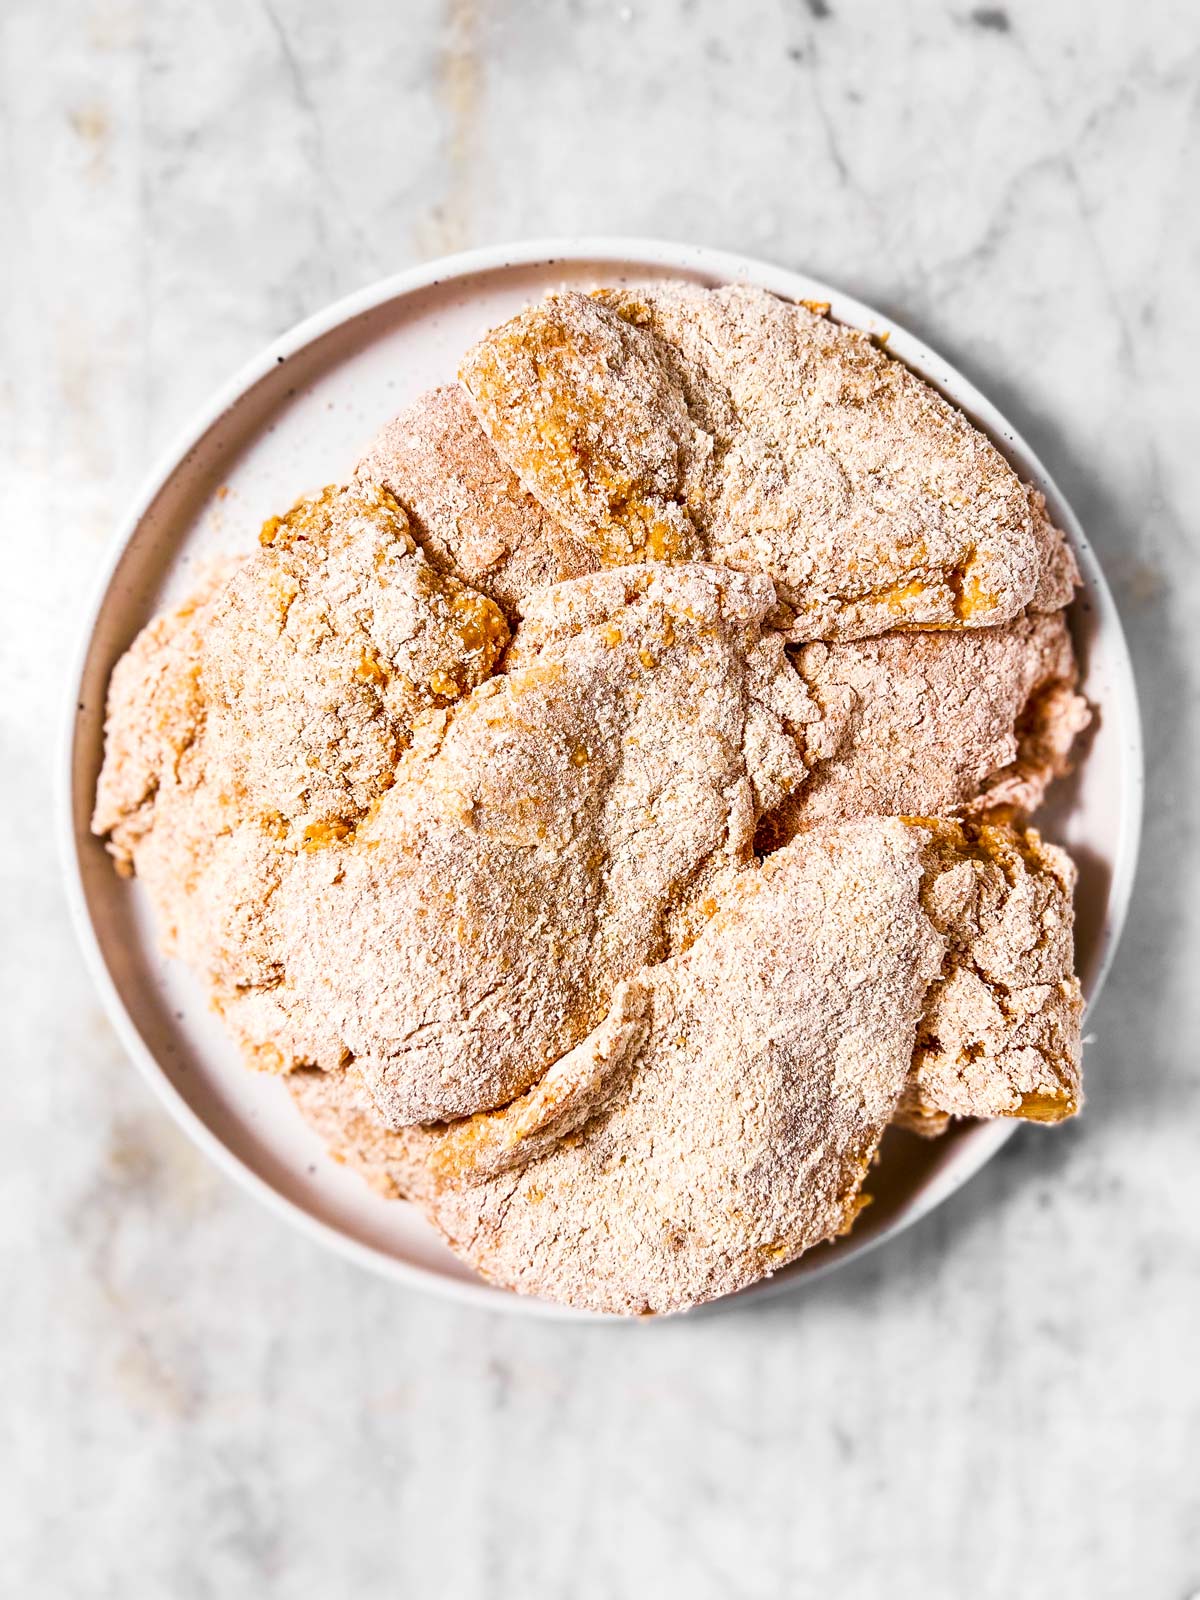
- Finally, coat each piece individually with dry ingredients again, but this time in a thick layer. Make sure there is enough mix underneath the chicken piece, then spoon more on top. Use the back of a tablespoon to pound the breading onto the chicken, flattening the chicken pieces lightly to create a uniform thickness.
mix breading mixes coat with flour coat with egg wash spoon over dry mix pound breading on breaded chicken
3. While you’re breading the chicken, make sure to preheat the oven to 425°F. As it heats up, you’ll want to place a dark-colored metal baking pan or rimmed baking sheet in the oven. The pan should NOT be non-stick, as non-stick coatings can yield soggy chicken.
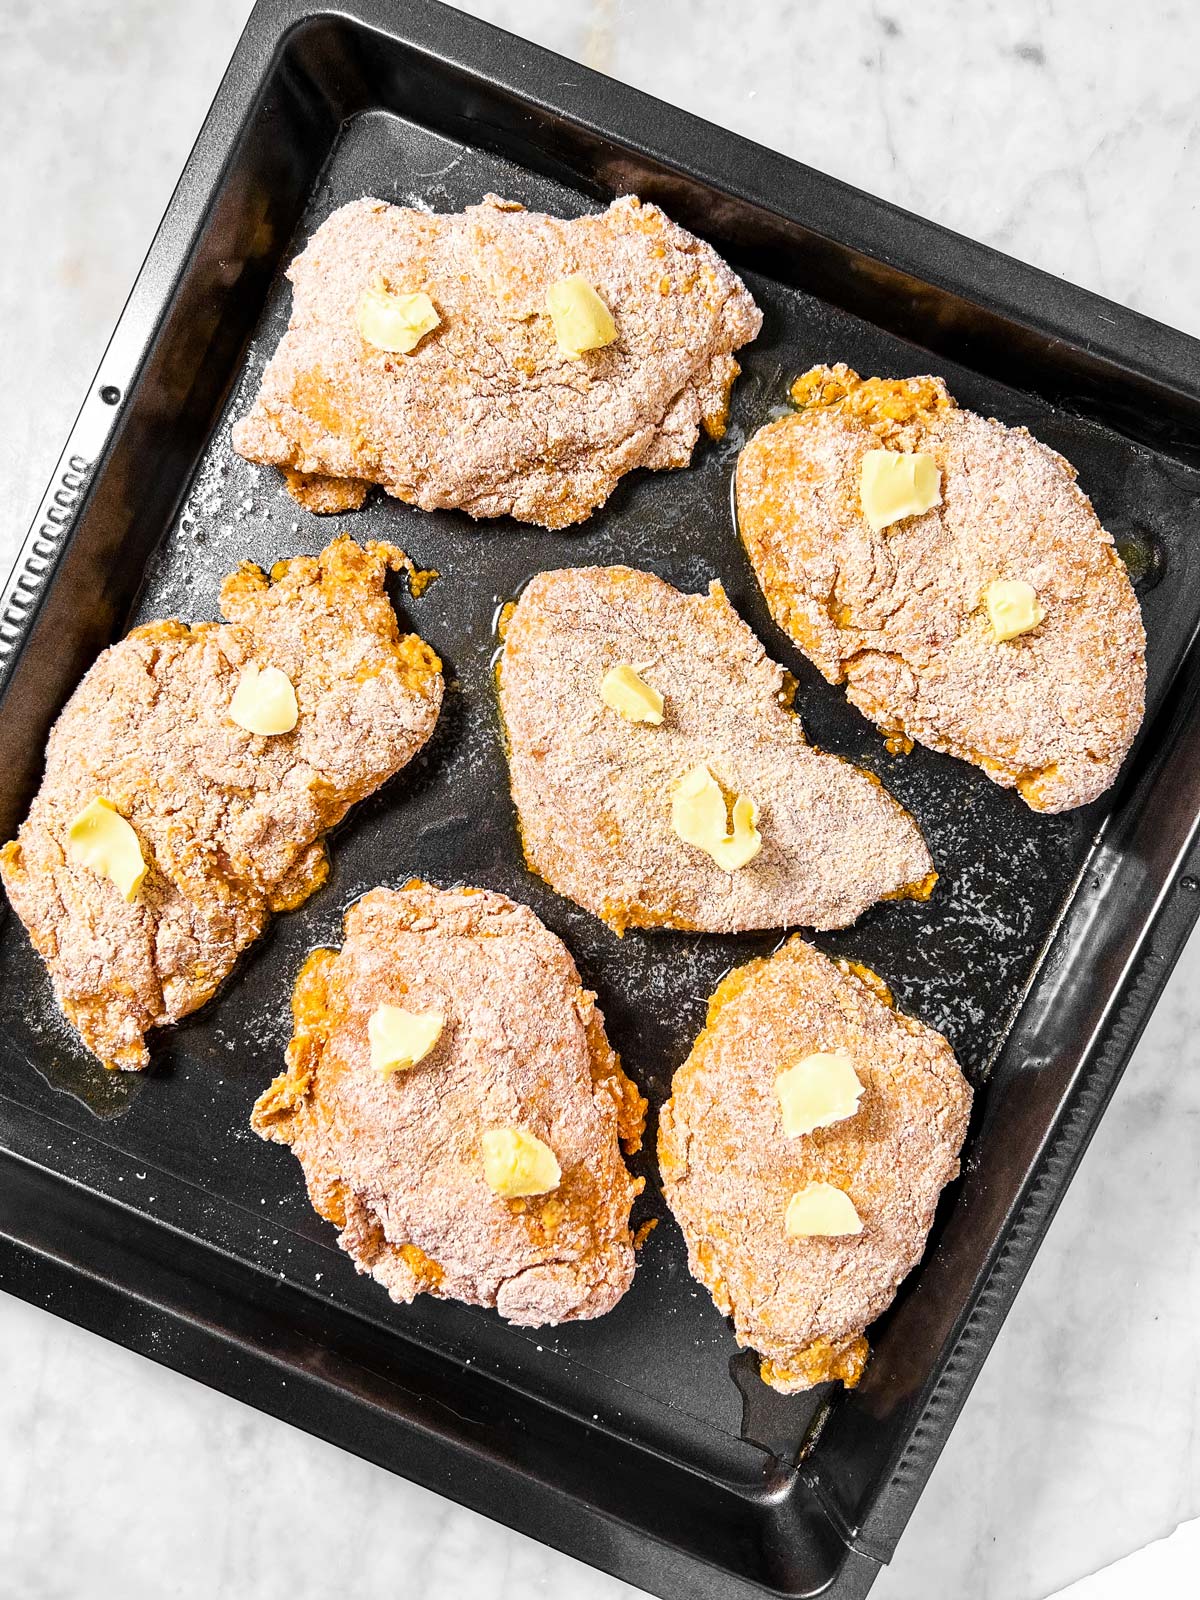
4. Once the chicken is breaded and the pan in the oven is hot, remove the pan from the oven and melt ⅔ of the butter on it. Place the chicken on the pan and dot with the remaining butter.
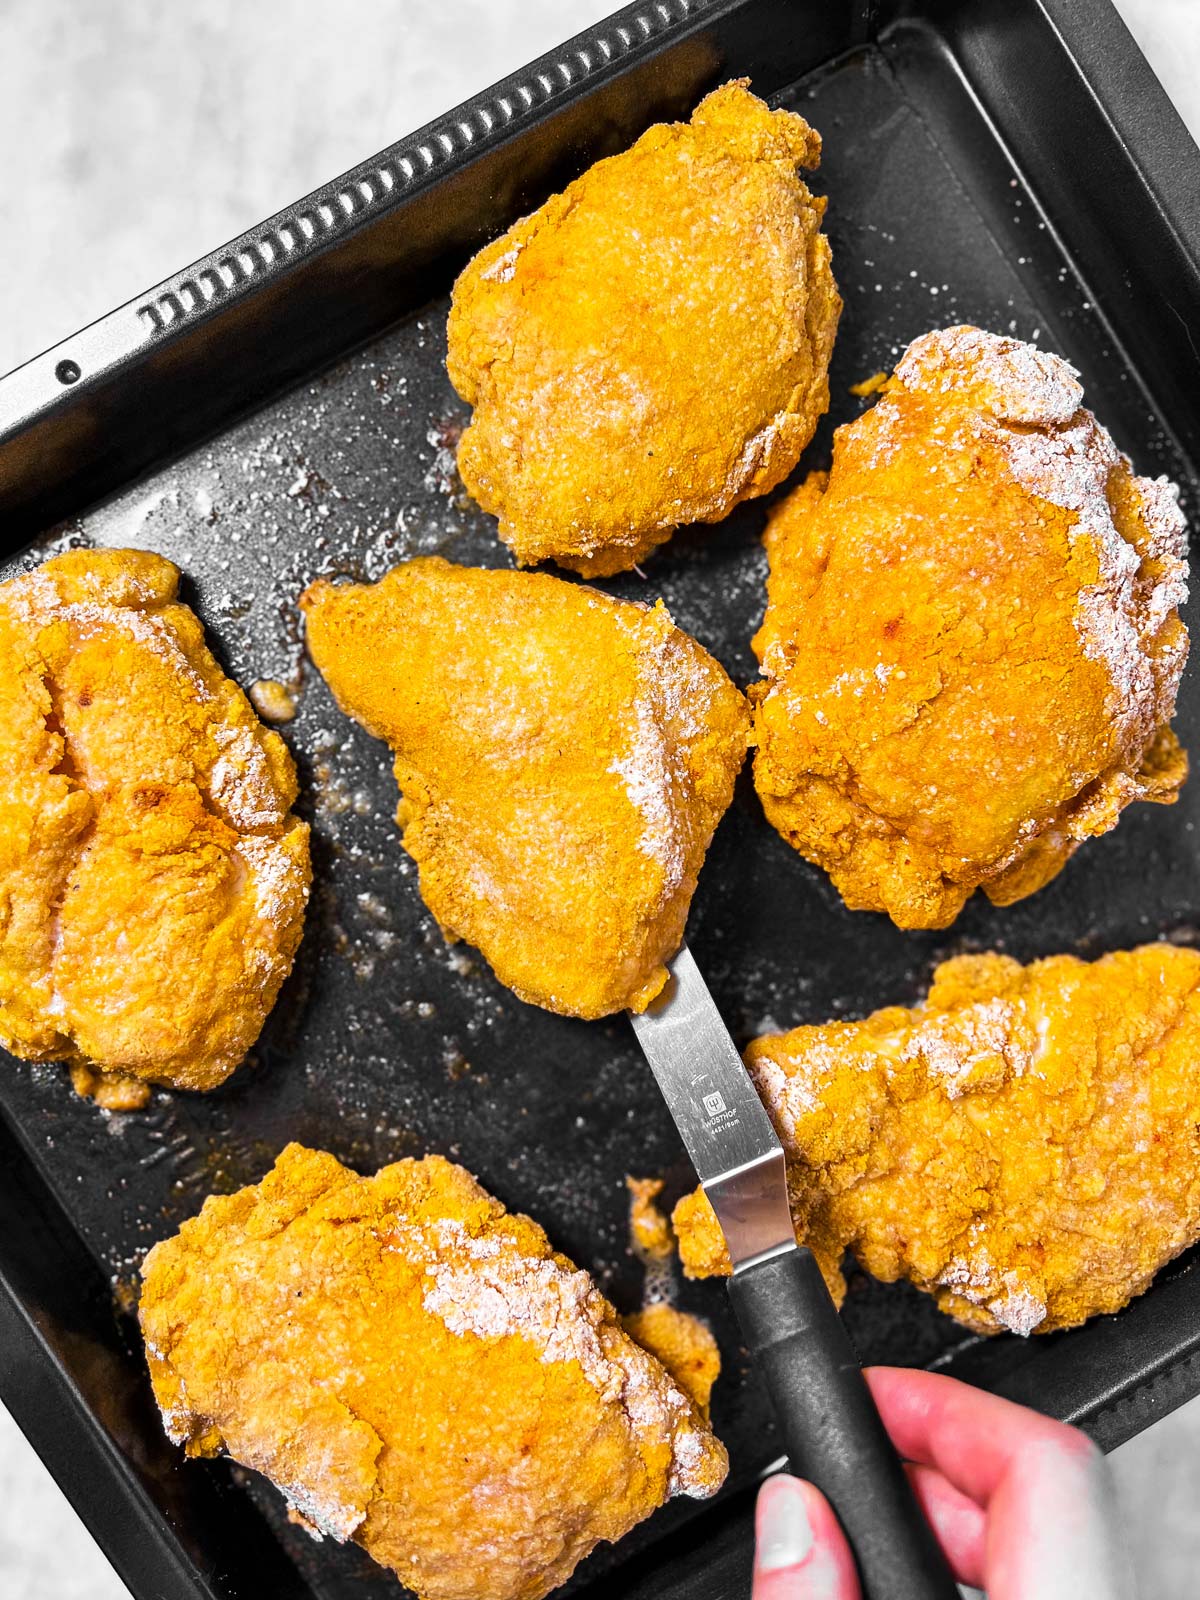
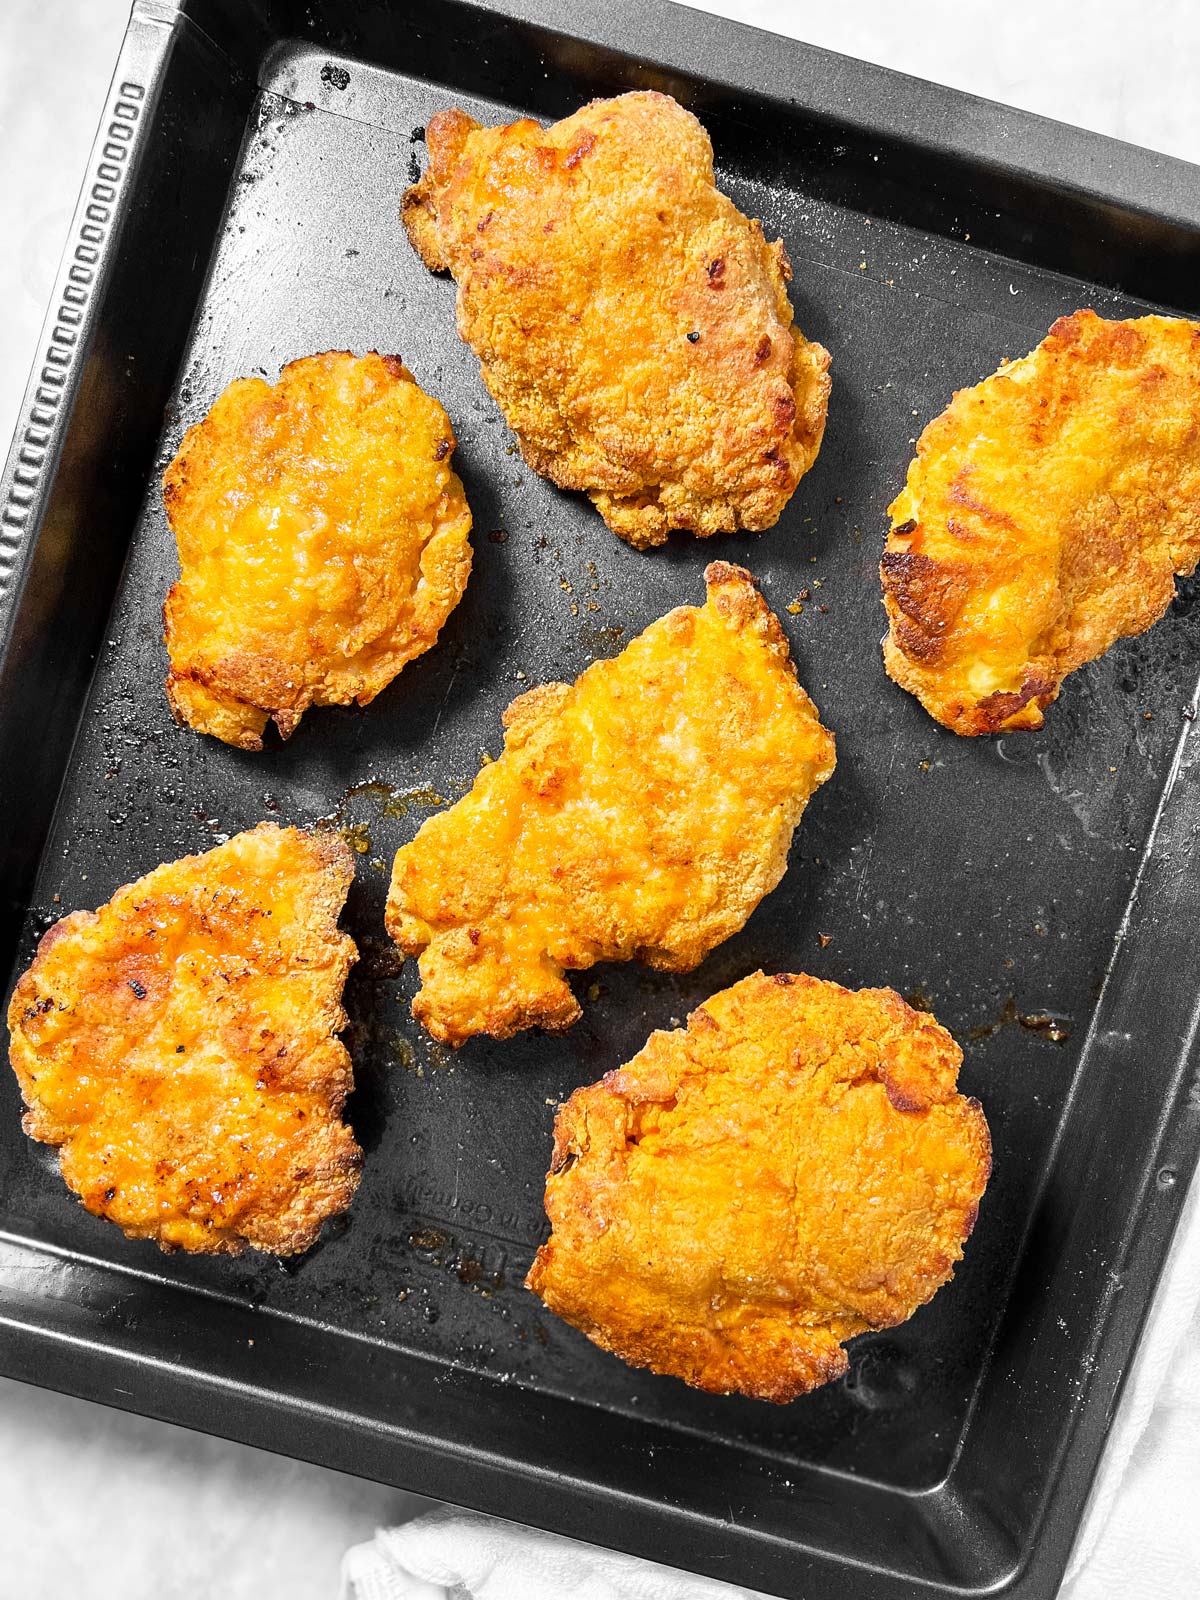
5. Bake the chicken for 10-15 minutes, until the bottom is lightly browned and crispy. Flip, then finish baking for another 5-8 minutes, depending on the size of your chicken pieces. You may want to finish it under the broiler for an extra-crispy and golden crust.
bake on hot pan flip finish
6. CAREFULLY remove the chicken from the pan and place it on a cooling rack for 5 minutes, then serve immediately.
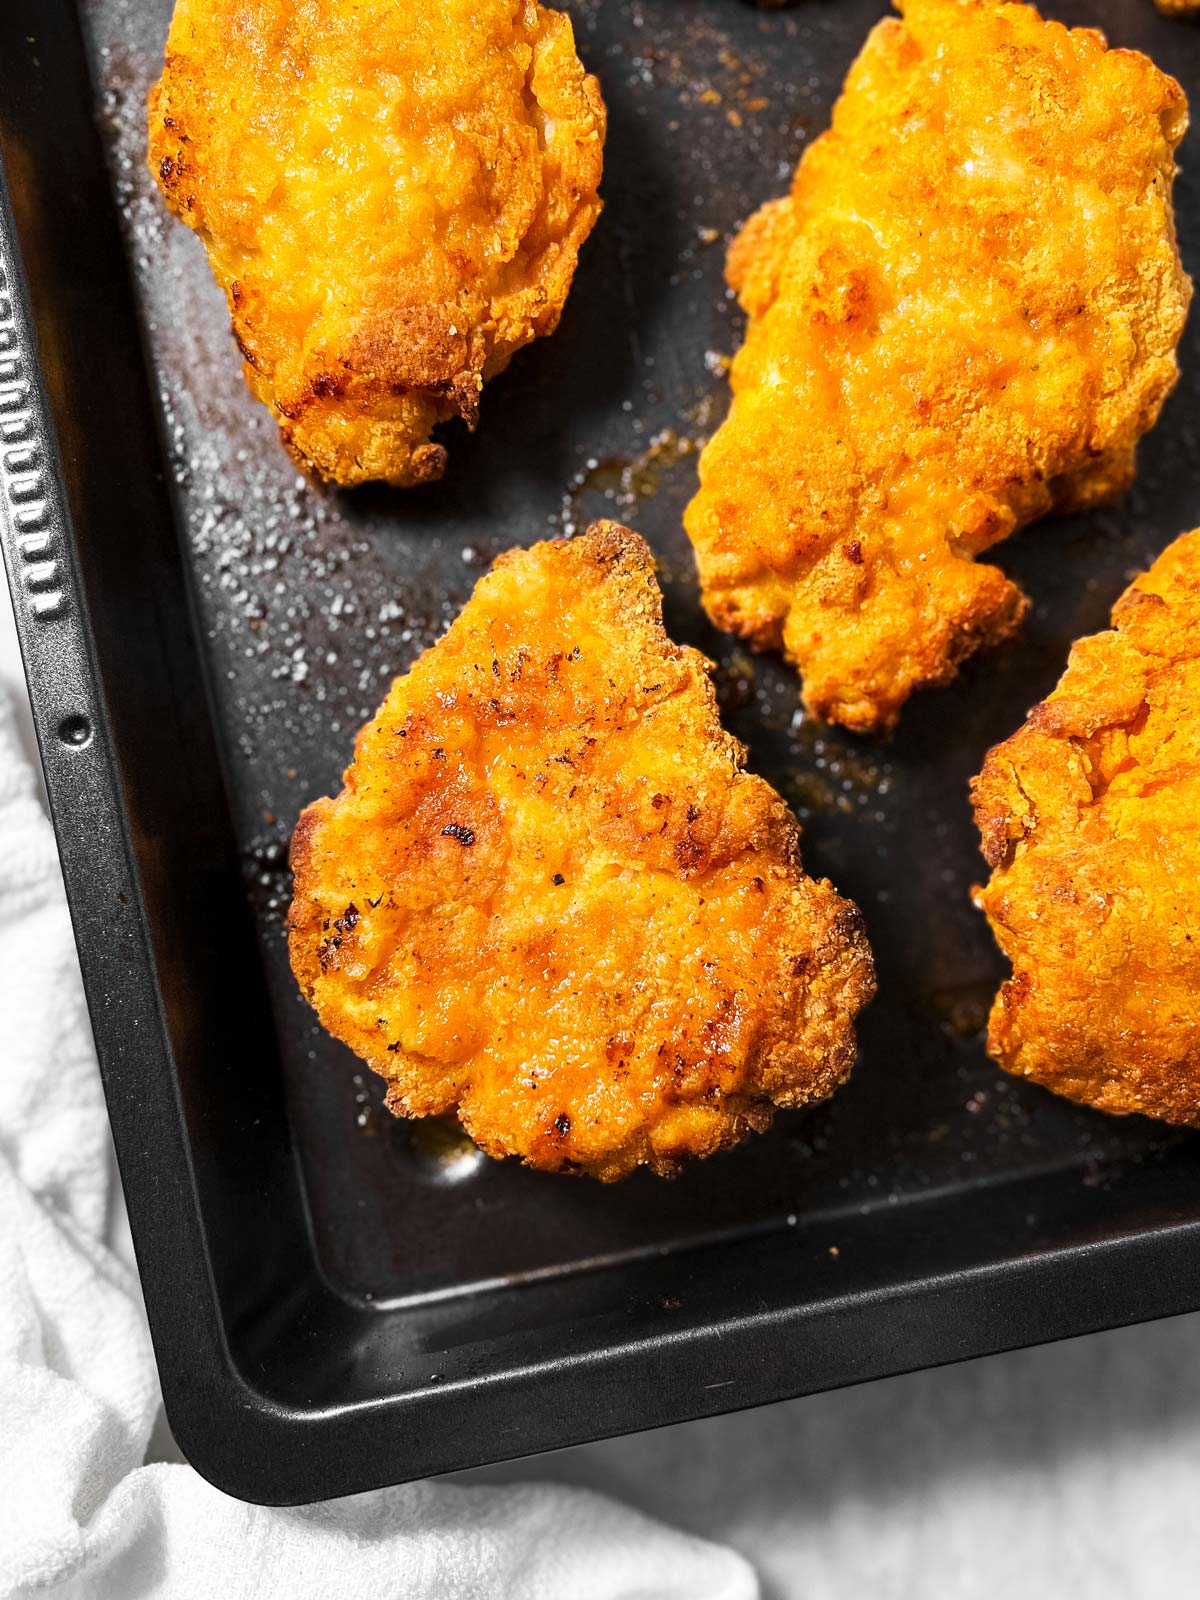
Recipe tips
1. Follow the breading instructions exactly: How do you bread chicken? It’s not just a simple case of dipping the chicken pieces into flour here! You really want the breading to form a crust on the chicken, because that’s the best way to get TRULY crispy oven fried chicken!
Here’s how it works:
One bowl gets egg and buttermilk, a separate bowl gets flour, parmesan, breadcrumbs, baking powder and seasoning (and YES, it needs a lot of seasoning – unless your salt is very strong, in which case you should cut it in half).
Then it’s dipping the chicken pieces in the following order:
- FIRST toss all pieces in the dry ingredients, you just need a light coating at this point.
- Then toss the pieces in the egg mix to fully coat.
- Finally, coat each piece individually with dry ingredients again, but this time in a thick layer. Make sure there is enough mix underneath the chicken piece, then spoon more on top. Use the back of a tablespoon to pound the breading onto the chicken, flattening the chicken pieces lightly to create a uniform thickness.
That way you get a thick layer that really coats the chicken – yum.
2. Use a dark pan WITHOUT non-stick coating: This one is VERY important. A dark pan reflects heat differently than a white or silver colored pan would. Non-stick pans tend to yield soggy chicken, so I highly recommend using a traditional pan without non-stick coating!
To get the perfect crisp, I’ve found it’s crucial to use my dark, old-school metal pan. I use a rimmed kind to minimize butter splatters in my oven!
I have an oval one that I LOVE and use whenever I don’t take photos for the blog (FIY, the following is an affiliate link and I make a commission for purchases made through it) similar to the one you can find here on Amazon, it’s great for whole roast chicken, too!
I also PREHEAT the pan before I add the chicken, that way it turns out extra-crispy!
3. Follow these steps for baking:
The right baking is important to get the crispiest, most golden chicken.
How long does it take to cook breaded chicken in the oven? It takes around 20-25 minutes to cook breaded chicken in the oven.
Thicker pieces (like drumsticks or bone-in thighs) take about 35-40 minutes. To be safe, make sure the internal temperature of your chicken reads 165° Fahrenheit at the thickest part.
Flip the chicken halfway through baking, and finish it under the broiler for 3-4 minutes to get it extra-crispy.
Recommended internal temperature for chicken
Wondering when your chicken is done and safe to be eaten? I highly recommend investing in (the following is an affiliate link an I earn a commission for purchases made through it) a meat thermometer. I check pretty much everything I cook and bake with mine to make sure I’m at the accurate temperature.
The US government’s food safety website recommends cooking all poultry to an internal temperature of at least 165°F (74°C) for safe consumption.
4. Air fryer?
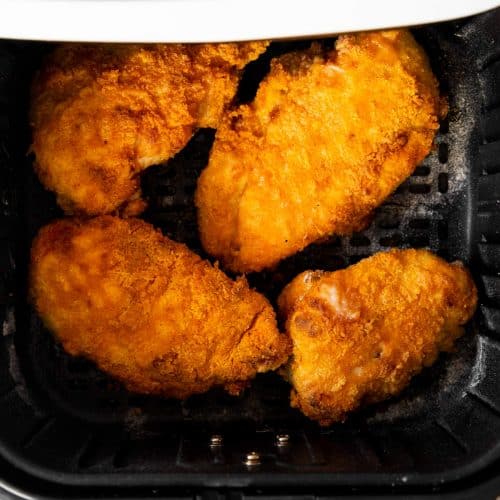
This recipe works GREAT in the air fryer! Preheat the air fryer for 5 minutes on the highest setting. Add a single layer of breaded chicken to the basket, dot each piece with butter.
Air fry at 400°F (200°C) until golden brown and crispy on top (8-10 minutes for thinner chicken breast or cut up chicken breast, 10-12 minutes for thicker chicken breast, 12-14 minutes for chicken thighs, 6-8 minutes for chicken strips, 10 minutes for drumsticks).
Carefully flip chicken, dot with remaining butter and air fry at 400°F (200°C) for the same time as before again, until breading is golden and crispy and chicken reaches an internal temperature of at least 165°F (74°C).
Tips for leftovers
If you have more chicken than you can handle, and you want to eat the leftovers a day or two later, you can easily re-heat it in the oven.
It will crisp back up if you follow my method I shared here, but it will not be as juicy as when you first make it.
Still, it’s a great way to reheat any kind of fried or oven fried chicken!
If you want to keep extra chicken for longer, you might want to freeze it.
Freezer instructions
You can both freeze this chicken BEFORE baking, and AFTER baking.
If you freeze it BEFORE baking, place the raw breaded chicken pieces on a parchment lined baking sheet without touching. Flash-freeze until solid for a few hours, then transfer to a freezer bag.
To cook, place the frozen chicken pieces on the hot, buttered baking pan and bake for around 20 minutes. Flip, then finish baking for 10-15 minutes, or until the internal temperature reaches 165°F at the thickest part of the chicken.
If you freeze it AFTER baking, let it cool completely. It’s a good idea to also flash-freeze it baked on a lined baking sheet until solid (otherwise the breading could fall off). Then transfer to a freezer bag.
To reheat, place the FROZEN chicken pieces on a wire rack. Bake at 400°F for around 20 minutes, then flip. Finish baking for another 10-20 minutes, or until crispy and heated all the way through.
While this recipe can be frozen, please remember the following:
- Wait for the cooked chicken to cool completely before freezing it (otherwise your freezer could heat up too much and affect the other frozen goods in there).
- Use a container or bag that is suitable for freezing.
- Label the bag or container with the contents, today’s date AND the use-by time.
- Do not use previously frozen chicken if you’re planning on freezing this recipe. Only use fresh chicken!
Finally, please make sure your chicken is properly heated and piping hot all the way through when you cook it after freezing!
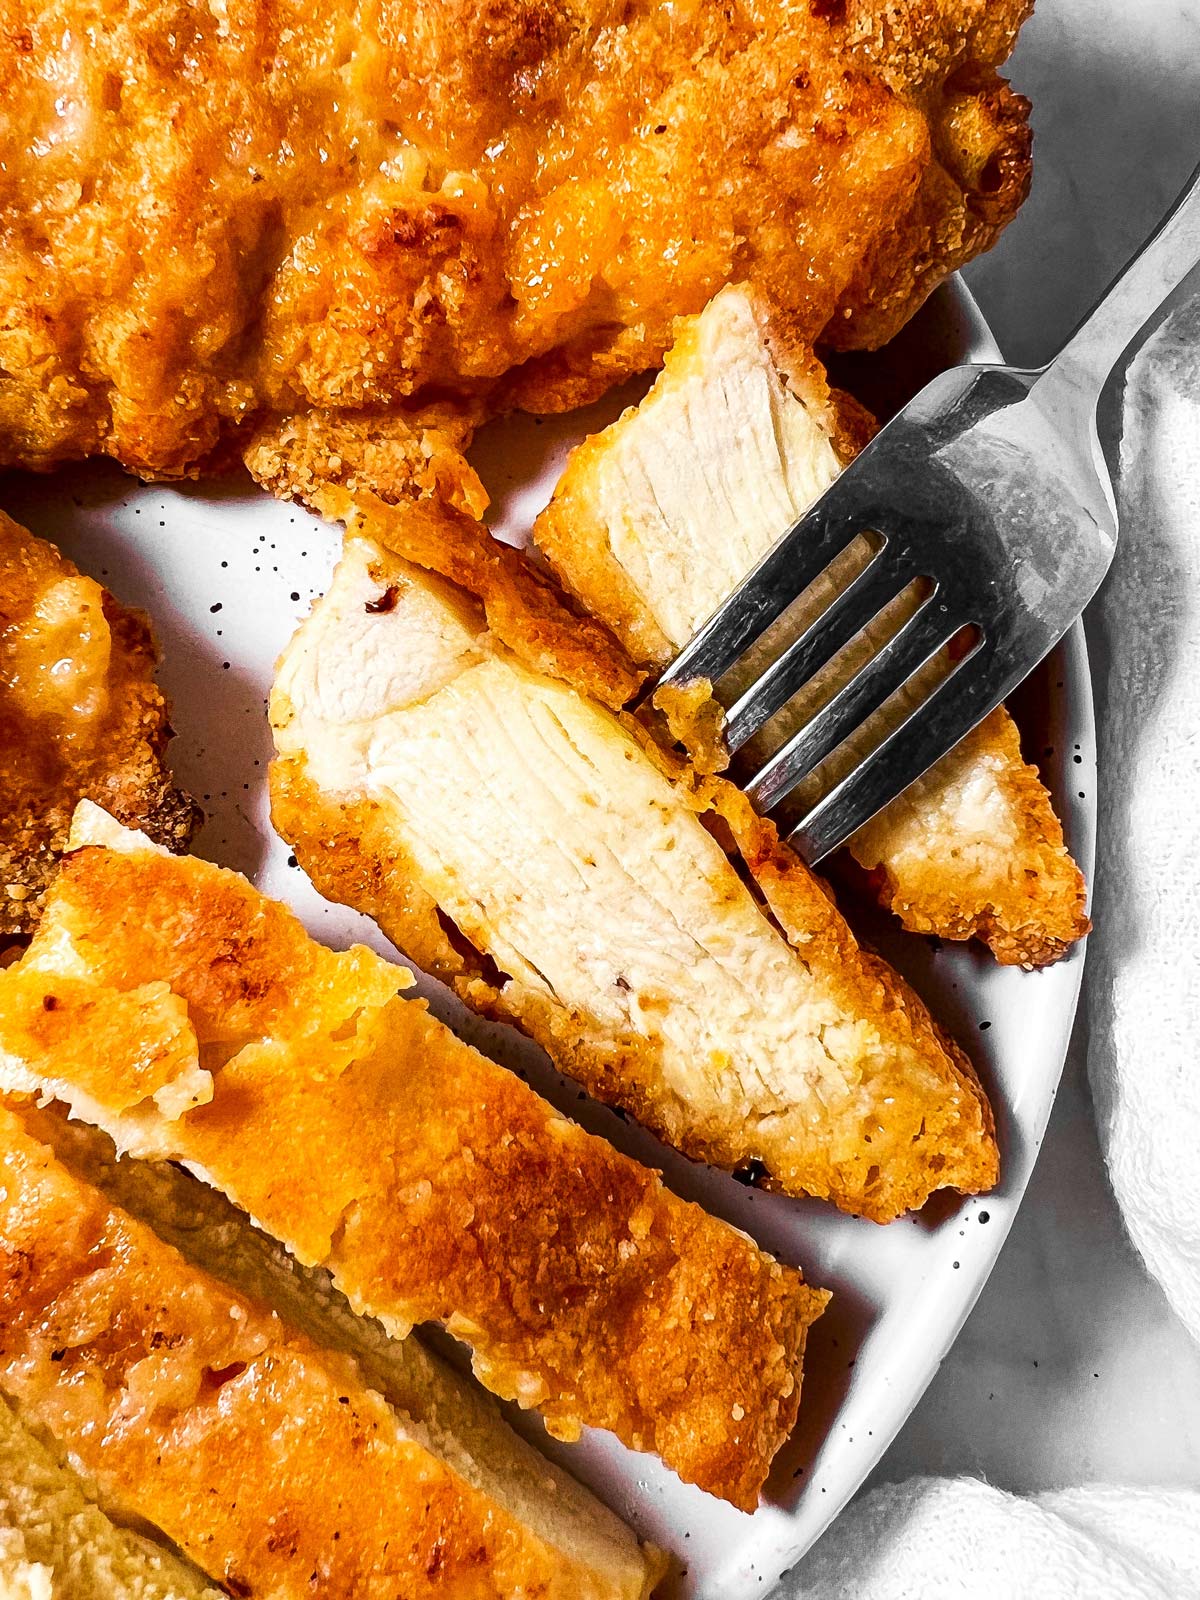
Serving ideas
There are SO many ways to serve fried chicken! Here are your favourite ideas:
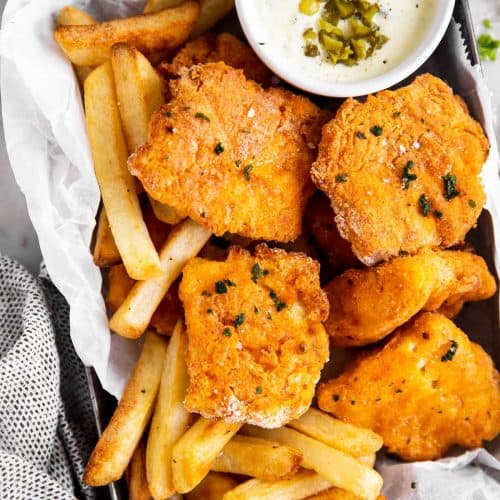
- Coleslaw and sweet potato fries or air fryer french fries! Obviously with homemade ranch dip. This is a total diner-style meal, and I LOVE it. Almost more than the kids, ha!
- Mac and Cheese or mashed potatoes and green beans for a more traditional meal.
- As a sandwich in a piece of split French bread with slaw, mayonnaise and sliced avocado.
- With its garlic parmesan flavors, this is also excellent over pasta with marinara sauce, or with a caprese pasta salad!
PS If you try this recipe, please leave a review in the comment section and add a star rating in the recipe card – I appreciate your feedback! Follow along on Pinterest, Facebook or Instagram.
Printable recipe
Garlic Parmesan Crispy Oven Fried Chicken
Recipe details
Ingredients
For the egg mix:
- 2 large eggs
- ⅔ cup buttermilk must be thick buttermilk; see notes for substitutes
For the dry mix:
- 1 cup white flour
- ⅔ cup grated Parmesan cheese
- 4 tablespoons bread crumbs
- 1 teaspoon baking powder
- 2 teaspoons salt or less to taste
- 2-3 teaspoons garlic powder
- 1 teaspoon ground paprika
- 1 teaspoon onion powder
- ½ teaspoon ground black pepper
For the chicken and the pan:
- 2 pounds chicken tenders
- ⅓ cup butter
Instructions
- Prep: Preheat oven to 410°F (210°C). Place a dark-colored roasting pan WITHOUT non-stick coating (a rimmed baking sheet works as well) in the oven to heat up.
- Prepare egg mix: In a medium bowl, whisk together eggs and buttermilk.
- Prepare dry flour mix: In a separate bowl, mix flour, parmesan, breadcrumbs, baking powder and seasoning together.
- Bread chicken: First toss all chicken pieces in dry ingredients to lightly coat.Then, toss chicken pieces in egg mixture to generously coat.Finally, coat each piece individually with dry ingredients again, but this time in a thick layer. Make sure there is enough mix underneath the chicken piece, else it sticks to the dish. Generously spoon flour mixture over top of chicken. Use the back of a tablespoon to pound breading onto the chicken, flattening the chicken pieces lightly to create a uniform thickness and a thick layer of breading.
- Bake: Take hot pan out of the oven and melt ⅔ of the butter on it. Place breaded chicken pieces on pan, dot with remaining butter.Bake for 10-15 minutes until bottom is golden and crisp, CAREFULY flip (use an offset spatula to slide under chicken, otherwise breading may fall off!) and bake for another 5-10 minutes (depending on how thick chicken pieces are).Finish by broiling for 2-3 minutes until golden brown and crispy.
- Rest: CAREFULLY remove chicken from pan and onto a cooling rack. Rest for 5 minutes, then serve immediately.
Notes
Ingredient notes
- Chicken: I use boneless, skinless chicken breast for this recipe. Readers have reported great success using chicken thighs, even bone-in. Chicken tenders work wonderfully to make homemade chicken fingers. Just keep in mind, different pieces will require different baking times (see further below for time suggestions).
- Buttermilk: You need old-fashioned buttermilk for this recipe (the thick kind, not the “modern” runny kind). If you don’t have any available, use half buttermilk, half natural Greek yogurt.
- Parmesan cheese: I use finely grated cheese from the store. If you want to grate your own, please make sure to grate it VERY finely.
- Breadcrumbs: I make this with regular breadcrumbs, because that’s what I always have on hand. Panko works great, though! Italian seasoned breadcrumbs can work in a pinch, if that’s all you have.
- Butter: I know this seems like an odd ingredient, but it just works best here. If you want to avoid butter, use a neutral vegetable oil instead. It does turn out best with butter, but oil still yields fine results.
- Salt: Please be mindful of the exact salt you use. A table salt is “saltier” than something like kosher salt and sea salt, so adjust the amount of salt accordingly.
Recipe tips
- Follow the breading instructions in the recipe exactly! It’s crucial for a crispy coating. See the step by step photos in the post for more visual guidance.
- Use a dark pan WITHOUT non-stick coating. This one is VERY important. A dark pan reflects heat differently than a white or silver colored pan would. A non-stick coated pan tends to yield soggy chicken with the breading falling off. I also preheat the pan before I add the chicken, that way it turns out extra-crispy!
- Baking time for different chicken pieces: Chicken tenders take 18-20 minutes. Thicker pieces like drumsticks or bone-in thighs take up to 35-40 minutes. To be safe, make sure the internal temperature of your chicken reads 165° Fahrenheit at the thickest part.
- Air fryer instructions: Preheat air fryer for 5 minutes on highest setting. Add a single layer of breaded chicken to the basket, dot each piece with butter. Air fry at 400°F (200°C) until golden brown and crispy on top (8-10 minutes for thinner chicken breast or cut up chicken breast, 10-12 minutes for thicker chicken breast, 12-14 minutes for chicken thighs, 6-8 minutes for chicken strips, 10 minutes for drumsticks). Carefully flip chicken, dot with remaining butter and air fry at 400°F (200°C) for the same time as before again, until breading is golden and crispy and chicken reaches an internal temperature of at least 165°F (74°C).
Tips for leftovers
If you have more chicken than you can handle, and you want to eat the leftovers a day or two later, you can easily re-heat it in the oven. It will crisp back up if you follow my method I shared here, but it will not be as juicy as when you first make it.Freezer tips
You can both freeze it BEFORE baking, and AFTER baking. If you freeze it BEFORE baking, place the raw breaded chicken pieces on a parchment lined baking sheet without touching. Flash-freeze until solid for a few hours, then transfer to a freezer bag. To cook, place the frozen chicken pieces on the hot, buttered baking pan and bake for around 20 minutes. Flip, then finish baking for 10-15 minutes, or until the internal temperature reaches 165°F at the thickest part of the chicken. If you freeze it AFTER baking, let it cool completely. It’s a good idea to also flash-freeze it baked on a lined baking sheet until solid (otherwise the breading could fall off). Then transfer to a freezer bag. To reheat, place the FROZEN chicken pieces on a wire rack. Bake at 400°F for around 20 minutes, then flip. Finish baking for another 10-20 minutes, or until crispy and heated all the way through. Please keep in mind:- Wait for the cooked chicken to cool completely before freezing it (otherwise your freezer could heat up too much and affect the other frozen goods in there).
- Use a container or bag that is suitable for freezing.
- Label the bag or container with the contents, today’s date AND the use-by time.
- Do not use previously frozen chicken if you’re planning on freezing this recipe. Only use fresh chicken!
Nutrition
More recipe information
Recipe first published on 09/19/2017. Updated with new photos and better text on 02/28/2022.
More oven fried recipes
Or browse all of my oven fried chicken recipes!






Kellie R says
Great recipe. I followed directions and it turned out perfect. I will make this again.
Rick says
Made this on my Weber Kettle grill and it came out amazing! I did bone in, skin on thighs and drumsticks. Sprayed the bottom of the pieces with butter spray before putting them on. Sprayed the top of them after 15 minutes. Sprayed the grate with Pam grilling spray and lost a little breading removing them. Came out super crispy and super tasty!!
Nora says
Glad to hear it, Rick.
Kim says
I never comment, but feel the need to let you know this is now my go to chicken recipe. Made it making me changes and it was amazing! Thank you!
Terri C says
I have made this MANY times. This is my families favorite chicken dinner. I have given this recipe to friends & family & it’s a huge hit with EVERYONE!! I’ll never stop making this recipe.
Terri says
This is now my favorite chicken recipe. I NEVER get tired of it. It always comes out moist & crunchy. The key to the crunch is panko bread crumbs. I ALWAYS use panko. I think that’s crucial. I also use 2/3 C of freshly grated parmesan cheese PLUS 2 TBLSP of the cheese you shake from the container. I like it cheesy. I make a double batch, omitting the cheese, & keep it in the pantry for future use. I just add the cheese each time I use it. NOTE: I know it has a lot of salt but DO NOT cut the salt down. It will change the taste. I told my sister about this recipe & now she makes it all the time too. If you haven’t tried this yet, I STRONGLY recommend you do. You will LOVE it.
Nora says
I’m so glad, Terri! Thank you so much for your nice feedback, I appreciate it.
Terri C says
Accidentally gave this 4 stars on my post but meant to give it 5. I couldn’t figure out how to change it.
Michelle says
Omg! So good! We definitely are putting this in our rotation. ??
pat says
Just made this for dinner ~ the best! I used 3 large chicken breasts and cut them into tenderloin size portions. Did all the rest as instructed, including using my dark roasting pan. Perfect oven fried chicken, better than any other recipe I’ve tried. A keeper! Thanks!
Karen says
Great!!!!!!! made it last night.
Steve V says
Just made this for the 2nd time for our thanksgiving dinner (Turkey was still frozen) and it’s hands down the best oven baked chicken I’ve ever had! Thanks for the recipe
Amanda C says
I tried this and OMG, this is the best!! Much better than my other Chx breast tenderloin dinner attempts. I made a few modifications. My sister recommended subbing Mayo for the egg, buttermilk wash. Just brush on each piece (both sides) then pat in the dry mixture (omit flour). I used 2 cookie sheets lined with parchment and smeared with butter!!! Yes I did! Bake at 400 for 16 min total, flipping half way thru. Then broil for 4 min. OMG! I’m eating them now…before I finish the rest of dinner. Thxx
Cheli says
Great recipe! This is just as delicious as fried chicken. My family loves it. Thank you!
Mareta says
This recipe is very good. I used a 10” iron skillet to bake my chicken tenders. I made half the recipe for my husband and me He said it was a keeper
Robyn Harmon says
Love it! I’ve made versions of this, but never this good. The only thing different I did was add less bread crumbs and add 5 saltine crackers. Will make again..
Nora Rusev says
Robyn, I’m so glad to hear! I love the saltines you used, will have to try ASAP!
Dani says
Can you use frozen chicken or thaw it first?
Nora says
Hi Dani, unfortunately, I have never tried the recipe with chicken straight from the freezer. I know you can freeze the breaded chicken and then bake straight from frozen, but I don’t know know if the breading would stick to already frozen chicken.