This Freezer Raspberry Jam only takes a few minutes to put together, requires NO pectin and is made with a little bit of honey instead of sugar.
Simply store this jam in the freezer to preserve the abundance of raspberries coming from the garden during summer – hassle free! For more raspberry recipes, see my Raspberry Chocolate Chip French Toast Casserole or my Raspberry Oatmeal Muffins.
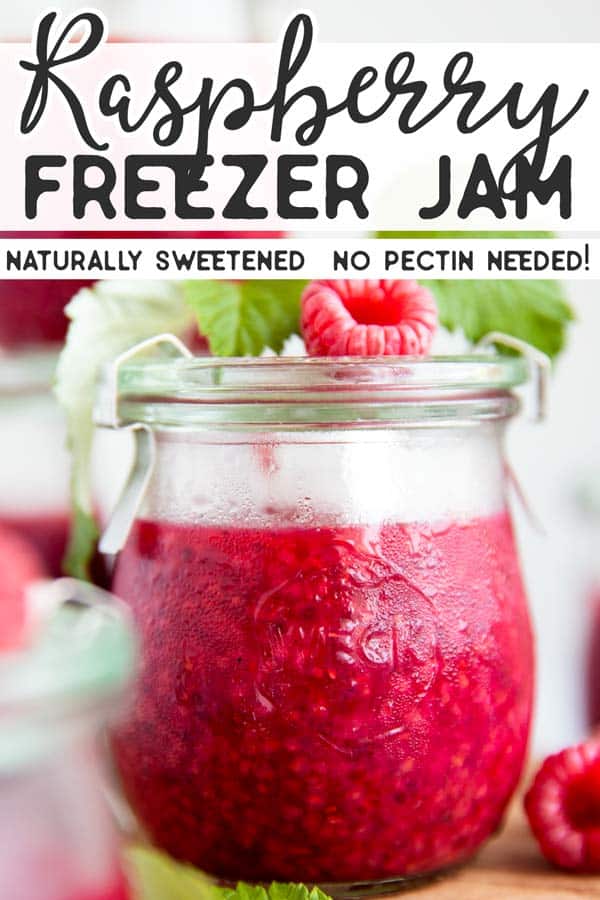
If you don’t feel like spending your summer days canning, but still want to preserve some of that summery raspberry abundance, why not make some freezer jam?
I used to spend my summers canning jam with my grandma, so I never knew you could make jam without pectin. Or without canning.
Or, even crazier, without sugar!
But yes, you can do all of these things when you make this simple freezer jam. It’s sweetened with a touch of honey, requires no pectin and is stored in the freezer vs canned.
We love this jam on a slice of warm No Knead French Bread, or some Irish Soda Bread if there happens to be some left in the freezer once St. Patrick’s Day rolls around 😉
This Raspberry Freezer Jam
- is lightly sweetened with honey to let the raspberry’s natural flavor shine
- gets thickened with chia seeds, but you can also just simmer it for a little longer to let the raspberry’s natural gelling agents do the job
- keeps for up to a year in the freezer, so you can enjoy your homemade raspberry jam all throughout winter!
Making homemade sauces, jams and other pantry stuff is one of my favorite things to do to save money on groceries.
That’s why I often make Homemade Teriyaki Sauce, always make Homemade Balsamic Vinaigrette and you’ll never find me without a jar of Homemade Taco Seasoning.
And this homemade Raspberry Jam is always in my freezer, too!
How to Make Raspberry Freezer Jam:
Read on for the step by step instructions, or scroll down fore more tips like how to make this recipe with sugar, which jars I love and for the printable recipe card!
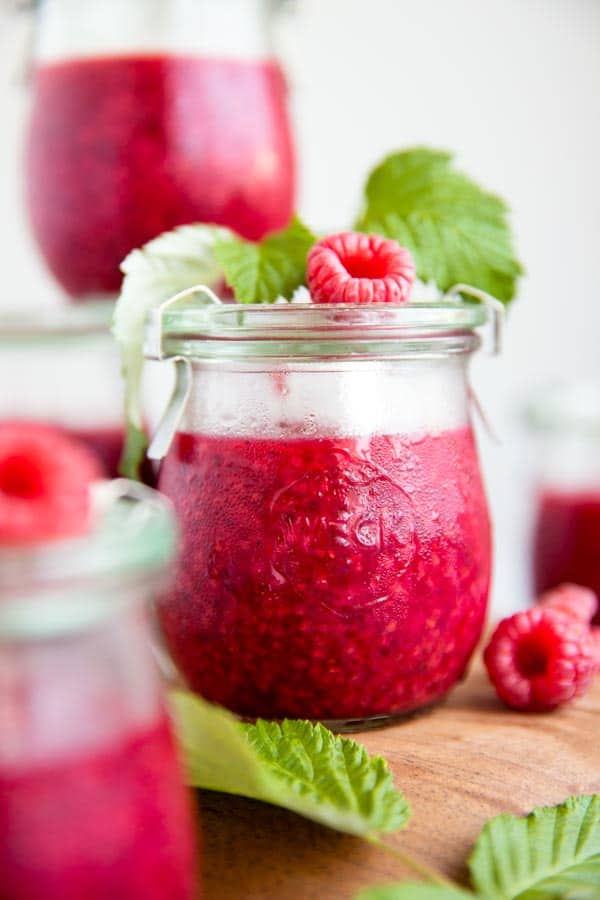
1 – Clean the raspberries: Rinse the raspberries by placing them in a large bowl of water (work in batches!), swirling them around a little and then lifting them out with a mesh strainer and placing them on a clean tea towel to dry.
2 – Pick over the berries: If you’re using farmer’s market or garden raspberries, you’ll probably want to pick them over for any duds, bugs, sticks or stones.
3 – Start the jam: Place the berries in a large pan with lemon juice and honey. I also add a scraped vanilla pod or a cinnamon stick if I’m feeling fancy. Bring to a boil over medium-high heat.
4 – Cook the jam: Once the jam is at boiling point, reduce the heat to a simmer and stir in the chia, if using. Simmer the jam for around 10 minutes.
To test the jam, scoop a spoonful onto a plate and place it in the fridge for a few minutes – once the jam looks thick, it’s ready (it will fully set in the fridge!).
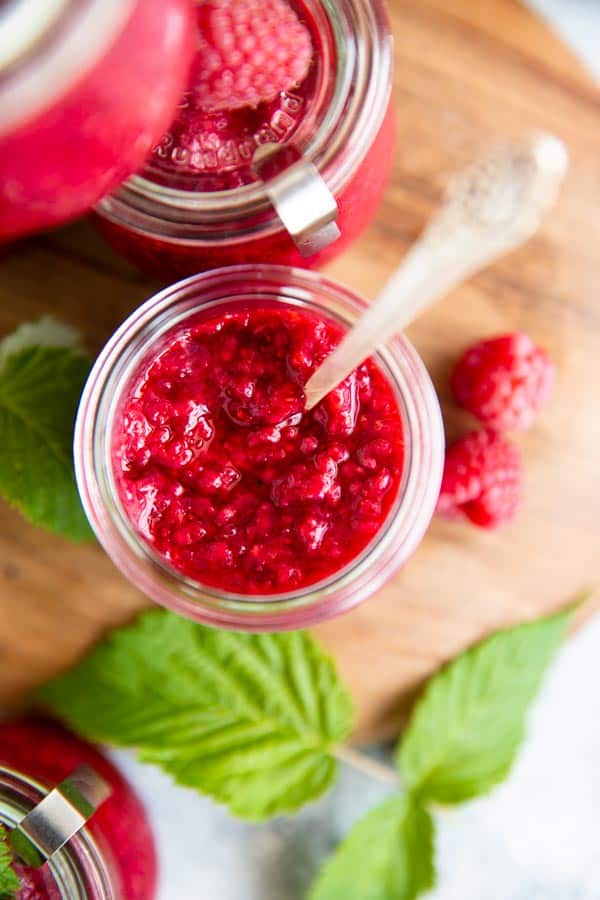
5 – Prepare the jars: While the jam is cooking, fill your jars with hot water and let them stand like this until the jam is ready They don’t need to be sterile, just clean.
Filling the jars with hot water helps to keep them from bursting when adding the hot jam!
6 – Fill the jam into jars, cover them loosely with a clean tea towel or paper towel and let cool to room temperature. Close with lids and place in the fridge overnight.
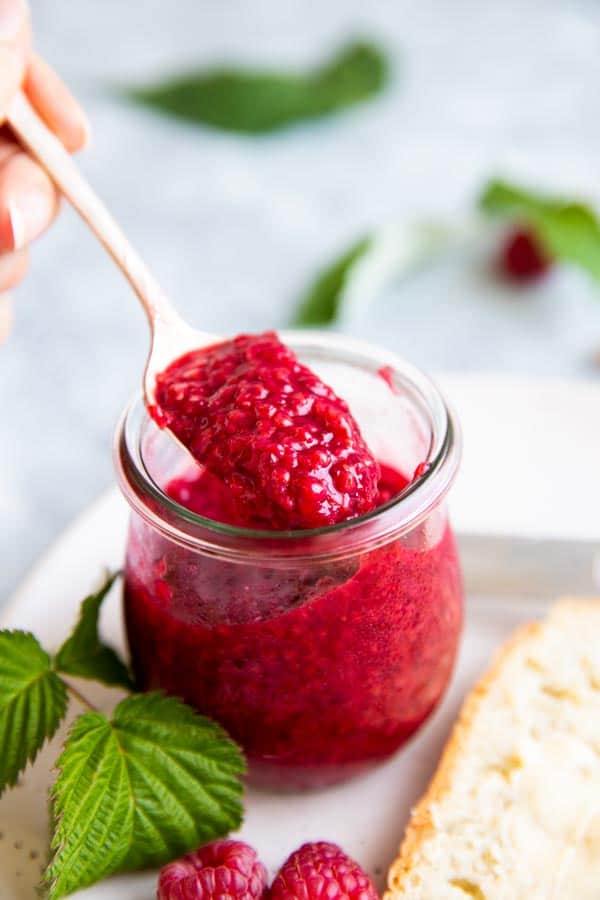
Check the consistency, then freeze if you’re happy with it!
Tips for this Raspberry Freezer Jam:
- do not skip filling the jars with hot water before filling them with jam, or they might crack and/or burst
- equally, do not skip cooling the jam to room temperature on the counter before chilling it in the fridge, and only then freeze it! If you skip this, your jars might burst from the sudden temperature shift.
- do not fill the jars all the way to the top, leave about ½ – 1 inch of headspace. The jam will expand in the freezer and your jars will burst if there’s no room.
- if the jam hasn’t set to your liking after a night in the fridge, stir in some extra chia. If you cooked the jam without chia, add it back to a pot with some more honey and simmer to evaporate more of the juices.
Can you make this recipe with regular sugar instead of honey?
Yes, you can!
Simply use ⅓ – ½ cup of sugar in place of every ¼ cup of honey.
What jars are good for this jam? How many do I need?
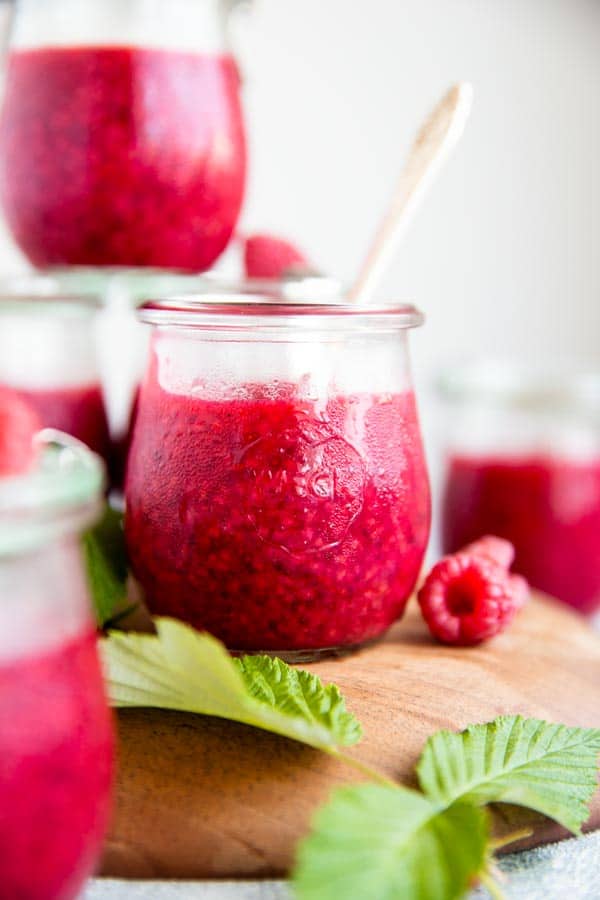
I usually make this jam with 3 pints of raspberries (about 6 cups).
I use about 1 8-oz jam jar per cup of berries I’m using. My favorite jars are the small Weck tulip jars you see in the photos.
You can get them here on Amazon! (This is an affiliate link and I make a commission for purchases made after clicking through.)
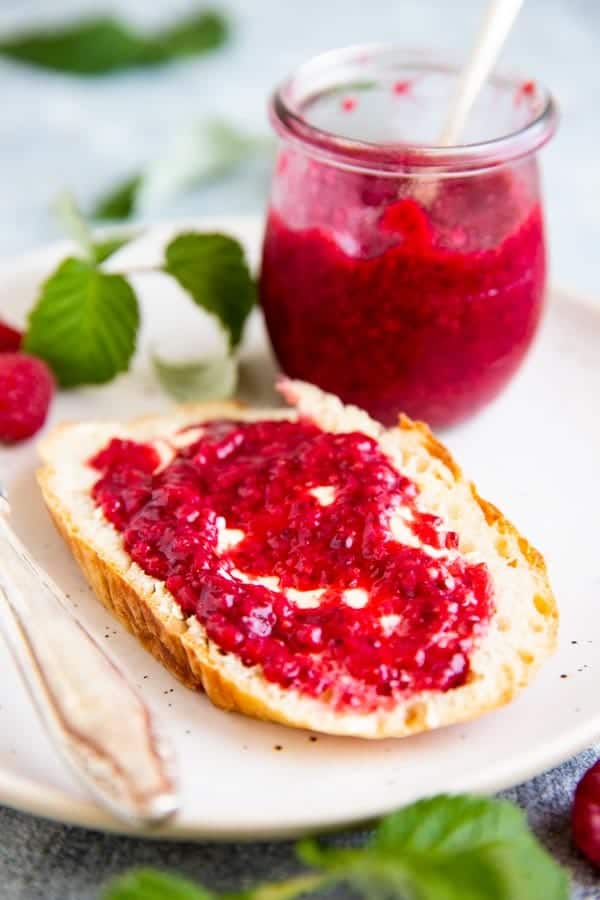
P.S: This jam is especially delicious on a slice of toasted No Knead Bread! Or by the spoonful, to be honest 😉
Printable recipe
Freezer Raspberry Jam
Recipe details
Equipment
Ingredients
- 3 pints raspberries (about 6 cups) rinsed and picked over
- ¾ cup honey or more to taste
- 3 tablespoons lemon juice
- 3 tablespoons chia seeds optional for a thicker jam
- optional: a cinnamon stick or a scraped vanilla pod
Instructions
- Place raspberries, honey and lemon juice in a large pot. Bring to a boil over medium-high heat.
- Reduce the heat to a simmer and stir in the chia seeds. Add the cinnamon stick or scraped vanilla pod, if using. Simmer the jam for 10-15 minutes, or until thickened (spoon some on a plate and refirgerate for a few minutes to check the consistency – jam will further thicken as it cools!).
- While jam is cooking, fill your jars with warm-hot water. Let them stand until you're ready to fill them.
- Once jam is ready, empty the jars and fill them with jam, leaving ½ – 1 inch of headspace. Cover losely with a tea towel or paper towel until cooled to room temperature. Transfer to fridge and chill overnight before freezing for up to 1 year.




Roberta Worley says
A few days ago, my husband’s previous boss (TK) offered us to his raspberry patch stating that there was still plenty left. Being that my husband was only ten weeks into recovering from shattering his tibia time was of the essence, which meant I only had the briefest of time in which to pick as many as I could!
TK had some extra plastic containers and I was able sequester 3 cups. When I got home, your recipe was the only one that fit the criteria I was after! But, it was confusing about the vanilla bean because I keep all my scraped vanilla pods to make vanilla bean ‘paste’.
It wasn’t until I got to the directions on your actual recipe that I understood to use the beans from the scraped vanilla bean. I made another error in not allowing the mixture to come to a full boil. Then again, I was doing this late on a Friday night which isn’t the best for me when i should have been in bed sound asleep!
But this is definitely worth a second go. My husband likes it. I like it. It’s spreadable on pancakes and toast which is why I wanted it to begin with. Plus, I wanted something with simple ingredients.
Nora, do you think this could be done with blackberries?
Nora says
I’m so glad, Roberta! And I do think you would be able to do this with blackberries, they may need a little more simmering than raspberries, but otherwise I don’t see why it shouldn’t work!