Fluffy Buttermilk Waffles are the perfect addition to your weekend breakfast routine! You can even freeze them to use for later – so handy!
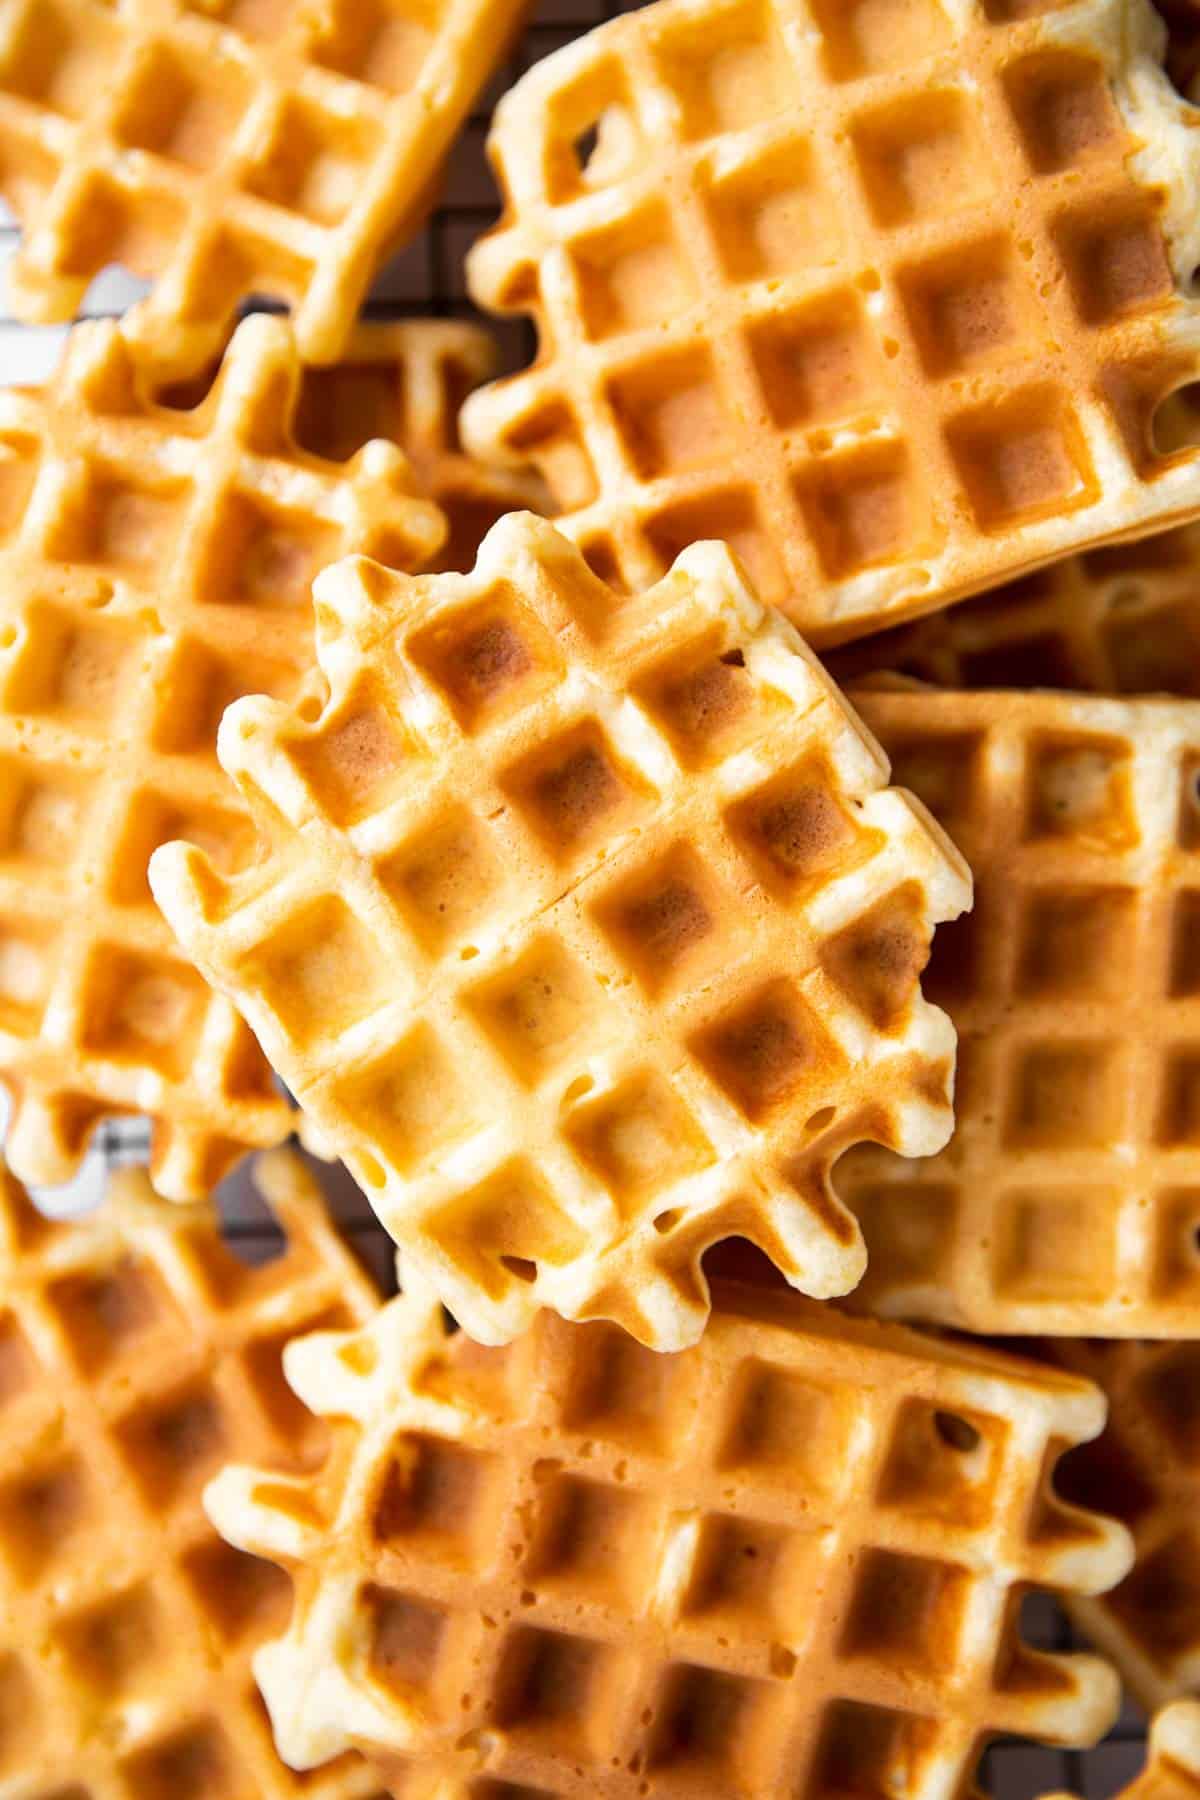
If you ask me, nothing beats a good, crispy, fluffy waffle. And they are incredibly easy to make, too!
There’s absolutely no need to buy expensive waffle mix or frozen toaster waffles – you can make a large batch of these from scratch and easily freeze them for up to three months.
Ingredients you’ll need
Here is a visual overview of the ingredients in the recipe. Scroll down to the printable recipe card at the bottom of this post for quantities!
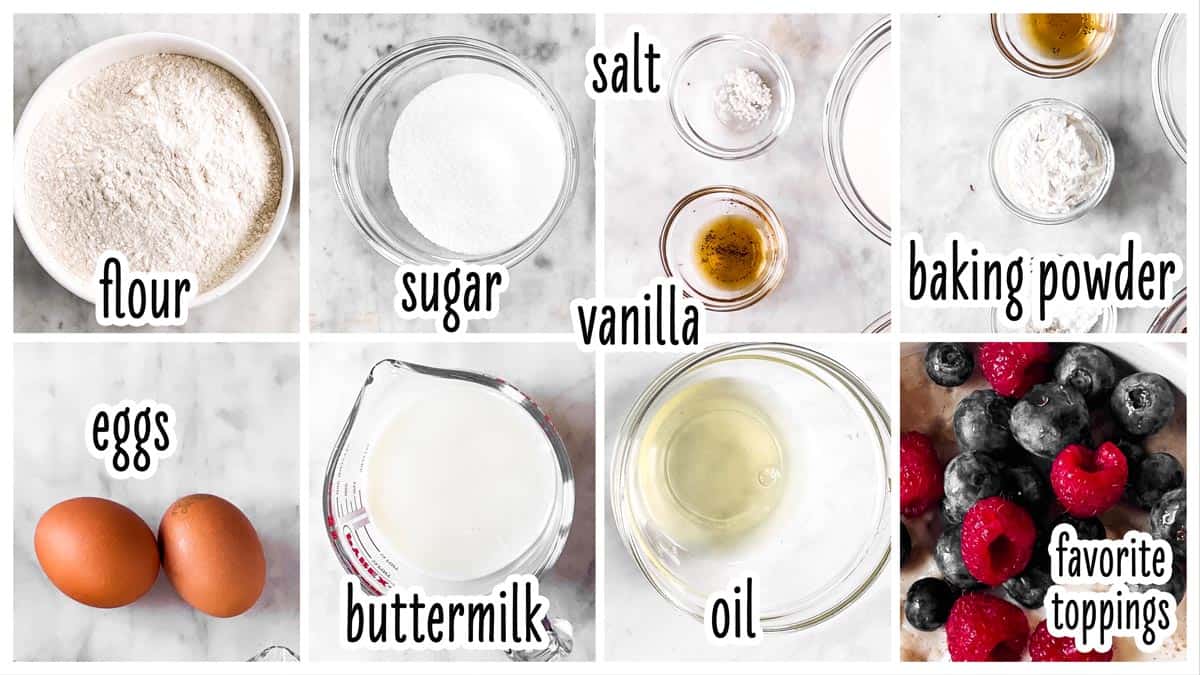
Ingredient notes
- Oil: I prefer to use canola oil for these, as it is mild in taste and works great for cooking and baking. Feel free to use melted butter in place of the oil!
- Buttermilk: If you don’t have any buttermilk on hand, use the same amount of regular milk with ½ tablespoon white vinegar stirred in. Let sit on the counter for 10 minutes, then stir again before using.
- Flour: I use all-purpose flour for these waffles. You can also use half whole wheat and half all-purpose. If you want to use all whole wheat, I recommend substituting 2 tablespoons of the flour with cornstarch for a fluffier result. You will also need an extra tablespoon of oil and 1-2 extra tablespoons of buttermilk, as the whole wheat flour soaks up more of the liquid.
How to make Buttermilk Waffles
1. I always mix the dry ingredients first, because they’re fine standing out at room temperature the longest. Just make sure the baking powder is evenly distributed, otherwise you won’t get a nice rise.
2. Then you’ll want to separate the eggs and place the egg whites in a clean bowl. Set them aside for whipping in a minute.
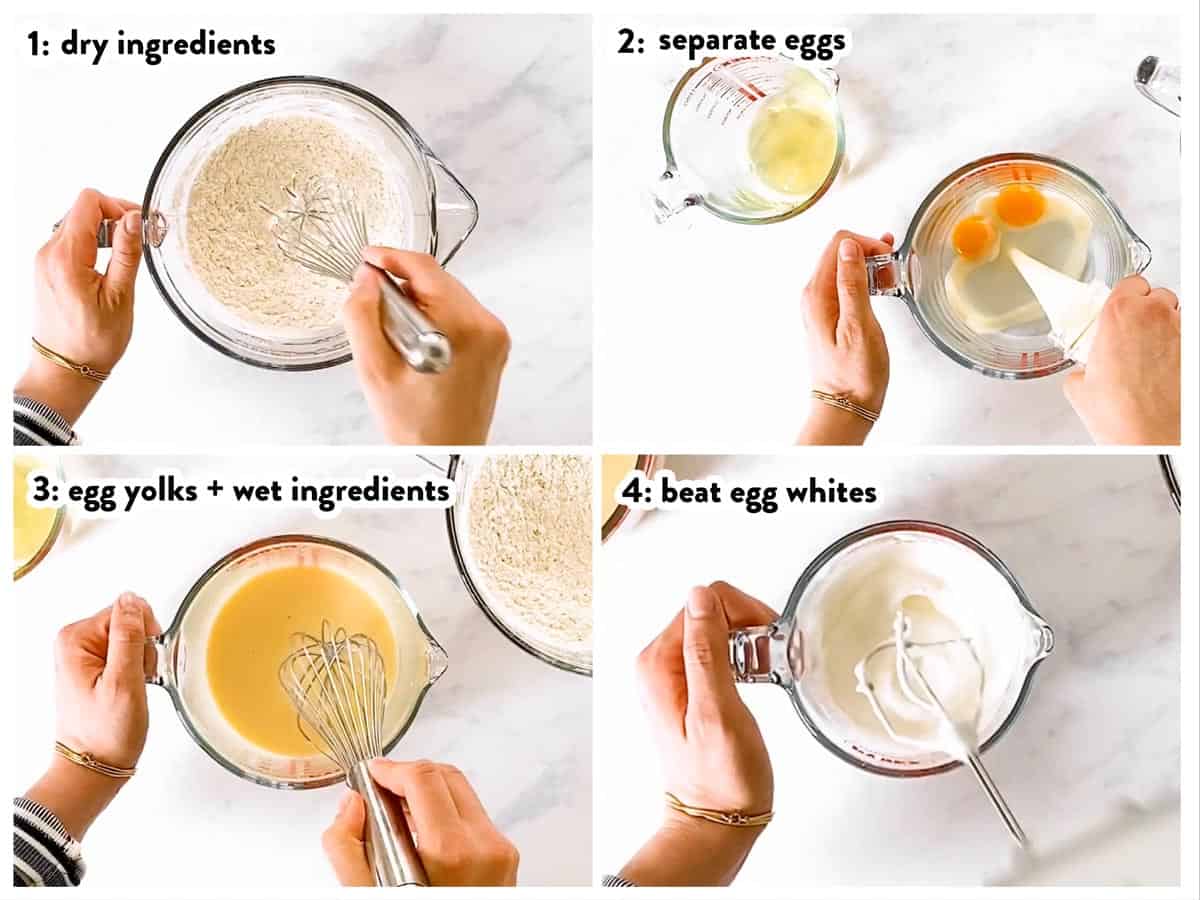
3. Add the wet ingredients to the egg yolks. I like mixing the wet ingredients in a measuring jug, because it makes it less messy to pour. You’ll want to whisk these together very well, until smooth and even in color.
4. Finally, I whip the egg whites to stiff peaks. I do this last because I don’t like letting whipped egg whites stand at room temperature. They start getting runny again and don’t keep their fluff.
5. Add the wet to the dry ingredients and
6. fold together just until combined. Lumpy is fine!
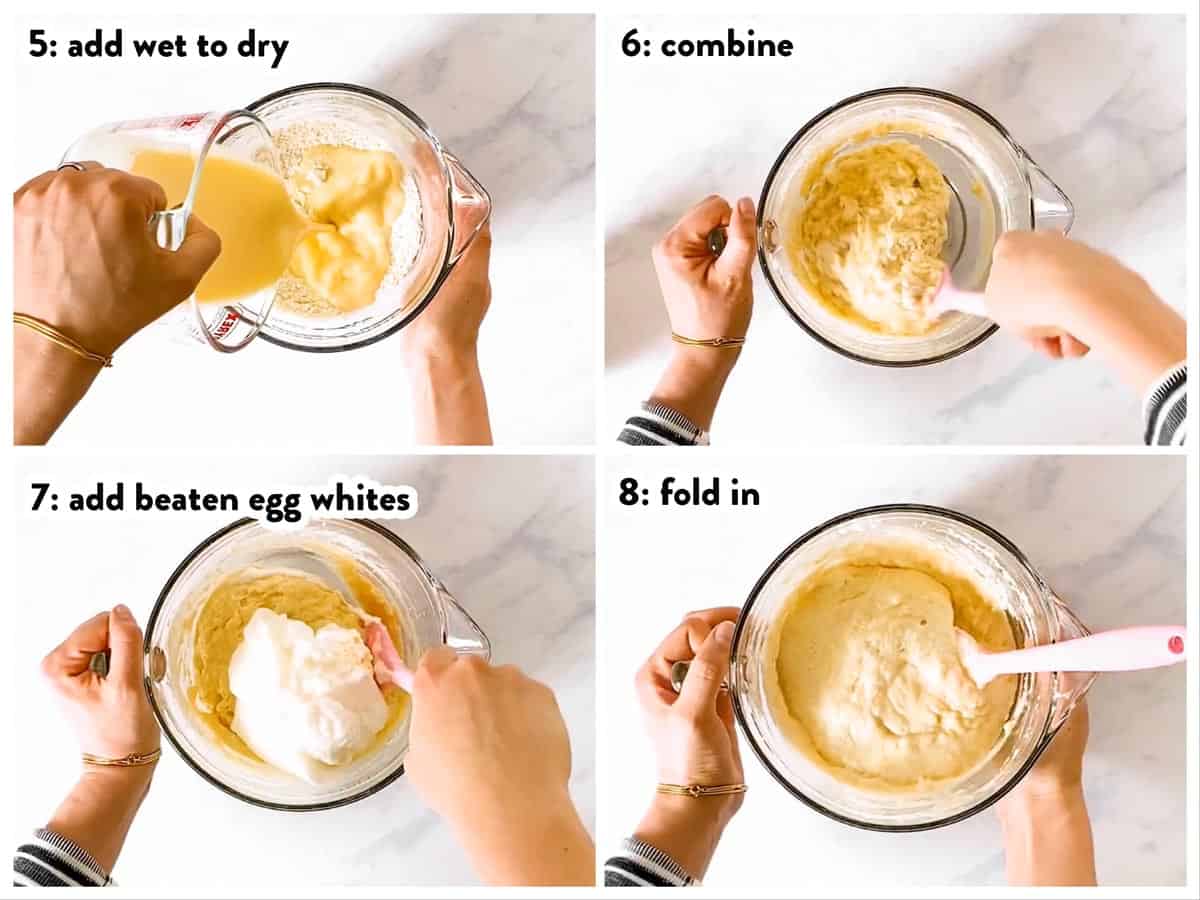
7. Add the beaten egg whites and
8. fold in.
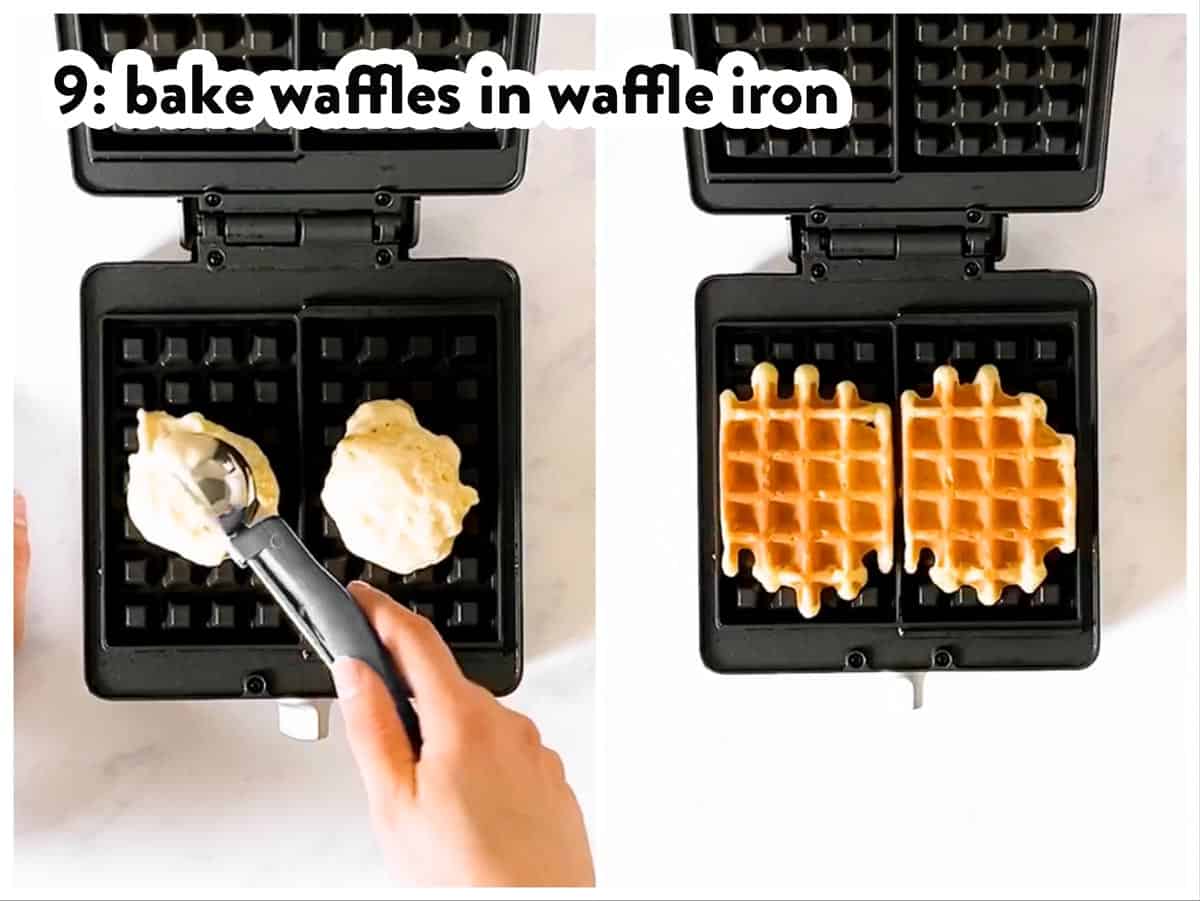
9. Finally, bake the waffles in your waffle iron!
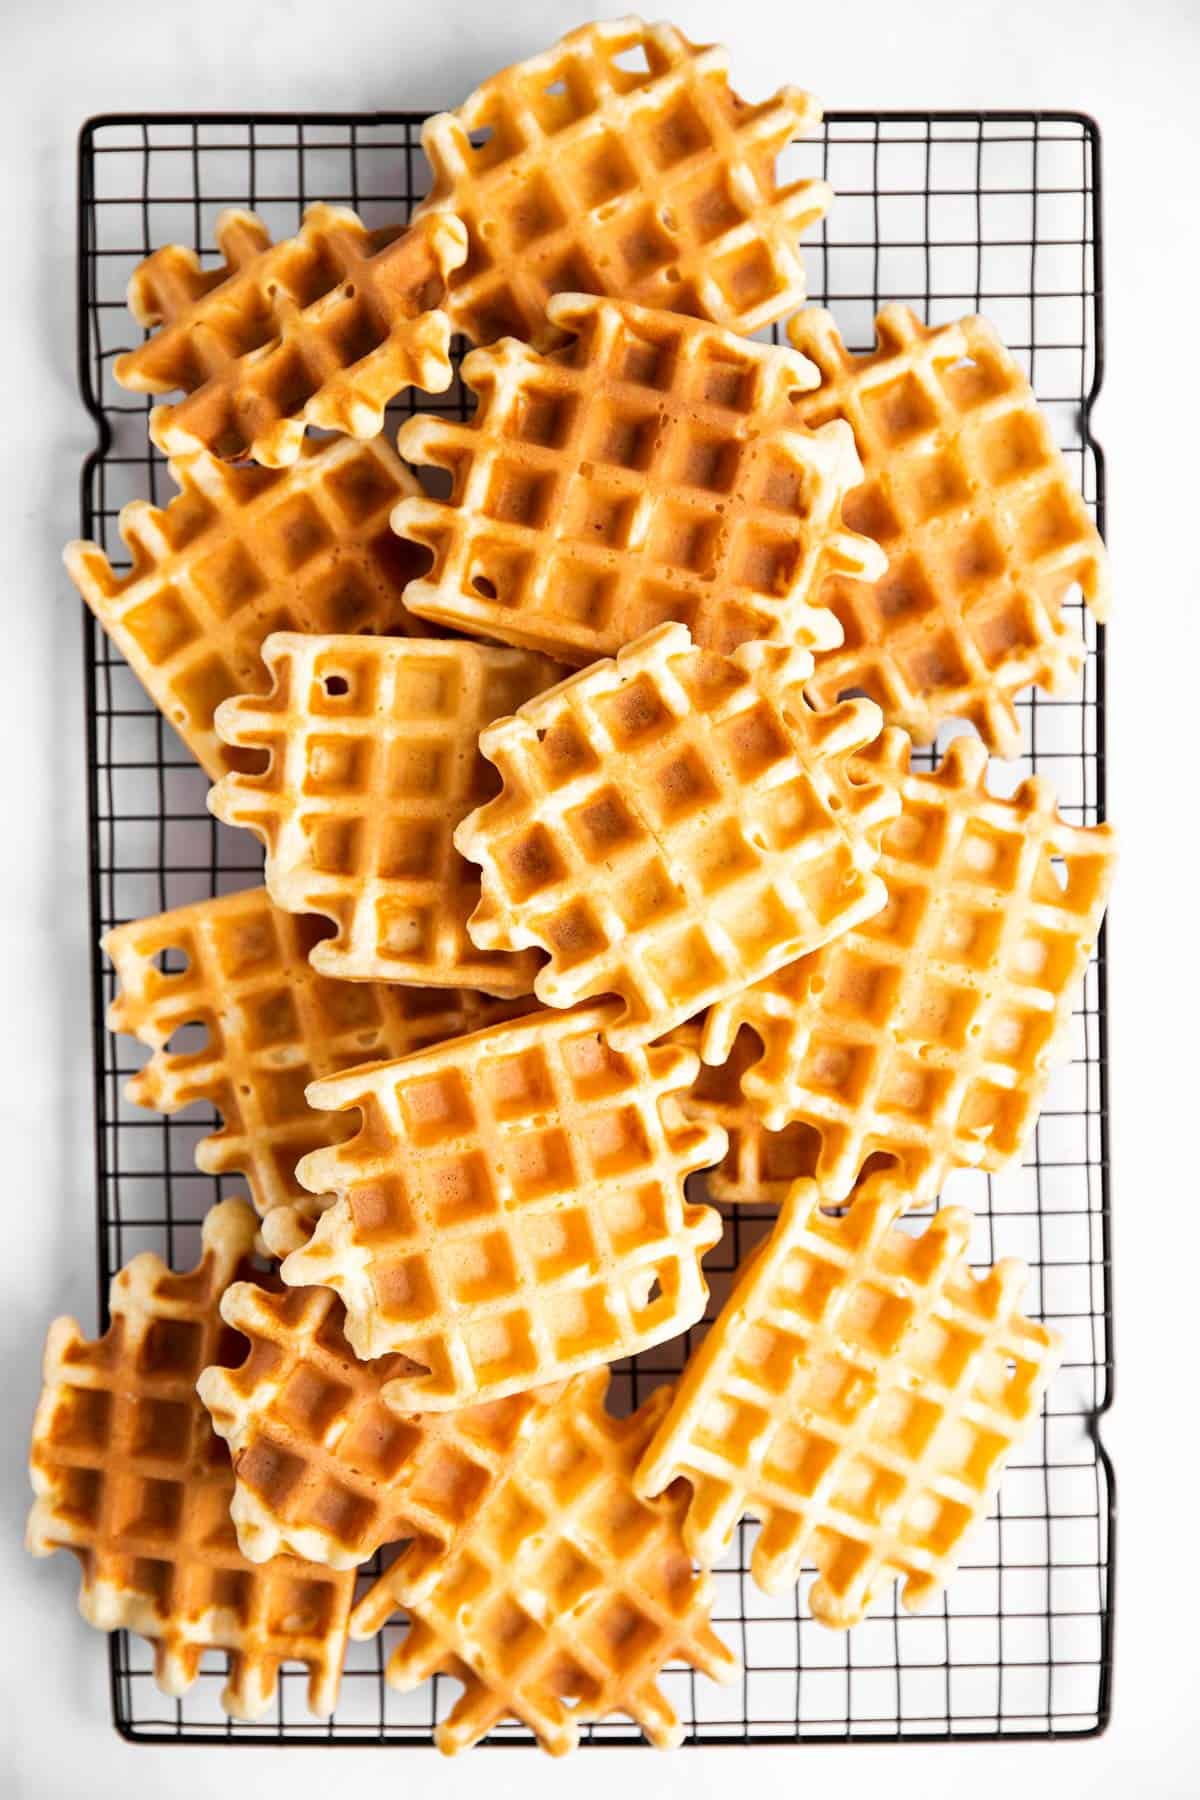
Recipe tips
Mixing the batter
You’ll want to do this very carefully, so you don’t overmix the batter. Also fold in the egg whites gently, or you’ll knock all the air out. But careful doesn’t mean without determination, so don’t be afraid to incorporate the egg whites. You’ll want to take care there’s no large clouds of unmixed egg whites left, otherwise you’ll have flecks of scrambled egg white in your waffles.
Baking the waffles
I never start preheating my waffle iron until the batter is done. Otherwise it stresses me out if I’m not ready yet. Do I have issues, you’re asking? ha!I bake these on a medium-high setting and I lightly grease the waffle iron with a touch of oil before starting.
How to know when waffles are done
When baking waffles in a waffle iron, it can be hard to judge when your waffles are done. It also tends to get hotter the longer it’s on for, which means it’s hard to even time.
One little trick I use is this: I wait until there’s no more wafts of steam coming out of the waffle iron. There will still be a little bit of steam, but you’ll notice the first couple of minutes, there’s a lot more steam! Wait for that to diminish before checking on your waffles.
My theory behind this is that the wet ingredients in the batter create steam as they cook, so once that settles down the waffle should have firmed up enough to make it safe to check without destroying them.
Storage tips
Store cooled waffles wrapped in a clean kitchen towel at room temperature for up to a day.
Freezer instructions
To freeze: Place the waffles in a single layer on a lined baking sheet. Freeze fro about an hour or until firm. Pack into freezer bags and label with the name and the date.
To reheat: Pull out as many waffles as you need and reheat them in bursts in your toaster right out of the freezer. To reheat in the oven, bake the waffles on a rack for about 5-10 minutes at 360°F, or until hot and crispy.
Serving suggestions

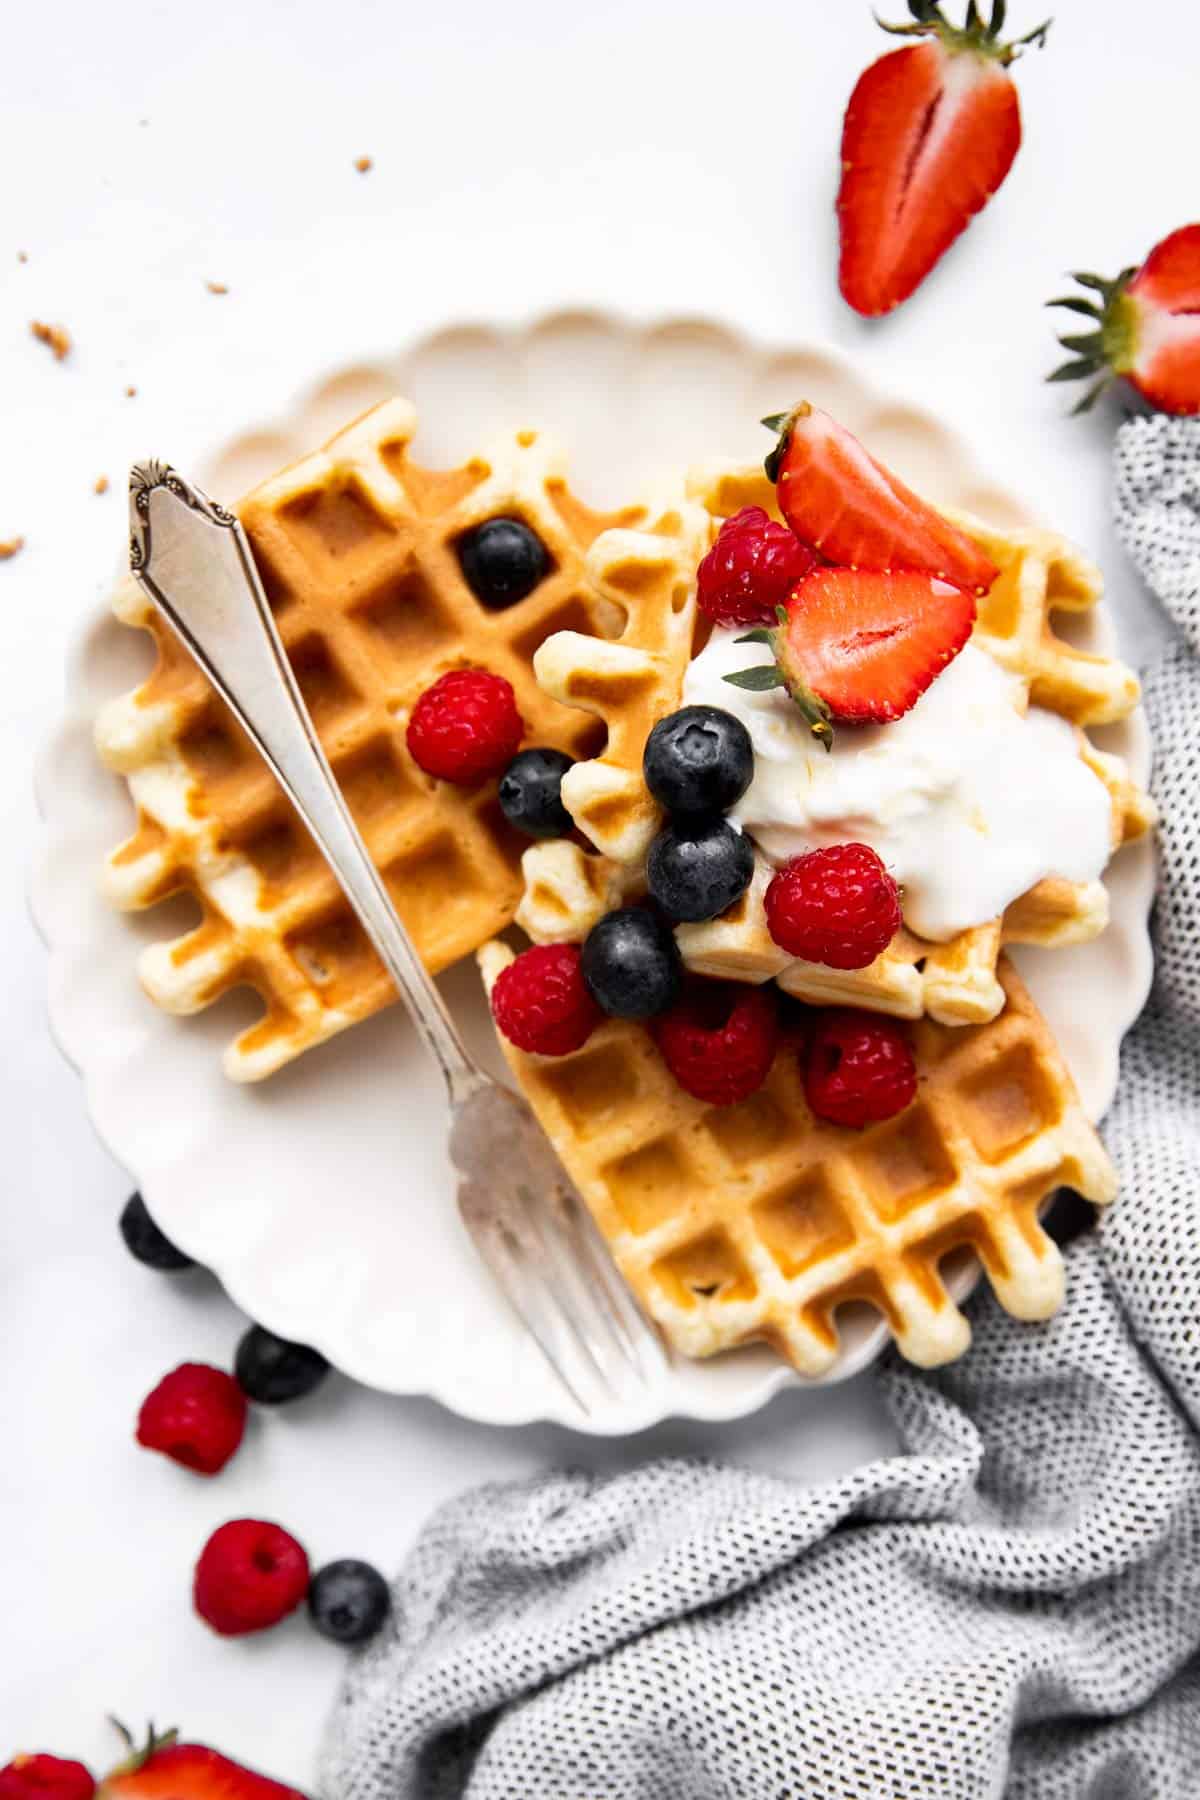
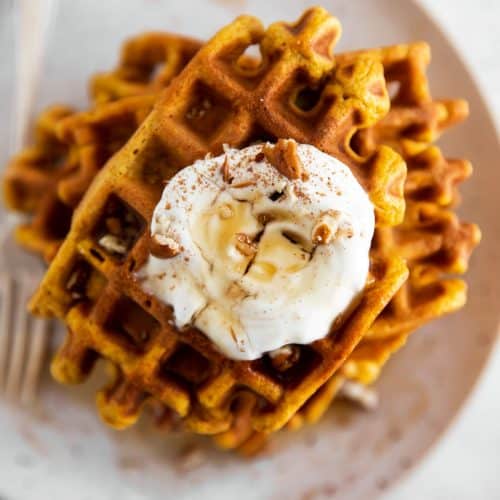
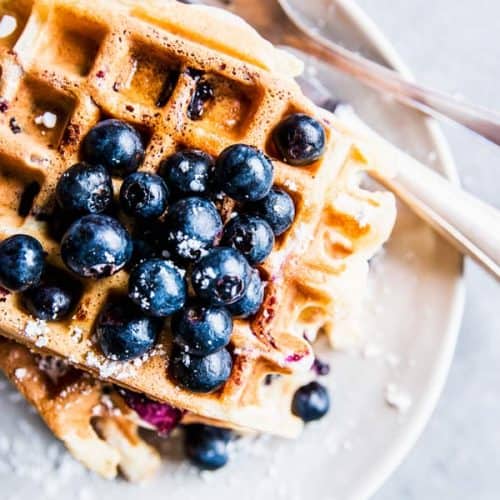
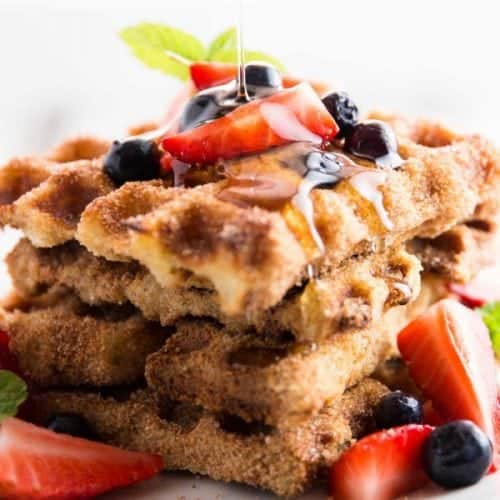
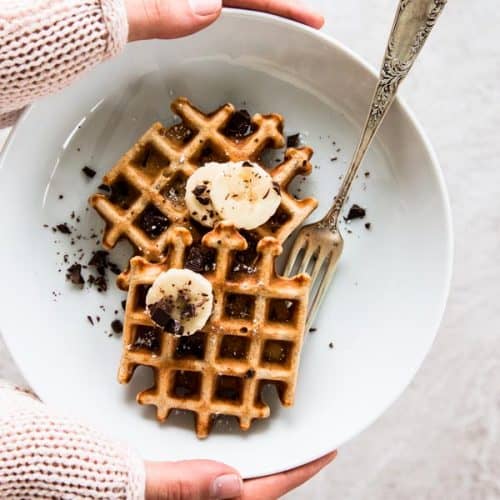
You can top your waffles with anything you like! We always love fresh fruit, yogurt and maple syrup, but shhhh, a little chocolate sauce never hurt anyone. Whipped cream or ice cream are great when you serve these as dessert!
My kids generally love these cut into waffle sticks. I give them each a small bowl of Greek yogurt mixed with some maple syrup for dipping – they’re all about the dipping!
For a special treat, I love making my Berry Cheesecake Fruit Salad with these. Or try one of my suggestions in this post for waffle toppings and side dishes!
Watch the recipe video
PS If you try this recipe, please leave a review in the comment section and add a star rating in the recipe card – I appreciate your feedback! Follow along on Pinterest, Facebook or Instagram.
Printable recipe
Fluffy Buttermilk Waffles
Recipe details
Ingredients
- 2 cups all purpose flour
- 2 tablespoons white sugar
- 2 teaspoons baking powder
- ½ teaspoon salt
- 2 large eggs separated
- 1 ½ cups low fat buttermilk
- 3 tablespoons oil
- 1 teaspoon vanilla extract
- berries, syrup or any toppings you love!
Instructions
- Mix the dry ingredients: Add the flour, sugar, baking powder and salt to a bowl. Stir very well until evenly mixed.
- Mix the wet ingredients: MAKE SURE YOU SEPARATE THE EGGS! In a large measuring jug, whisk together the egg YOLKS, buttermilk, oil and vanilla extract until smooth.
- Beat the egg whites: Beat the egg WHITES in a clean bowl with electric beaters until still peaks form. You’ll know they’re ready when you can slowly invert the bowl without the egg whites falling out.
- Make the batter: Pour the wet ingredients into the bowl with the dry ingredients and stir a few times just to combine. Add the beaten egg whites and carefully fold in just until incorporated. Do NOT overmix, or the waffles will be dense.
- Bake waffles: Preheat your waffle iron on medium-high. Lightly grease and bake waffles according to your manufacturer’s instructions. I use about ¼ cup of batter per waffle, and I scoop it with a cookie scoop to make less of a mess.
- Serve the waffles hot right out of the waffle iron – that’s when they’re the crispiest!
Notes
Ingredient notes
- Oil: I prefer to use canola oil for these, as it is mild in taste and works great for cooking and baking. Feel free to use melted butter in place of the oil!
- Buttermilk: If you don’t have any buttermilk on hand, use the same amount of regular milk with ½ tablespoon white vinegar stirred in. Let sit on the counter for 10 minutes, then stir again before using.
- Flour: I use all-purpose flour for these waffles. You can also use half whole wheat and half all-purpose. If you want to use all whole wheat, I recommend substituting 2 tablespoons of the flour with cornstarch for a fluffier result. You will also need an extra tablespoon of oil and 1-2 extra tablespoons of buttermilk, as the whole wheat flour soaks up more of the liquid.
Recipe tips
Batter: You’ll want to do this very carefully, so you don’t overmix the batter. Also fold in the egg whites gently, or you’ll knock all the air out. But careful doesn’t mean without determination, so don’t be afraid to incorporate the egg whites. You’ll want to take care there’s no large clouds of unmixed egg whites left, otherwise you’ll have flecks of scrambled egg white in your waffles. Baking: I never start preheating my waffle iron until the batter is done. Otherwise it stresses me out if I’m not ready yet. Do I have issues, you’re asking? ha! I bake these on a medium-high setting and I lightly grease the waffle iron with a touch of oil before starting. How to know when waffles are done: When baking waffles in a waffle iron, it can be hard to judge when your waffles are done. It also tends to get hotter the longer it’s on for, which means it’s hard to even time. One little trick I use is this: I wait until there’s no more wafts of steam coming out of the waffle iron. There will still be a little bit of steam, but you’ll notice the first couple of minutes, there’s a lot more steam! Wait for that to diminish before checking on your waffles. My theory behind this is that the wet ingredients in the batter create steam as they cook, so once that settles down the waffle should have firmed up enough to make it safe to check without destroying them.Storage tips
Store cooled waffles wrapped in a clean kitchen towel at room temperature for up to a day.Freezer instructions
To freeze: Place the waffles in a single layer on a lined baking sheet. Freeze for about an hour or until firm. Pack into freezer bags and label with the name and the date. To reheat: Pull out as many waffles as you need and reheat them in bursts in your toaster right out of the freezer. To reheat in the oven, bake the waffles on a rack for about 5-10 minutes at 360°F, or until hot and crispy.Nutrition
More recipe information
More easy waffle recipes
Recipe first published on 04/05/2018. Updated on 02/28/2021.





Alice Molina says
I’ve tried many waffle recipes, but this one is THE BEST !
Elizabeth N. says
These are so fluffy and perfectly flavored- just delicious! I’ve never made my own waffles so I was skeptical of the egg whites but I trusted the process, and I’m so glad I did! This will definitely be our go to waffle recipe as we try and incorporate more homemade items into our home!
Michael says
Thanks for sharing this recipe, Nora! I followed it exactly and the waffles came out fantastic. I almost skipped the separating of the eggs, and whipping the egg whites (as I had to do it by hand so as not disturb family in the wee hours of the morning), but I’m glad I didn’t because the results made it totally worth it!
Nora says
I’m so glad, Michael! And yes, my husband is a fellow egg white by hand whipper, so not to wake up anyone 😉 kudos to your dedication! Definitely makes a difference.
Carol says
All your tips made it sooooo easy to make these!! I would never have taken the time to whip the egg whites if you hadn’t talked about it, but now I’m so glad I did! Seriously the best waffles I ever made, will be using this recipe from now on instead of my old one! Thank you for sharing!
Nora says
Soo happy to read this, Carol! I’m glad you took the time to beat the egg whites – so worth it 😉 Thank you so much for trusting in my recipe, and for taking the time to come back and leave a review. I appreciate it so much!