Printable recipe
made it? tap the stars to add your rating!
Yield: 6 servings
Ready In: 4 hours 25 minutes
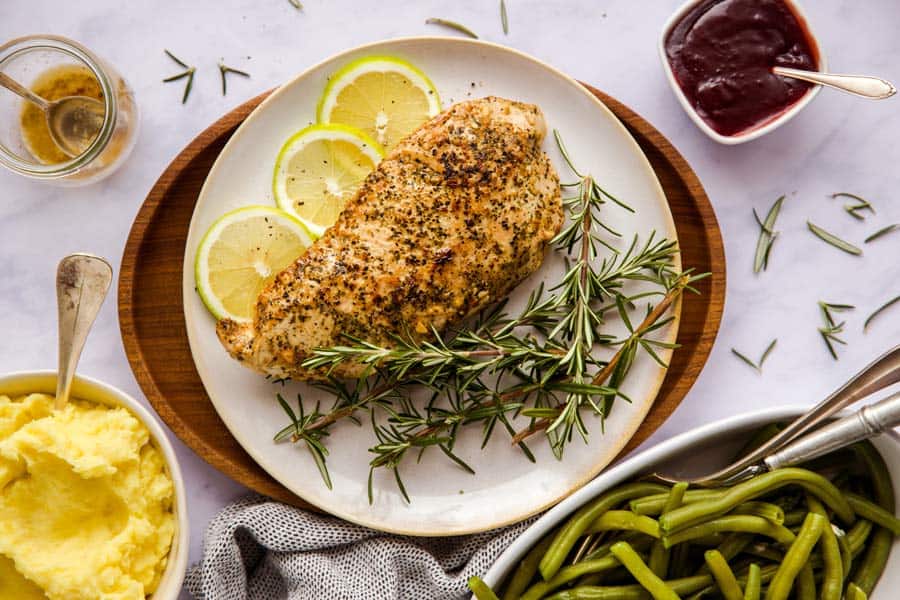
If you have never cooked a turkey breast sous vide before, you're in for a treat. I often find turkey breast dry, but cooked this way? Absolutely perfect.My two key tricks are these: I season the turkey breast REALLY well. No seasoning, no flavor. And secondly, I never skip searing the turkey breast after cooking it sous vide. Not only does it taste much better, but searing also helps the meat to "plump up" and look much more inviting after having been in the water bath for several hours.This is pretty much the same method I use as when I cook Sous Vide Chicken Breast, and it's my favorite way to make turkey – right along my more traditional Crock Pot Cranberry Turkey Breast.
Recommended Equipment:
- Sous Vide Machine
- Vacuum Bags
- Vacuum Sealer
Ingredients
Seasoning:
- 1 teaspoon salt
- 1 teaspoon celery salt
- 1 teaspoon garlic powder
- ½ teaspoon ground black pepper
- ¼ teaspoon grated lemon zest
- ¼ teaspoon dried parsley
- ¼ teaspoon ground paprika
Turkey:
- 1 boneless turkey breast half (about 3 pounds)
- 1 tablespoon olive oil
- optional: granulated garlic, sprigs of rosemary or thyme, sage leaves, lemon slices (note: lemon slices can turn out a little bitter, so if you don't like that, please don't add any!)
To Finish:
- 2 tablespoons butter
Instructions
Sous Vide Cooking:
- Prep: Set your sous vide water bath to 145°F.
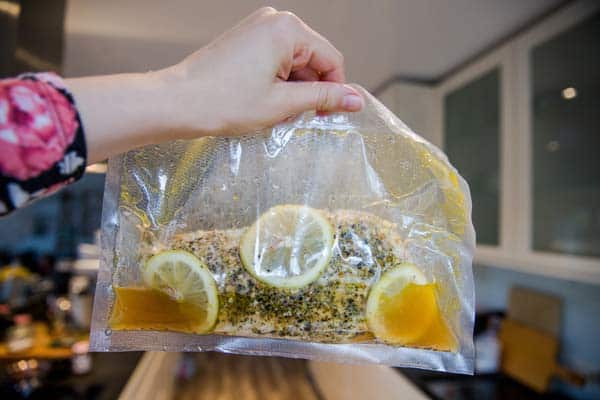
- Season turkey: Combine all seasoning ingredients and rub all over the turkey breast. Place turkey in a large zip loc or vacuum seal bag with the olive oil. Seal the bag, then place in the water bath and set the timer for 4 hours.
Finish:
- Remove the bag from the water bath once the timer is done. Remove it from the bag.
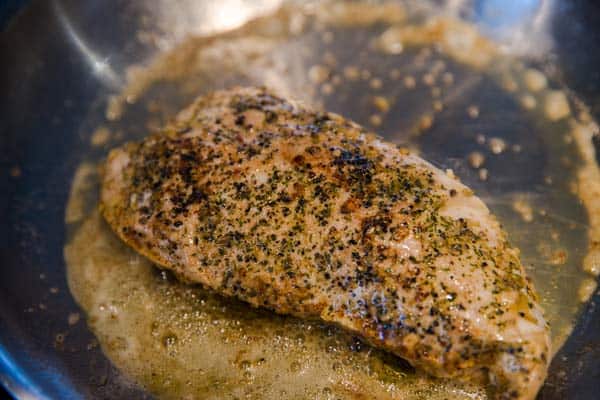
- Sear: Heat the butter in a large skillet over high heat, then add the turkey breast and sear, pushing down, on both sides until golden brown.
- Rest: Rest the turkey breast for 5-10 minutes, then slice to serve.
Nora’s Tips
Step by Step Photos:
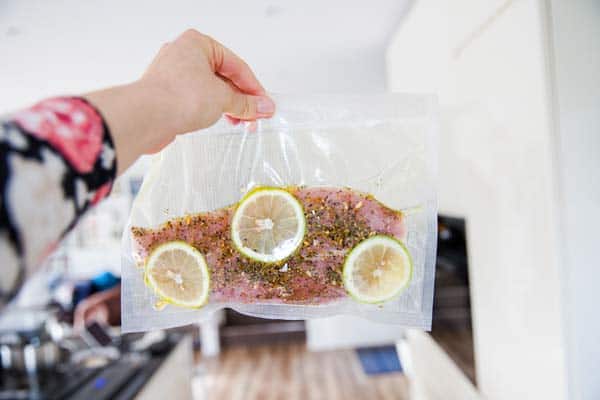
Fold the opening of the bag over a couple of times before adding the turkey breast. This helps to keep the bag getting contaminated where the seal is.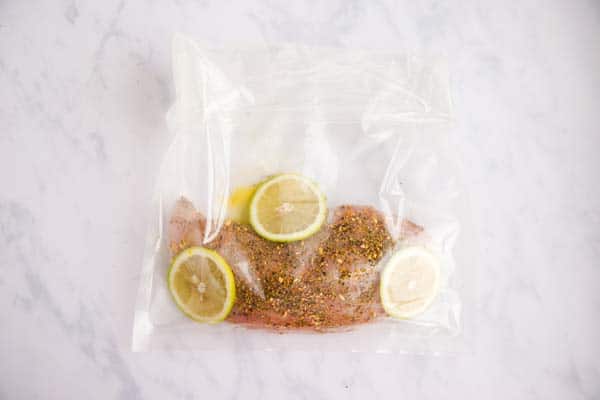 Vacuum pack the turkey snuggly, but not so much that it gets completely squished.
 Place the turkey in the water bath once it has come to temperature, and make sure it is FULLY submerged and can’t float above the water surface (clip it to the side of the pot if you’re concerned it might float up). To save energy, I recommend covering the top with a water bath insulation from the start – I use polypropylene balls because they also help the food stay in the waterbath the right way.
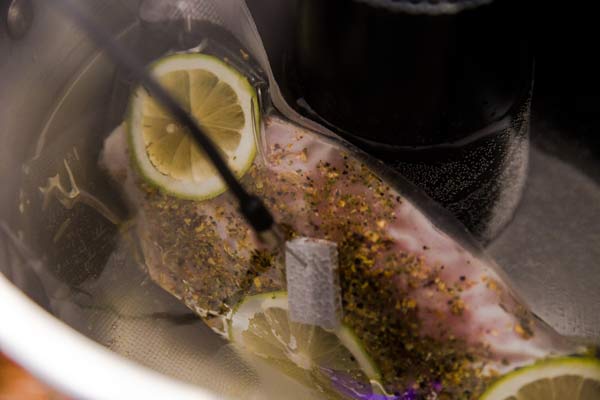 Once the turkey is cooked, a lot of juices will have accumulated in the bag. When using lemon slices, it’s quite bitter (and my husband drinks this stuff ?). When I’m not using lemon, I like turning the juices into a sauce with the help of a roux and some white wine.
 Searing the turkey after cooking is super important! It adds a nice color and some extra flavor, and it makes it look so much better vs when it comes right out of the sous vide bag.
Ingredient Notes:
Turkey: I used half of a boneless, skinless turkey breast. You can also use skin-on. If using bone-in turkey breast, I absolutely recommend cooking it with a sous vide thermometer inserted to make sure it’s safe to eat all the way to the bone. Seasoning:- if you don’t have celery salt, just use additional regular salt
- I use garlic powder because I’m not a fan of how raw garlic turns out sous vide. You can also use more granulated garlic here, it’s delicious!
- black pepper: if you want a spicier turkey, increase the amount of black pepper
- lemon zest: I use lemon zest because it doesn’t turn bitter and adds a nice flavor. You can also use orange zest or leave it out.
Cooking Tips:
Sous vide bags: I’m not a fan of using zip-loc bags to cook sous vide (they aren’t meant to be heated and aren’t tested for that), so I only use special bags designed to cook with. I’m not going to stop you from using the ziplocs, apparently they’re safe up to 158°F. If you’re using a ziploc bag: Use heavy duty and remove as much air as possible with the water displacement method. This means you’ll keep the bag unzipped and lower it into the water until the water level reaches just under the top (make sure you don’t submerge it, or you’ll have water in the bag!). Zip the bag close and you should have removed as much air as possible. If you’re using a vacuum sealer: Vacuum seal the turkey breast snuggly, but not too tight – or you’ll squish it too much. If you have a vacuum sealer with a setting for “moist”, you can use that one. Saving energy during an extended cooking period: To save energy during the long cooking time, definitely use a water bath cover. There are many options: special polypropylene balls, water bath covers or cling film all work.Make Ahead Instructions:
You can cook this up to 3 days ahead (some people say a week, but I could never). Chill it in an ice bath after cooking, then store in the fridge. To reheat, place it in the sous vide water bath at 130°F for about and hour, then remove it, sear it, rest it and serve.Favorite Equipment:
Pair this with:
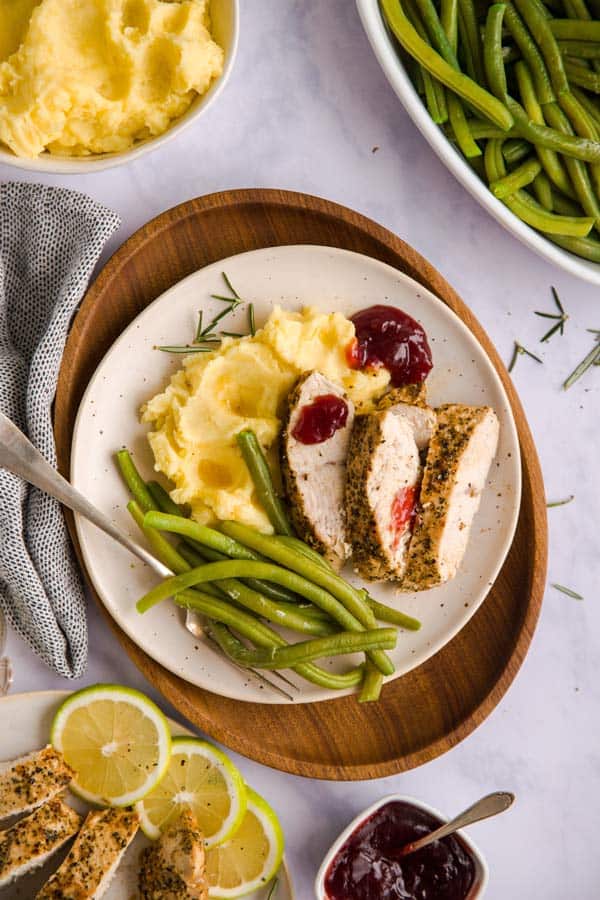
This is a wonderful main course for a smaller holiday meal. Just add your favorite sides and your feast will basically cook itself!Nutrition
Calories: 354kcal | Carbohydrates: 1g | Protein: 68g | Fat: 9g | Saturated Fat: 3g | Cholesterol: 199mg | Sodium: 930mg | Potassium: 6mg | Fiber: 1g | Sugar: 1g | Vitamin A: 158IU | Calcium: 54mg | Iron: 4mg
More recipe information
Join my Newsletter to Get Recipes in Your Inbox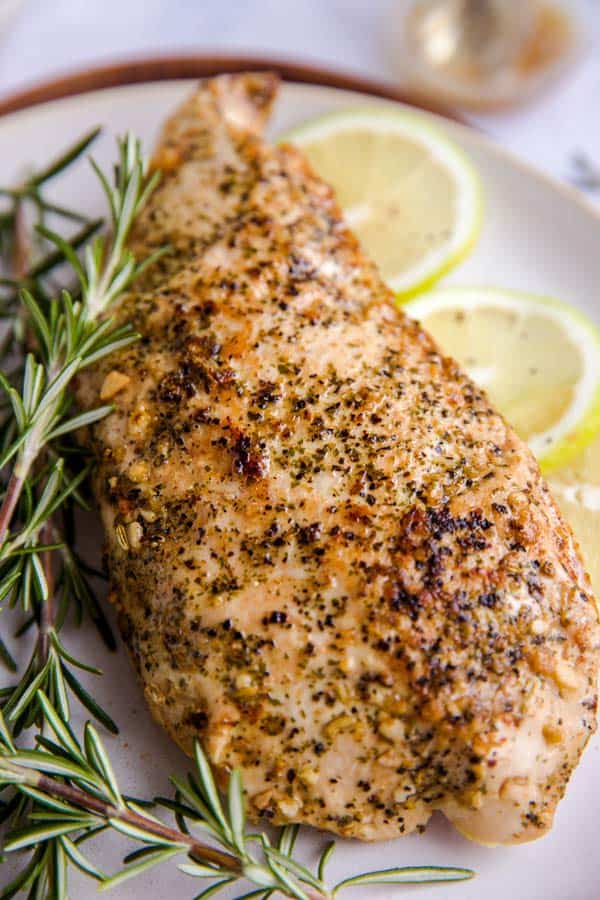









Leslie Jeffrey says
Great recipe! Also added a little butter and sage leaves under the skin. Did not add lemon slices or zest but flavor was still great. Turkey was very tender cooking at 145 for 4 hrs vs 3 hrs as in another recipe.