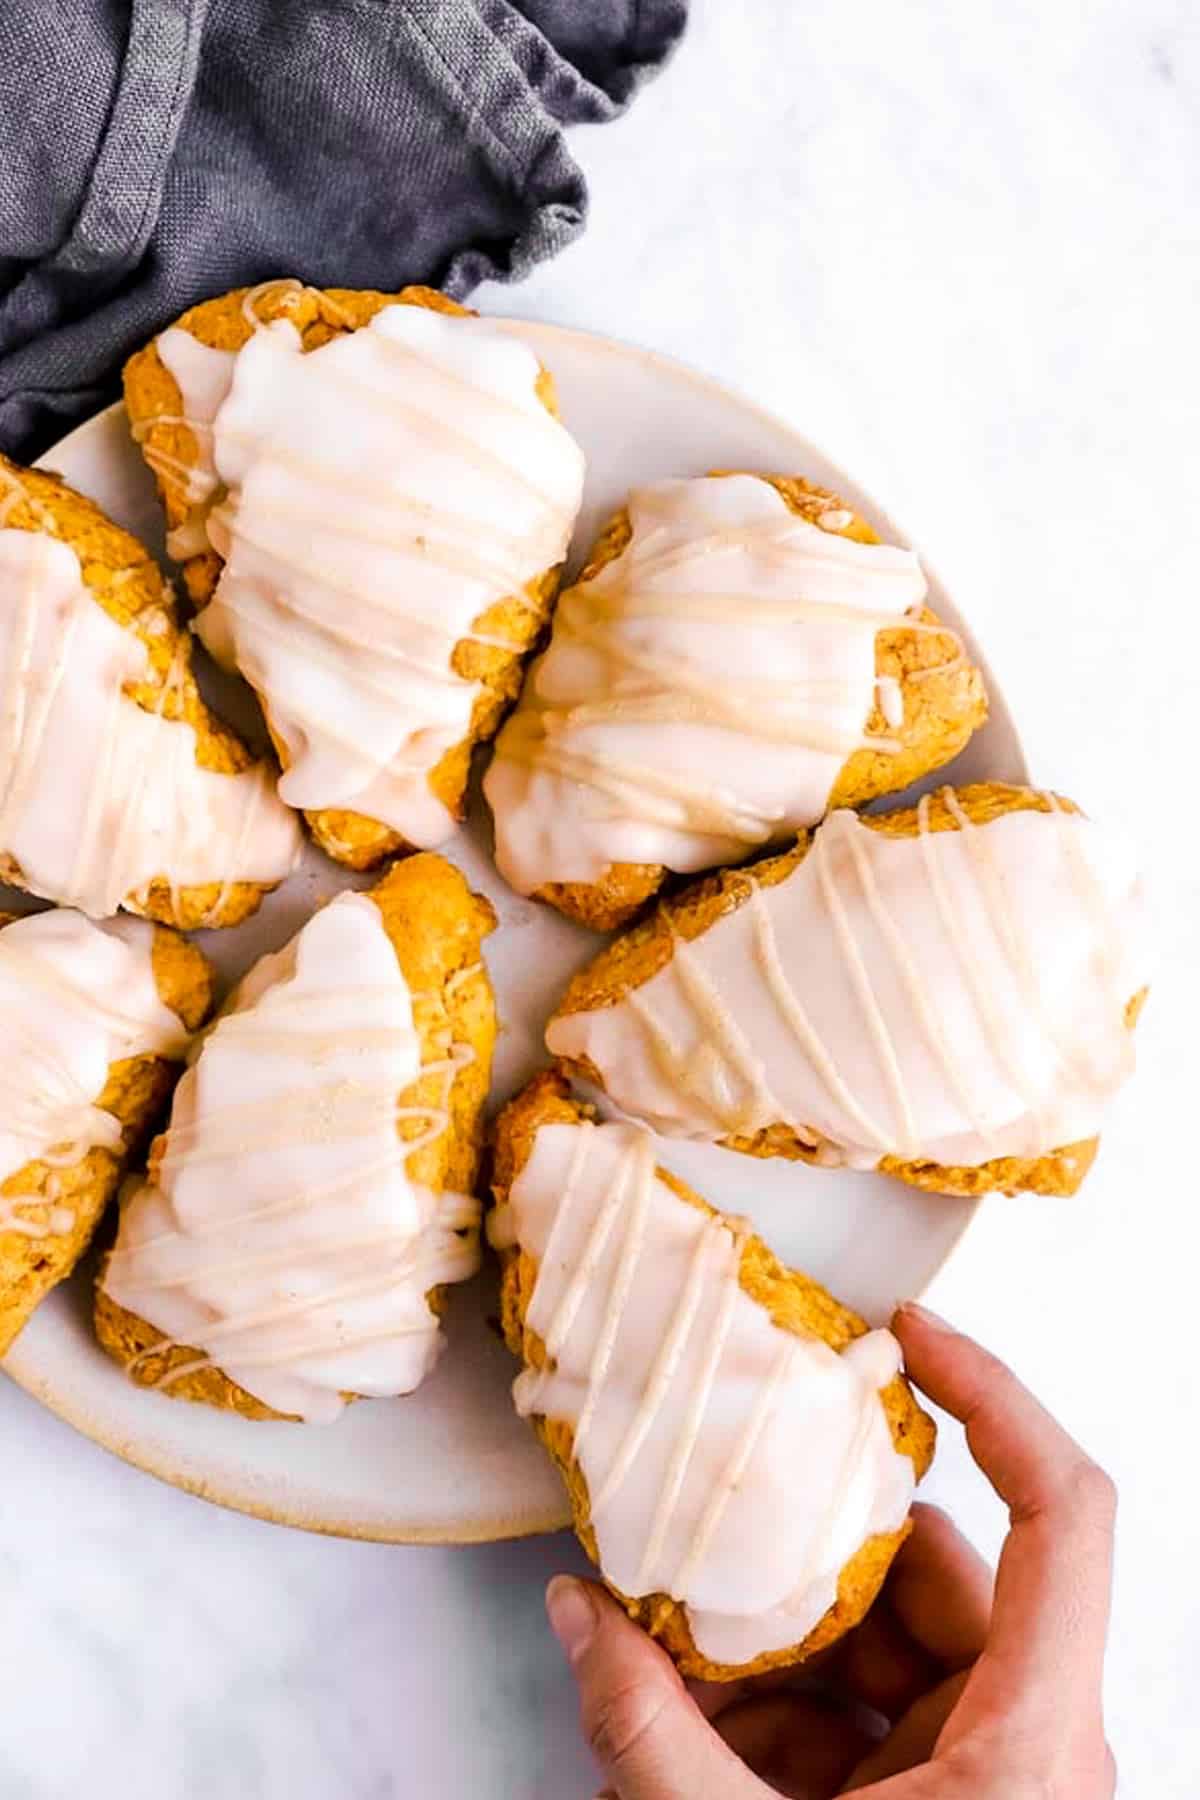
Scones are one of the best coffee shop treats – right?! And what is fall without a pumpkin scone ? I’ve been making these homemade ones for years, and now they are a favorite of my kids.
This post contains affiliate links and we earn a commission for purchases made after clicking through.
These are incredibly easy to whip up. You just have to make sure to follow the instructions.
Most importantly: Use cold butter, don’t overwork the dough and cut these autumnal guys with a fairly sharp tool (I usually use my OXO Dough Scraper (affiliate link) for this – works like a charm!). These tips will already help you make beautiful scones, but I’ve got more information so yours turn out perfect on the first try!
Baking tips
Ingredients should be cold: Scones rely heavily on the cold butter creating a form of lamination to rise. It it very important to use all cold ingredients (butter, milk and egg; the other ingredients can be at room temperature) so this process can work correctly.
Making the dough: Just like pie crust, you want to avoid overworking the dough – otherwise you’ll develop the gluten in the flour too much and your scones will come out more chewy like bread vs light and fluffy.
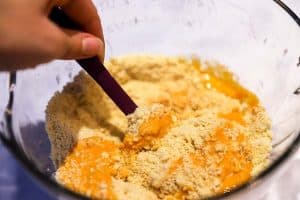
- use a spatula to combine the pumpkin mix and the flour mix – not a whisk or a mixer
- do not knead the dough when you turn it out onto the baking sheet, only push it down and together into a ball, then flatten it
- if the dough feels very crumbly when you push it together, add an extra tablespoon of milk. if the dough feels extremely sticky, add a little bit of flour (do not add too much flour or they’ll turn out dry and powdery)
Getting a fluffy scone: It can be tricky to get a nice, evenly risen scone – unless you know a few tricks!
- do make sure you’re working with cold ingredients, and put the dough together quickly so it doesn’t warm up too much.
- combine the dry ingredients very well to evenly distribute the baking powder – unevenly distributed baking powder can be a reason for lopsided scones.
- don’t overwork the dough: overworking the dough will keep the scones from rising nicely, so they won’t be big and fluffy
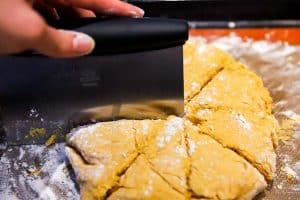
- cut the scones with a sharp tool to get clear cuts – this helps a lot to create evenly risen scones! I love my Oxo Dough Scraper for this.
- don’t forget to preheat the oven, baked goods like scones need the appropriate heat right as they enter the oven for the baking powder to work with full power.
Glaze: The glaze is optional – if you don’t want to use it, sprinkle the scones with granulated sugar or light brown sugar before baking. If you do glaze them, make sure the scones are cooled completely, or the glaze won’t set.
Ingredient notes
Gluten free: Since scones don’t rely on gluten (on the contrary – you want to avoid developing the gluten too much!), they are well suited to make gluten free. Use a cup-for-cup gluten free flour blend and make sure to check all ingredients to make sure they are certified gf; especially the baking powder.
Pumpkin Pie Spice:
I’ve made a few different versions of pumpkin scones over the years, and I know many recipes only use cinnamon as a spice (at least they did back in 2012 before #PSL was a thing). I most definitely recommend using all pumpkin pie spice to make these very flavorful. But if you don’t have any/are not a fan, cinnamon is an acceptable substitute if you’re OK with not having those warm pumpkin spice flavors in your scones. You could also make your own – see my recipe for Homemade Pumpkin Spice Mix.
Canned Pumpkin: You can also use homemade pumpkin puree; just make sure it’s firm and not runny (or your dough will be too slack). Drain and pat dry if necessary.
Butter: Please do not use any substitutes for the butter! It’s the only way to make a nice scone.
Baking powder: Yes, that really is 1 tablespoon. You need it to get those perfectly big and fluffy bakery-style scones!
Storage tips
Unfortunately, scones do not keep too well. They are best eaten the day they are made so they’re the softest and fluffiest they can be.I find that if I keep them in an airtight container on the counter, they are still fine to eat a day after making them. Any longer than that and they dry out and get tough.
Freezer instructions
These freeze well without the glaze.Let the scones cool completely, then place in a freezer-friendly bag or container, close well and label with the name and use-by date (freeze for up to 3 months).To defrost, unpack and place on a rack on the counter for a few hours, until defrosted. I like to warm them in the oven for a few minutes (or in the microwave for a few seconds) for that freshly-baked taste!
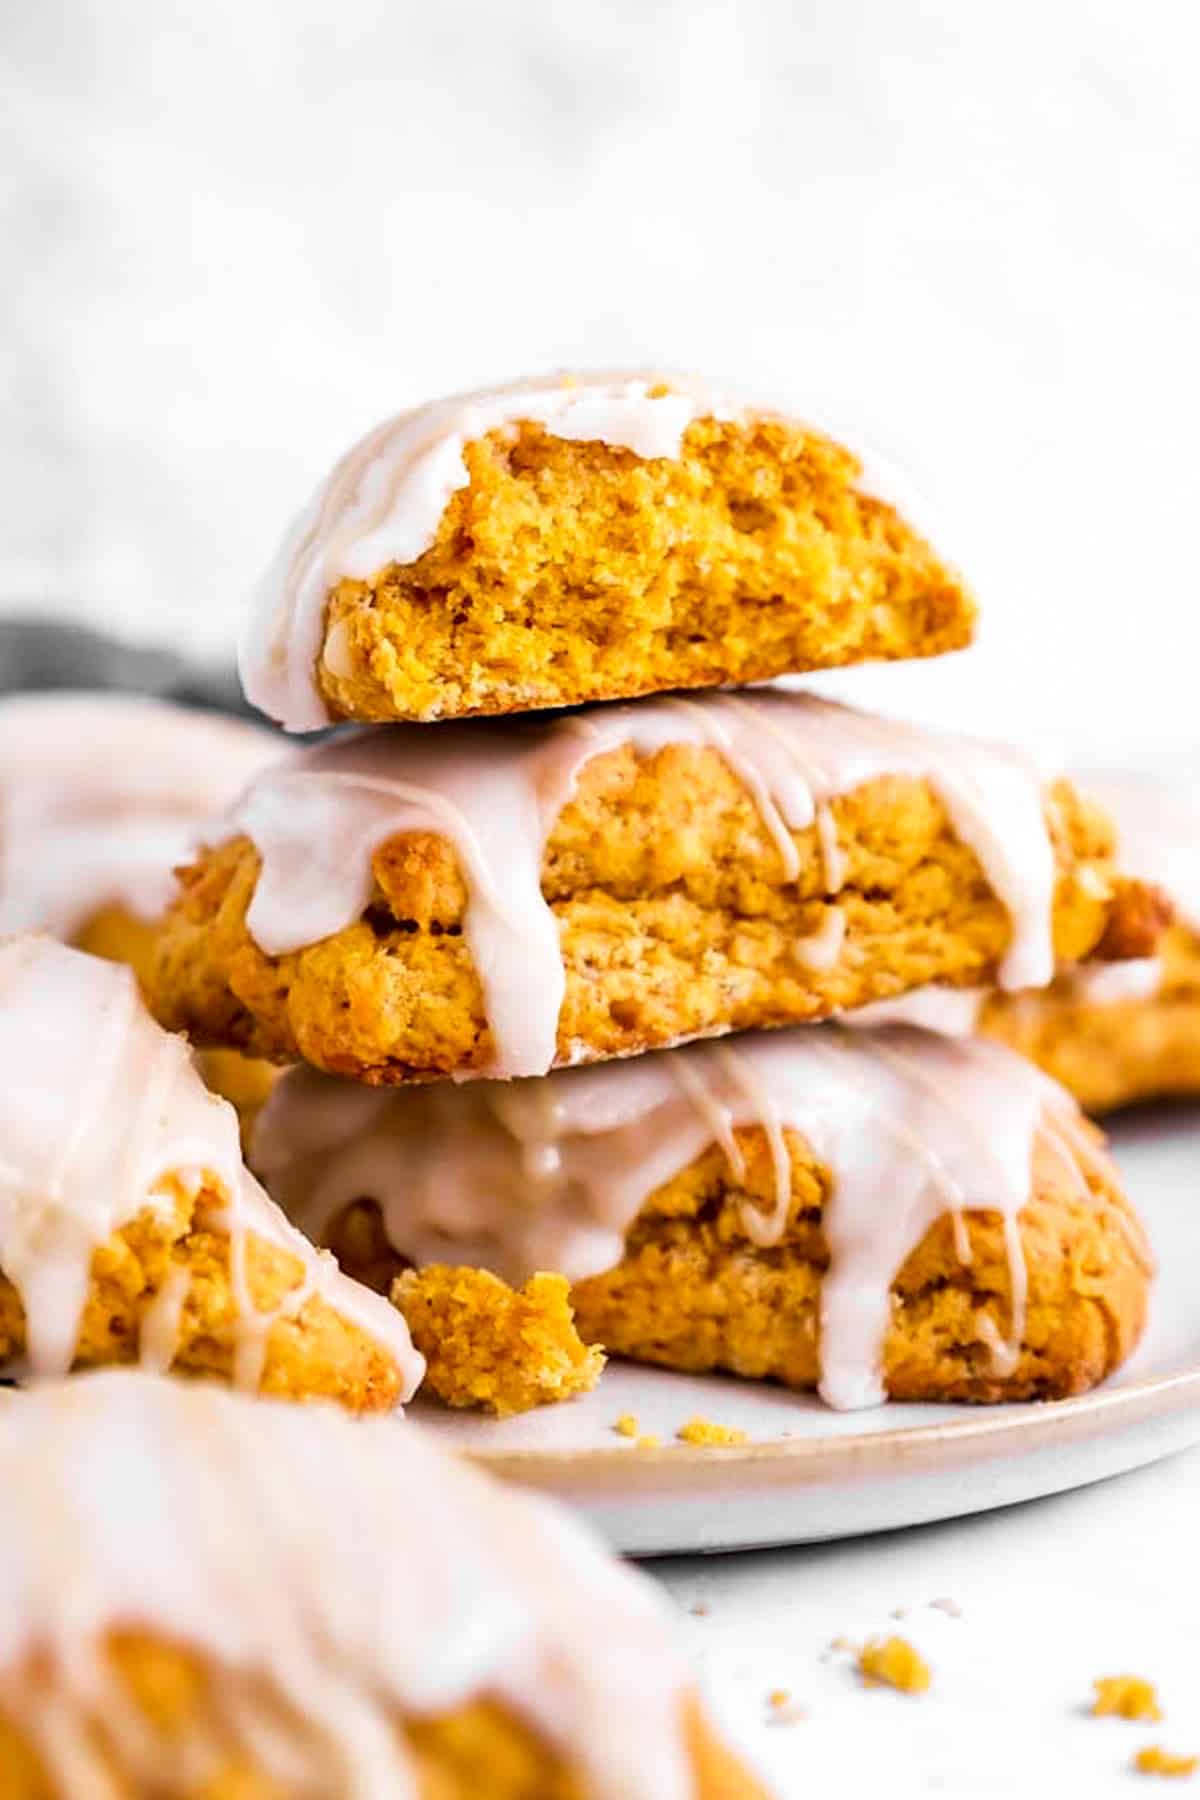
We love to cozy up with a Pumpkin Scone just as much on a crisp Saturday morning as we do for a special after school snack. I’ll make a batch of Slow Cooker Hot Apple Cider to go with them and we’ll watch the leaves falling and inevitably there will be a sibling fight over who’s got the more orange scone. Ah, memories ?
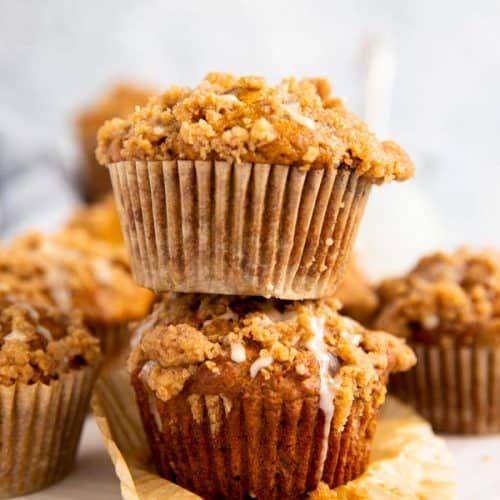
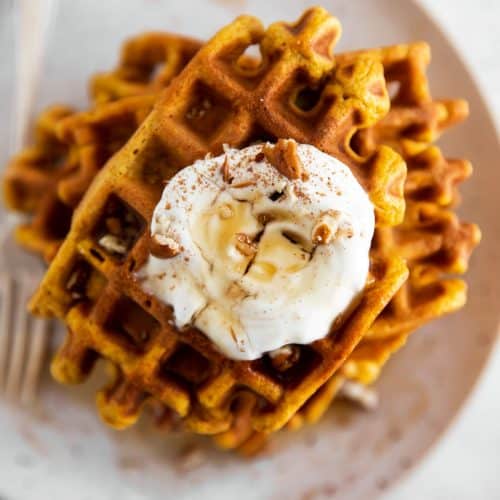
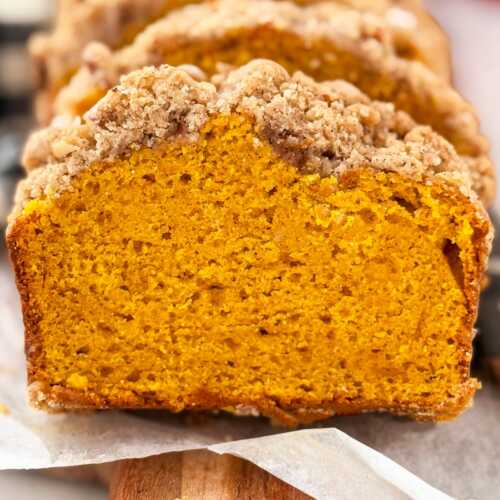
More pumpkin baked goodies
PS If you try this recipe, please leave a review in the comment section and add a star rating in the recipe card – I appreciate your feedback! Follow along on Pinterest, Facebook or Instagram.
Printable recipe
Pumpkin Scones
Recipe details
Ingredients
For the scones:
- 2 cups all-purpose flour
- ½ cup granulated sugar
- 1 tablespoon baking powder
- 2 teaspoons pumpkin pie spice
- ½ teaspoon salt
- ½ cup cold butter diced
- ½ cup canned pumpkin
- 3 tablespoons whole milk OR heavy cream
- 1 large egg
- 1 teaspoon vanilla extract
For the white glaze:
- ⅔ cup powdered sugar
- 2 tablespoons milk
For the maple glaze:
- ⅓ cup powdered sugar
- 1 tablespoon maple syrup
- ½ teaspoon molasses optional for a darker color
Instructions
- Prep: Line a baking sheet with parchment or a silicone baking mat and flour well. Preheat the oven to 425°F.
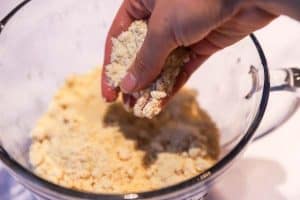
- Cut butter into dry ingredients:Combine flour, sugar, baking powder, pumpkin spice and salt in a medium bowl. Cut in the butter until coarse crumbs form.
- Combine scone dough:Whisk togteher the pumpkin, milk, egg and vanilla in a separate measuring jug. Pour into flour mix. Use a spatula to fold the two together. Only fold JUST until combined. Do NOT overmix! It will look scraggly, that's fine.
- Shape scones:Empty the dough on the prepared baking sheet. Lightly flour the top, then push into a flat 9-inch circle. Cut into 8 wedges. Pull them about 2 inches apart to leave room for expansion during baking.
- Bake the scones: Bake for 14-16 minutes, or until done. Cool on the baking sheet for 5 minutes, then place on a cooling rack to cool completely.
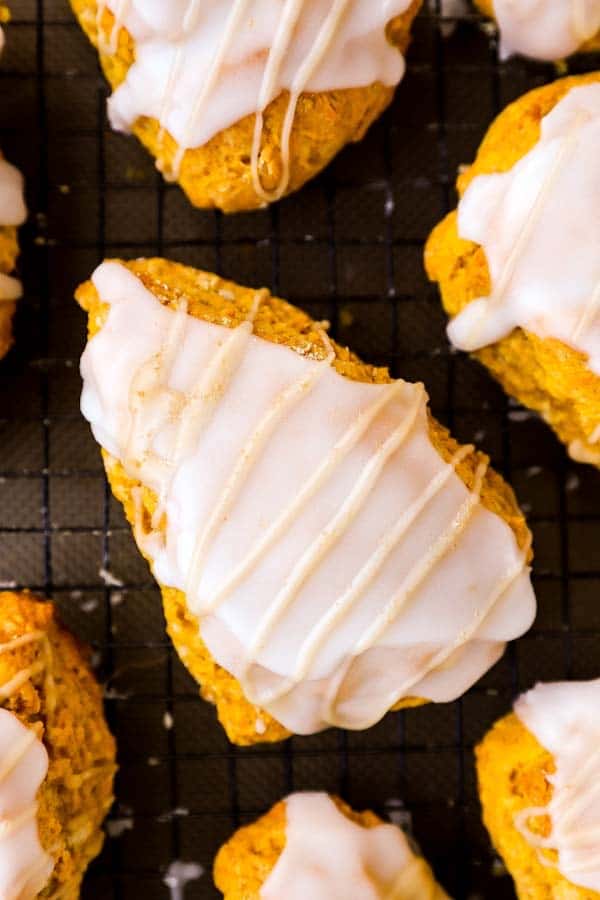
- Glaze the scones: Stir all ingredients for the white glaze together. Generously glaze the top of each scone and allow to set. Mix all ingredients for the maple glaze together and drizzle over the scones.
Notes
Baking tips
- use all cold ingredients (butter, milk and egg; the other ingredients can be at room temperature)
- Just like pie crust, you want to avoid overworking the dough – otherwise you’ll develop the gluten in the flour too much and your scones will come out more chewy like bread vs light and fluffy.
- combine the dry ingredients very well to evenly distribute the baking powder – unevenly distributed baking powder can be a reason for lopsided scones.
- cut the scones with a sharp tool to get clear cuts – this helps a lot to create evenly risen scones!
- don’t forget to preheat the oven, baked goods like scones need the appropriate heat right as they enter the oven for the baking powder to work with full power.
Ingredient notes
- Gluten free: Since scones don’t rely on gluten (on the contrary – you want to avoid developing the gluten too much!), they are well suited to make gluten free. Use a cup-for-cup gluten free flour blend and make sure to check all ingredients to make sure they are certified gf; especially the baking powder.
- Pumpkin Pie Spice: If you don’t have any pumpkin spice mix, either see my Homemade Pumpkin Spice Mix; or use ground cinnamon and a few pinches of ground ginger instead.
- Canned Pumpkin: You can also use homemade pumpkin puree; just make sure it’s firm and not runny (or your dough will be too slack). Drain and pat dry if necessary.
- Butter: Please do not use any substitutes for the butter!






Comments
No Comments