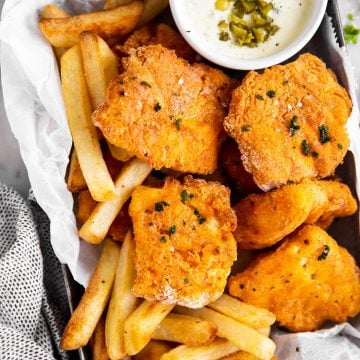
So much better than store-bought: This Crispy Oven Fried Fish gets super crunchy and will be a new favorite for kids and adults alike.
It is basically baked breaded fish, but I always have a few tricks up my sleeve to make anything oven fried extraordinarily good. My homemade breaded fish blows frozen fish sticks out of the water by far!
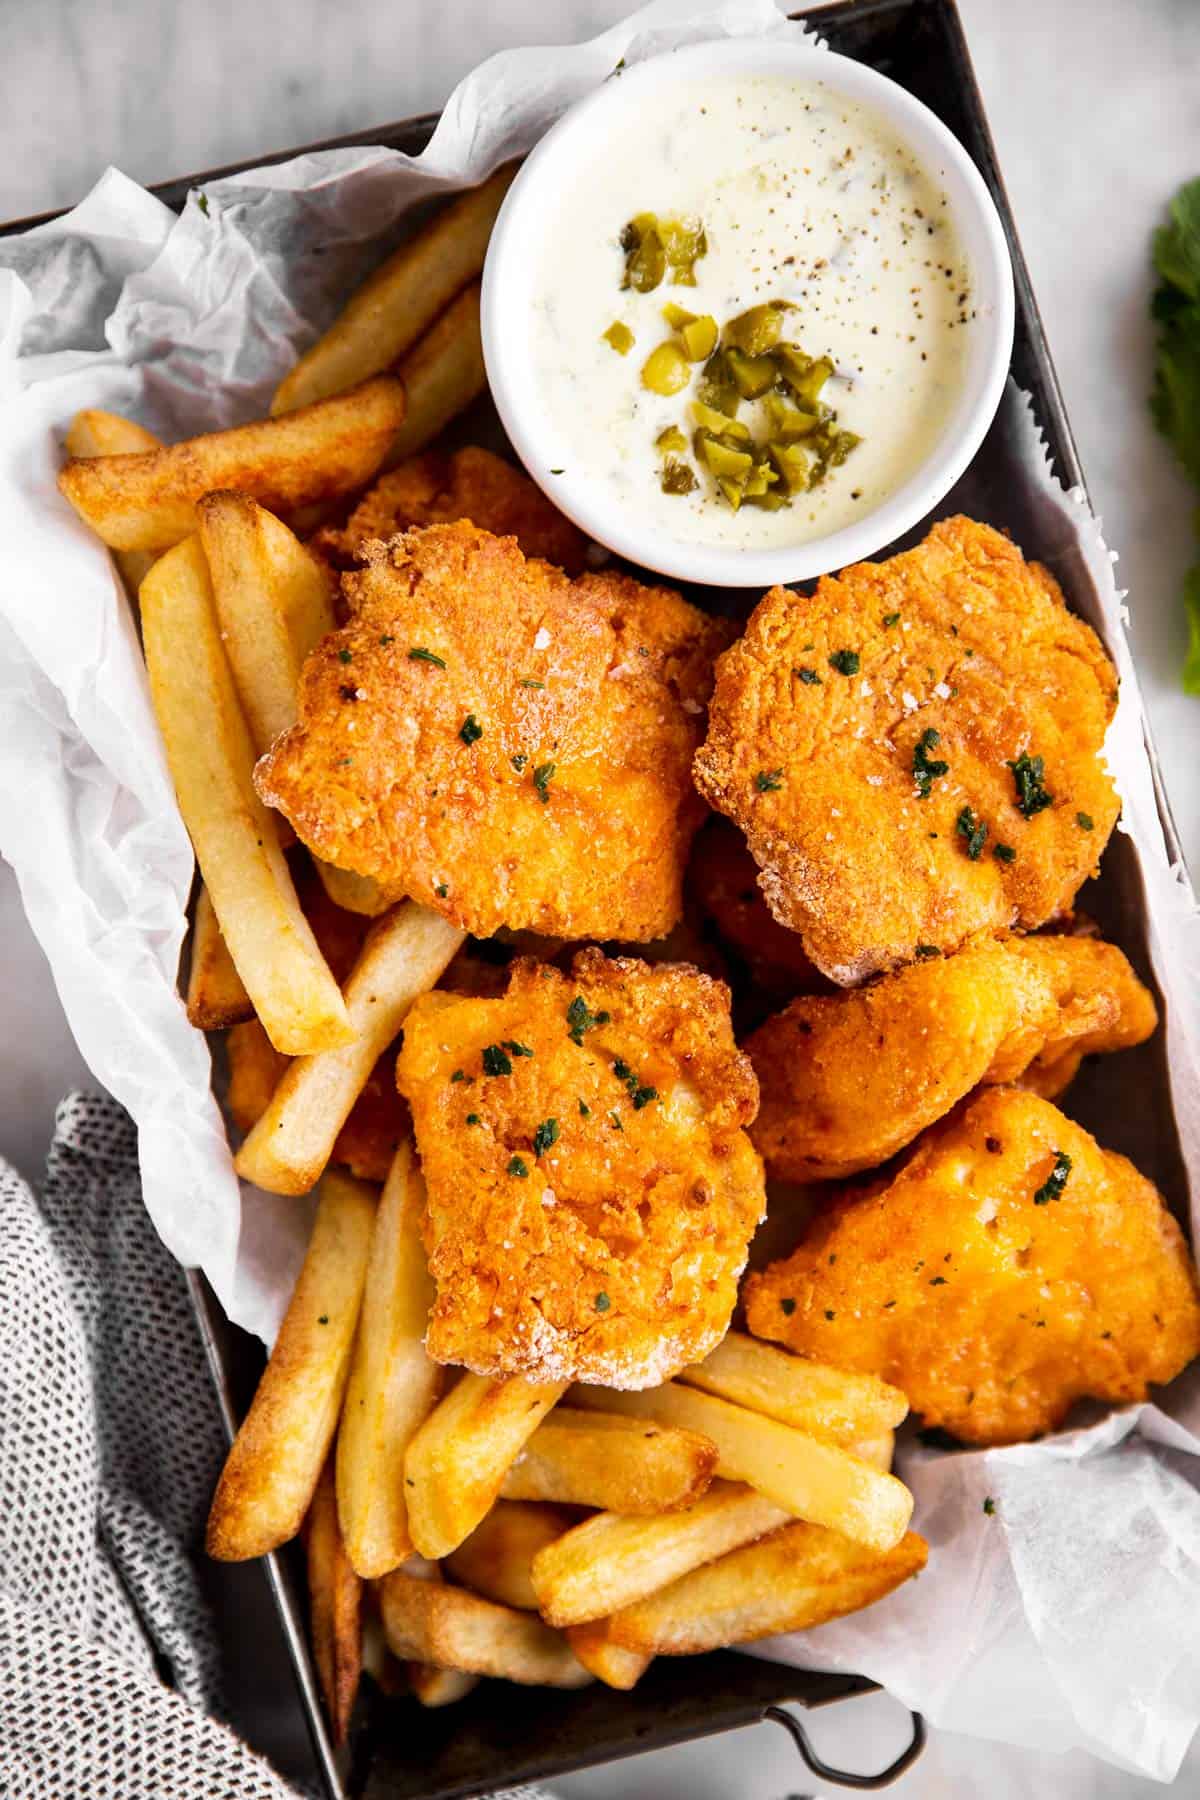
Baked breaded fish
Is it any secret that I’m obsessed with all things oven fried? And breaded fish might just be my favorite oven fried recipe.
- My foolproof breading method ensures a crispy, batter-like coating without making a fuss. It’s quick and easy!
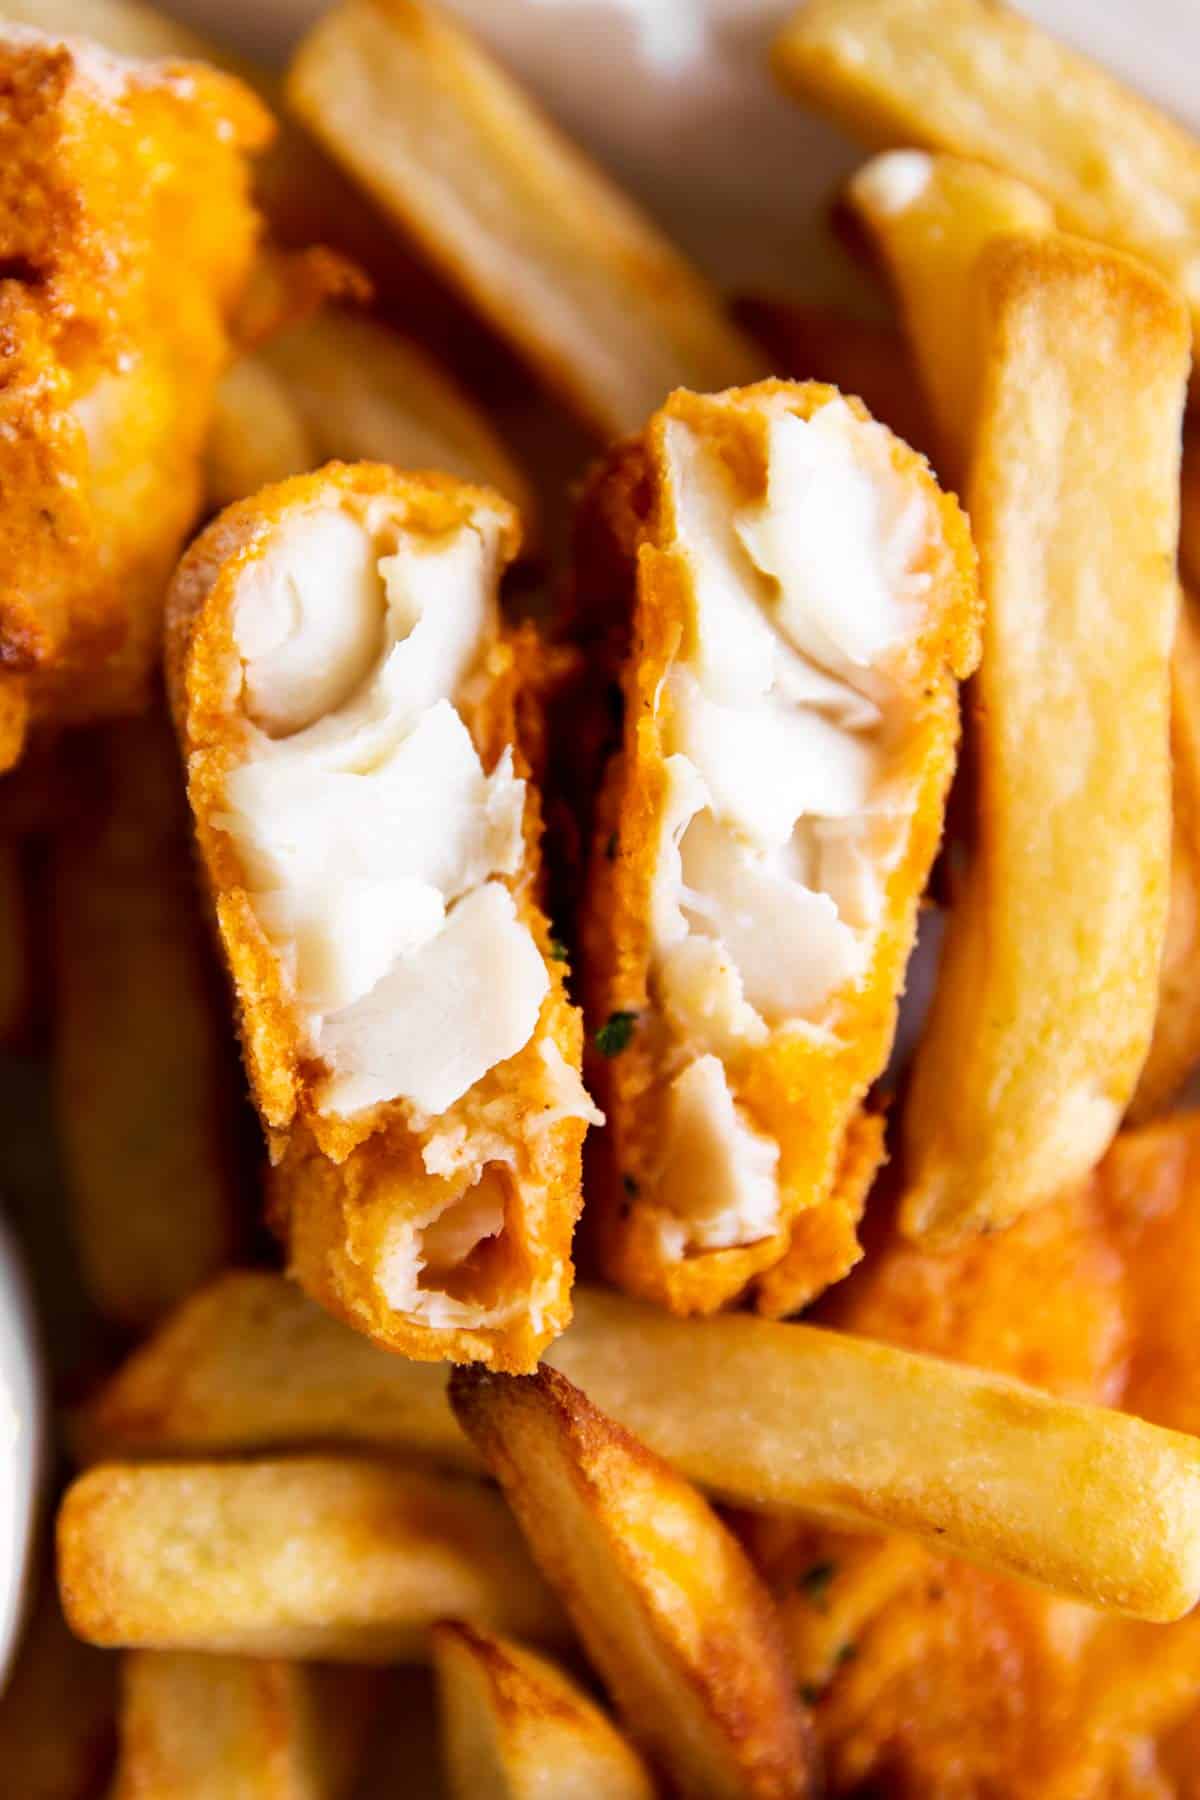
- The fish comes out flaky and juicy on the inside, with a super-crispy coating on the outside.
- It is perfect served with French fries and tartar sauce as a healthier, homemade fish and chips!
Ingredients you’ll need
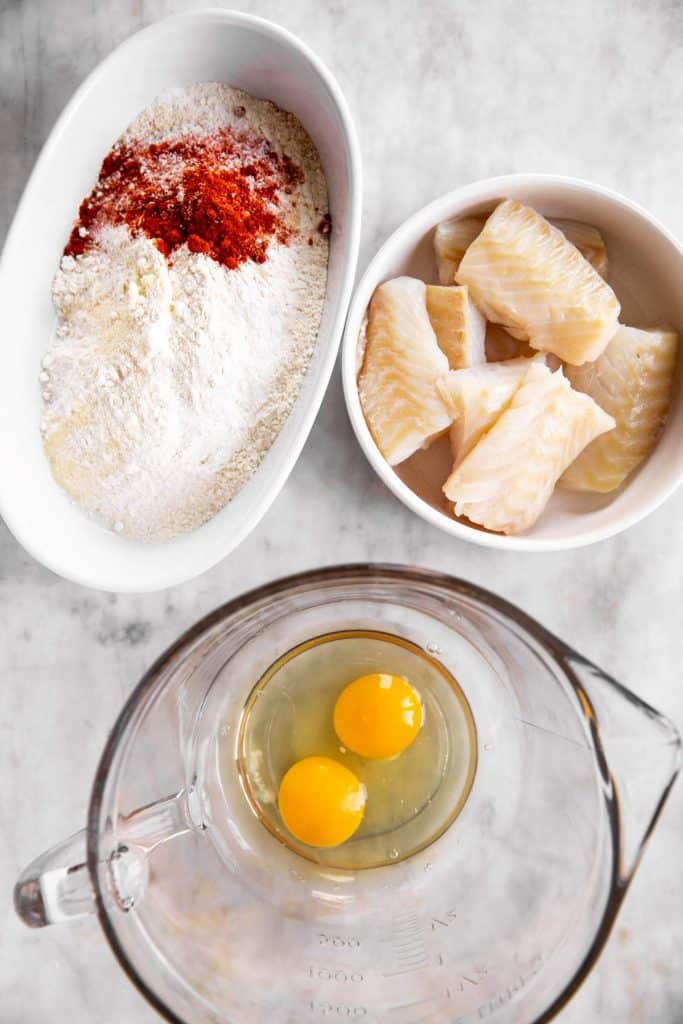
Here is a visual overview of the ingredients in the recipe. Scroll down to the printable recipe card at the bottom of this post for quantities!
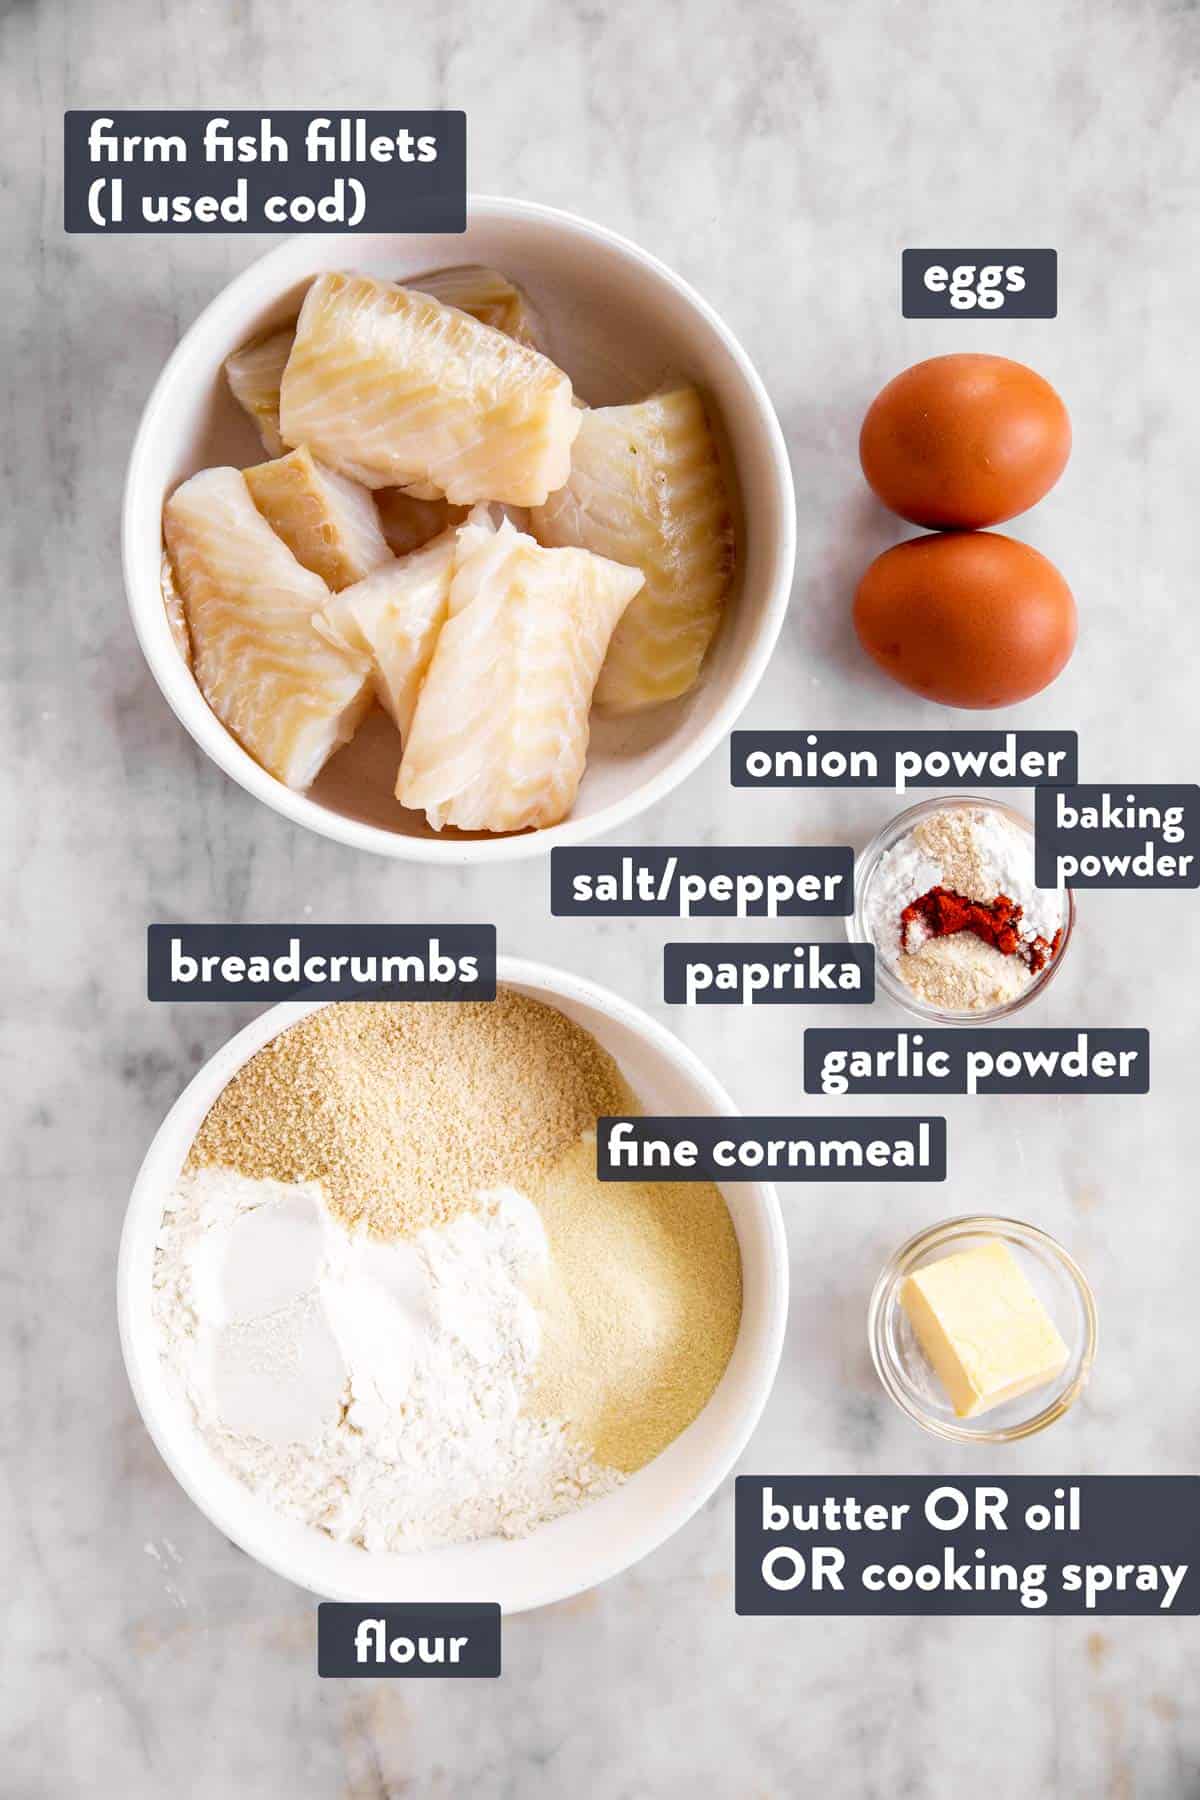
Ingredient notes
- Fish: I prefer skinless cod for this recipe, because the fillets are quite thick and firm. Tilapia will also work, though the fillets tend to be much thinner and will cook faster, but they also come out a little less juicy.
- Cornmeal: I use this to make the coating a little crisper. But if you don’t have any cornmeal on hand, you can just use more breadcrumbs instead.
- Breadcrumbs: If you’re using Panko in place of the breadcrumbs, I highly recommend dredging the fish in just seasoned flour first (vs dredging it in the mix of all dry breading ingredients). This will ensure the breading comes out right.
- Seasoning: Old Bay Seasoning can be used in place of the single spices the recipe calls for. I would go for 1 tablespoon, but use more or less according to your taste.
- Fat: Even though this is not deep fried, you do need some fat to get the breading to cook and the fish to crisp up. I like using butter for the taste, but you can also use vegetable oil or, for a very lean version, cooking spray. The cooking spray tends to be not quite enough to catch all of the dry flour, so I recommend using a little bit of oil to brush on any dry patches around 5 minutes before the baking time is up.
How to make Oven Fried Fish
1. Start by preheating the oven to 430°F. Place a dark-colored sheet pan in the oven to heat up.
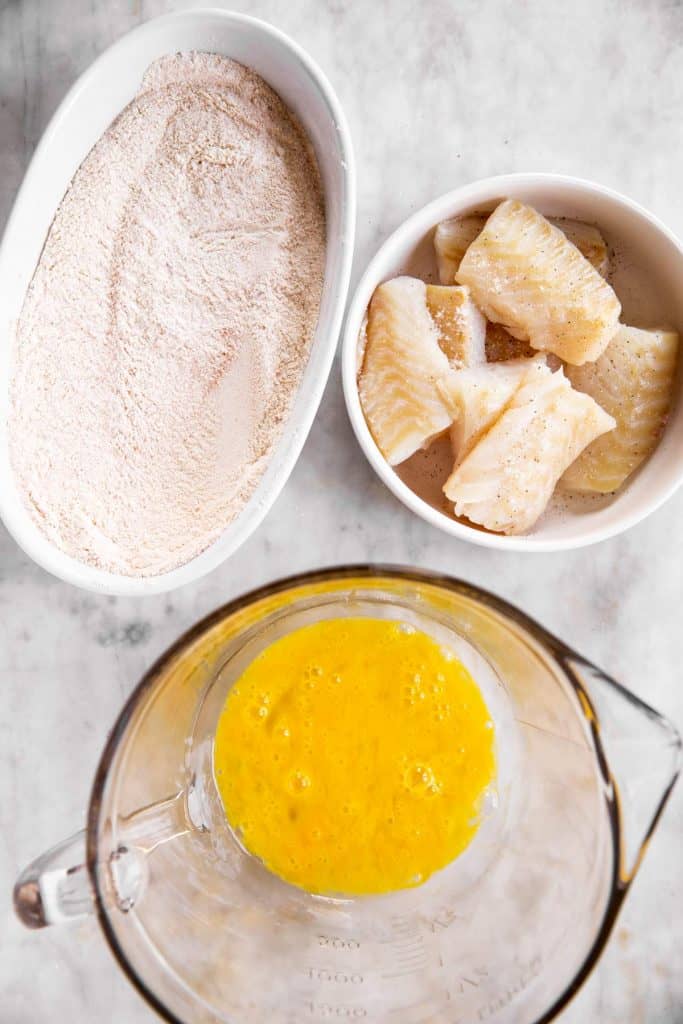
2. Get your breading ingredients ready: Combine the dry ingredients in a shallow dish and beat the eggs in a bowl. Cut the fish into 8-10 equal pieces and lightly season with salt/pepper.
breading ingredients breading prepared
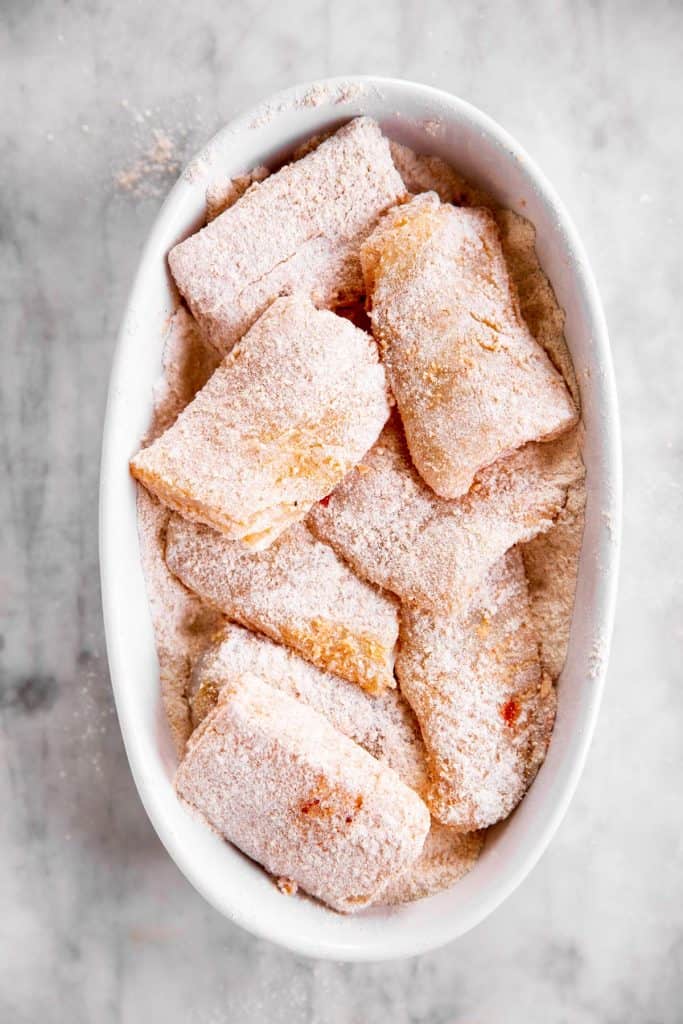
3. To bread the fish, toss the pieces carefully in the dry mixture first, to create a thin coating. Shake off any excess.
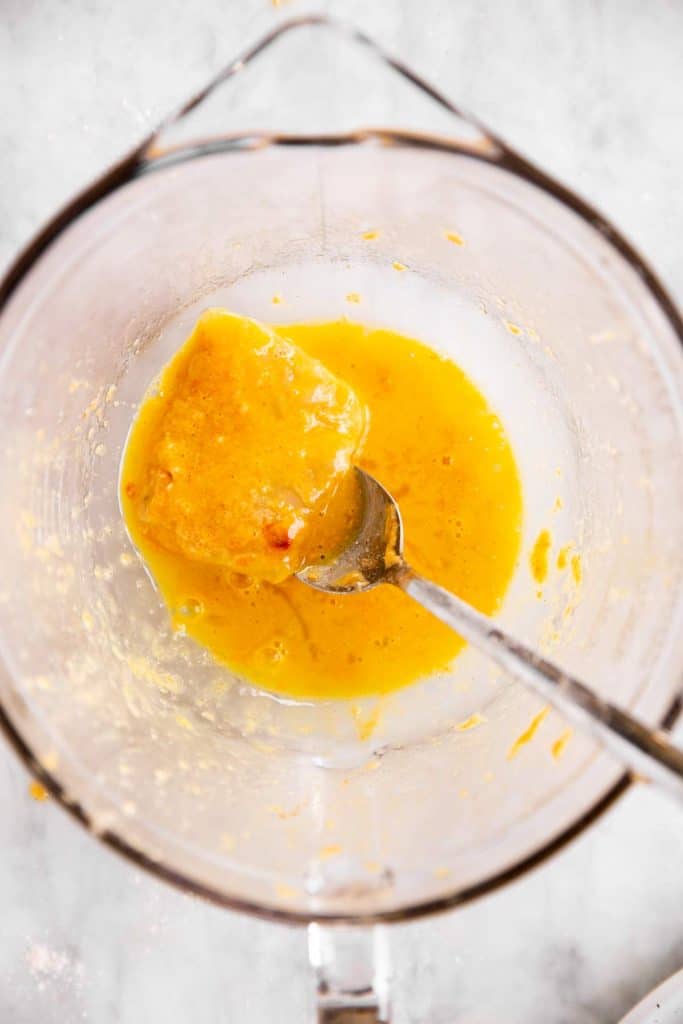
Then, dredge each piece through the beaten eggs, and finally thickly bread with the dry breading mix.
toss fish in flour dredge through egg breaded fish
Note: How to get the breading to stick
For the breading to stick, it’s important to follow the breading method closely (thin coating of dry ingredients, dredge through egg, thick coating of dry ingredients).
For the thick coating of the dry ingredients, I recommend the following procedure to make the breading stick well to the fish:
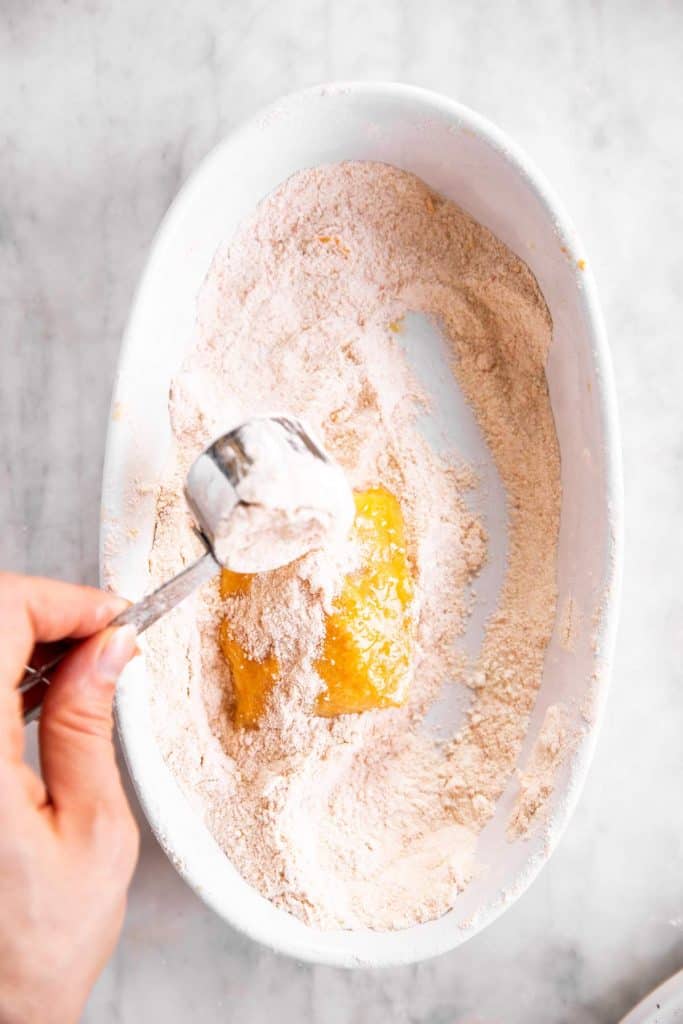
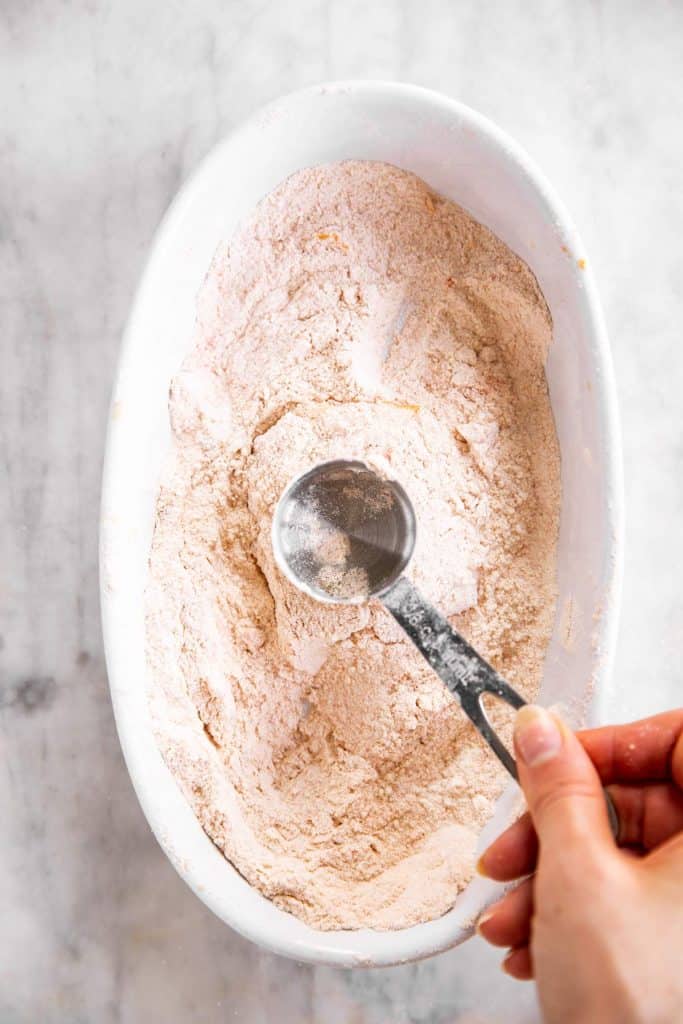
scoop on dry breading pound breaded fish
- Always use the same spoon to remove the egg washed fish from the bowl with the egg and drop it into the bowl with the dry ingredients without touching the flour (this spoon remains your “wet spoon” and you want to keep it away from the dry ingredients, otherwise things get messy).
- Once you have dropped the fish piece into the dish with the dry breading mix, use a different spoon or small measuring cup to scoop dry breading on top of the fish fillet piece (this is your dry spoon, keep it away from the egg wash).
- Use the measuring cup or the back of the spoon to pound the breading onto the fish. Pounding/pressing on the breading will slightly flatten out the fish, but it also helps to make the breading stick very well.
- Turn the fish over, scoop on more dry breading mix and pound again.
For a super-thick coating, repeat the egg wash and breading once more. This is not necessary, but if you want to have a very thick layer of “batter” on your fish, you can double up on the breading.
4. Melt butter on your preheated pan (or grease it with a generous amount of vegetable oil; OR spray your fish pieces generously with cooking spray on both sides).
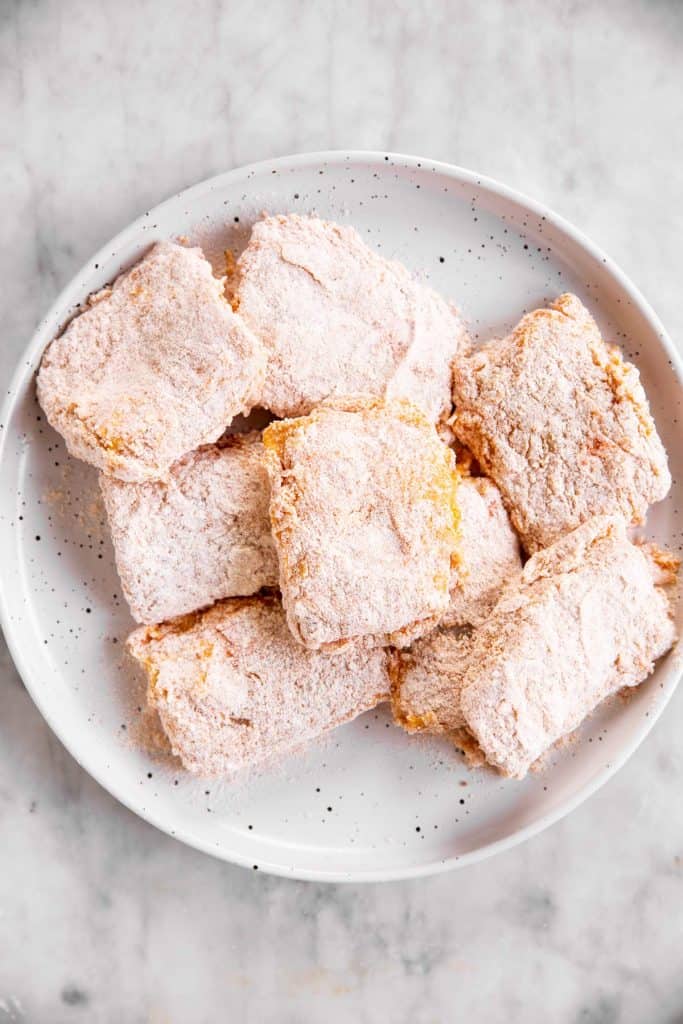
Place the fish pieces on the pan (make sure there is enough space between all pieces, do not stack them!). Bake for 10 minutes, flip (add more fat as needed) and finish baking for 5-10 minutes.
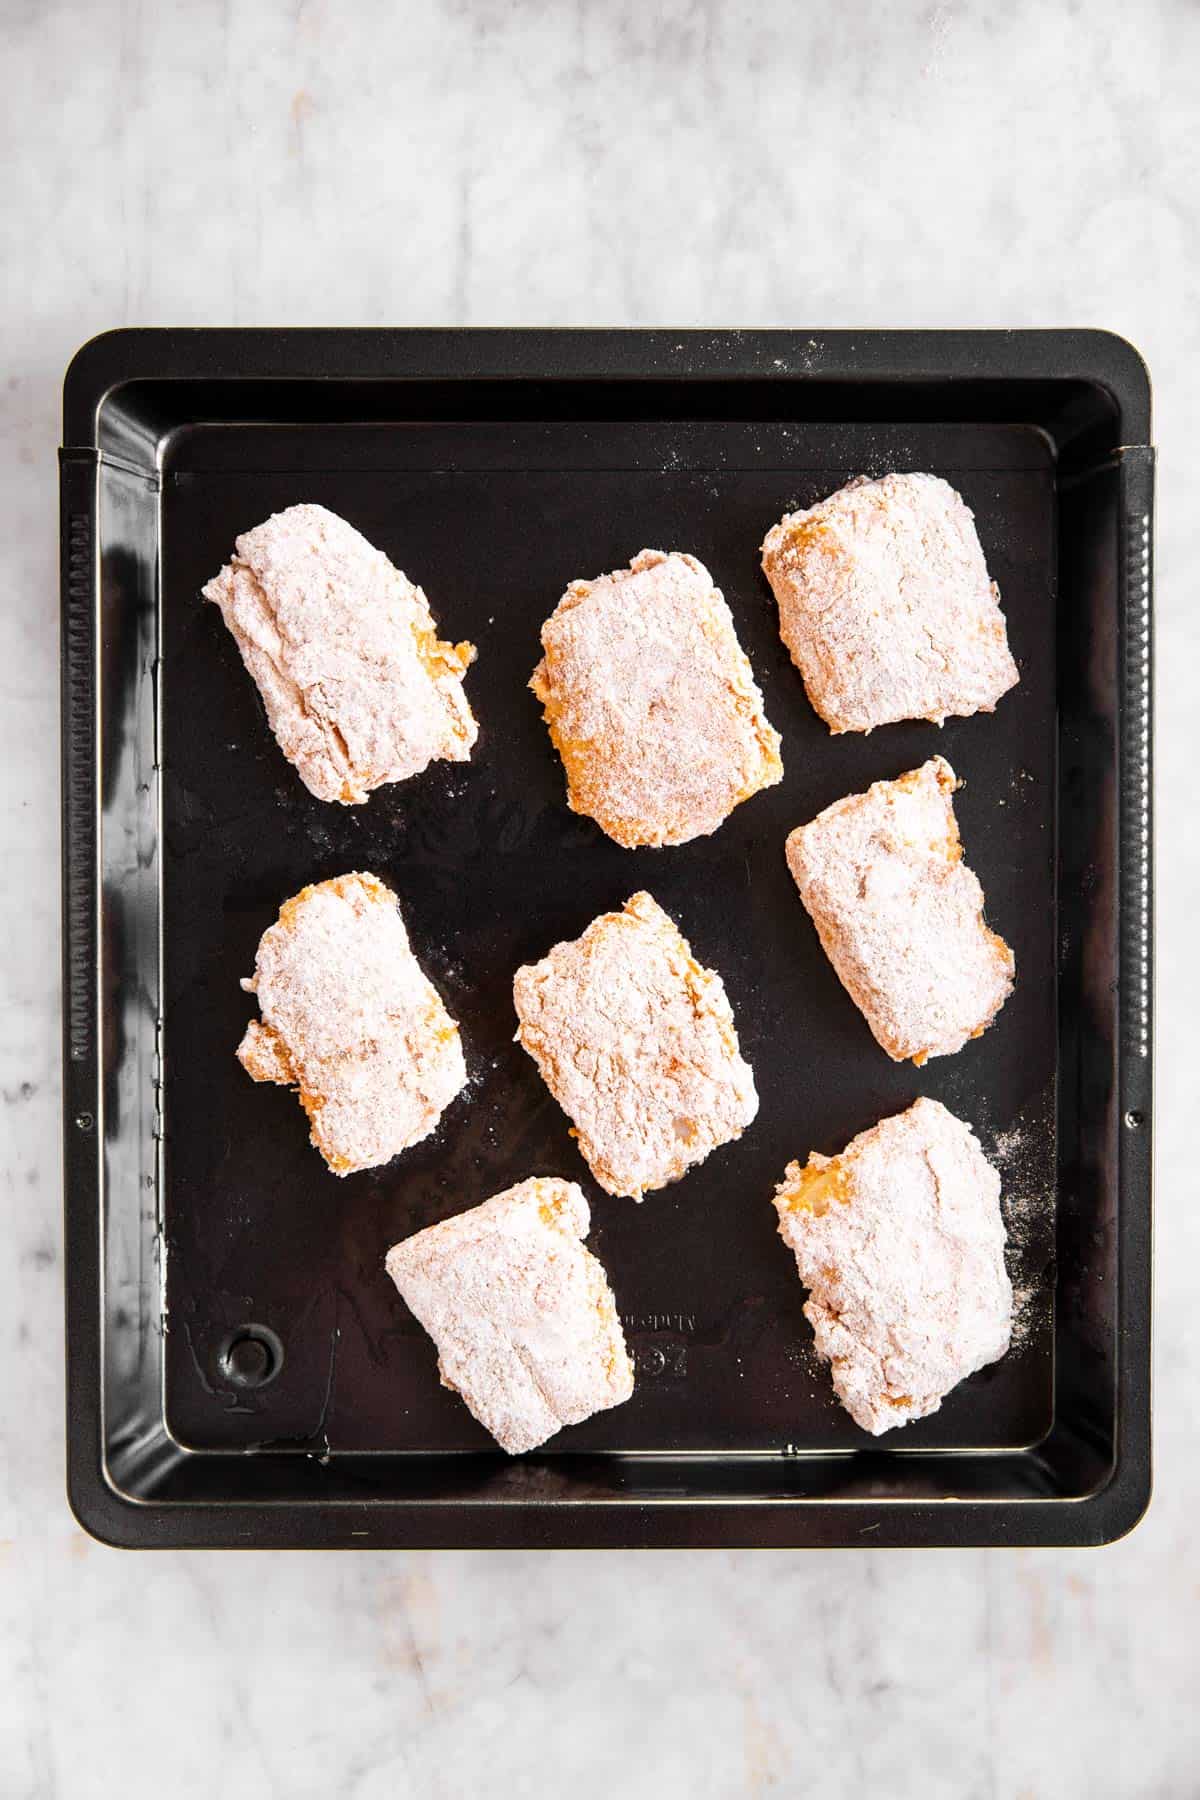
You can finish it under the broiler for 1-2 minutes for a super crispy finish.
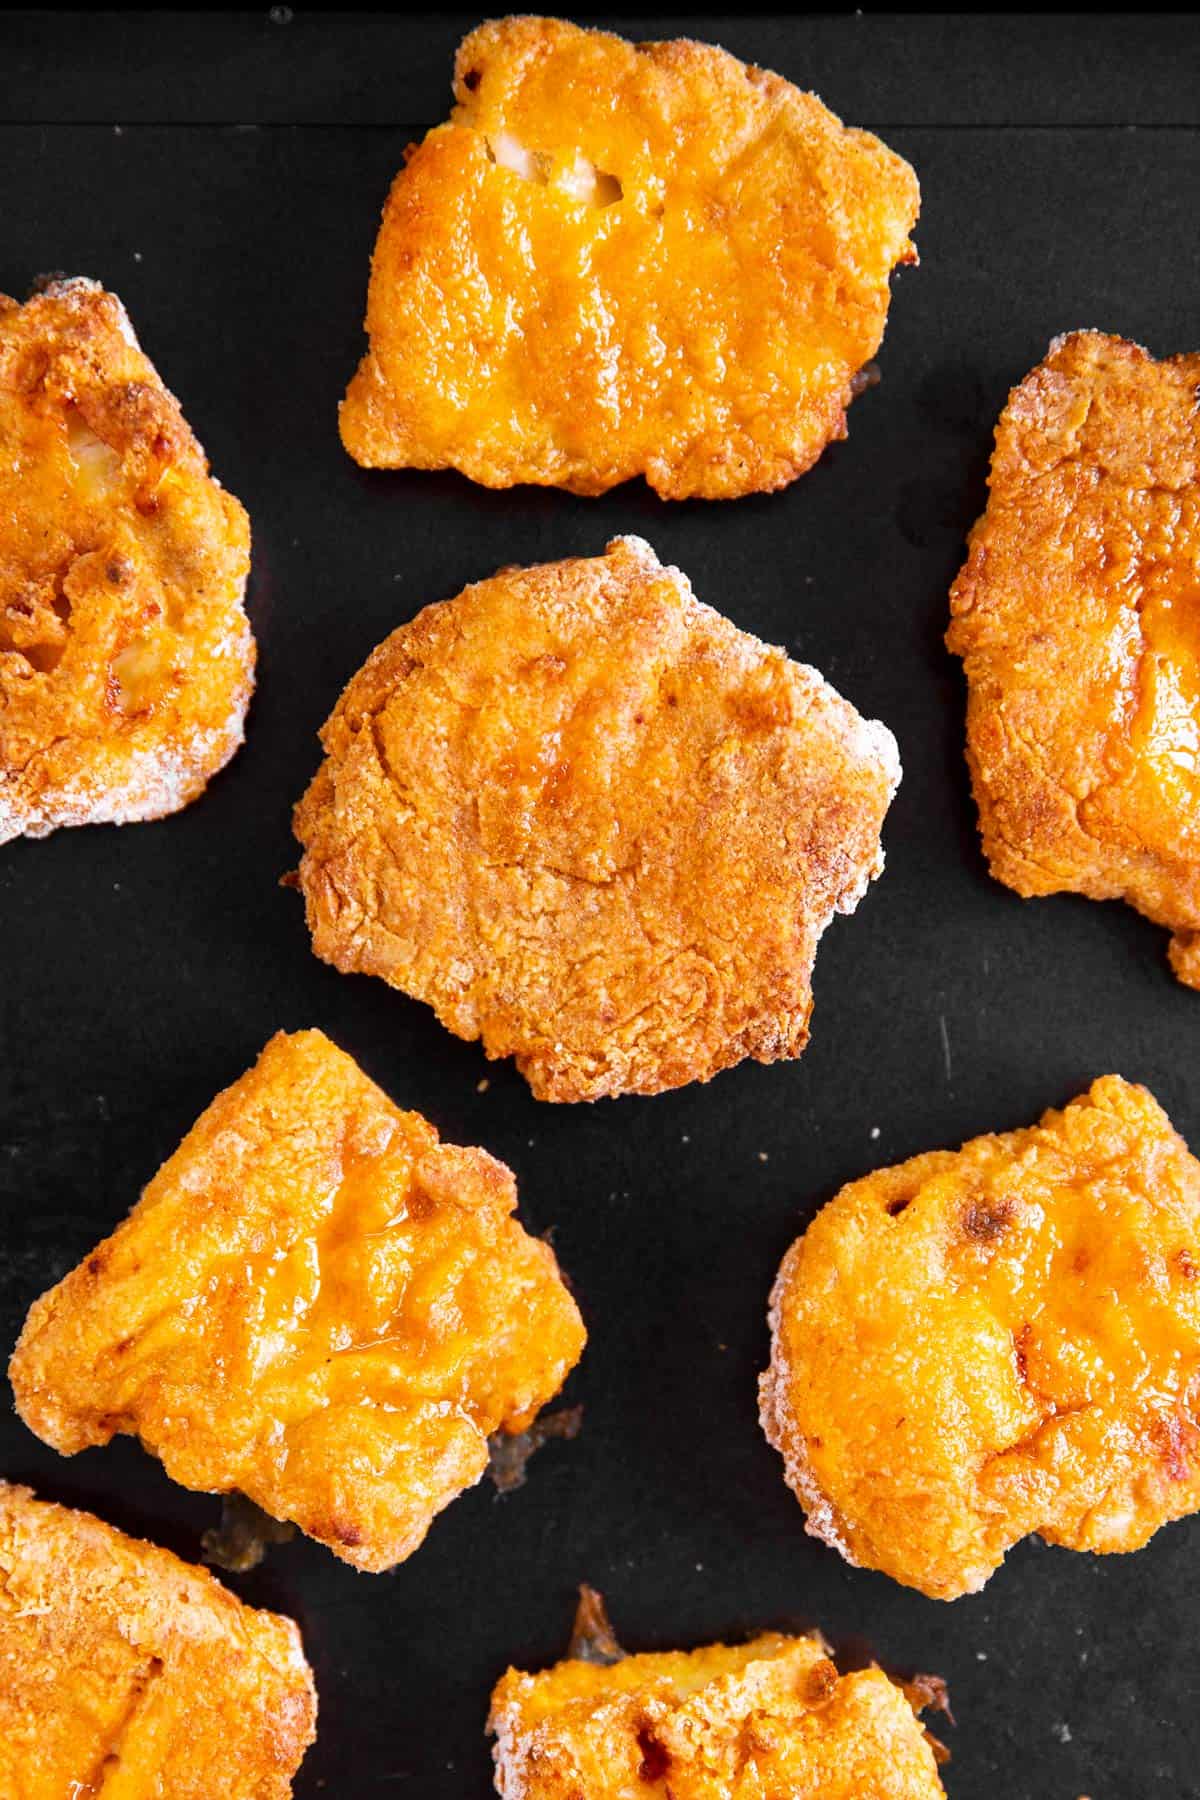
Recipe tips
To cook the perfect battered fish in the oven, there are a few things you HAVE to do (yes, HAVE TO. Nothing is optional in this recipe ?):
Bread the fish correctly
The trick to getting batter to stick to fish for oven frying is pretty simple. It’s all about dipping the fillet pieces in the right ingredients in the right order:
- First, into a mix of breadcrumbs, flour, cornmeal, seasoning and baking powder (the baking powder helps the batter to rise a little, so the moisture from the fish makes it less soggy) for a thin coating.
- Then into beaten egg.
- And finally thickly coat with the breadcrumb mix again. So simple!
Bake the fish correctly
- do NOT line the pan
- use a DARK pan (I will often use a roaster like this one so I get less splattering in the oven – this is an affiliate link and I will make a commission for purchases made after clicking through)
- preheat the pan in the oven until it’s sizzling hot
- don’t skimp on the butter
- finish under the broiler (but don’t burn the fish!)
- let the fish rest for 3-4 minutes after baking, but not for much longer
Serving ideas
We love this so many different ways!
- in a sandwich bun with coleslaw
- with French fries or mashed potatoes, peas and homemade tartar sauce
- with rice and a big salad
- other delicious vegetable sides: creamed corn, creamed spinach or roasted asparagus
PS If you try this recipe, please leave a review in the comment section and add a star rating in the recipe card – I appreciate your feedback! Follow along on Pinterest, Facebook or Instagram.
Printable recipe
Crispy Oven Fried Fish
Recipe details
Ingredients
For the dry breading
- 1 cup all-purpose flour
- ¼ cup breadcrumbs
- 2 tablespoons fine cornmeal
- 1 teaspoon fine sea salt
- 2 teaspoons ground paprika
- ½ teaspoon dried onion powder
- ½ teaspoon dried garlic powder
- ¼ teaspoon baking powder
For the eggs
- 2 large eggs
For the fish
- 1 pound thick white fish fillet I prefer cod cut into pieces, I do about 8-10 pieces
For the pan
- ¼ cup unsalted butter
Instructions
- Prep: Preheat oven to 430°F (220°C). Put a dark-colored roaster OR baking sheet in the oven to heat up – the pan you use to bake the fish on needs to be hot to melt butter on!
- Make breading: Mix all ingredients for dry breading in a shallow dish.
- Prep eggs: Add eggs to a SEPARATE bowl and beat well.
- Bread fish: Dip fish into breading to lightly coat. THEN coat fish with egg. FINALLY, coat fish with breading again, this time you can really pack on as much as will stick! (Just place breaded fish pieces on a plate until you've breaded them all.)
- Melt butter: Remove pan from oven – careful, it's hot! Add 3 tablespoons of butter to pan to melt. Spread all over pan and put fish pieces on.
- Bake: Bake fish for 10 minutes. Flip, add remaining 1 tablespoon of butter and finish baking for 5-10 minutes or until coating is crispy and fish is cooked through. Finish under the broiler for 2-3 minutes.
- Finish: Let fish pieces rest on the pan for 5 minutes after baking, then serve immediately.
Notes
Ingredient notes
- Fish: I prefer skinless cod for this recipe, because the fillets are quite thick and firm. Tilapia will also work, though the fillets tend to be much thinner and will cook faster, but they also come out a little less juicy.
- Cornmeal: I use this to make the coating a little crisper. But if you don’t have any cornmeal on hand, you can just use more breadcrumbs instead.
- Breadcrumbs: If you’re using Panko in place of the breadcrumbs, I highly recommend dredging the fish in just seasoned flour first (vs dredging it in the mix of all dry breading ingredients). This will ensure the breading comes out right.
- Seasoning: Old Bay Seasoning can be used in place of the single spices the recipe calls for. I would go for 1 tablespoon, but use more or less according to your taste.
- Fat: Even though this is not deep fried, you do need some fat to get the breading to cook and the fish to crisp up. I like using butter for the taste, but you can also use vegetable oil or, for a very lean version, cooking spray. The cooking spray tends to be not quite enough to catch all of the dry flour, so I recommend using a little bit of oil to brush on any dry patches around 5 minutes before the baking time is up.
Recipe tips
Neat breading- Always use the same spoon to remove the egg washed fish from the bowl with the egg and drop it into the bowl with the dry ingredients without touching the flour (this spoon remains your “wet spoon” and you want to keep it away from the dry ingredients, otherwise things get messy).
- Once you have dropped the fish piece into the dish with the dry breading mix, use a different spoon or small measuring cup to scoop dry breading on top of the fish fillet piece (this is your dry spoon, keep it away from the egg wash).
- Use the measuring cup or the back of the spoon to pound the breading onto the fish. Pounding/pressing on the breading will slightly flatten out the fish, but it also helps to make the breading stick very well.
- Turn the fish over, scoop on more dry breading mix and pound again.
- First, into a mix of breadcrumbs, flour, cornmeal, seasoning and baking powder (the baking powder helps the batter to rise a little, so the moisture from the fish makes it less soggy) for a thin coating.
- Then into beaten egg.
- And finally thickly coat with the breadcrumb mix again. So simple!
- do NOT line the pan
- use a DARK pan (I will often use a roaster like this one so I get less splattering in the oven – this is an affiliate link and I will make a commission for purchases made after clicking through)
- preheat the pan in the oven until it’s sizzling hot
- don’t skimp on the butter
- finish under the broiler (but don’t burn the fish!)
- let the fish rest for 3-4 minutes after baking, but not for much longer
Nutrition
More recipe information
Recipe first published on 03/08/2019. Updated with new photos and text on 04/02/2021.





Joanne Williams says
This is a great recipe, it will be my go to fish dinners moving forward. Thank you so much for sharing.
maureen ring says
I was skeptical because I’ve breaded fish at home before, but this really turned out well. Pay attention to the process. I appreciate you taking the time to share this recipe. I usually broil, not bread my fish because the breading always fell off!
Betty Rubble says
Looking forward to trying this recipe tomorrow for Fish Fry-day! Wondering if masa harina is a good substitute for corn flour. TIA!
Paula Englert says
Turned out very well. I dipped the fish first in plain AP flour, then in egg, then in the cornmeal and spices mix. The flavors go very well together. I put 3 tablespoons of butter in the pre-heated pan, then when the butter melted, I placed the fish pieces in the pan. 10 minutes on the first side, flip and go for another seven minutes. Perfect!
Jeanne says
Made it tonight. I pound of fish, 1 egg and a little over half of the breading mix. Used 1/4 cup butter in a preheated glass baking dish. The fish, 5 pieces, came out tasting great. 10 minutes at 430 degrees, and then turned fish over for 5 more minutes. Definitely 5 stars.
Mel says
Came out very good crunchy and tasty. Loved it.
Teresa Kooiman says
My husband caught fresh Walley, and I made this recipe tonight 😋! it is fabulous! He loves it also! we will be preparing fish only this way!
Nora says
Wow, freshly caught fish is always so good. I’m so glad the recipe worked out well for your husband’s catch, Teresa!
Abbie says
I was floored by how well this came out! I followed the recipeexcept for the dark pan which I didn’t have, and used olive oil instead of butter. The fish was light and crispy – did not have a “greasy” texture at all. I appreciated the guidance on how to bread the fish as well. Thank you!
Cathy says
I made this and my husband and I really enjoyed it and will definitely make again.
Heather says
Just curious…what is the purpose of the dark pan? What if one does not have a dark pan on hand?
Nora says
Heather, the dark pan reflects the heat in a different way. Cast iron works well, too. If you only have an aluminum-colored one, that’s fine – maybe you need to broil the chicken on both sides. I haven’t had a great experience with a glass pan. Or you can just use a cookie sheet lined with aluminum foil. Hope this helps!
Tee says
I am a fan of this recipe. It is a “want come true” recipe for oven fried fish. Honest to goodness share. Thank oh so very much.
Nora says
I’m so glad!
Jess says
Amazing!!
Lee says
Finally a recipe that gets the crispy batter part RIGHT! Will be bookmarking this recipe for future use. Everyone in the family loved it!
Adibah says
I made it last night for our ramadan fasting break. It was a hit! Like u said, don’t skimp on the butter. I didn’t have cornmeal so i replaced with panko using same amount. Turned out great. After this i will try use cornmeal and see the difference. Thank u soooooo much for this fool proof recipe (like u said, need to follow exactly the instruction, no discount, hahaha)
Cherie says
Loved this recipe, my husband was all impressed. I took the advice in the comments about adding more old bay but other than that followed the recipe to the tea and am so happy. I’m going to check out other recipes on your site. Thank you
Nora says
I’m so glad, Cherie!
Frances says
Delicious and easy love it
Susan says
This recipe is delicious , it’s in competition with any serious Fish ‘n Chips place. My husband commented on how light and crispy the fish was, I used fresh caught Red Snapper off the Oregon coast.
In addition to tasting so good, this is one of the easiest ways I have ever prepared fish and I have cooked a lot of fish in my time.
Thank you for sharing this recipe.
Nora says
I’m so glad, Susan!
Natalie says
Made these last night & they were so good! They were nice & crunchy & the butter browned & crisped the fish sticks nicely! Next time I’ll make larger pieces. These are terrific! Thank you!
Nora says
I’m so glad, Natalie!
Susan says
This is a great recipe, but more than that, I want to complement you on your page layout and how you organized the information – so many blogs give you the whole history of the food you want to make. As if you’d never heard of it. Like “what is a chocolate chip cookie” or in this case, “what is breaded fish”. LOL. So thank you for that – very nicely done!
Nora says
Thank you Susan, that’s so kind of you. I know what you mean – nobody needs a historical re-telling of the recipe, just how to make it right 😉
Marie says
Oh my goodness! This is now my favorite go to recipe for baking fish in the oven! The fish had just the right amount of crunch to make you forget it was baked in an oven! Absolutely delicious!
Nora says
I’m so glad, Marie!
Abba says
I made this tonight and was so yummy. I probably would add more Old Bay next time.
Nora says
I’m glad you liked it, Abba! And I think more Old Bay never hurts ?
Arlene says
Perfect! Made fresh caught Walleye that hubby caught ice fishing a couple days ago. Followed recipe to a T and it was so crispy and done perfectly. Definitely a keeper.
Nora says
I’m so glad, Arlene!
Paula says
I made this tonight, and my husband and I both thought it was delicious! I have issues with gluten, so I used gluten-free flour and Ian’s gluten free Panko style bread crumbs. I was so pleased that the fish turned out crispy. Other recipes I’ve made recently just didn’t result in that crispy outside, moist inside Cod I was craving. Thank you so much for the recipe and helpful notes!
Nora says
I’m so glad, Paula!
Julia says
Will coarse ground cornmeal work? Thanks!
Nora says
I would think so, Julia. Hope this helps!
Susan says
Pretty darn good 8. Made it with tilapia and no cornmeal. Did not do broiler. I think the baking powder is a real winner. Only problem I had to guesstimate the ingredients. Did I miss the amounts somewhere? Thank you
Nora says
Susan, I’m glad you liked the recipe! The ingredient amounts are in the printable recipe card at the bottom. At the top, I just have a photo of the ingredients as a visual guide. Hope this helps!
Kurt says
I also didn’t see the amounts, so guessed! Turned out a bit spicy, but really good! Loved it!