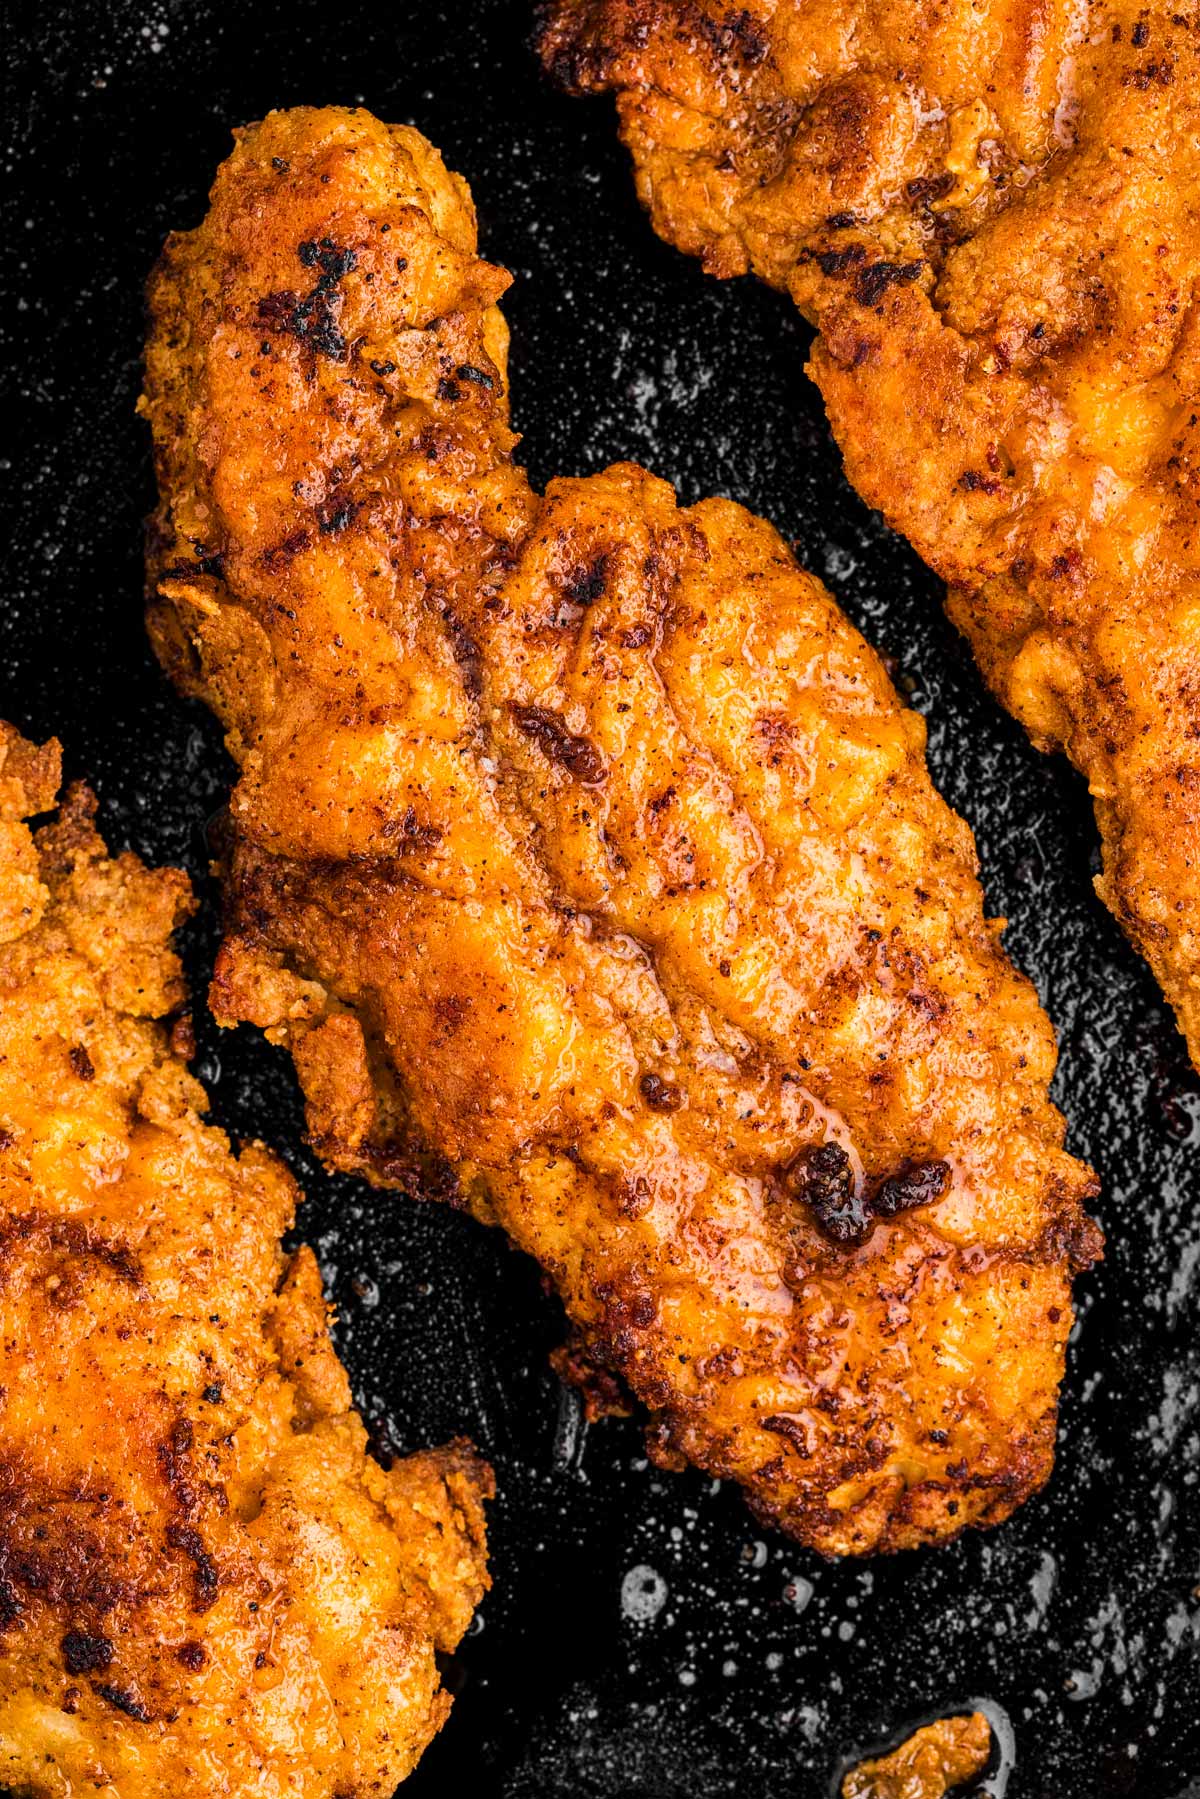
This is my go-to method for oven-fried chicken, and trust me – it delivers the crispiest, juiciest results. Golden, crunchy, packed with flavor – and honestly? We think it’s even better than KFC!
Jump to:
Why this recipe works
- Crispy, crunchy perfection – Preheating the pan and baking at high heat gives you that golden, crackly crust – no sad, soggy breading here!
- Packed with flavor – I don’t do bland chicken. The seasoning mix is just right, and trust me, this will not leave you disappointed.
- So juicy inside – Thanks to my breading technique, the chicken stays tender and moist. My family polishes off every last piece, no leftovers in sight!
Ingredients you’ll need
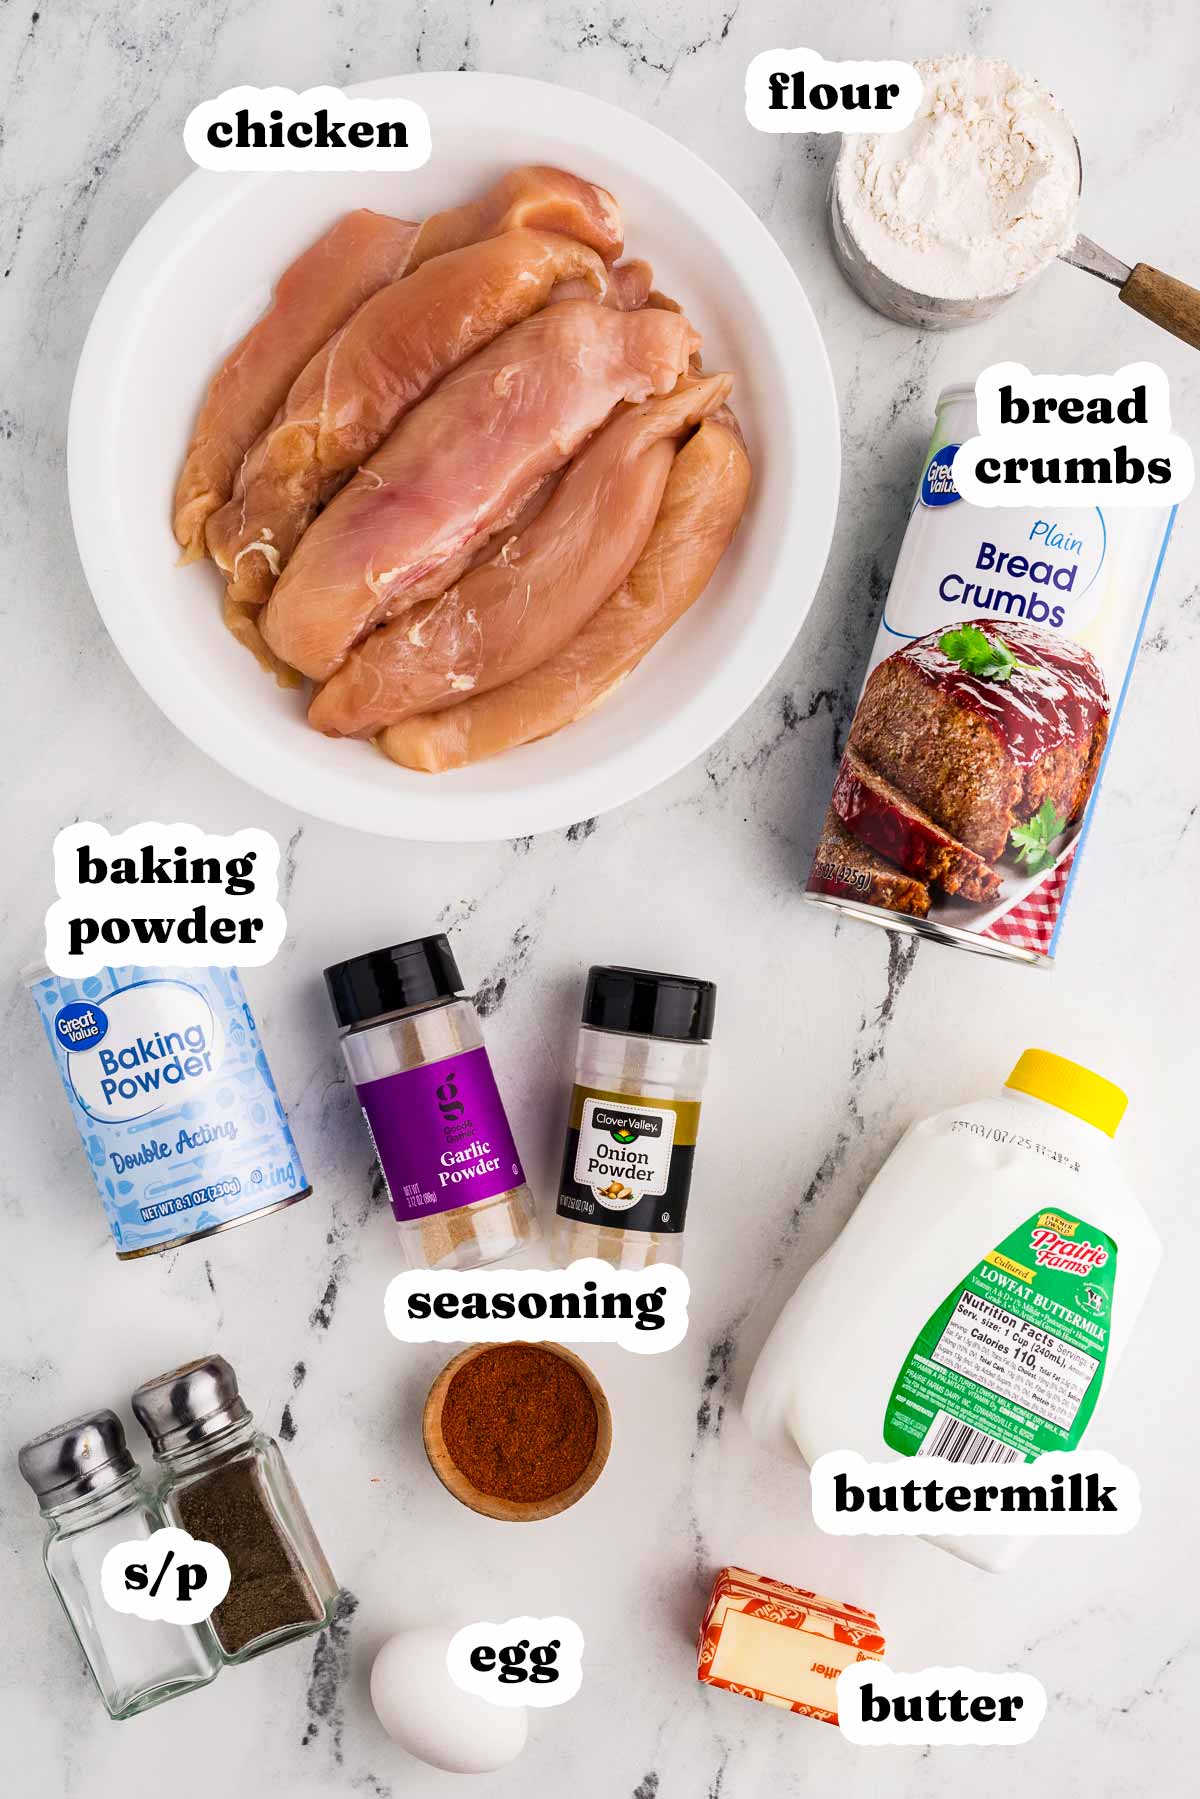
Here is a visual overview of the ingredients in the recipe. Scroll down to the printable recipe card at the bottom of this post for quantities!
Ingredient notes
- Chicken – I use boneless, skinless breasts because they’re easy. Many readers have commented that thighs or drumsticks work great too – just adjust the cook time!
- Buttermilk – No buttermilk? No problem. Just mix regular milk with a splash of vinegar or lemon juice, and you’re good to go.
- Breadcrumbs – I use plain breadcrumbs because I always have those on hand, but Panko is also very delicious and yields amazing results.
- Baking Powder – This helps the breading to puff up a little and behave more like a batter fried in oil. I know it sounds like a strange ingredient in oven fried chicken, but please don’t skip it!
- Butter – Essential for that golden, crispy crust. Canola oil works too, but butter gives the best flavor.
- Salt and spices: I cut the salt in half from my original version since some found it too salty, but if you liked it as it was, feel free to add more. And yes, it might seem like a lot of spices – but you don’t want your chicken under-seasoned. Add cayenne pepper for a spicy kick!
Step by step overview
Before you begin: Set your oven to 410°F and place a dark roasting pan or cast iron pan inside to heat up. A hot pan is key for crispiness – don’t skip this step!
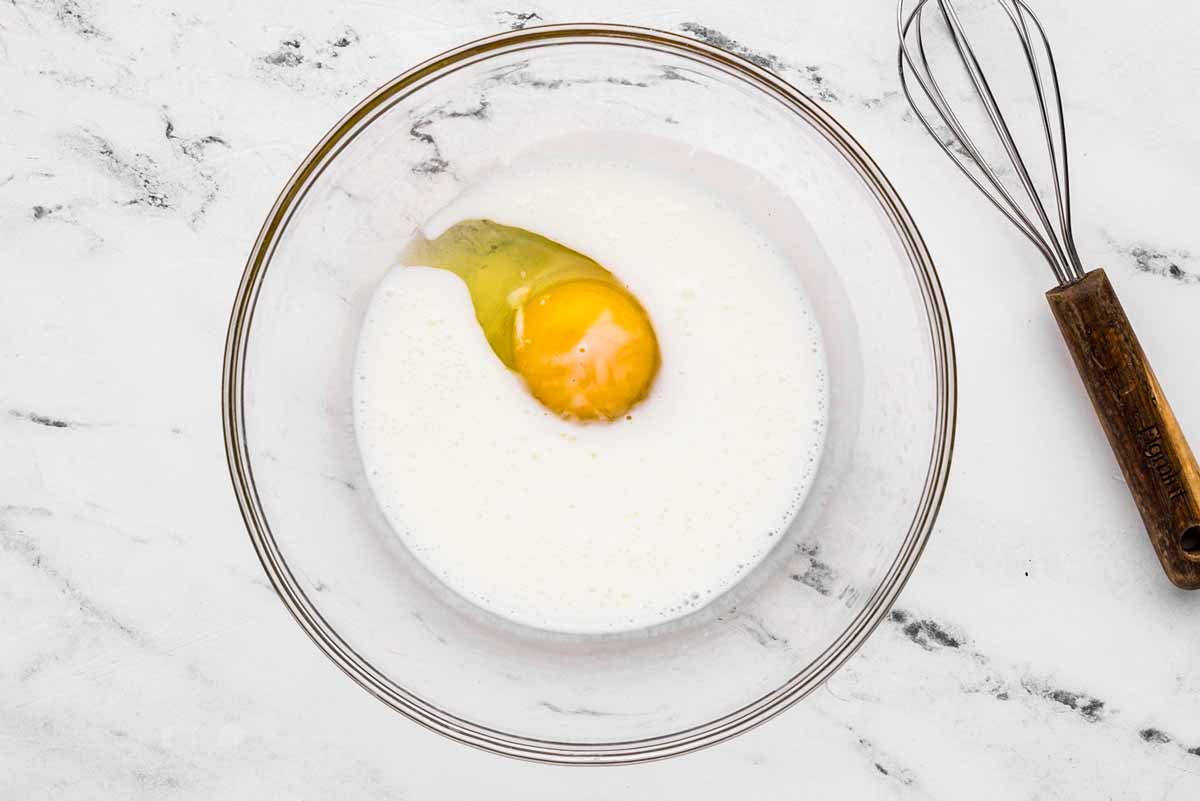
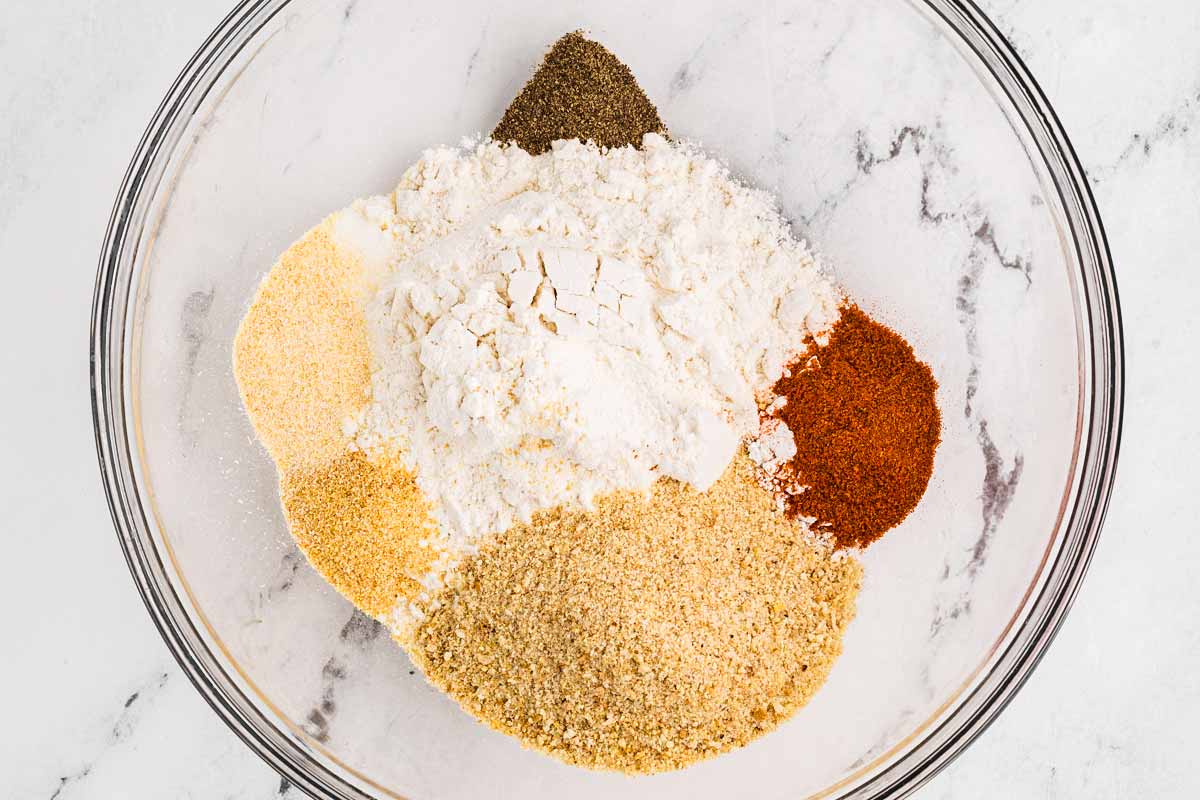
1. Set up the breading station:
Wet mix
Dry mix
2. Bread the chicken:
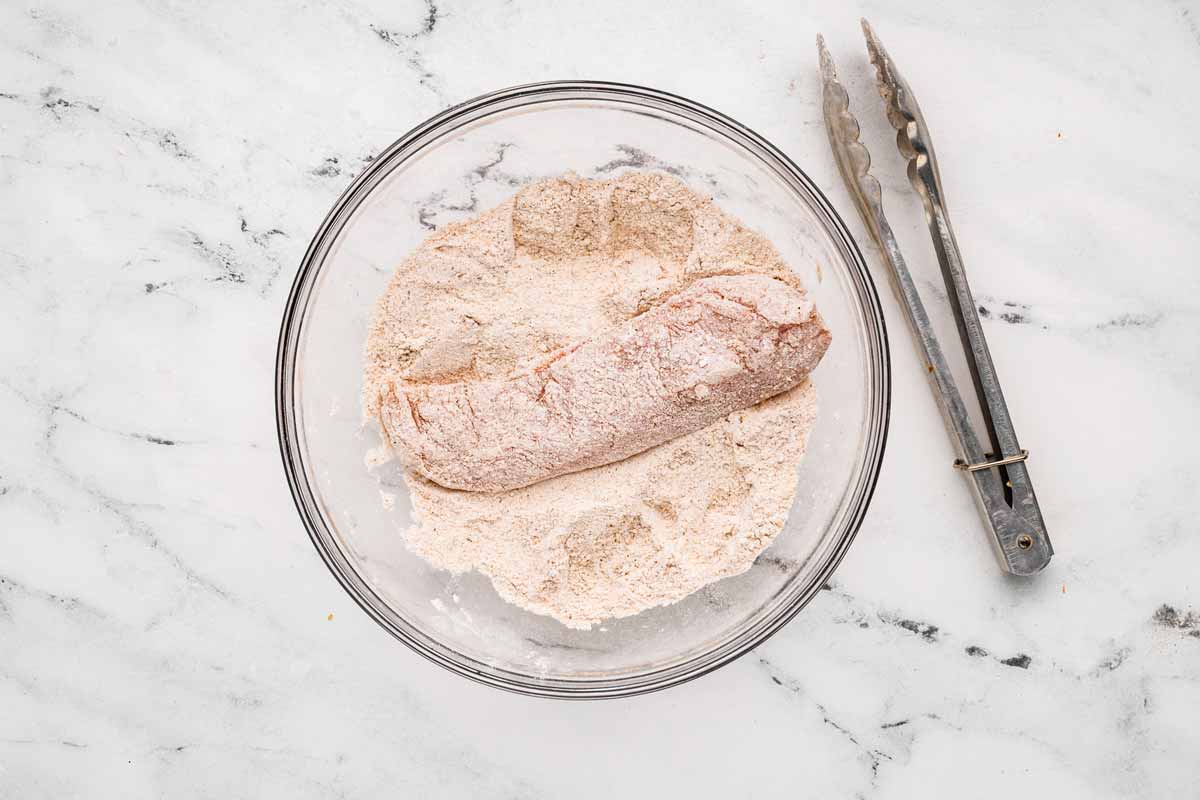
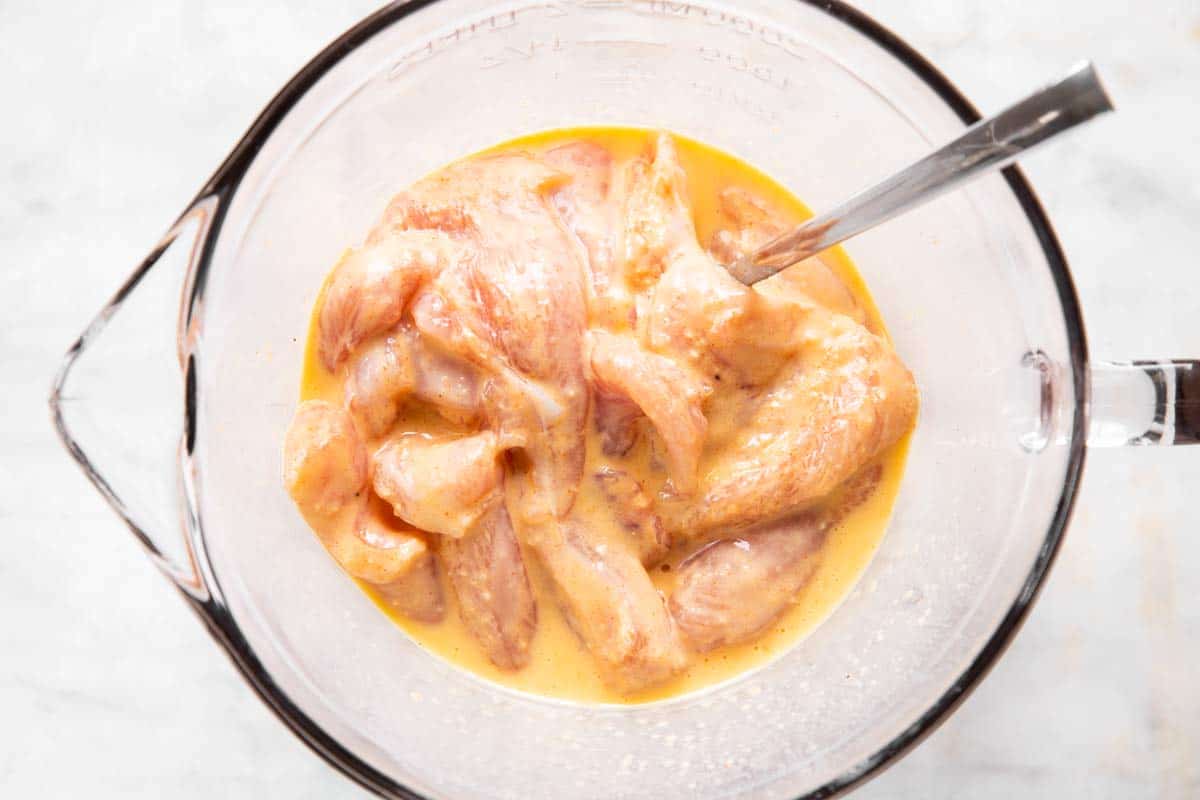
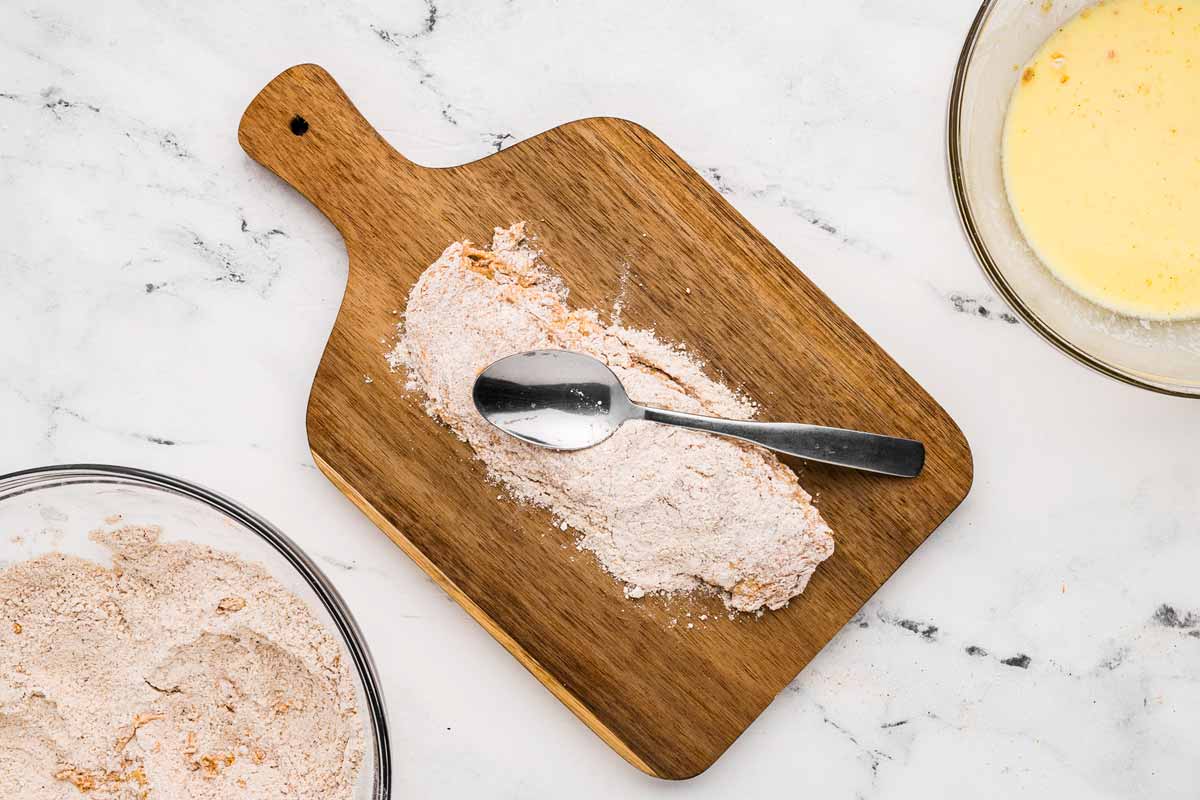
Here is how I efficiently bread a lot of chicken well:
- Toss the chicken in the breadcrumb mixture (I do them all at once for more efficiency).
- Shake off any excess flour, then coat with egg wash (again, I do all of the chicken pieces together here because it’s faster and works just as well).
- Finally, thickly coat each chicken piece with dry mix again (this needs to be done for each piece individually). You’ll want to pack on a lot of breading and then pound it onto the chicken with kitchen tongs or a large spoon to make it stick.
3. Bake:
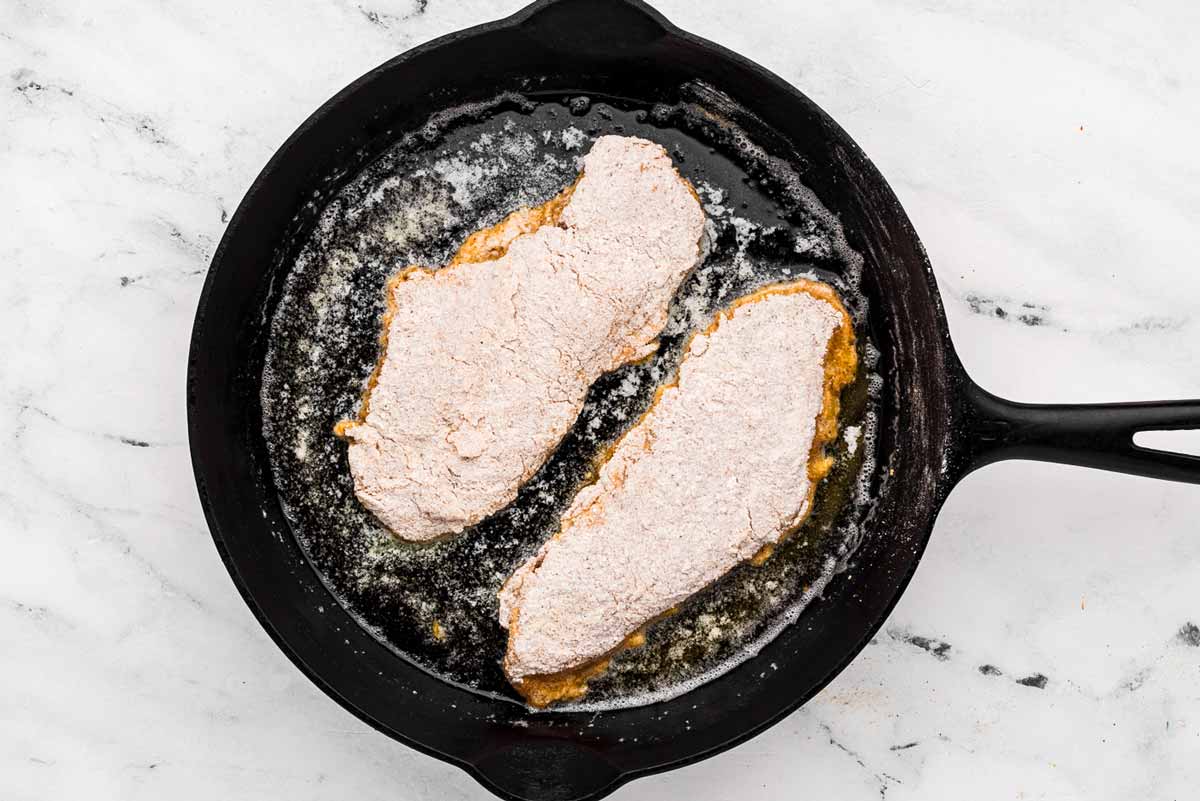
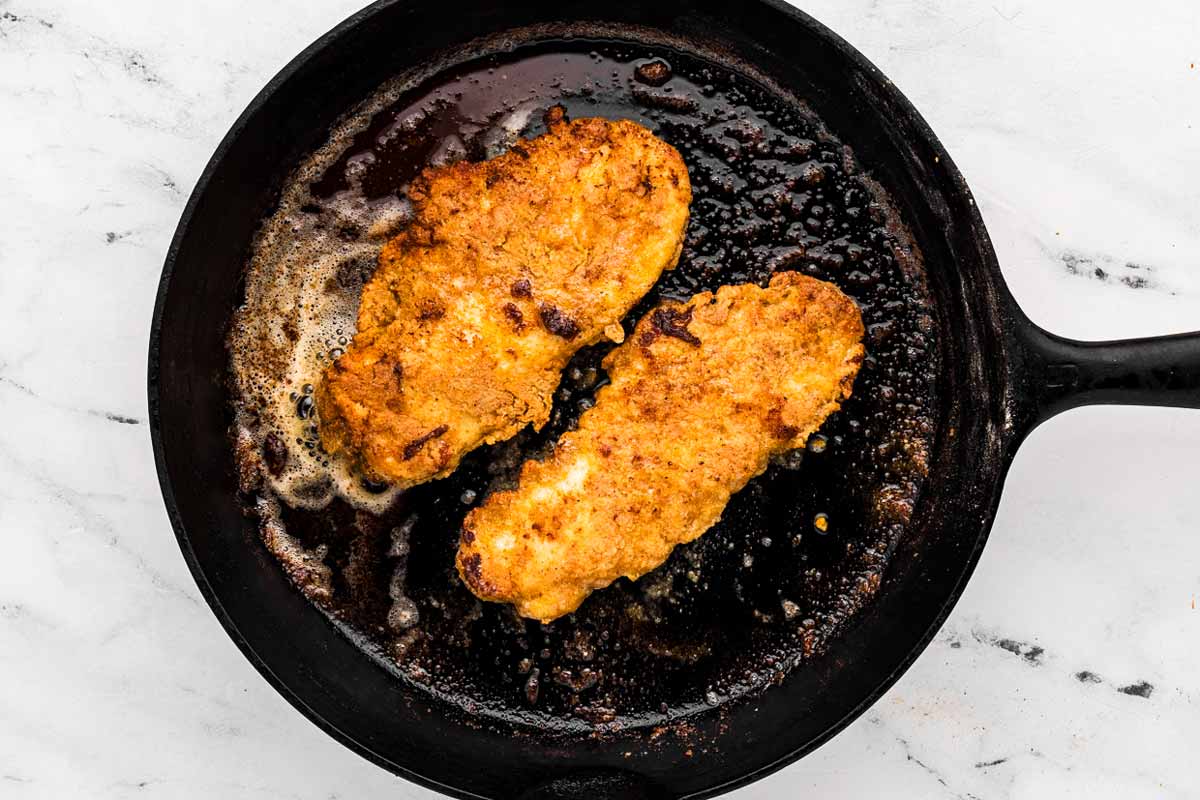
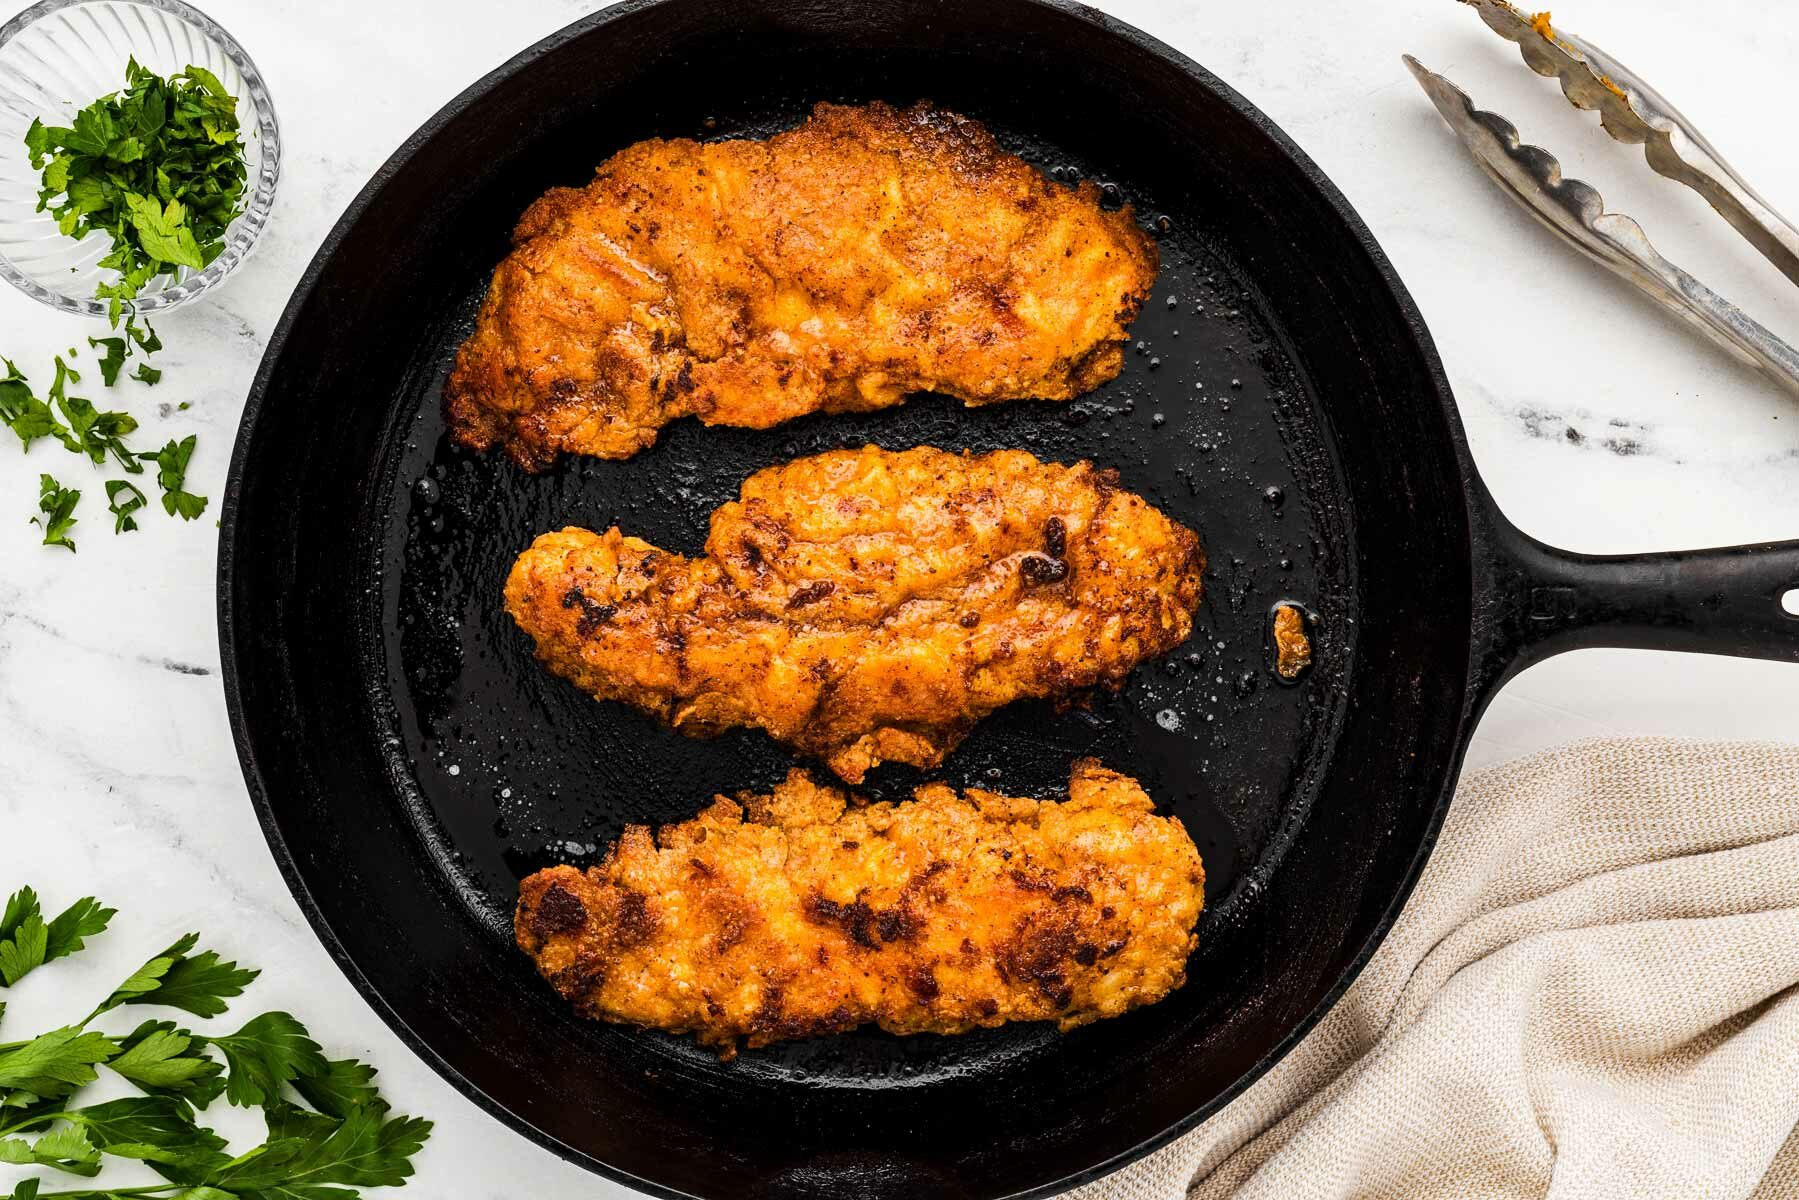
For extra crunch, switch the oven to broil for 1-2 minutes, but watch closely – it can go from crispy to burnt fast! Let the chicken rest 2-3 minutes for the breading to crisp up, then serve immediately!
Tips for success
- Use a dark pan: Dark-colored pans conduct heat better, resulting in a crispier crust. You can use a dark metal pan or cast iron, but a silver metal pan is fine, too.
- Breading: Do not skip pressing/pounding on the dry flour mix in the final step of breading. This is very important to help the breading stick to the chicken and to keep it from flaking off during baking.
- Handle with care: When flipping, use a spatula to gently release the chicken to keep the breading intact.
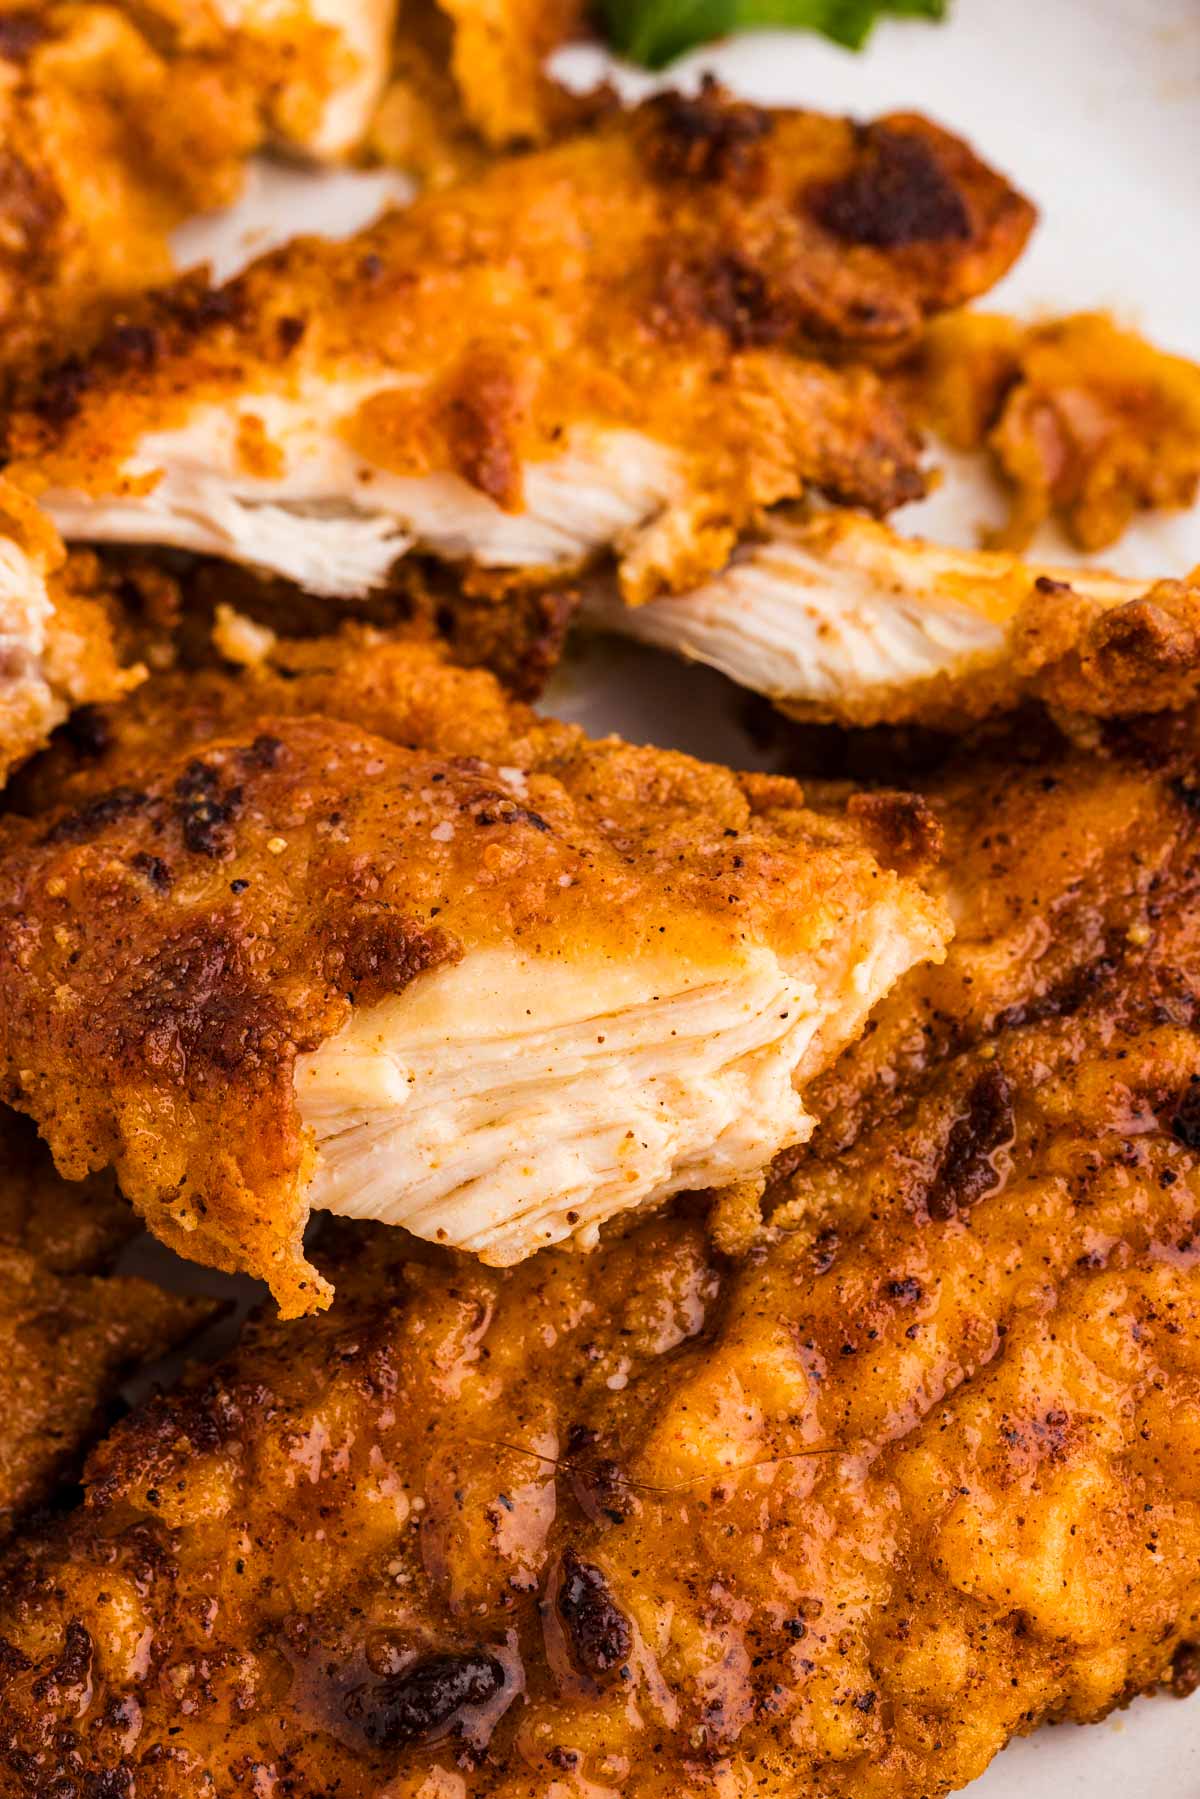
- Let the chicken rest for 2-3 minutes before serving, but don’t let it sit around for longer than this. Otherwise, it will start getting soggy.
- In full disclosure: While I do love this recipe 100% (I wouldn’t have shared it otherwise!) it is important to me to tell you that you shouldn’t expect the same results from baking as you should from deep-frying. This recipe here does make a crispy oven fried chicken, but it’s not identical to regular deep fried chicken.
Helpful recipe hints
Troubleshooting & storage questions
Make sure you’re using a preheated pan (a dark pan is best) and that the oven is at the correct temperature.
Also, avoid overcrowding the pan, as this can create steam and prevent crisping.
Make sure to press the breading onto the chicken firmly and handle the pieces gently when flipping.
Letting the breaded chicken rest for a few minutes before baking can also help the coating stick better.
If you have leftovers, you can easily reheat them in the oven. The chicken won’t be quite as juicy as freshly baked, but it’s still good.
Check out my step by step instructions for reheating fried chicken here!
Either freeze the breaded, unbaked chicken OR the fully baked and cooled chicken. Flash-freeze in a single layer on a cookie sheet for ~1 hour before transferring to freezer bags (flash freezing is mandatory for the unbaked chicken, but also very much recommended for baked chicken).
Use a container or bag that is suitable for freezing. Label the bag or container with the contents, and the use-by date (freeze for up to 3 months). Place the flash-frozen chicken in the bag and freeze.
Reheat the frozen chicken for 20-30 minutes at 375 in the oven, or until it reaches an internal temperature of 165°F. You don’t need to defrost it before reheating.
Serving tips
Let the chicken rest for 2-3 minutes after baking to let the juices settle – this keeps it tender inside. But don’t wait too long! Oven-fried chicken is at its crispiest when served fresh.
We love pairing the chicken with sautéed green beans and mashed potatoes or mac and cheese. Corn on the cob, baked beans and sweet potato fries or air fryer potato wedges with ranch for dipping are also great!
It also works great in a bun topped with sliced avocado and coleslaw on the side (I had this at a restaurant with regular fried chicken and it was so good!)
Recipe video
PS If you try this recipe, please leave a review in the comment section and add a star rating in the recipe card – I appreciate your feedback! Follow along on Pinterest, Facebook or Instagram.
Printable recipe
Crispy Oven Fried Chicken
Ingredients
For the egg mix:
- 1 large egg
- ⅓ cup buttermilk OR regular milk; see notes
For the breading:
- 1 cup all purpose flour
- 4 tablespoons breadcrumbs Panko or Italian seasoned work as well
- 1 teaspoon baking powder
- 1.5 teaspoons salt adjust to your taste
- 2 teaspoons ground paprika
- 1 teaspoon garlic powder
- 1 teaspoon onion powder
- ½ teaspoon ground pepper
For the chicken:
- 2 pounds boneless, skinless chicken breast cut into strips (I do 2-3 per breast)
For the pan:
- ¼ cup butter or more as needed
Instructions
- Prep: Heat oven to 410°F . Place a dark-colored or cast iron (or at the very least a silver metal) pan in the oven to heat up.
- Prepare breading: In a medium bowl, whisk together egg and buttermilk.In a separate bowl, mix flour, breadcrumbs, baking powder and seasoning.1 large egg, ⅓ cup buttermilk, 1 cup all purpose flour, 4 tablespoons breadcrumbs, 1 teaspoon baking powder, 1.5 teaspoons salt, 2 teaspoons ground paprika, 1 teaspoon garlic powder, 1 teaspoon onion powder, ½ teaspoon ground pepper
- Bread the chicken: Toss the chicken pieces in the flour mix, coating evenly and shaking off any extra flour.Next, toss the chicken pieces in the egg mixtures.Then, dip each into the flour mix again, this time coating very well – press the breading well on the chicken to make it stick.2 pounds boneless, skinless chicken breast
- Place chicken on pan: Take the hot pan out of the oven and melt the butter on it.Place the coated chicken pieces on the pan – leave enough space in between, I usually bake it in two batches.¼ cup butter
- Oven fry: Bake for 10-12 minutes, carefully flip and bake for another 5-10 minutes (depending on how thick your chicken pieces are). Add more butter to pan if needed.Finish by broiling the chicken until it turns golden brown and crispy, about 1-2 minutes.
- Serve: Let chicken rest for 2-3 minutes, then serve immediately.
Notes
- Use boneless, skinless chicken breasts or swap for thighs/drumsticks (adjust cook time).
- No buttermilk? Use milk with a splash of vinegar.
- Panko gives max crunch, but any breadcrumbs work.
- Baking powder makes breading crispier – don’t skip!
- Press breading onto chicken so it sticks.
- Use a dark pan for best crispiness.
- Flip carefully with a spatulato keep coating intact.
- Let chicken rest 2-3 minutes before serving, but eat it fresh before it softens.
- Store leftovers in the fridge up to 3 days and reheat in the oven for crispness.
- Freeze unbaked or baked chicken for up to 3 months; bake straight from frozen at 375°F until hot and crispy.
Recipe first published in 2016. Updated with new video, photos, step-by-step photos and better text on 03/21/2021. Updated with new photos and better text again on 02/19/2025.
More crispy chicken recipes
More oven frying
Check out our Oven Fried Chicken Breast Recipes collection for more ideas!









Susan says
Really enjoyed this dish, definitely will be making it again.
Nora says
I’m so glad, Susan!
Jackie says
Made this recipe tonight for my 92 yeaar old Dad and and my husband both were very pleased. I used thighs instead of breasts,otherwise followed the recipe. Happy guys
Nora says
I’m so glad everyone liked the chicken, Jackie!
Jordyn says
Hi! Thanks for giving a recipe that looks simple and stress free! The last time I tried to make fried chicken in the oven, it was quite the fiasco. XD One of the things I had questions about the last time I made it was about brining the chicken. Does this meat need to be brined? Thanks!
Nora says
Jordyn, I do have a similar recipe that brines the chicken in buttermilk. But here I don’t brine it and it comes out perfectly. Hope this helps!
Carmella says
this chicken is very good, crispy! I love how easy it is to have such great flavor without the mess of frying
Elise says
This is the best and easiest recipe. I add a little bit of grated Parmesan to mine. It’s delicious!
Tallulah Peaches says
Thanks for ruining 2 lbs of chicken. It seemed like a lot of pepper so I cut it by a 1/3 and it is still ridiculously over peppere . my fault for trusting an online recipe when too tired to calculate how bad the recipe might . be. not worth the avalanche ads to get to it.
Nora says
Tallulah, I’m sorry the chicken wasn’t to your taste. If you cut the ground pepper by 1/3, I’m assuming you used a little more than 1/4 teaspoon, which in my experience will not make 2 pounds of chicken seem too peppery for most people – it’s the amount I use in pretty much all of my standard meat recipes, and so far people have only said they added more pepper to suit their taste, not less. So if you are more sensitive to pepper than most people, then you may just want to leave it out of recipes. If you accidentally used 1/4 TABLEspoon of pepper, then yes, it will have been too much and I’m truly sorry this happened to you. It’s certainly never my intention to ruin anyone’s groceries.
Szumerspirit says
Wow. I’ve been seeing an increase of rude unnecessary comments all over the net, but I must say I’ve never seen one on a recipe. You do realize taste is subjective right?
She didn’t ruin your chicken……you did. Commenting about it being too peppery for YOU is totally understandable, but to act as if she ruined your chicken is ridiculous. Especially when 280-ish people liked it enough to vote it 4.8 stars out of 5
ELLEN J says
Obviously you did not measure the pepper correctly. The recipe is perfect!
Harriette Grant says
this was such a great recipe. we loved it and will use it again often. thanks so much
Nora says
Glad you liked it, Harriette!
Diane says
I’m trying your recipe for the first time, looks good!! I’ll let you know 😋
April says
Great new recipe added to my rotation! I used boneless/skinless chicken thighs since it’s what I had on hand. I also didn’t read the instructions properly and dipped in the egg mixture first, then flour, then back to egg, and back to flour. While it was a mistake, Italian Nonnas always start with egg first, and I think it really helped the beating stick better. No problems flipping or breathing falling off, even reheated. If you don’t cut the thighs into pieces, I found 15min on the first side and 10 on the second worked best in my oven.
Nora says
April, thank you so much for sharing your experience with this recipe. And I’m intrigued now, next time I’ll try dipping in egg first!
Lindsay says
Absolutely love this recipe! I made some ingredient swaps to make it low-carb and I wanted to share in case anyone else is in that boat.
Sub for Flour: 1/2 cup low carb pancake mix (brand King Arthur Baking Company); 1/2 cup fine almond flour (brand Bob’s Red Mill)
Sub for Breadcrumbs: 2 tablespoons low carb coconut breadcrumbs (brand Just About Foods); 2 tablespoons nutritional yeast (I think any would work but I use Red Star Savory).
I also used heavy cream in place of the milk/buttermilk.
The final dish smelled and tasted SO good. Thank you!!
Nora says
Thank you so much for sharing, Lindsay!
Angela says
This was delicious! I am grain free, so I substituted the flour and it was very tasty!
Matt Vickey says
Made this, and my wife and I both loved it. This is by far the best oven fried chicken I’ve ever had.
D says
This was the bomb! I love homemade fried chicken, but I hate having the house smell like grease for days afterwards. Bookmarked this recipe and will definitely be making it again (and again). Thinking I might try mashed up corn flakes in place of the bread crumbs to see if I can get a KFC extra crispy style breading.
Shelly Vee says
I’ve made a similar recipe. only difference here was using buttermilk and baking powder. these additions made a big difference, chicken was lighter and very moist!
MeredithE says
I used thighs as that is my favorite piece. This is the best recipe and method I have tried. I have tried so many and eventually just gave in to the fact that fried chicken is not my forte. And this turned out perfectly. The only modification I employed was cracker crumbs as I was out of panko. This worked great. I also made thighs which were brined overnight in buttermilk. They were baked at 400 for 40 minutes and were perfect. At the end there was still some dry flour on a couple of pieces. I just spritzed some olive oil from a spray bottle over the dry spots at the last 5 minutes of roasting. The recipe / method was otherwise followed exactly. I am so happy I found this recipe / method! I cannot believe it’s baked!
Michael says
Oh my God! This was fantastic! I kept the recipe nearly the same, I simply omitted the salt. Beyond that I took a chance and set my oven to air fry at 425. You are right… better than KFC any day of the week. Thanks.
Renee says
I found this recipe today and made it for dinner tonight. My husband and I loved it. we’ll seasoned crispy, and juicy. It’s a keeper!
Lez says
This is absolutely fantastic. Love the crispy crunch without the greasy taste. I do have question. The answer might be in the comments…but there are a ton of them all good. Is it possible to put these in a Air Fryer?
Debbie says
My rarely-comment-on-meals husband thought this was awesome. We’re from Texas and his mother fried EVERYTHING, including chicken. He was super impressed and I’m putting this in our rotation. Made this exactly as your recipe. Thank you!
Sheri says
Winner winner chicken dinner! I had to sub soy milk for buttermilk due to allergies. Doubled the recipe. Did half in a dark pan and half in a silver pan (all I had). The dark pan was SO much faster in cooking it. The whole family loved it. He said he’d be happy eating this ANYtime.
Nora says
I’m so glad, Sheri! And thank you for sharing your experience using a dark pan and a silver pan at the same time – such valuable feedback for other cooks!
Joy DeNicola says
I made this amazing oven fried chicken recipe today, and it was SO DELICIOUS! I love fried chicken, but hate the mess and the high fat and calories. I have tried other oven fried chicken in the past, but this recipe tops them all. It was very crispy and the breading was excellent and truly bursting with flavor. I was heavy-handed on the seasoning and spices as you recommended and, wow, did that make the difference. My husband raved about this recipe too and wants it to be a regular part of our menu.
I took the chicken out at 160 degrees to avoid drying out. I let them sit on a plate to finish cooking for a few minutes and to retain the moistness. I didn’t have a dark sheet pan, so I used my large Lodge cast iron skillet. It worked phenomenally well. I preheated the pan as you advised. Then added the butter and chicken. It immediately bubbled and sizzled! The chicken was truly crispy and the breading stuck to the chicken. All your “tips” were helpful.
Thanks for this fantastic dish! I will be making this again and often. I will also be checking out more of your recipes! ❤️
Nora says
Thanks for your lovely review and for sharing your tips, Joy. I appreciate your time!
ErisX says
This recipe works!! My partner has been craving fried chicken but I dislike making it due to the mess oil makes. BUT you don’t get crispy in the oven… right? WRONG. This recipe works!! Did I say that already?
Nora says
I’m so, so glad to hear this!
Tyler says
I have to admit that I’ve never bother to comment on recipes I find online, even if I loved them, but I was so impressed with this recipe that I felt compelled to sing it’s praises.
To put it simply, it was absolutely DEE-LICIOUS! And it was a huge hit with my family. Now, some might think my words might sound a little overly dramatic because they might think “It’s just chicken”, but one reason I’m so impressed is because the end result is a restaurant quality, wouldn’t-have-guessed-it-was-baked-in-the-oven piece of genuine fried chicken—super crispy—with the convenience of just popping something in the oven and none of the mess that comes with deep frying.
The amount of each seasoning and salt was spot on too.
This isn’t one of those “kind of like” fried chicken imitation recipes you see so much now with the popularity of air fryers, whose pseudo crispy texture relies on things like corn flakes and similar ingredients, this is the real deal.
Highly recommended!
Nora says
I’m so, so happy to hear this, Tyler! I’m glad the recipe worked so great for you, it’s definitely one of the most requested dinners in our home so I’m always happy when others love it just as much.
Tina says
I just ran across this and loved it. I used more dry mixture and a bit less milk in the egg since I had only 2%. To add flavor, I ground a combination of Italian croutons and durkees fried onions. Amazing!
Nora says
Sounds delicious, Tina! Thanks for sharing your tips, I’m very intrigued by the Italian crouton/fried onion combination.
PS2U2 says
Love the fried onions idea! We love them here especially on Mac N Cheese 🙂
Nadene says
Thank you for this great recipe. I’m celiac so I just switched out the flour for gf flour and it was great! I was surprised at the negative comments as I had no trouble immediately getting to the recipe.
Nora says
I’m so glad, Nadene! And I’m glad you were able to find the recipe easily.
Joan says
This recipe was fantastic. The chicken was juicy and the crust crunchy. I used 1 lb of chicken thighs on the bone because we love fried chicken the way we eat it in the south- picking it up with our hands and licking the bones clean. It took about 10 min longer to cook but I added 5 min to the first bake and 5 min after I turned the thighs. I kept all the other amounts the same. Thanks for sharing this wonderful recipe!
Nora says
I’m so glad, Joan! Thank you so much for sharing how you prepared it with bone-in chicken thighs – this will be so helpful for other readers.