

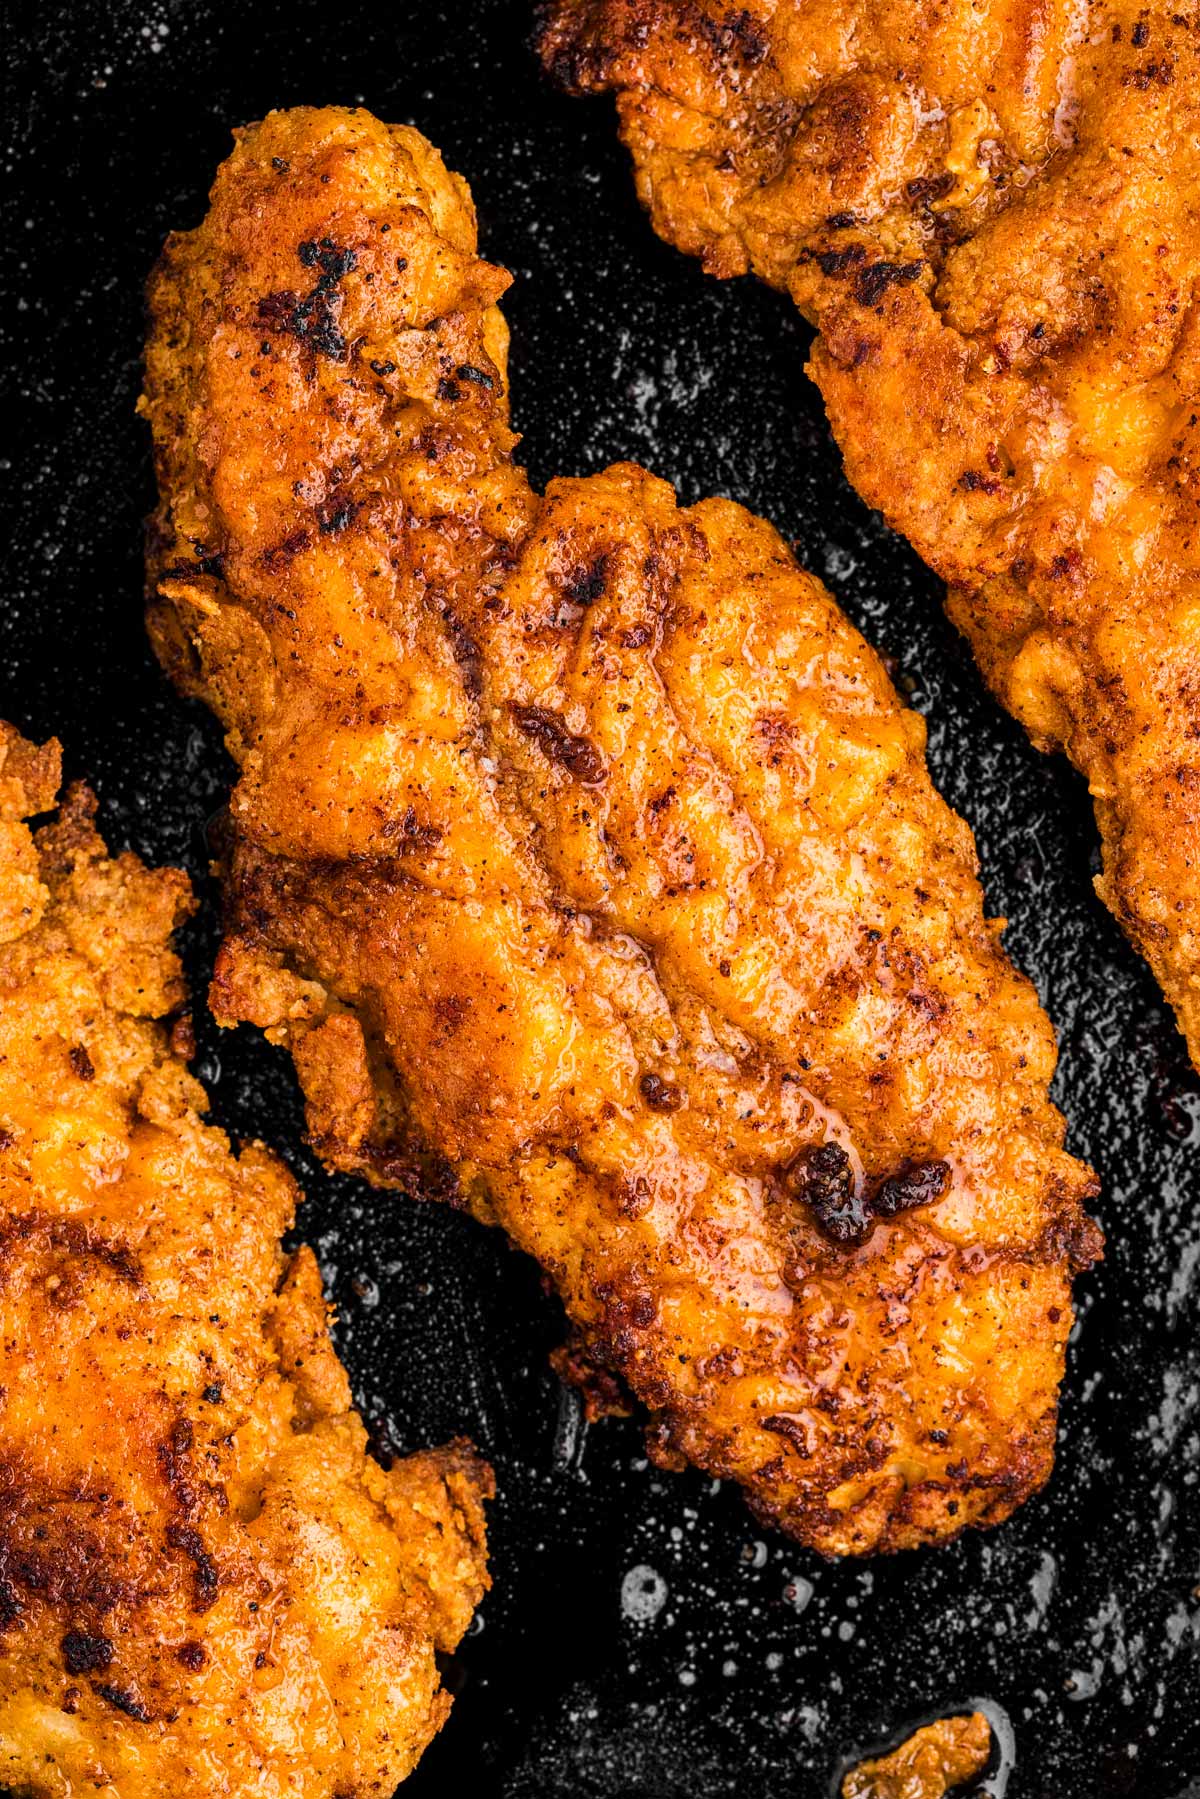
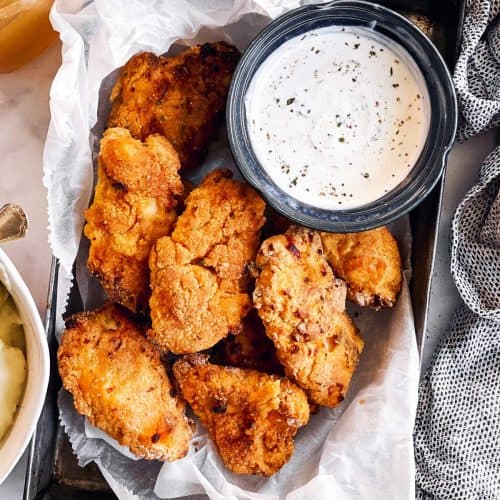
This is my go-to method for oven-fried chicken, and trust me – it delivers the crispiest, juiciest results. Golden, crunchy, packed with flavor – and honestly? We think it’s even better than KFC!
Jump to:
Why this recipe works
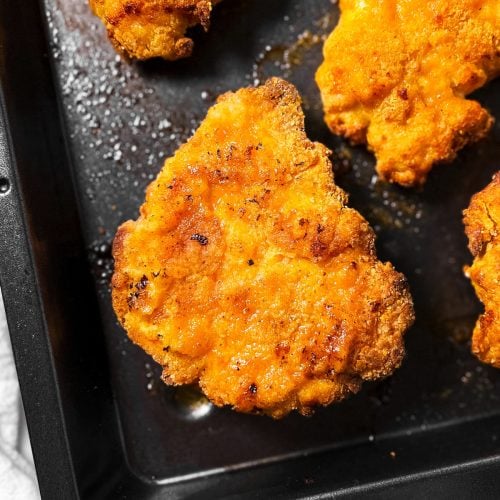
- Crispy, crunchy perfection – Preheating the pan and baking at high heat gives you that golden, crackly crust – no sad, soggy breading here!
- Packed with flavor – I don’t do bland chicken. The seasoning mix is just right, and trust me, this will not leave you disappointed.
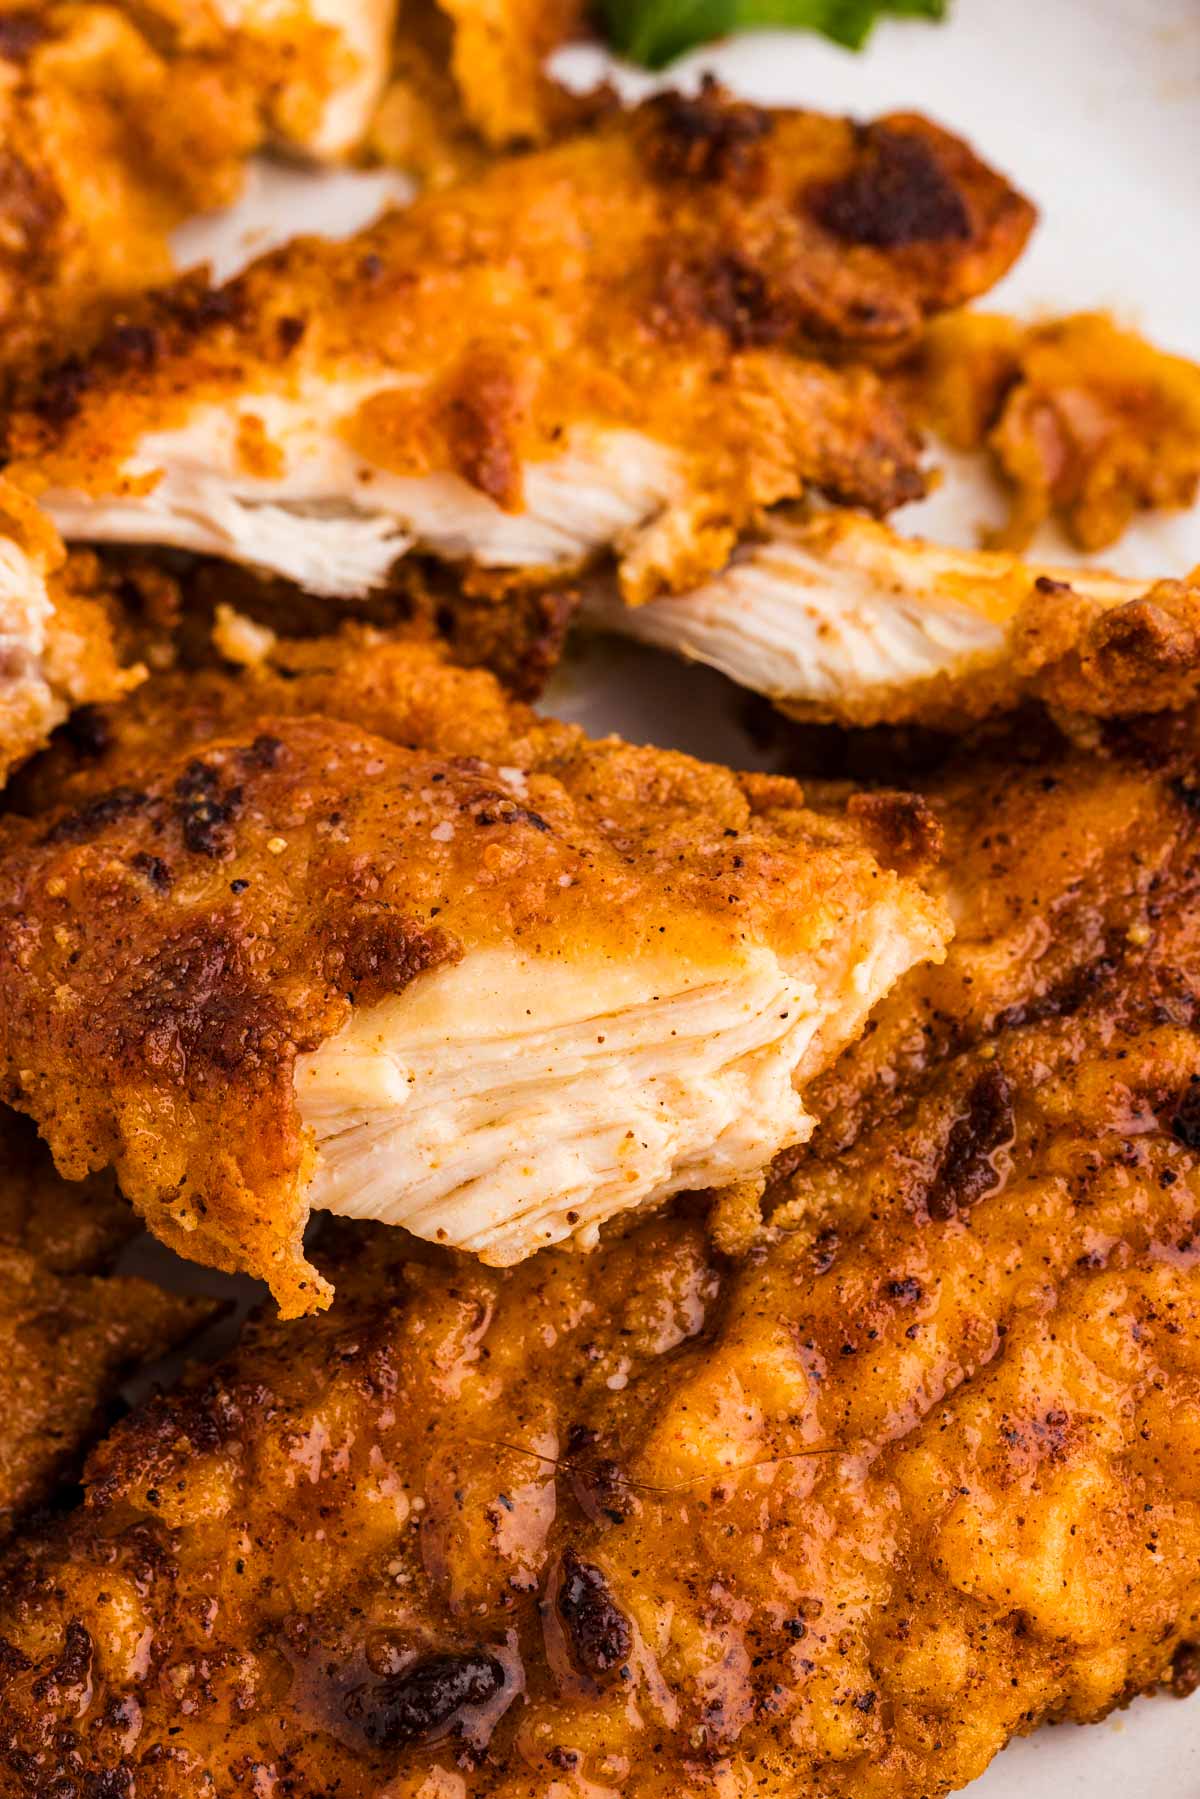
- So juicy inside – Thanks to my breading technique, the chicken stays tender and moist. My family polishes off every last piece, no leftovers in sight!
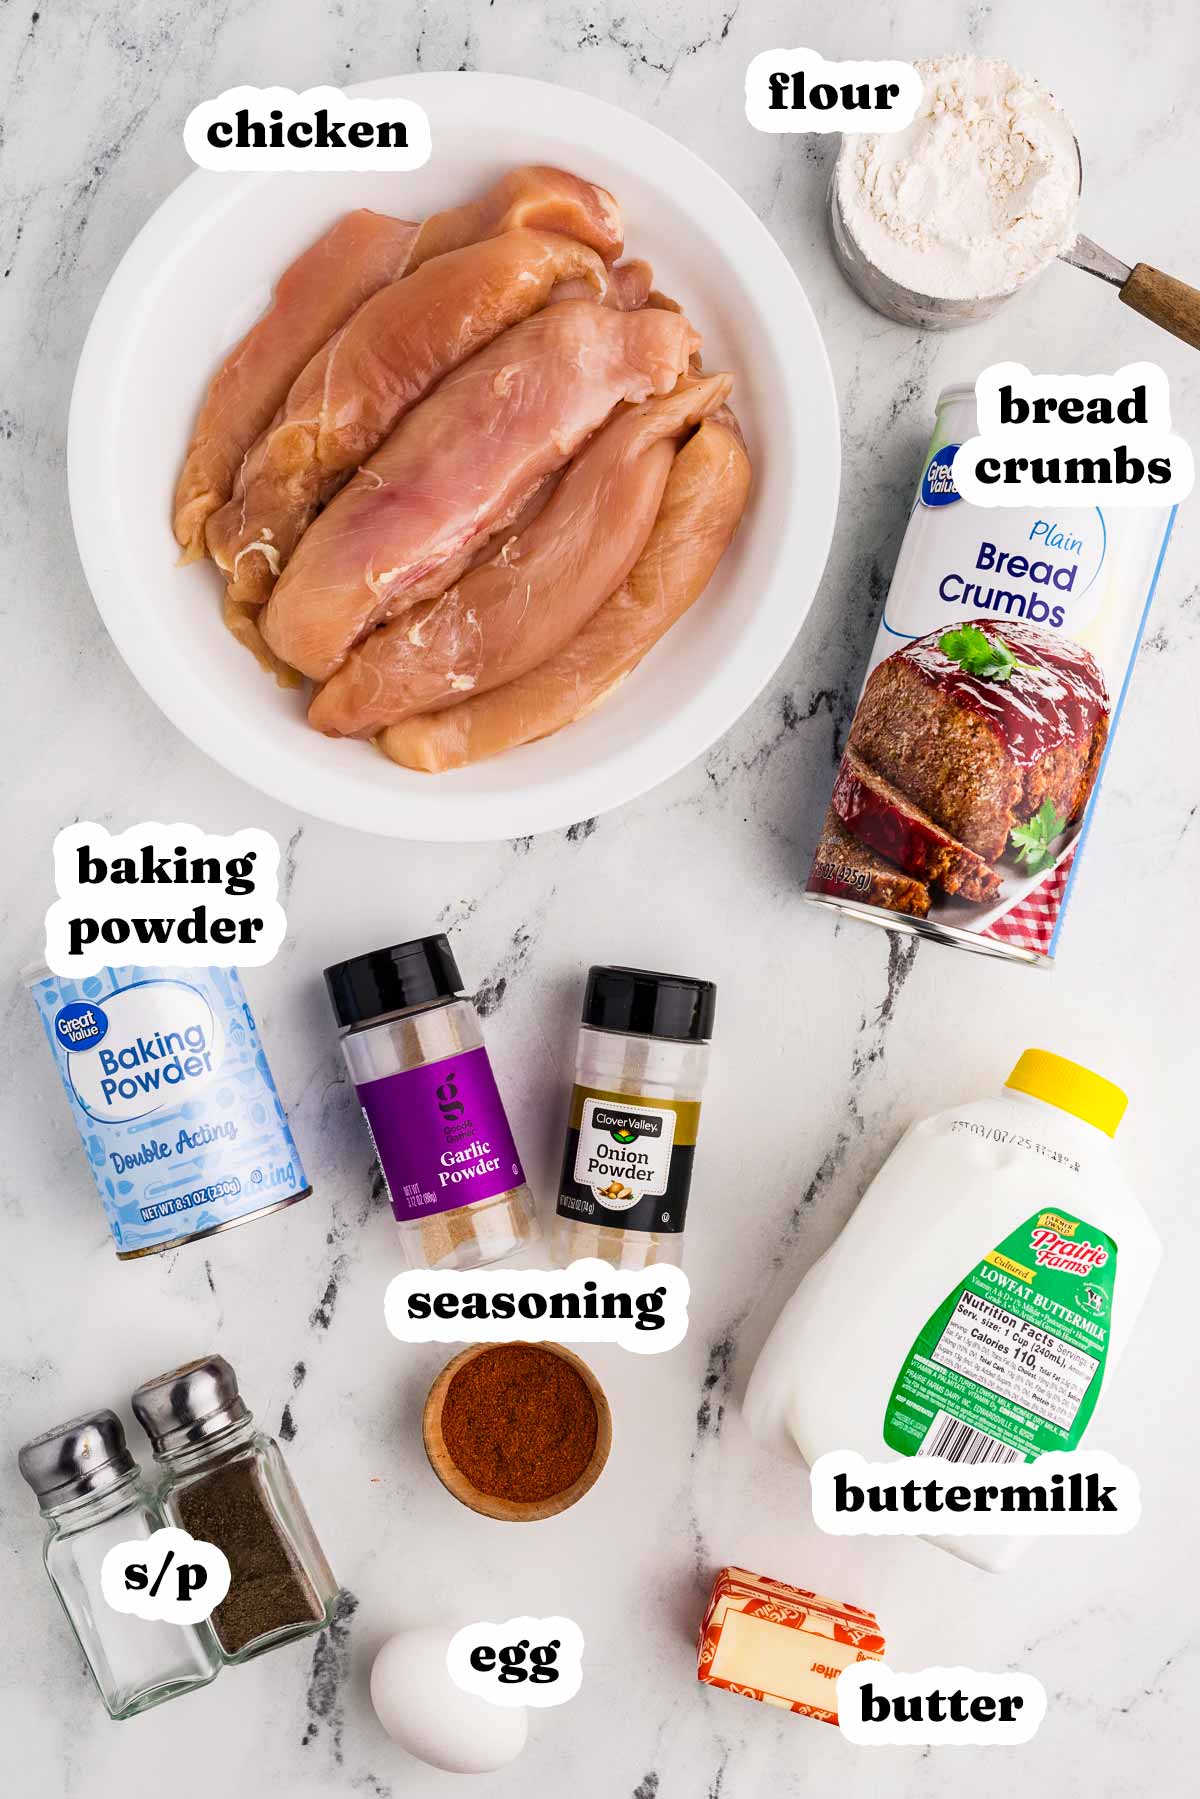
Ingredients you’ll need
Here is a visual overview of the ingredients in the recipe. Scroll down to the printable recipe card at the bottom of this post for quantities!
Ingredient notes
- Chicken – I use boneless, skinless breasts because they’re easy. Many readers have commented that thighs or drumsticks work great too – just adjust the cook time!
- Buttermilk – No buttermilk? No problem. Just mix regular milk with a splash of vinegar or lemon juice, and you’re good to go.
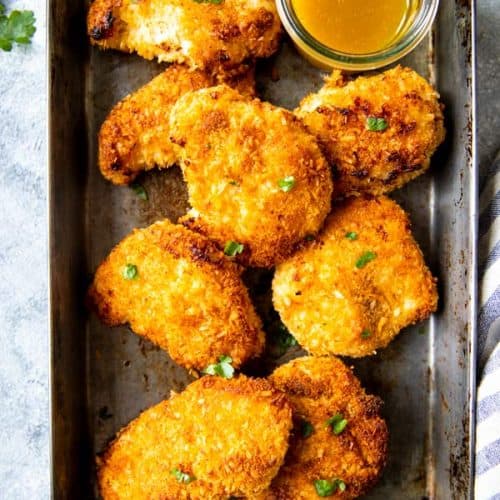
- Breadcrumbs – I use plain breadcrumbs because I always have those on hand, but Panko is also very delicious and yields amazing results.
- Baking Powder – This helps the breading to puff up a little and behave more like a batter fried in oil. I know it sounds like a strange ingredient in oven fried chicken, but please don’t skip it!
- Butter – Essential for that golden, crispy crust. Canola oil works too, but butter gives the best flavor.
- Salt and spices: I cut the salt in half from my original version since some found it too salty, but if you liked it as it was, feel free to add more. And yes, it might seem like a lot of spices – but you don’t want your chicken under-seasoned. Add cayenne pepper for a spicy kick!
Step by step overview
Before you begin: Set your oven to 410°F and place a dark roasting pan or cast iron pan inside to heat up. A hot pan is key for crispiness – don’t skip this step!
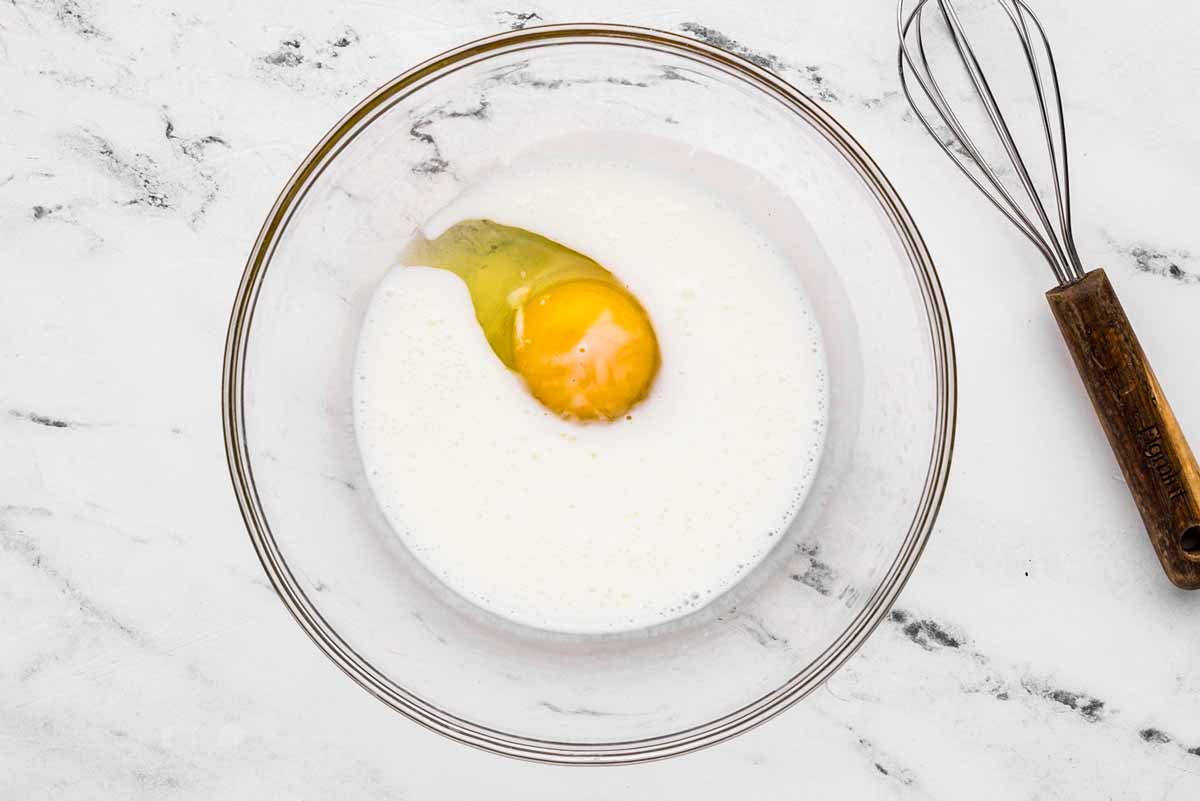
1. Set up the breading station:
Wet mix
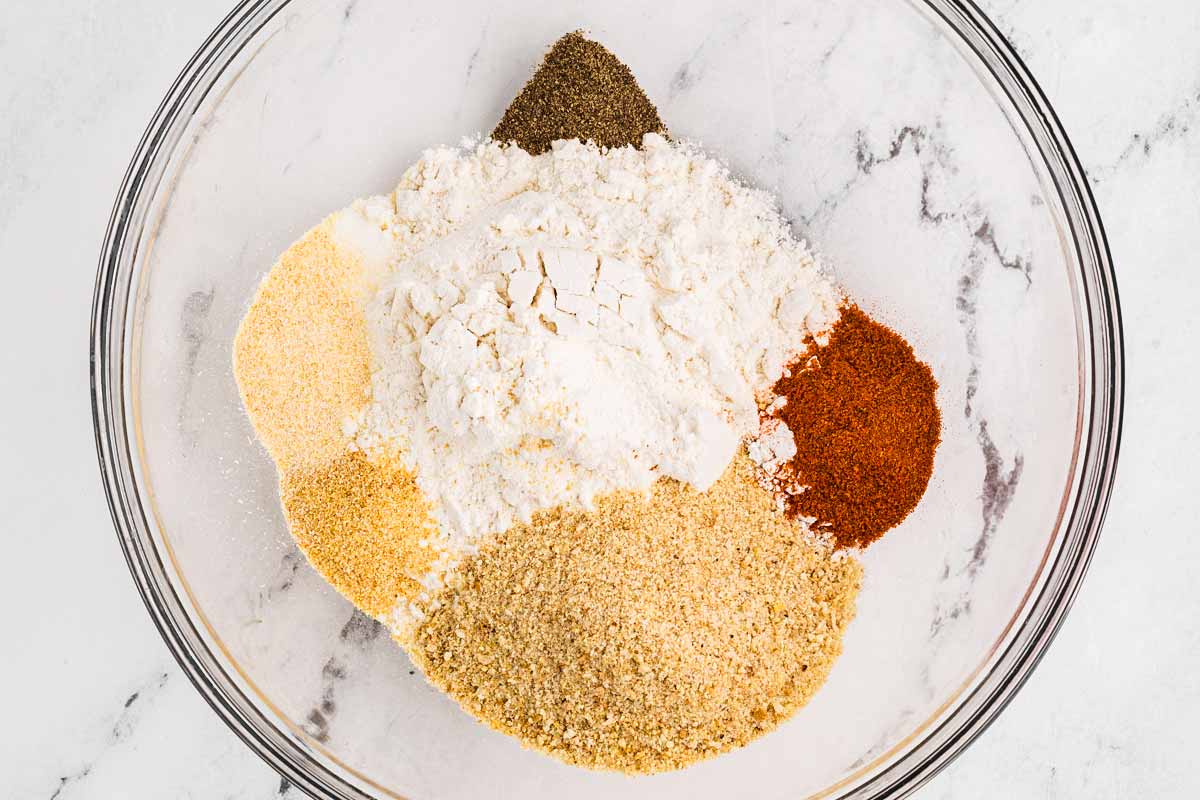
Dry mix
2. Bread the chicken:

Here is how I efficiently bread a lot of chicken well:
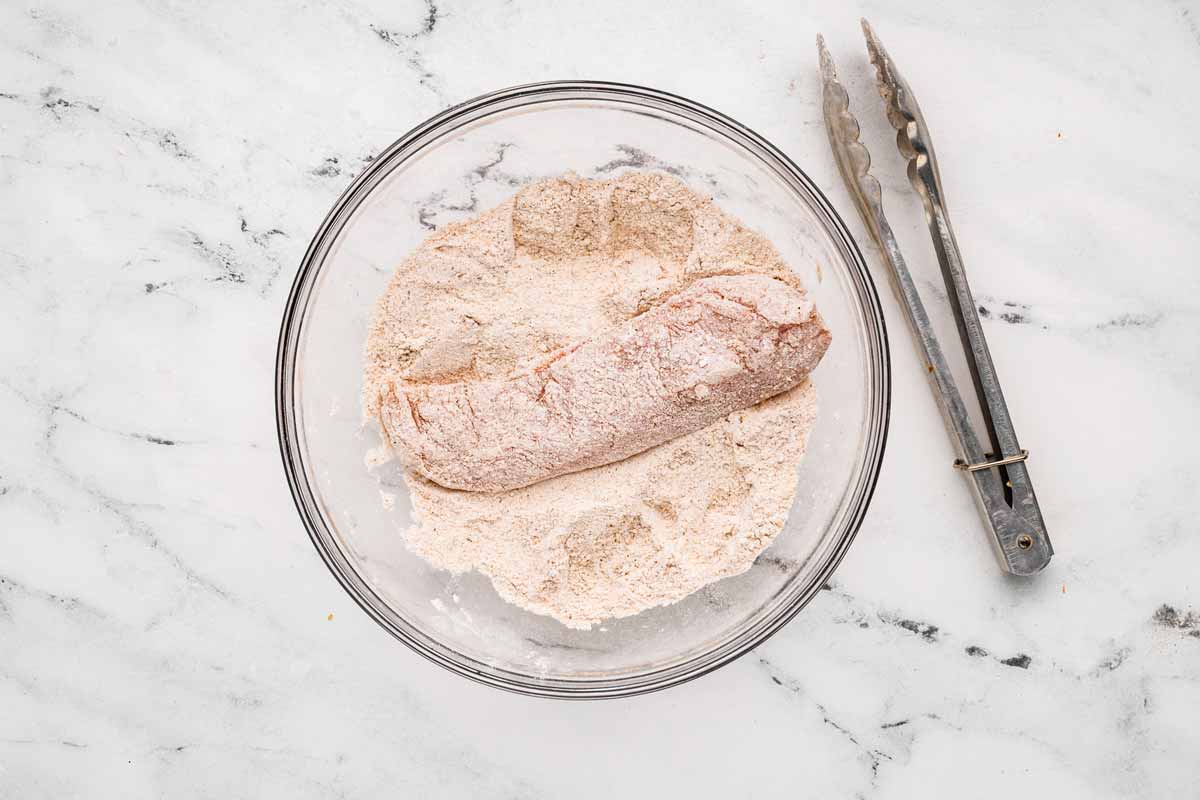
- Toss the chicken in the breadcrumb mixture (I do them all at once for more efficiency).
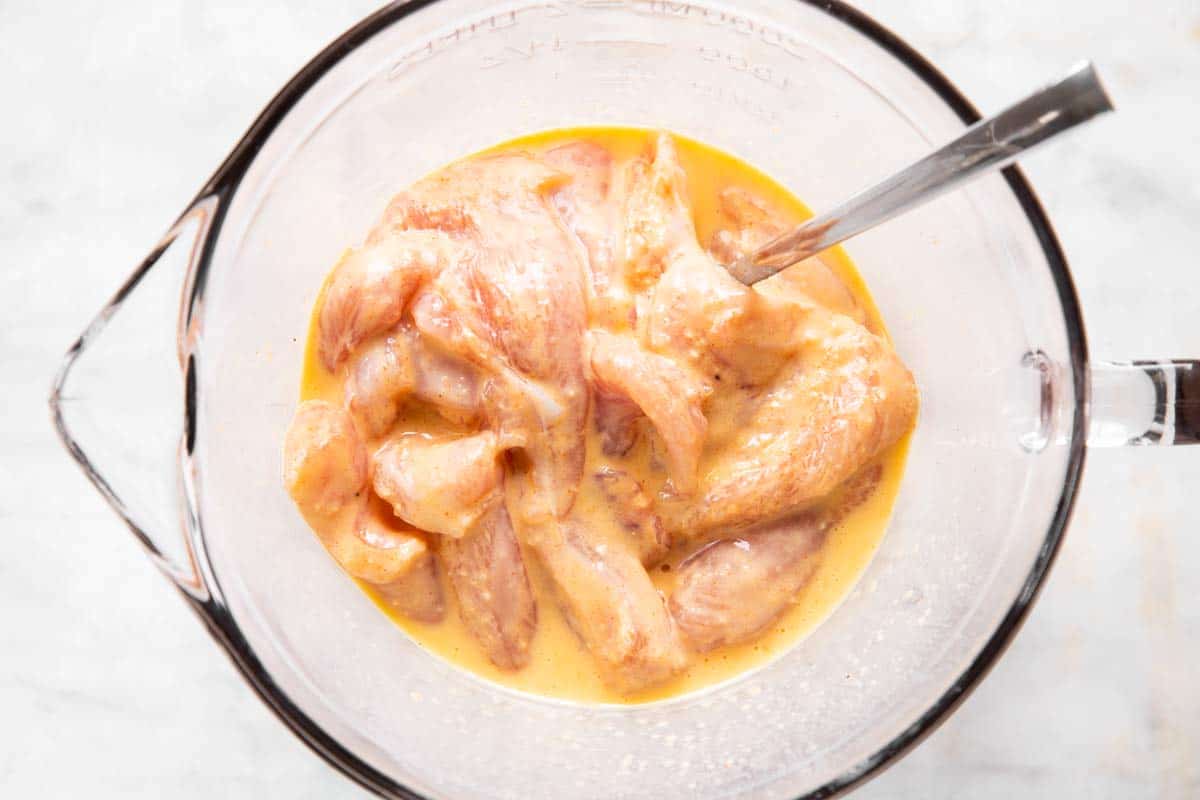
- Shake off any excess flour, then coat with egg wash (again, I do all of the chicken pieces together here because it’s faster and works just as well).
- Finally, thickly coat each chicken piece with dry mix again (this needs to be done for each piece individually). You’ll want to pack on a lot of breading and then pound it onto the chicken with kitchen tongs or a large spoon to make it stick.
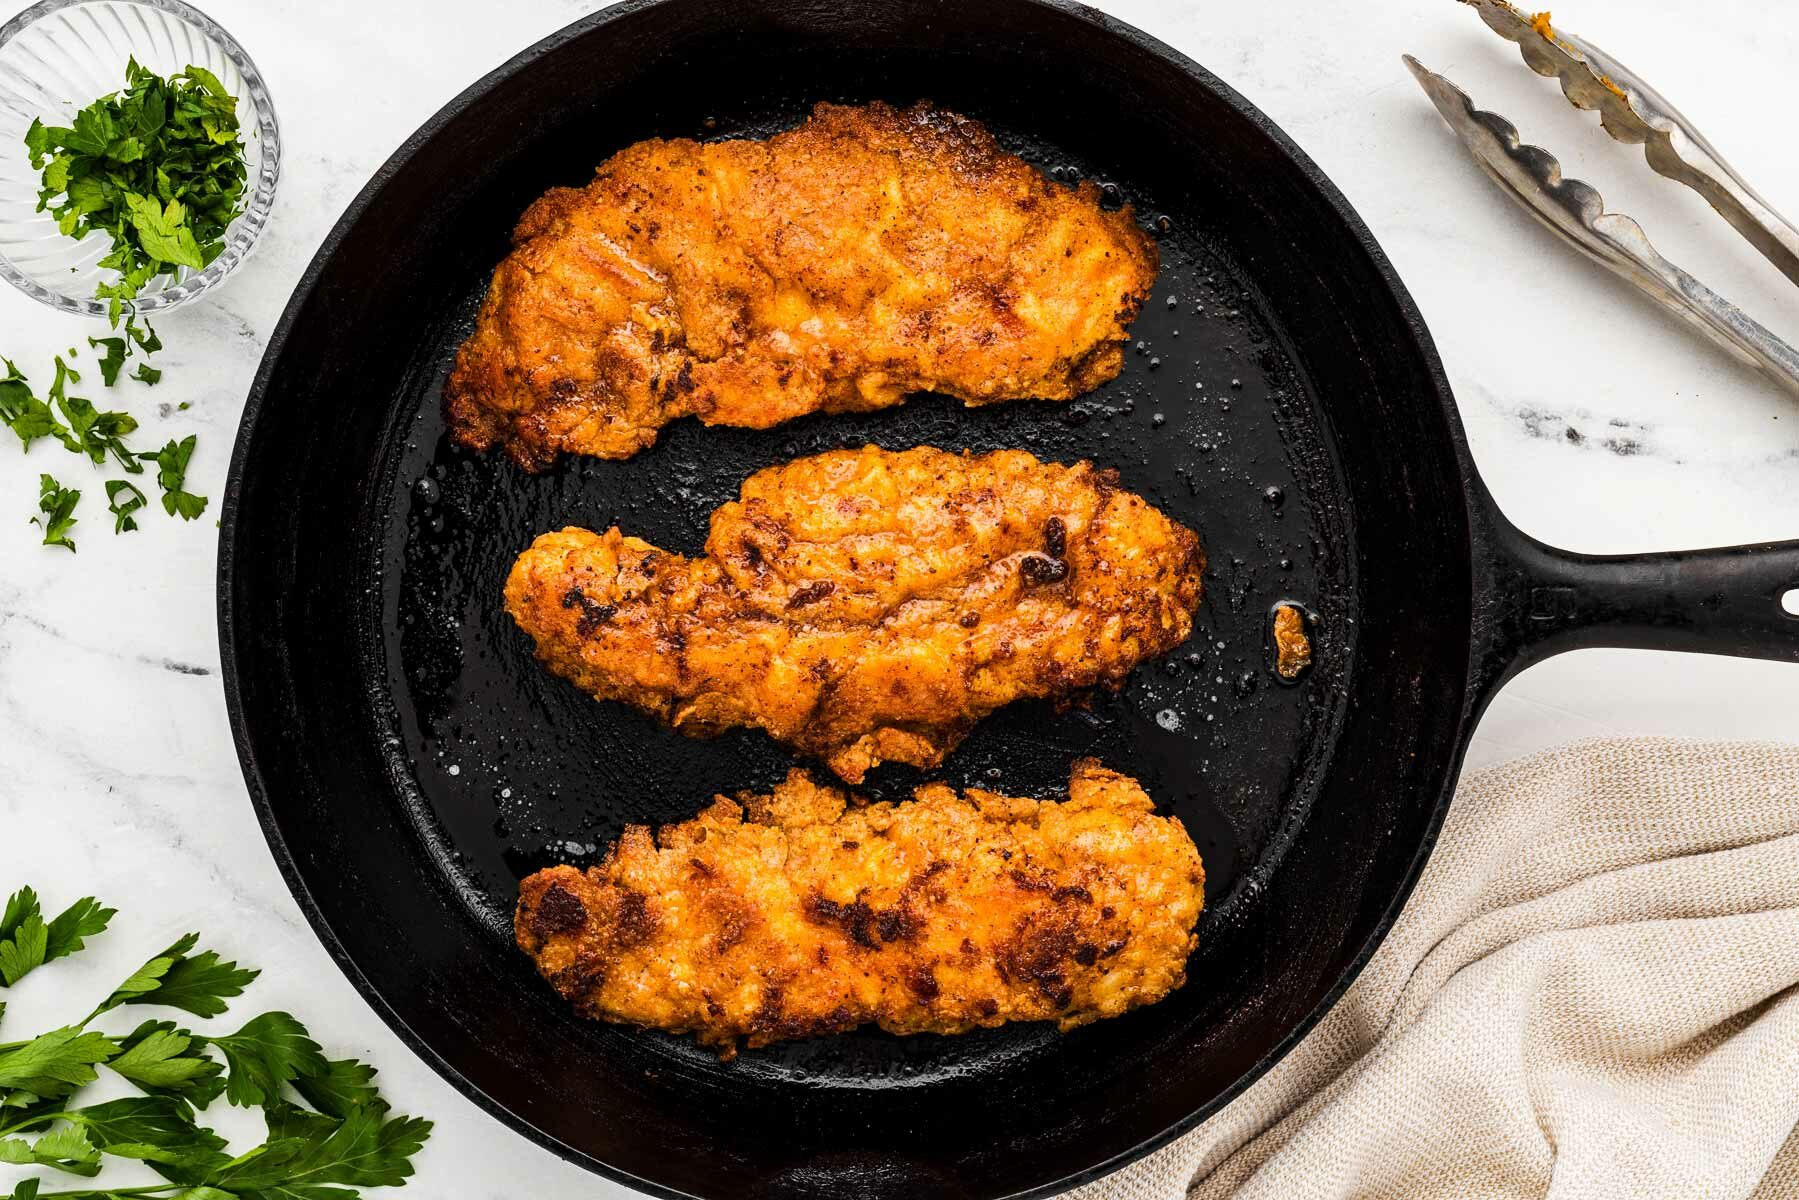
3. Bake:
For extra crunch, switch the oven to broil for 1-2 minutes, but watch closely – it can go from crispy to burnt fast! Let the chicken rest 2-3 minutes for the breading to crisp up, then serve immediately!
Tips for success
- Use a dark pan: Dark-colored pans conduct heat better, resulting in a crispier crust. You can use a dark metal pan or cast iron, but a silver metal pan is fine, too.
- Breading: Do not skip pressing/pounding on the dry flour mix in the final step of breading. This is very important to help the breading stick to the chicken and to keep it from flaking off during baking.
- Handle with care: When flipping, use a spatula to gently release the chicken to keep the breading intact.
- Let the chicken rest for 2-3 minutes before serving, but don’t let it sit around for longer than this. Otherwise, it will start getting soggy.
- In full disclosure: While I do love this recipe 100% (I wouldn’t have shared it otherwise!) it is important to me to tell you that you shouldn’t expect the same results from baking as you should from deep-frying. This recipe here does make a crispy oven fried chicken, but it’s not identical to regular deep fried chicken.
Helpful recipe hints
Troubleshooting & storage questions
Make sure you’re using a preheated pan (a dark pan is best) and that the oven is at the correct temperature.
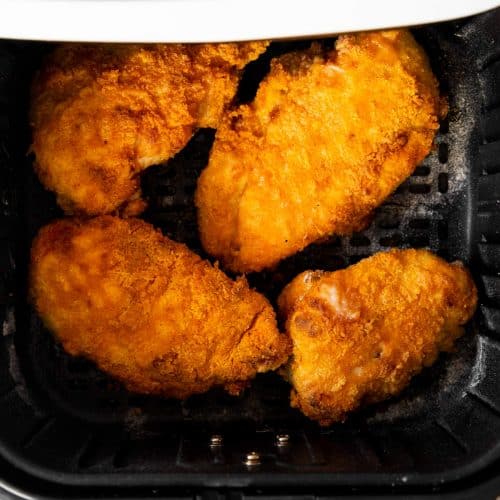
Also, avoid overcrowding the pan, as this can create steam and prevent crisping.
Make sure to press the breading onto the chicken firmly and handle the pieces gently when flipping.
Letting the breaded chicken rest for a few minutes before baking can also help the coating stick better.
If you have leftovers, you can easily reheat them in the oven. The chicken won’t be quite as juicy as freshly baked, but it’s still good.
Check out my step by step instructions for reheating fried chicken here!
Either freeze the breaded, unbaked chicken OR the fully baked and cooled chicken. Flash-freeze in a single layer on a cookie sheet for ~1 hour before transferring to freezer bags (flash freezing is mandatory for the unbaked chicken, but also very much recommended for baked chicken).
Use a container or bag that is suitable for freezing. Label the bag or container with the contents, and the use-by date (freeze for up to 3 months). Place the flash-frozen chicken in the bag and freeze.
Reheat the frozen chicken for 20-30 minutes at 375 in the oven, or until it reaches an internal temperature of 165°F. You don’t need to defrost it before reheating.
Serving tips
Let the chicken rest for 2-3 minutes after baking to let the juices settle – this keeps it tender inside. But don’t wait too long! Oven-fried chicken is at its crispiest when served fresh.
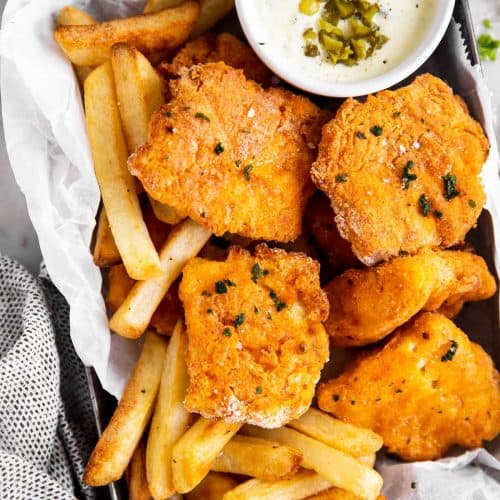
We love pairing the chicken with sautéed green beans and mashed potatoes or mac and cheese. Corn on the cob, baked beans and sweet potato fries or air fryer potato wedges with ranch for dipping are also great!
It also works great in a bun topped with sliced avocado and coleslaw on the side (I had this at a restaurant with regular fried chicken and it was so good!)
Recipe video
PS If you try this recipe, please leave a review in the comment section and add a star rating in the recipe card – I appreciate your feedback! Follow along on Pinterest, Facebook or Instagram.
Printable recipe
Crispy Oven Fried Chicken
Ingredients
For the egg mix:
- 1 large egg
- ⅓ cup buttermilk OR regular milk; see notes
For the breading:
- 1 cup all purpose flour
- 4 tablespoons breadcrumbs Panko or Italian seasoned work as well
- 1 teaspoon baking powder
- 1.5 teaspoons salt adjust to your taste
- 2 teaspoons ground paprika
- 1 teaspoon garlic powder
- 1 teaspoon onion powder
- ½ teaspoon ground pepper
For the chicken:
- 2 pounds boneless, skinless chicken breast cut into strips (I do 2-3 per breast)
For the pan:
- ¼ cup butter or more as needed
Instructions
- Prep: Heat oven to 410°F . Place a dark-colored or cast iron (or at the very least a silver metal) pan in the oven to heat up.
- Prepare breading: In a medium bowl, whisk together egg and buttermilk.In a separate bowl, mix flour, breadcrumbs, baking powder and seasoning.1 large egg, ⅓ cup buttermilk, 1 cup all purpose flour, 4 tablespoons breadcrumbs, 1 teaspoon baking powder, 1.5 teaspoons salt, 2 teaspoons ground paprika, 1 teaspoon garlic powder, 1 teaspoon onion powder, ½ teaspoon ground pepper
- Bread the chicken: Toss the chicken pieces in the flour mix, coating evenly and shaking off any extra flour.Next, toss the chicken pieces in the egg mixtures.Then, dip each into the flour mix again, this time coating very well – press the breading well on the chicken to make it stick.2 pounds boneless, skinless chicken breast
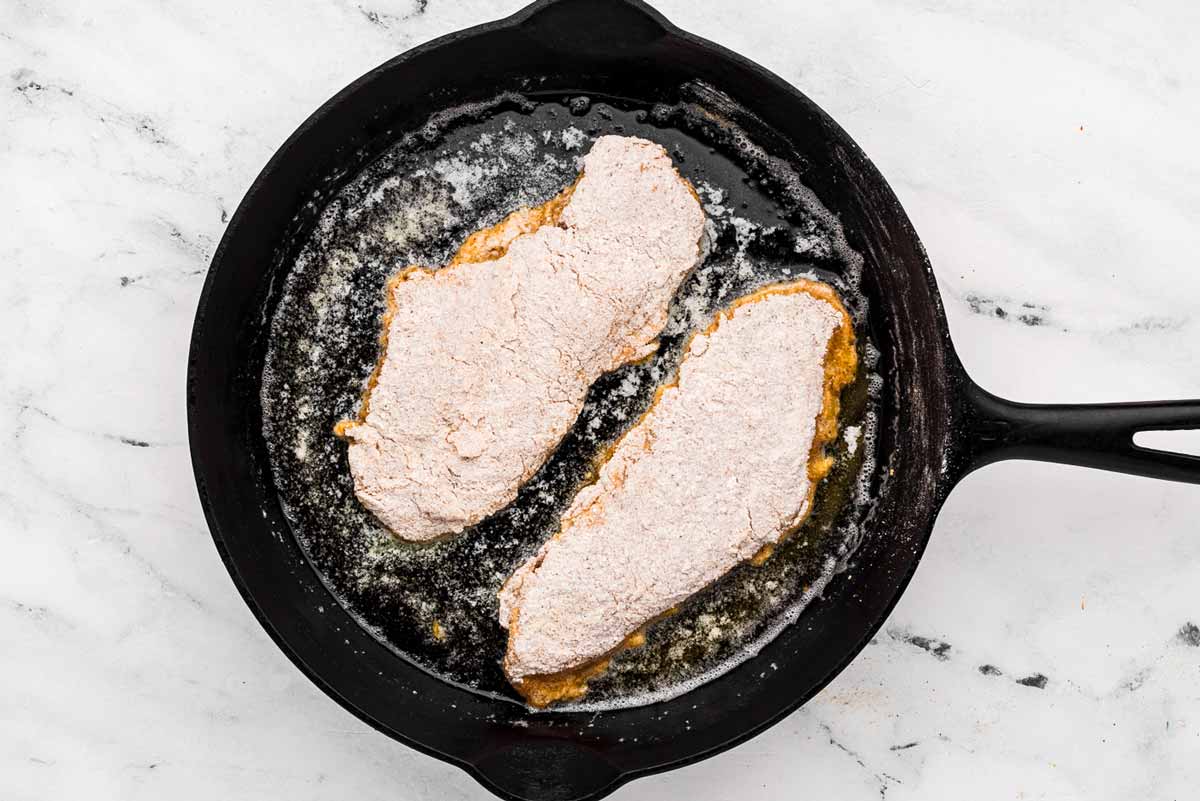
- Place chicken on pan: Take the hot pan out of the oven and melt the butter on it.Place the coated chicken pieces on the pan – leave enough space in between, I usually bake it in two batches.¼ cup butter
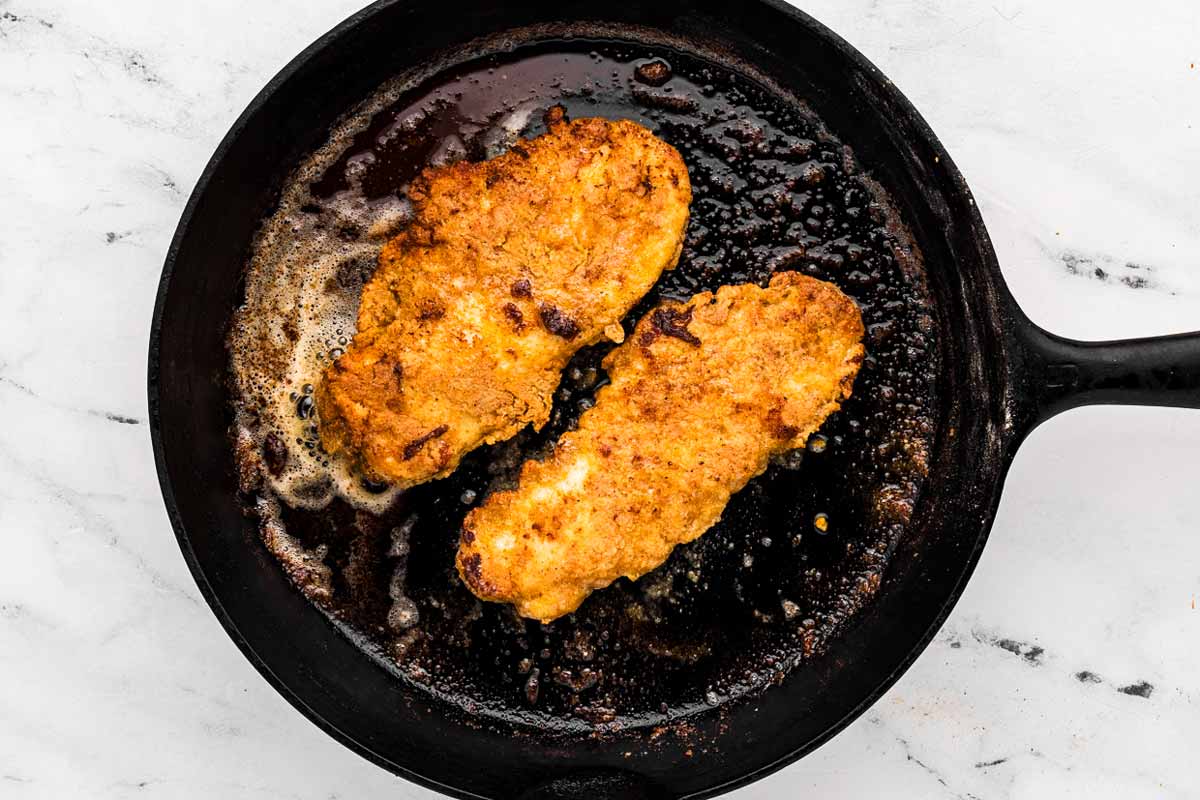
- Oven fry: Bake for 10-12 minutes, carefully flip and bake for another 5-10 minutes (depending on how thick your chicken pieces are). Add more butter to pan if needed.Finish by broiling the chicken until it turns golden brown and crispy, about 1-2 minutes.
- Serve: Let chicken rest for 2-3 minutes, then serve immediately.
Notes
- Use boneless, skinless chicken breasts or swap for thighs/drumsticks (adjust cook time).
- No buttermilk? Use milk with a splash of vinegar.
- Panko gives max crunch, but any breadcrumbs work.
- Baking powder makes breading crispier – don’t skip!
- Press breading onto chicken so it sticks.
- Use a dark pan for best crispiness.
- Flip carefully with a spatulato keep coating intact.
- Let chicken rest 2-3 minutes before serving, but eat it fresh before it softens.
- Store leftovers in the fridge up to 3 days and reheat in the oven for crispness.
- Freeze unbaked or baked chicken for up to 3 months; bake straight from frozen at 375°F until hot and crispy.
Recipe first published in 2016. Updated with new video, photos, step-by-step photos and better text on 03/21/2021. Updated with new photos and better text again on 02/19/2025.
More crispy chicken recipes
More oven frying
Check out our Oven Fried Chicken Breast Recipes collection for more ideas!


Julie says
This is my forever oven fried chicken. Followed recipe exactly and it was delicious and juicy. Husband liked it a lot. Very good and perfect chicken recipe
Nora says
So happy to hear it, Julie!
Steve Guerrero says
Excellent recipe, my only adjustment was the time since I did large thighs and legs, think it was 43 minutes, not too bed for my first try at all, should have have it down pat on my second try, some(little) of the batter did slightly fall off, all in all yummy and they want it again
Nora says
Glad to hear it, Steve!
Ralene Peters says
Excellent this will be my go to oven fried chicken recipe. Followed it exactly. Yummy
Nora says
I’m so glad!