If you’ve been searching for the perfect shortbread cookie recipe, this is it! With just four simple ingredients and a foolproof method, these buttery, melt-in-your-mouth cookies will quickly become a favorite in your home.
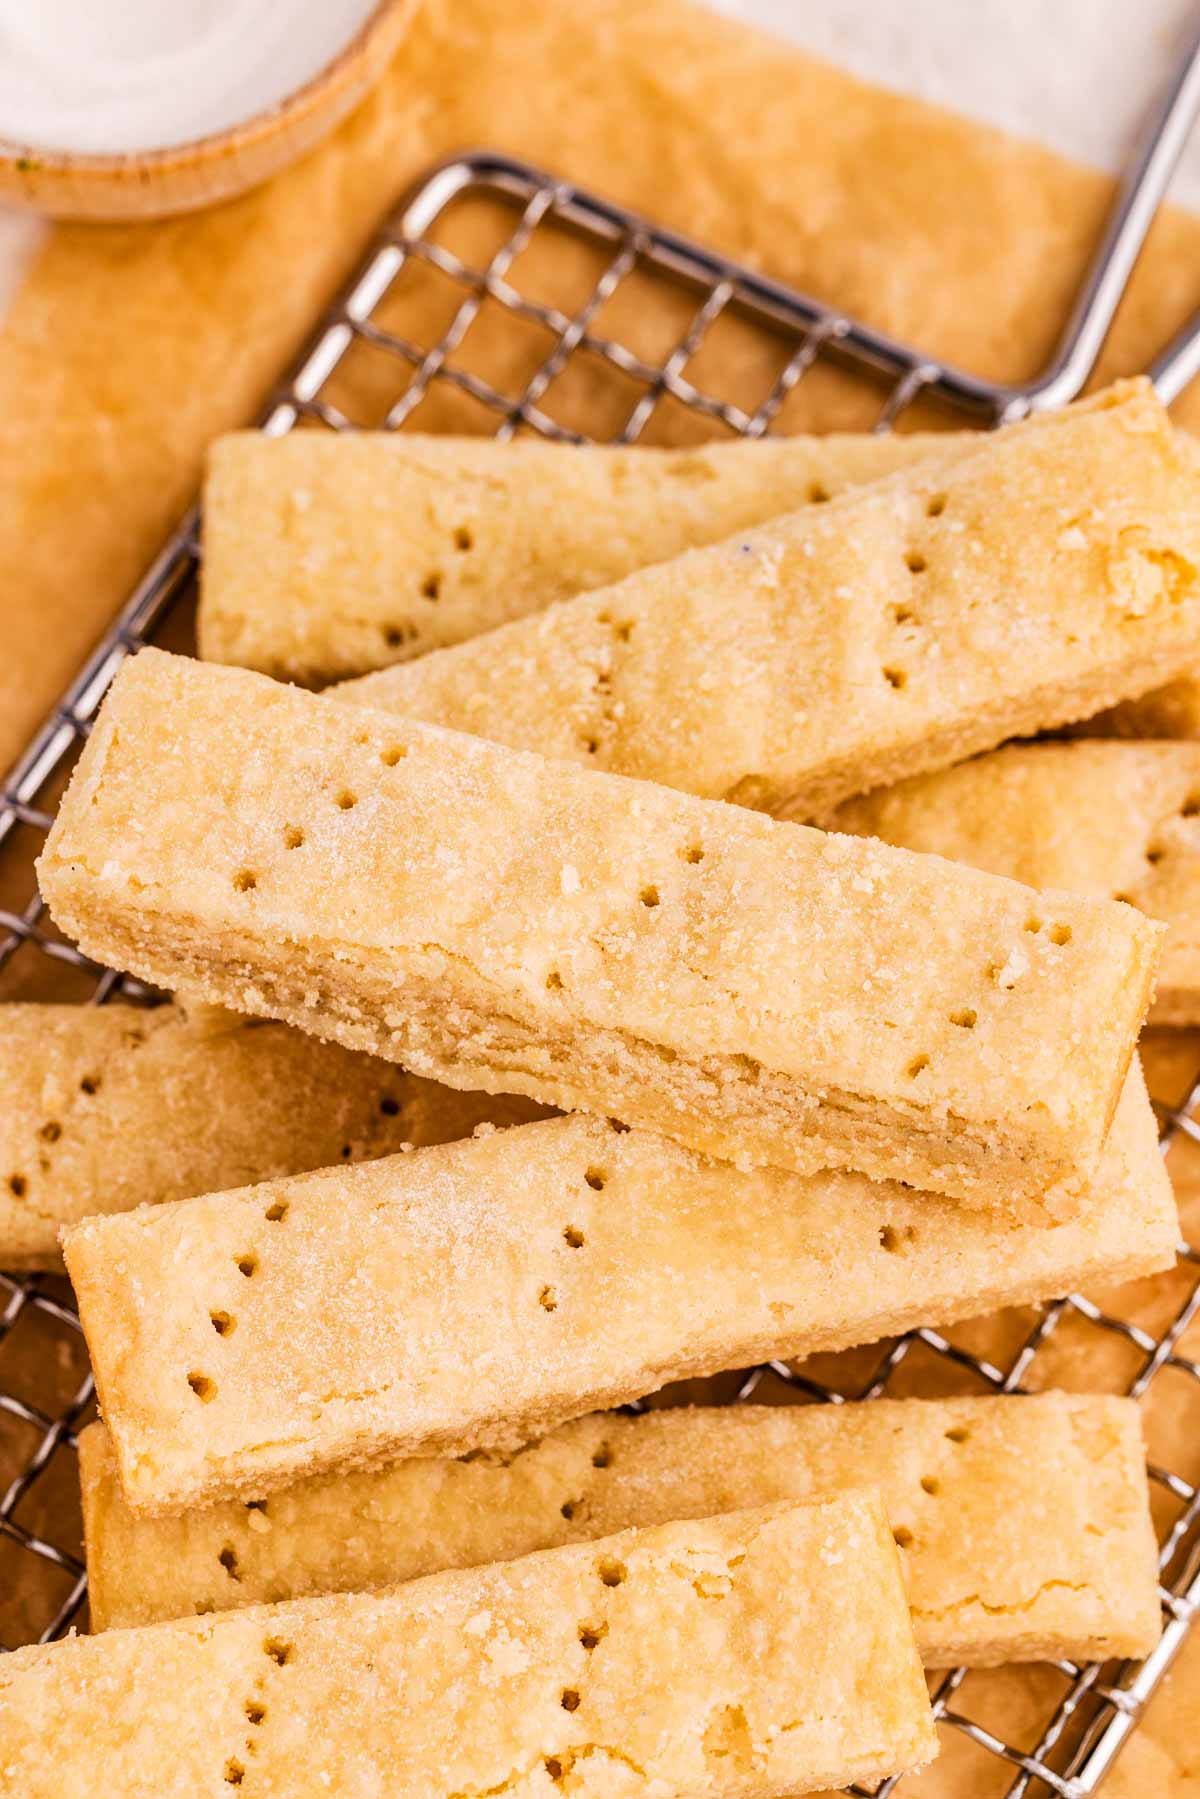
You’ll love how easy they are to whip up, and the results are always bakery-style without ever leaving your kitchen!
Why you’ll love this recipe
- Simple ingredients, big flavor: With just four pantry staples, you’ll create cookies so buttery and delicious that you’ll wonder why you ever bought the store-bought kind. Less time shopping, more time enjoying? Yes, please!
- Kid-approved and mom-tested: My kids eat these so quickly, I’ve learned to double the batch every time. Plus, it’s hard to beat the satisfaction of hearing, “Mom, these are the best cookies EVER!”
- No stress baking: This recipe is as easy as it gets – mix, chill, bake, done! Even if little kids are helping, these cookies will still come out perfectly every single time. (Trust me, we’ve tested that theory.)
Ingredients you’ll need
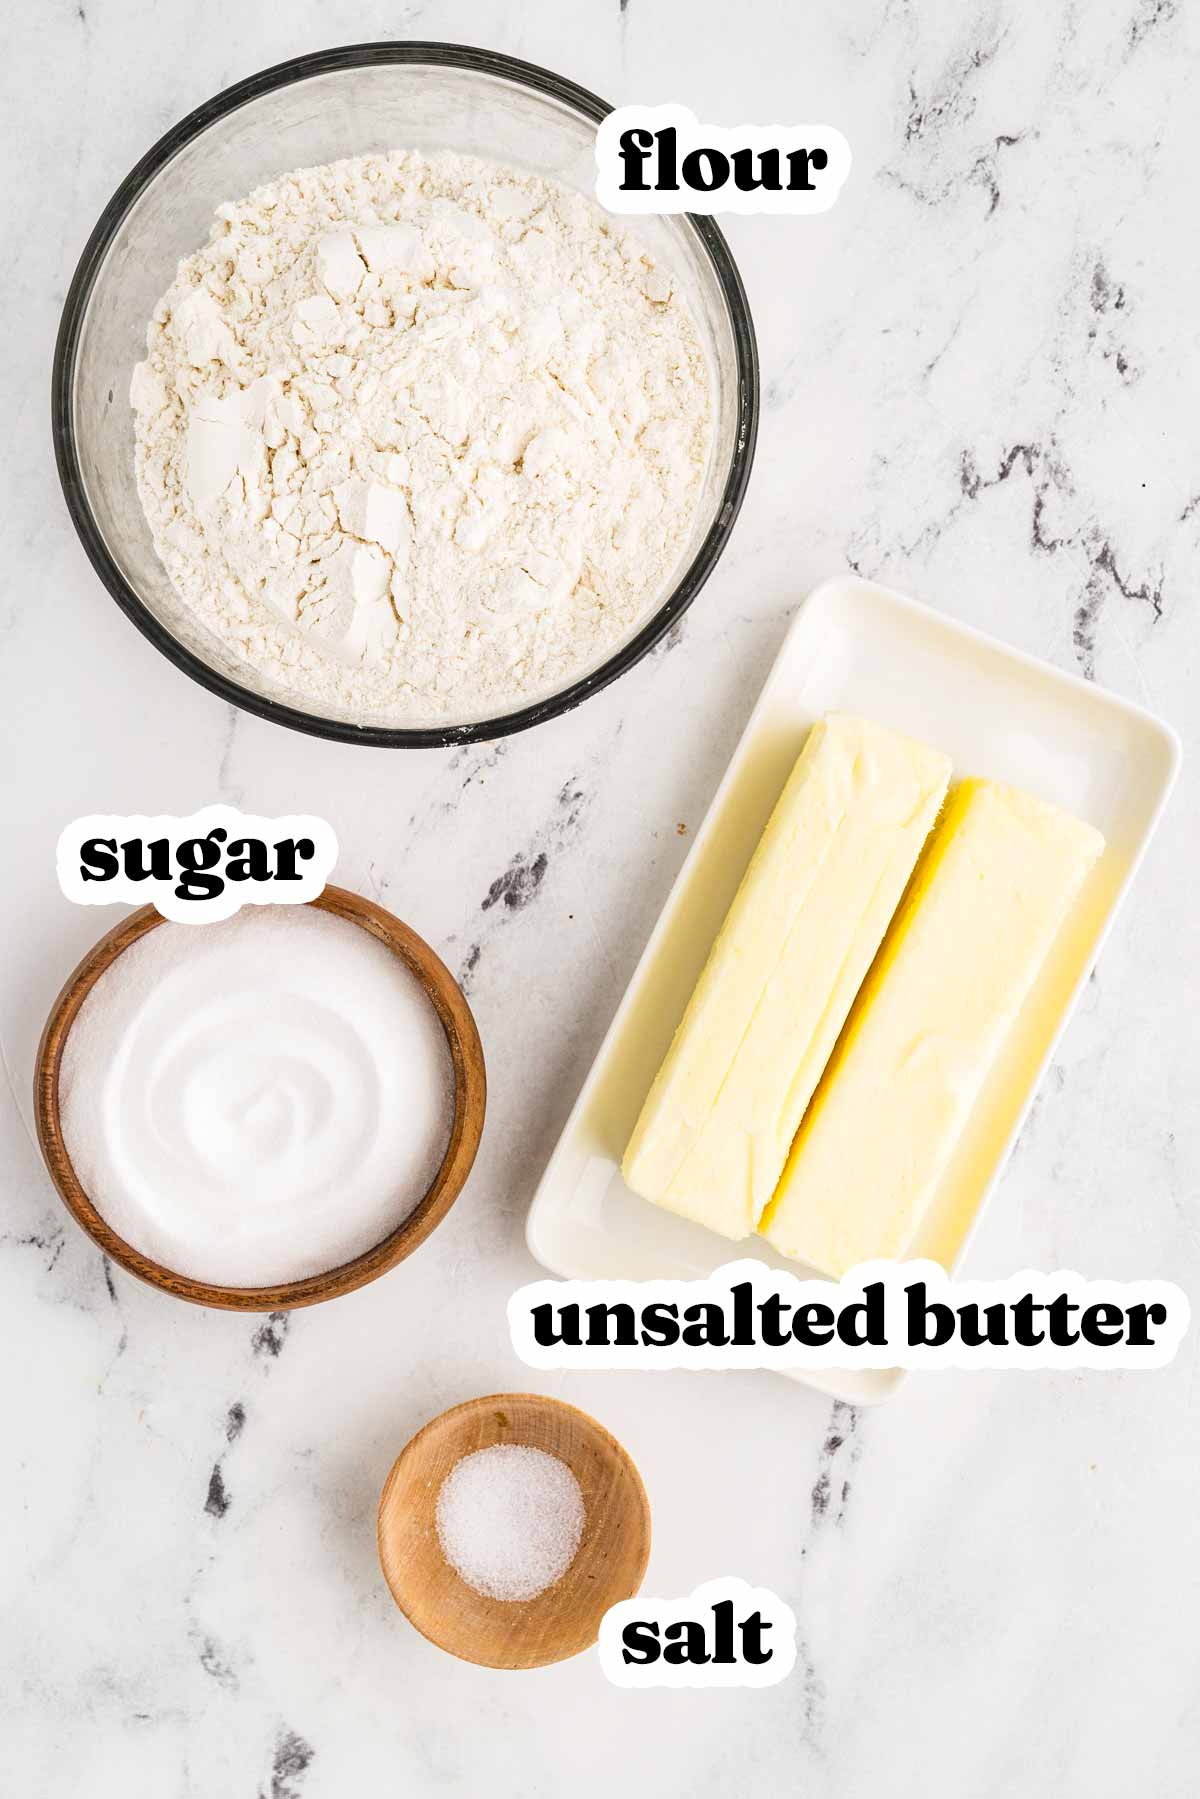
Here is a visual overview of the ingredients in the recipe. Scroll down to the printable recipe card at the bottom of this post for quantities!
Ingredient notes
- Butter: Use high-quality, unsalted butter for the best flavor. Since butter is the star ingredient, it makes a huge difference! If you only have salted butter, skip the added salt in the recipe. Make sure it’s softened to cool room temperature – this helps the dough come together perfectly.
- Caster sugar: This fine sugar dissolves more easily than granulated sugar, giving the cookies their smooth texture. Don’t have caster sugar? Pulse granulated sugar in a food processor for a few seconds to achieve a similar consistency (but do to process it into a powder!)
- All-purpose flour: Stick with all-purpose for the perfect crumbly-yet-melt-in-your-mouth texture. Just make sure to measure carefully, as too much flour will make the cookies dry.
- Salt: A little salt enhances the flavor without making the cookies salty. If you’re using salted butter, leave this out to keep the balance just right.
How to make shortbread cookies
Let’s make some classic shortbread cookies together! I promise, these are as simple as they are delicious, and I’ll walk you through every step.
1. Make the dough: First things first – grab a big mixing bowl and toss in your softened butter, sugar, and a pinch of salt.
Using an electric mixer on low speed, gently combine everything until it’s just blended. (Or go old-school with a wooden spoon if you’re feeling nostalgic!) The key here is not to overmix – you don’t want to incorporate too much air.
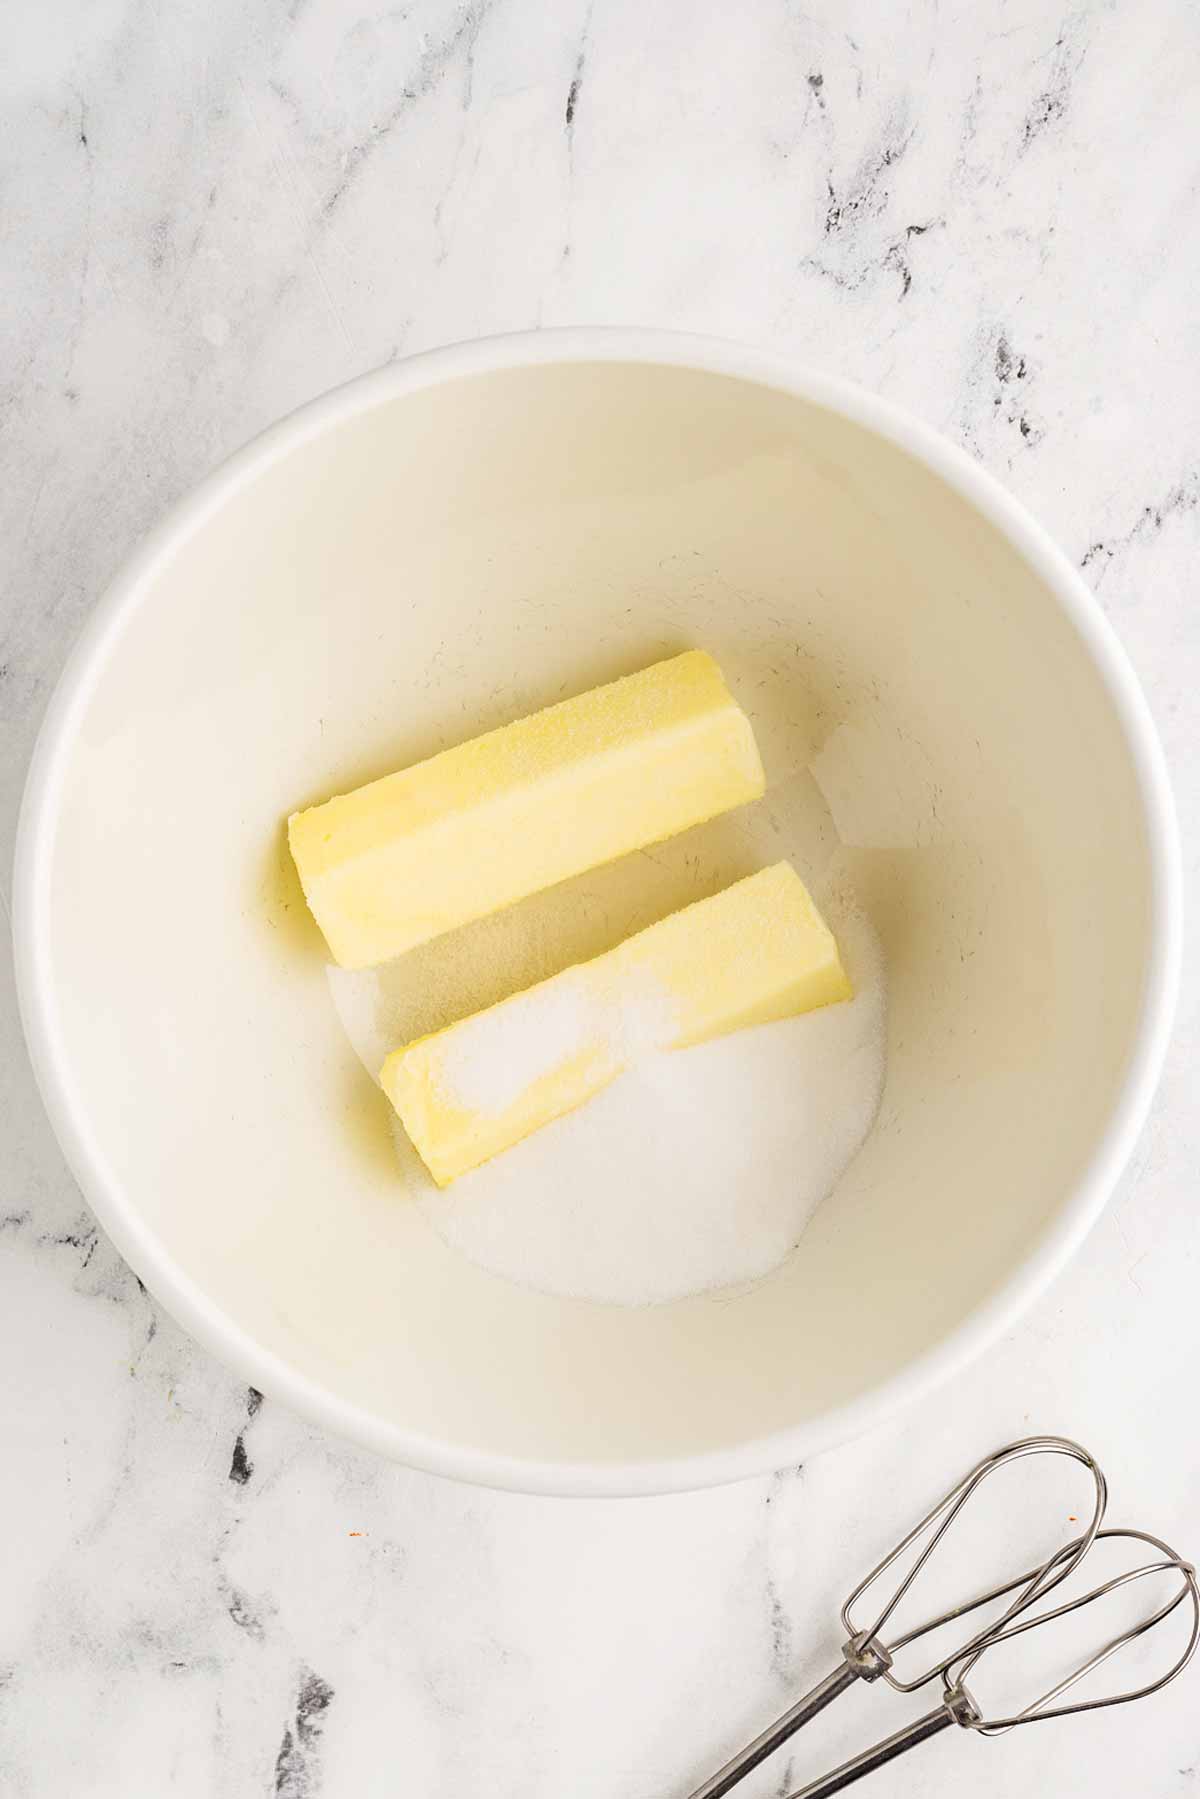
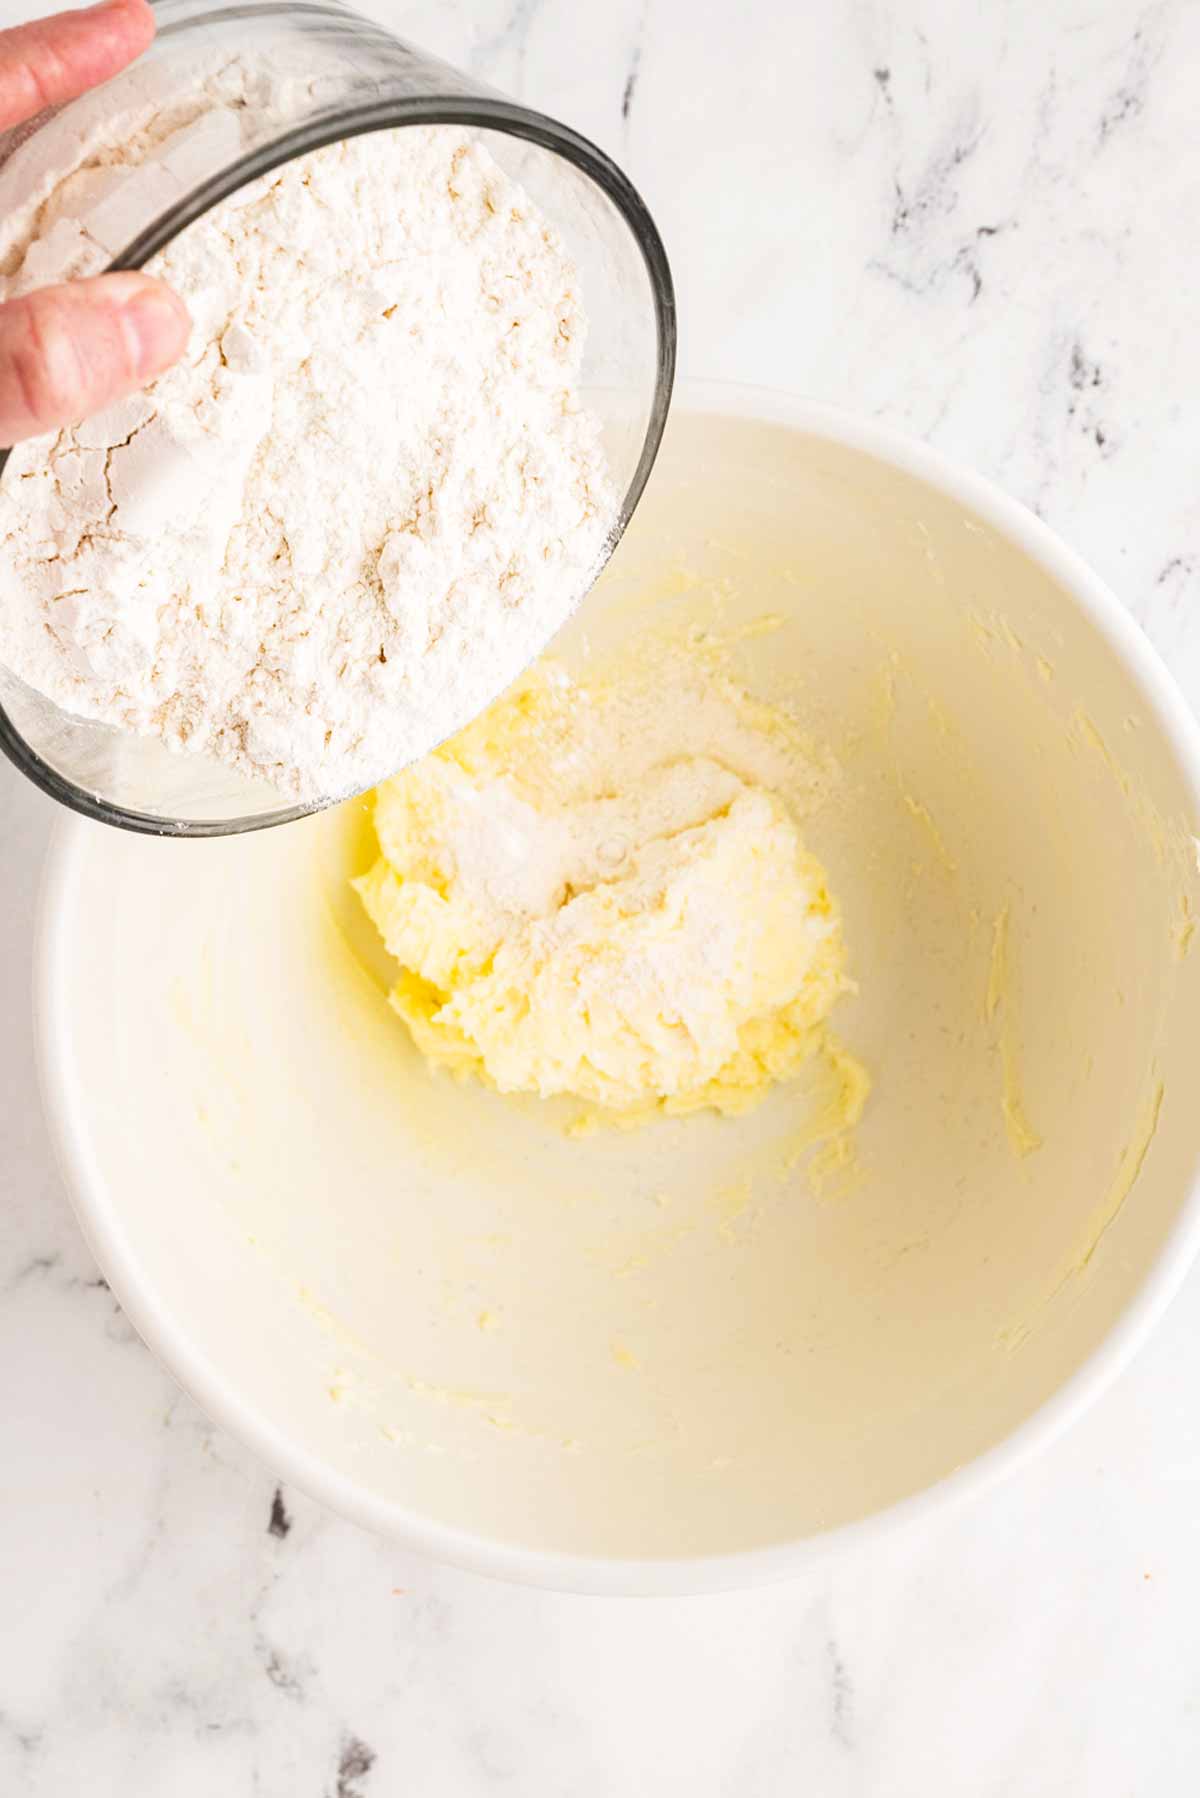
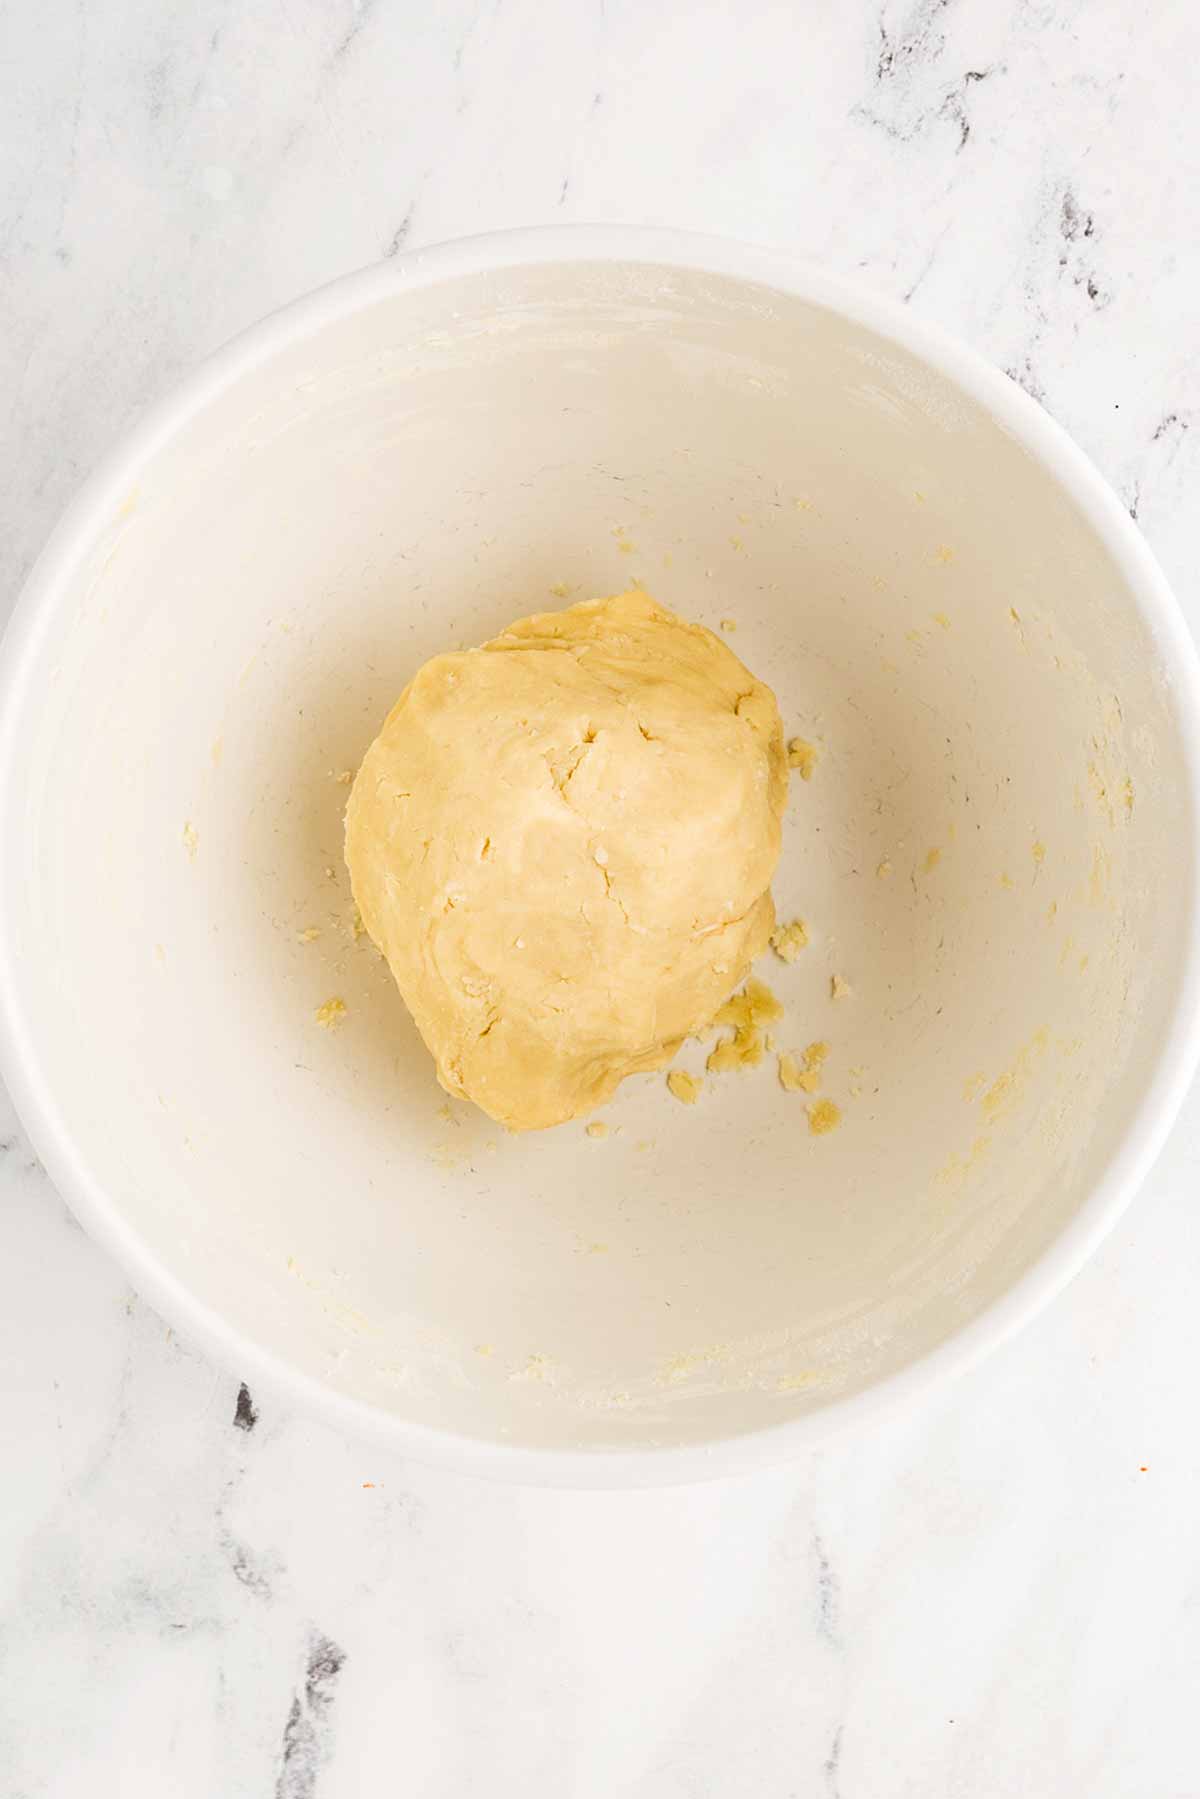
Once that’s done, slowly add the flour. Keep mixing until the dough comes together, then use your hands to give it a little push into one cohesive ball. It’s like giving the dough a warm hug!
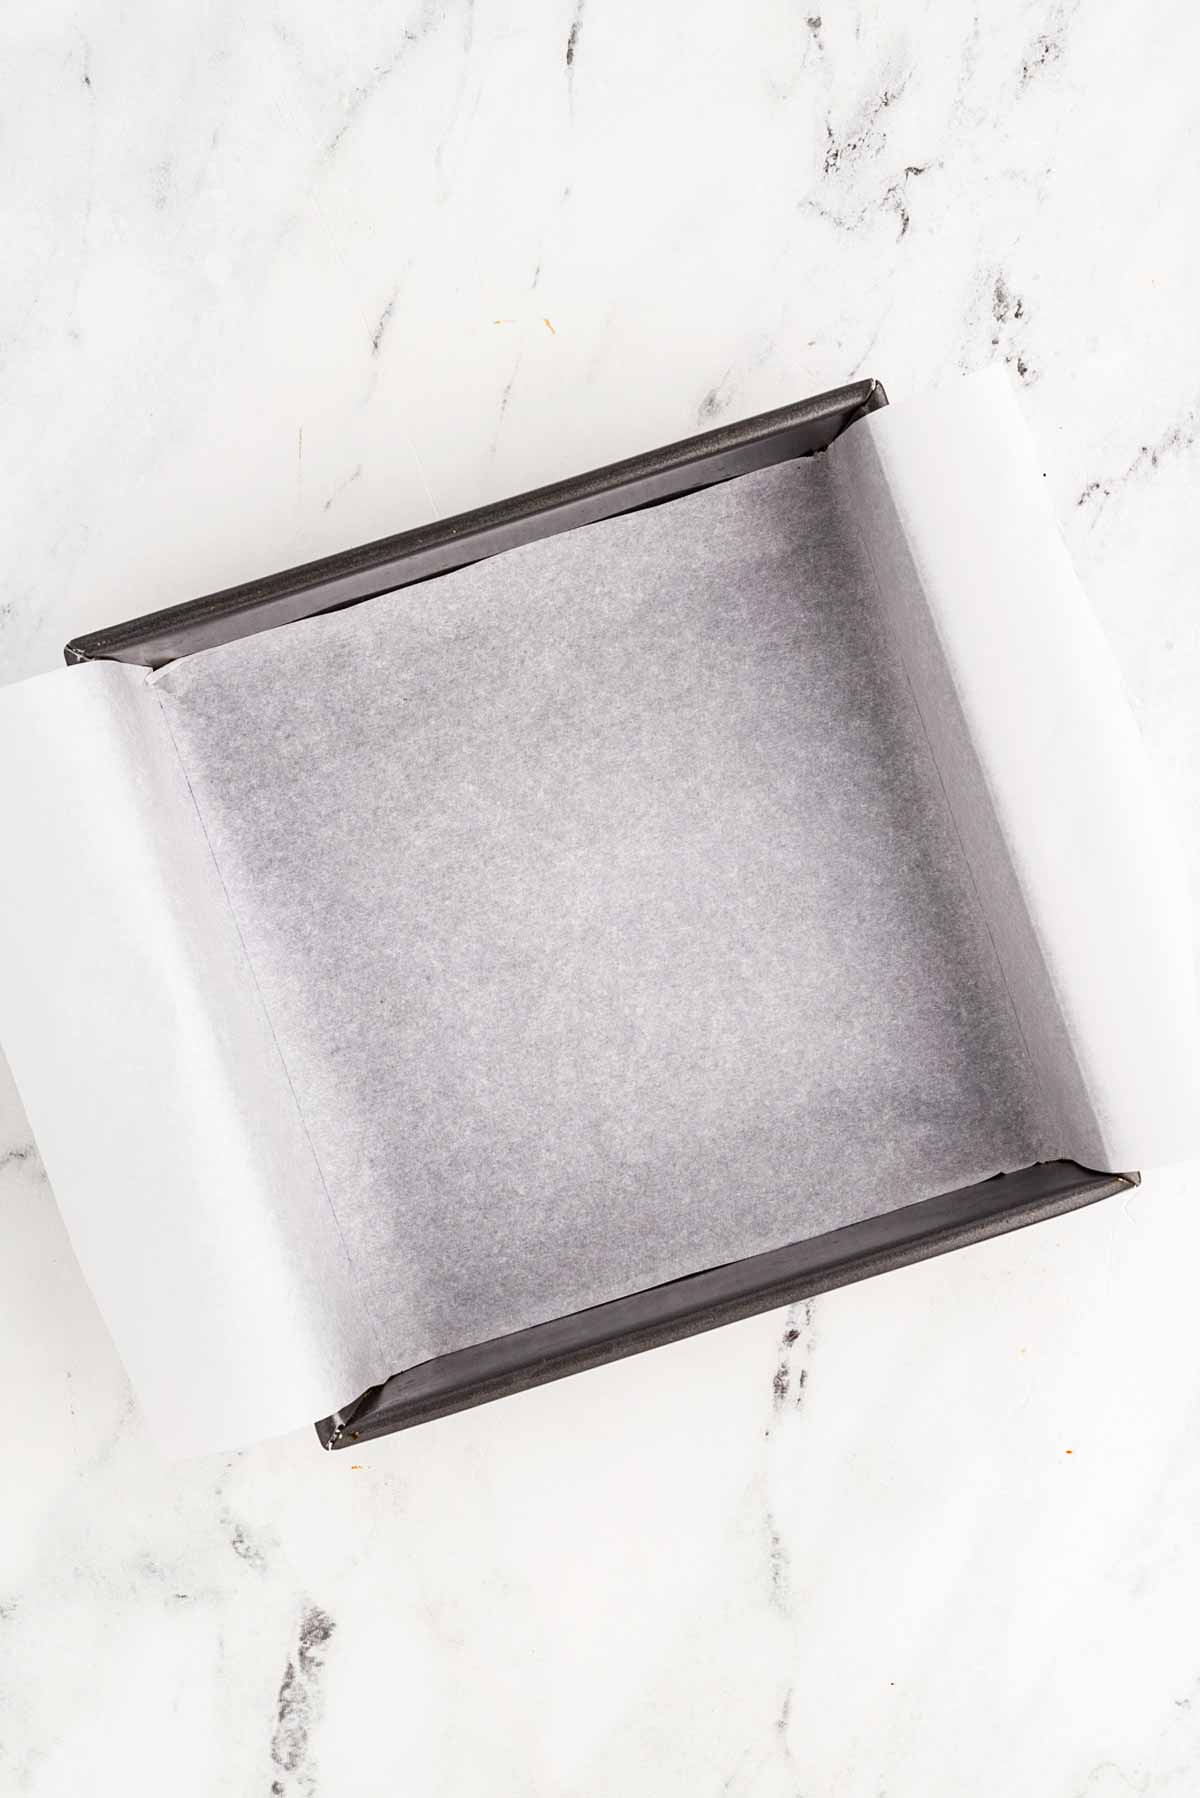
2. Prep the pan: Now, line an 8×8 or 9×9-inch pan with parchment paper, leaving some overhang so you can easily lift the cookies out later.
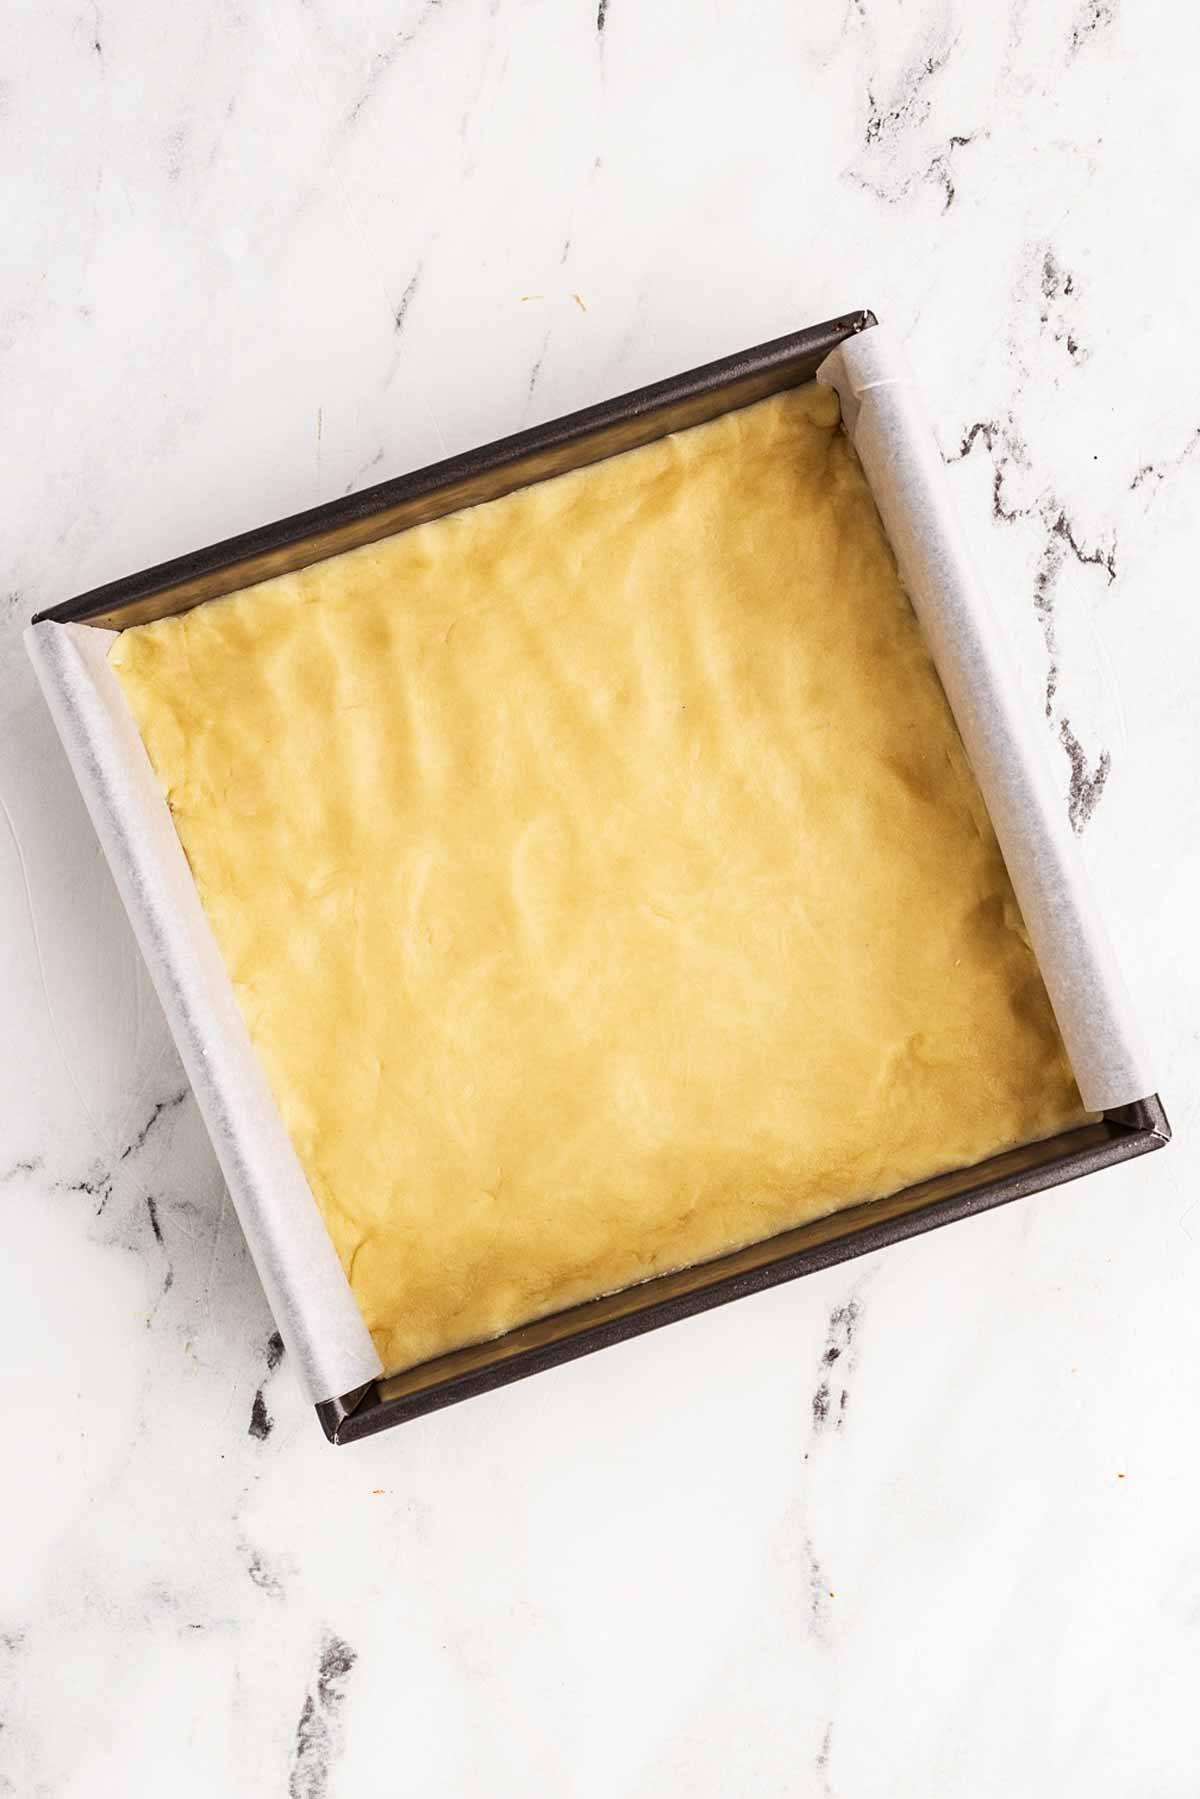
Press the dough into the pan firmly and evenly – make sure it’s snug in all the corners! Don’t worry if your edges aren’t perfect; it’s homemade, not a cookie factory.
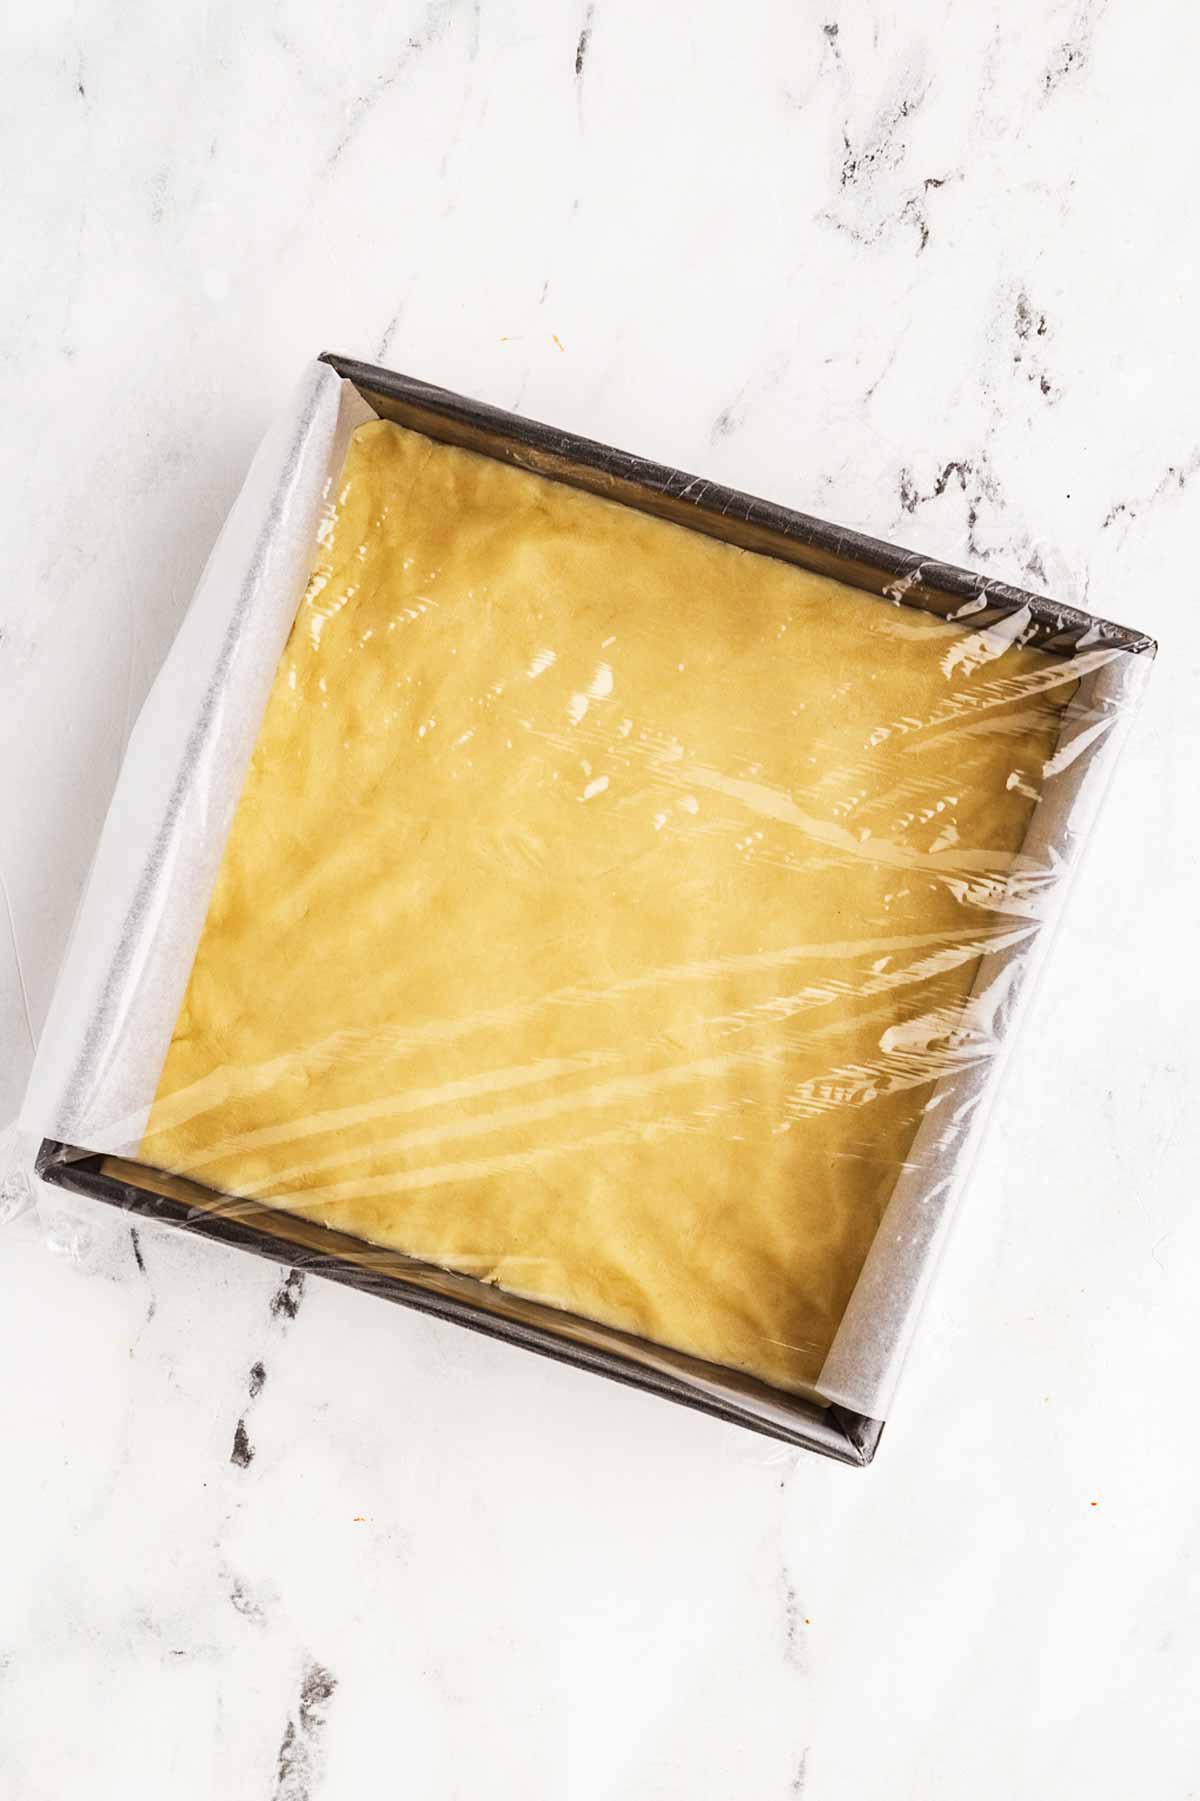
3. Chill time: Cover the pan with plastic wrap and pop it into the fridge for at least 30 minutes. This step is essential, so don’t skip it! Chilling the dough helps it hold its shape and gives you that iconic shortbread texture. (And while it chills, you’ve got time to enjoy a coffee – or wrangle the kids!)
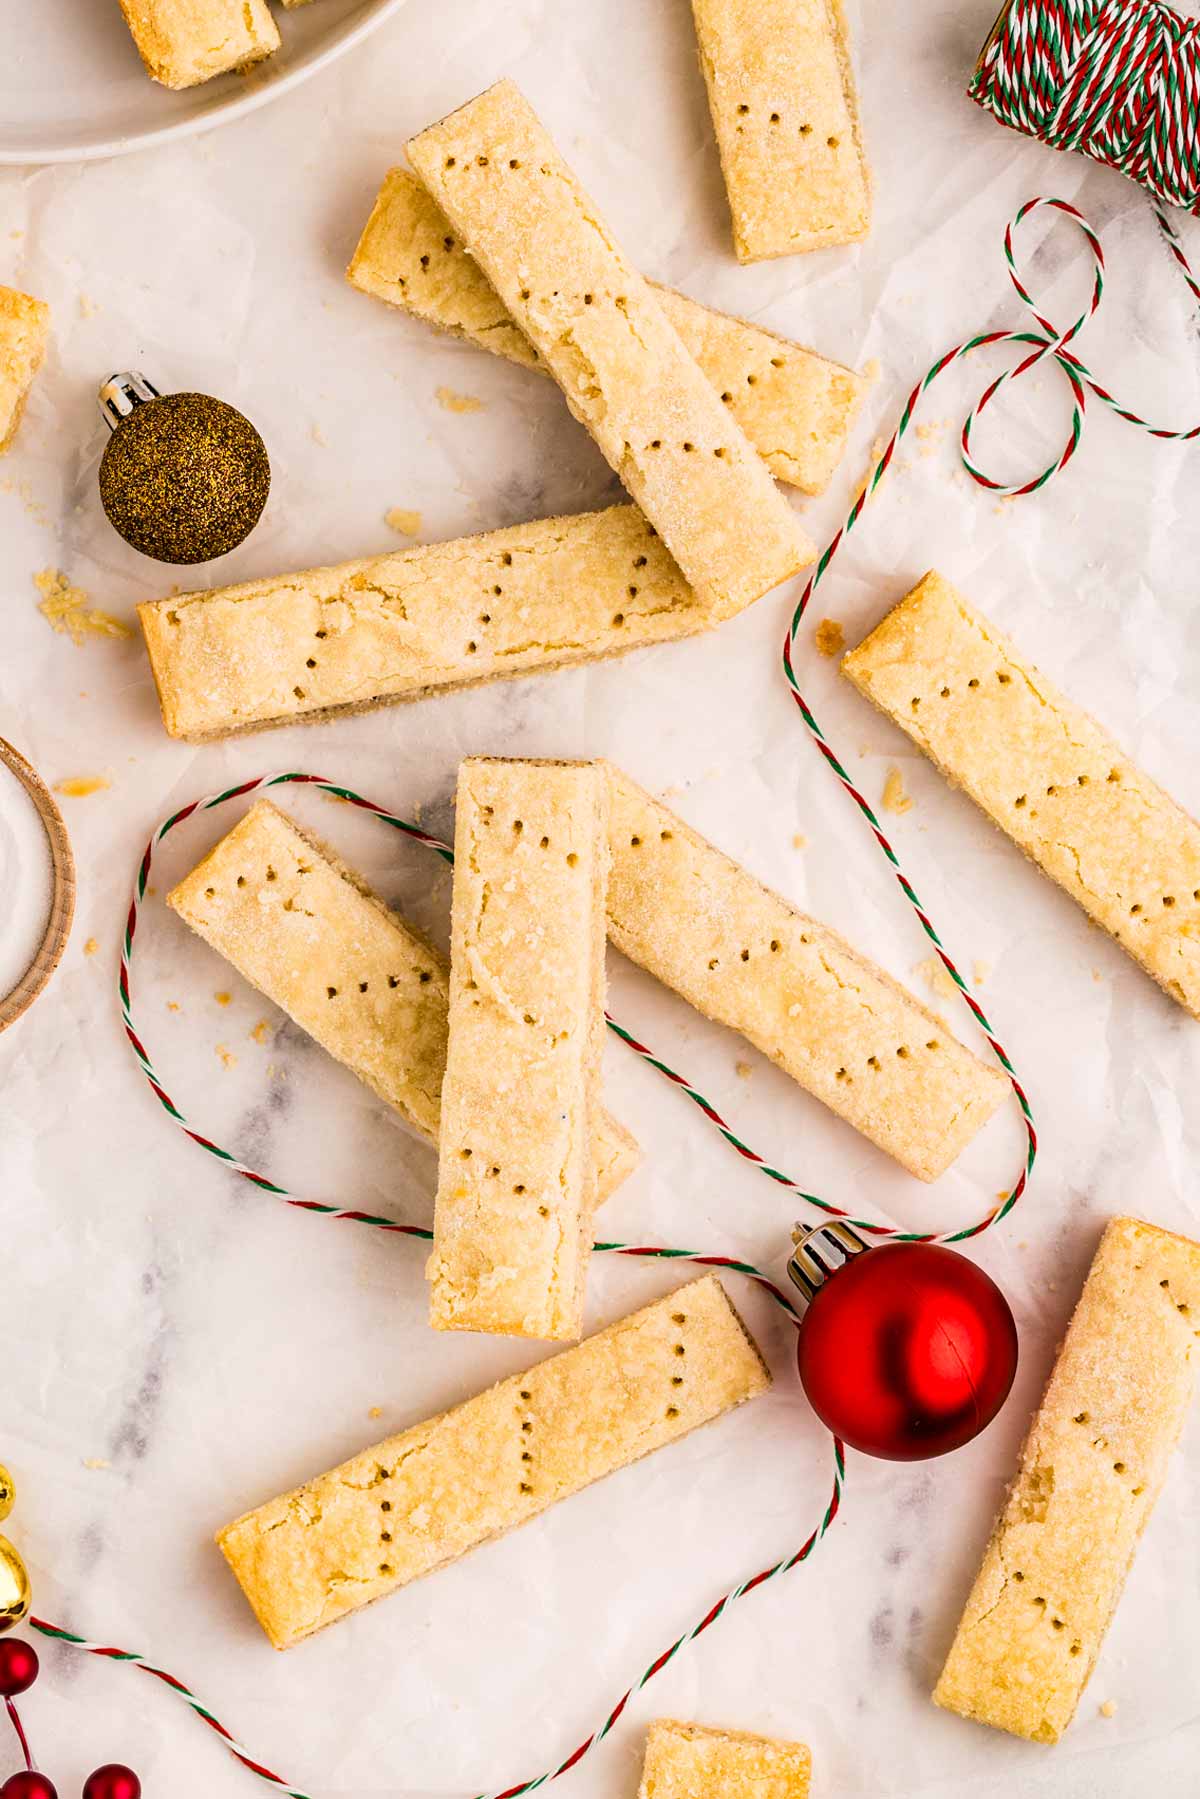
4. Score and prick: Preheat your oven to 325°F, and take the pan out of the fridge. Remove the plastic wrap, and using a sharp knife, lightly score the dough into ~18 rectangles.
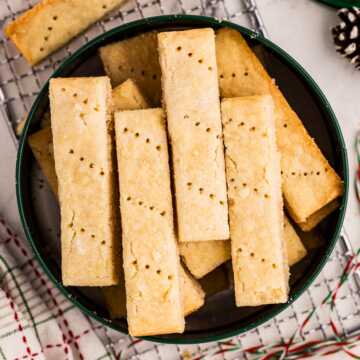
Next, grab a fork and prick each piece 3–4 times for that classic shortbread look. Press gently – about halfway through the dough is perfect.
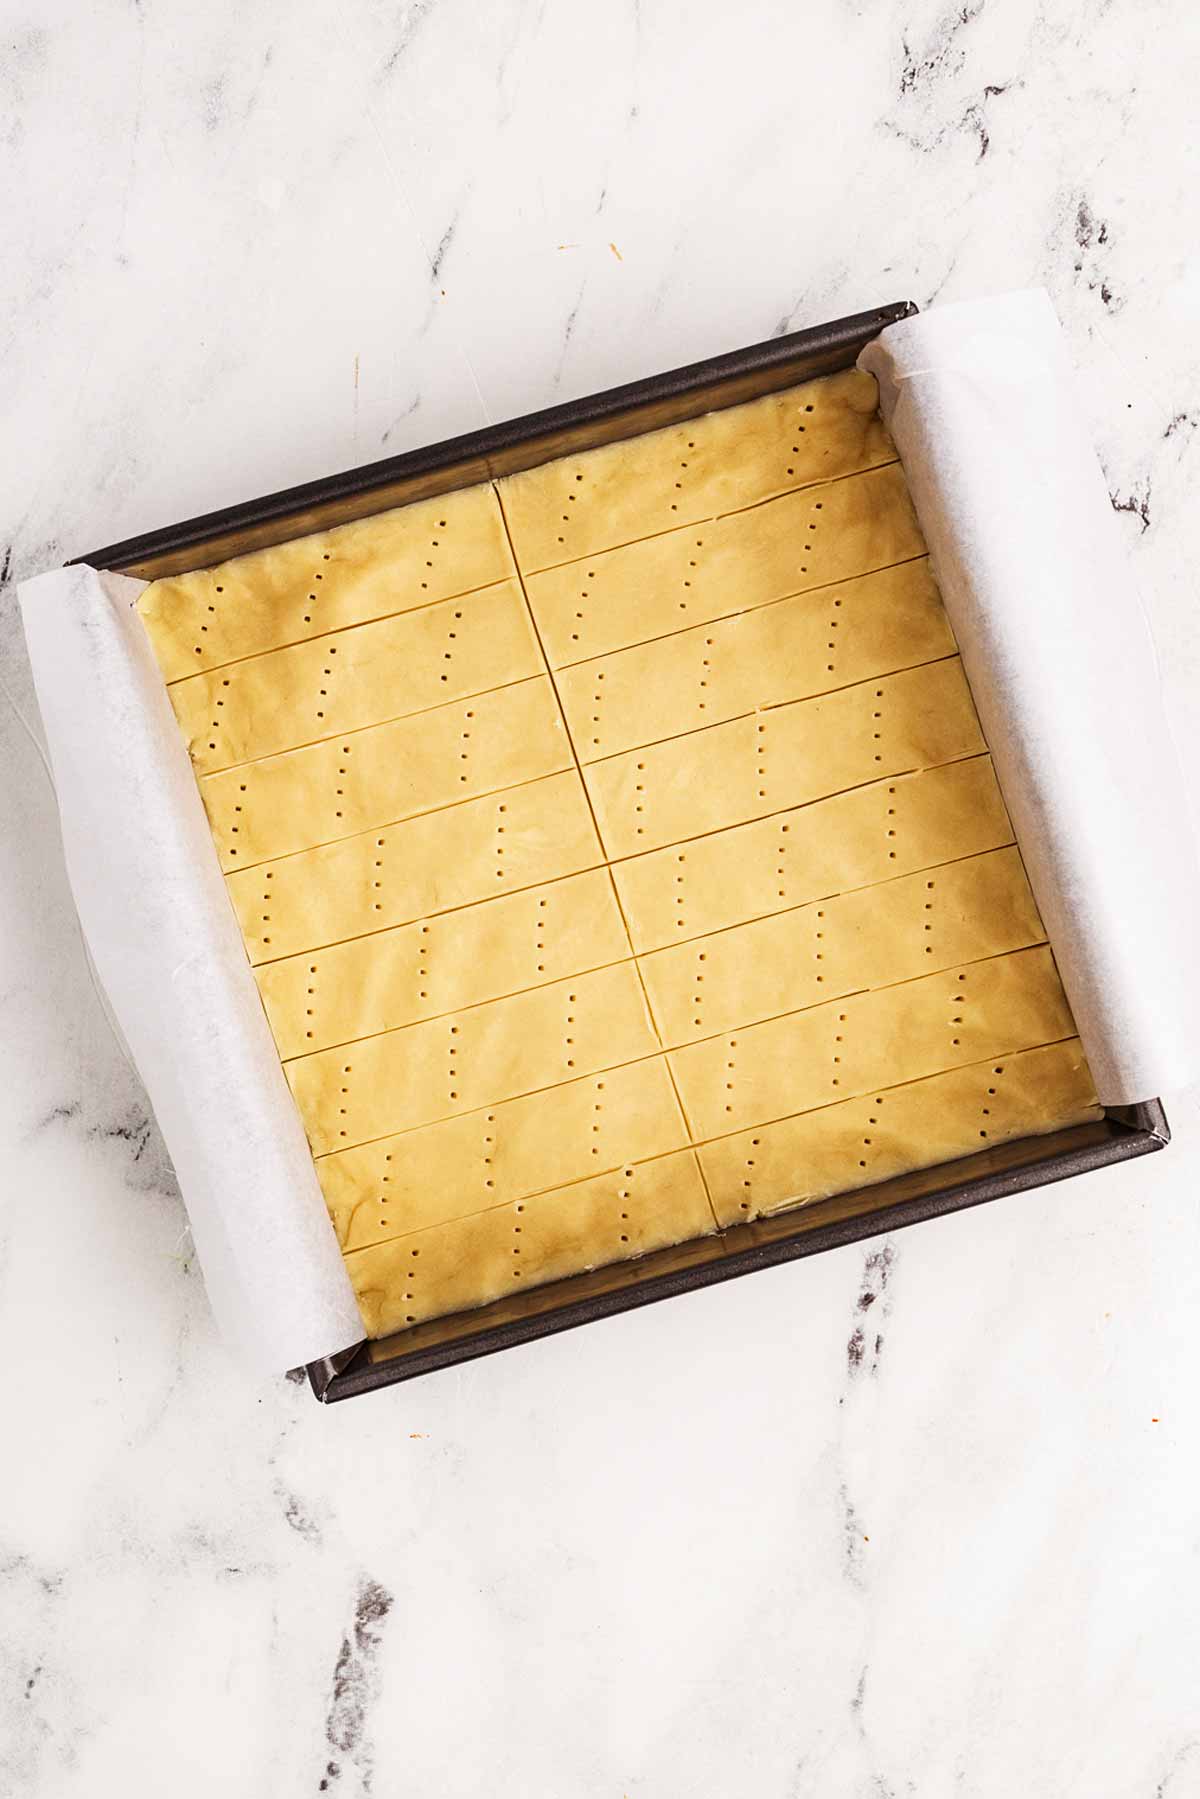
5. Bake to golden perfection: Slide the pan into the oven and bake for 25–45 minutes. I know that’s a wide range, but ovens and pan sizes can vary, so keep an eye on it.
The edges should be a pale golden color, and the top should be set but still light. You’ll know it’s ready when your kitchen smells like buttery heaven!
6. Finishing touches: As soon as you pull the pan out of the oven, sprinkle a little caster sugar over the top. It’s like adding a touch of sparkle!
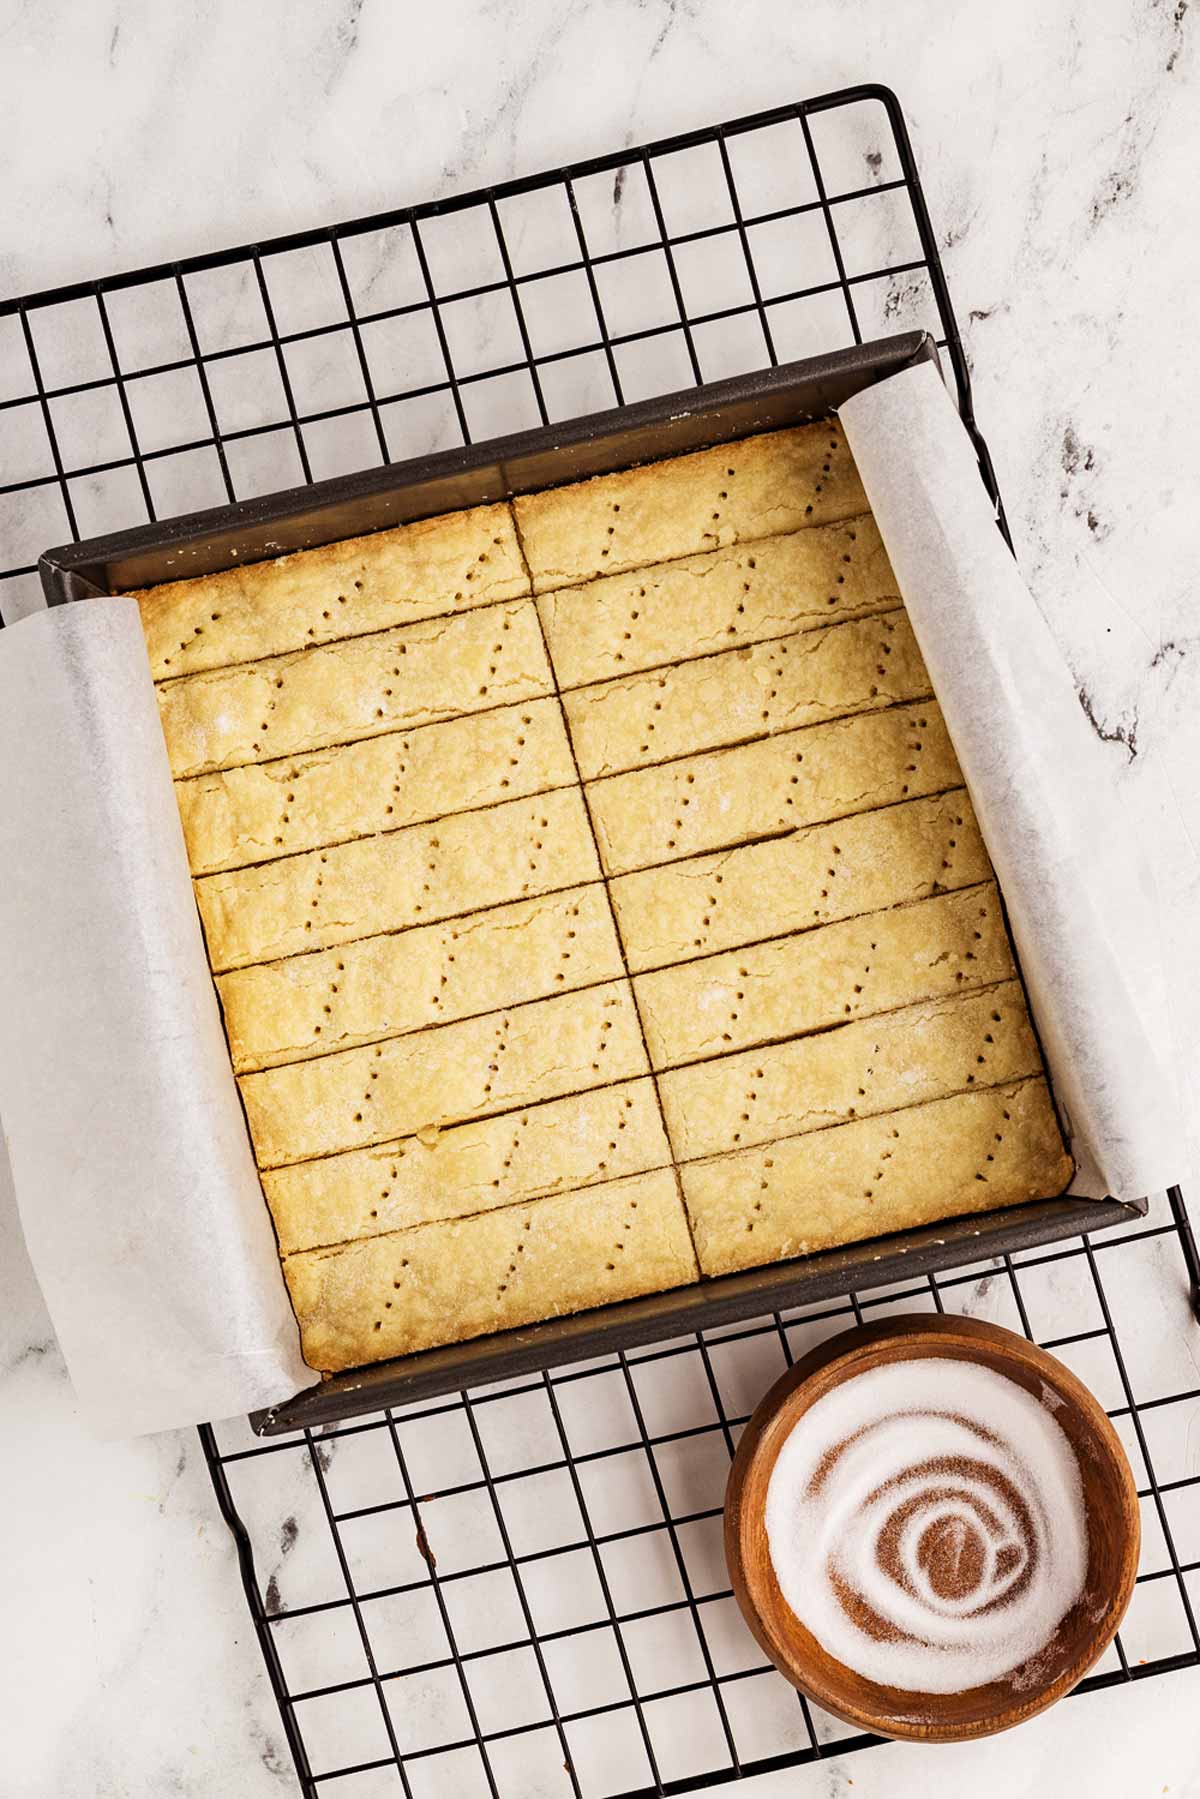
If the fork holes closed up during baking, you can gently remake them while the cookies are warm – it’s oddly satisfying.
7. Slice and cool: Let the shortbread cool in the pan for about 30 minutes. Then, use the parchment paper overhang to lift the whole thing out onto a cutting board.
Slice along those scored lines while the shortbread is still warm – it’s much easier this way. Transfer the cookies to a wire rack and let them cool completely.
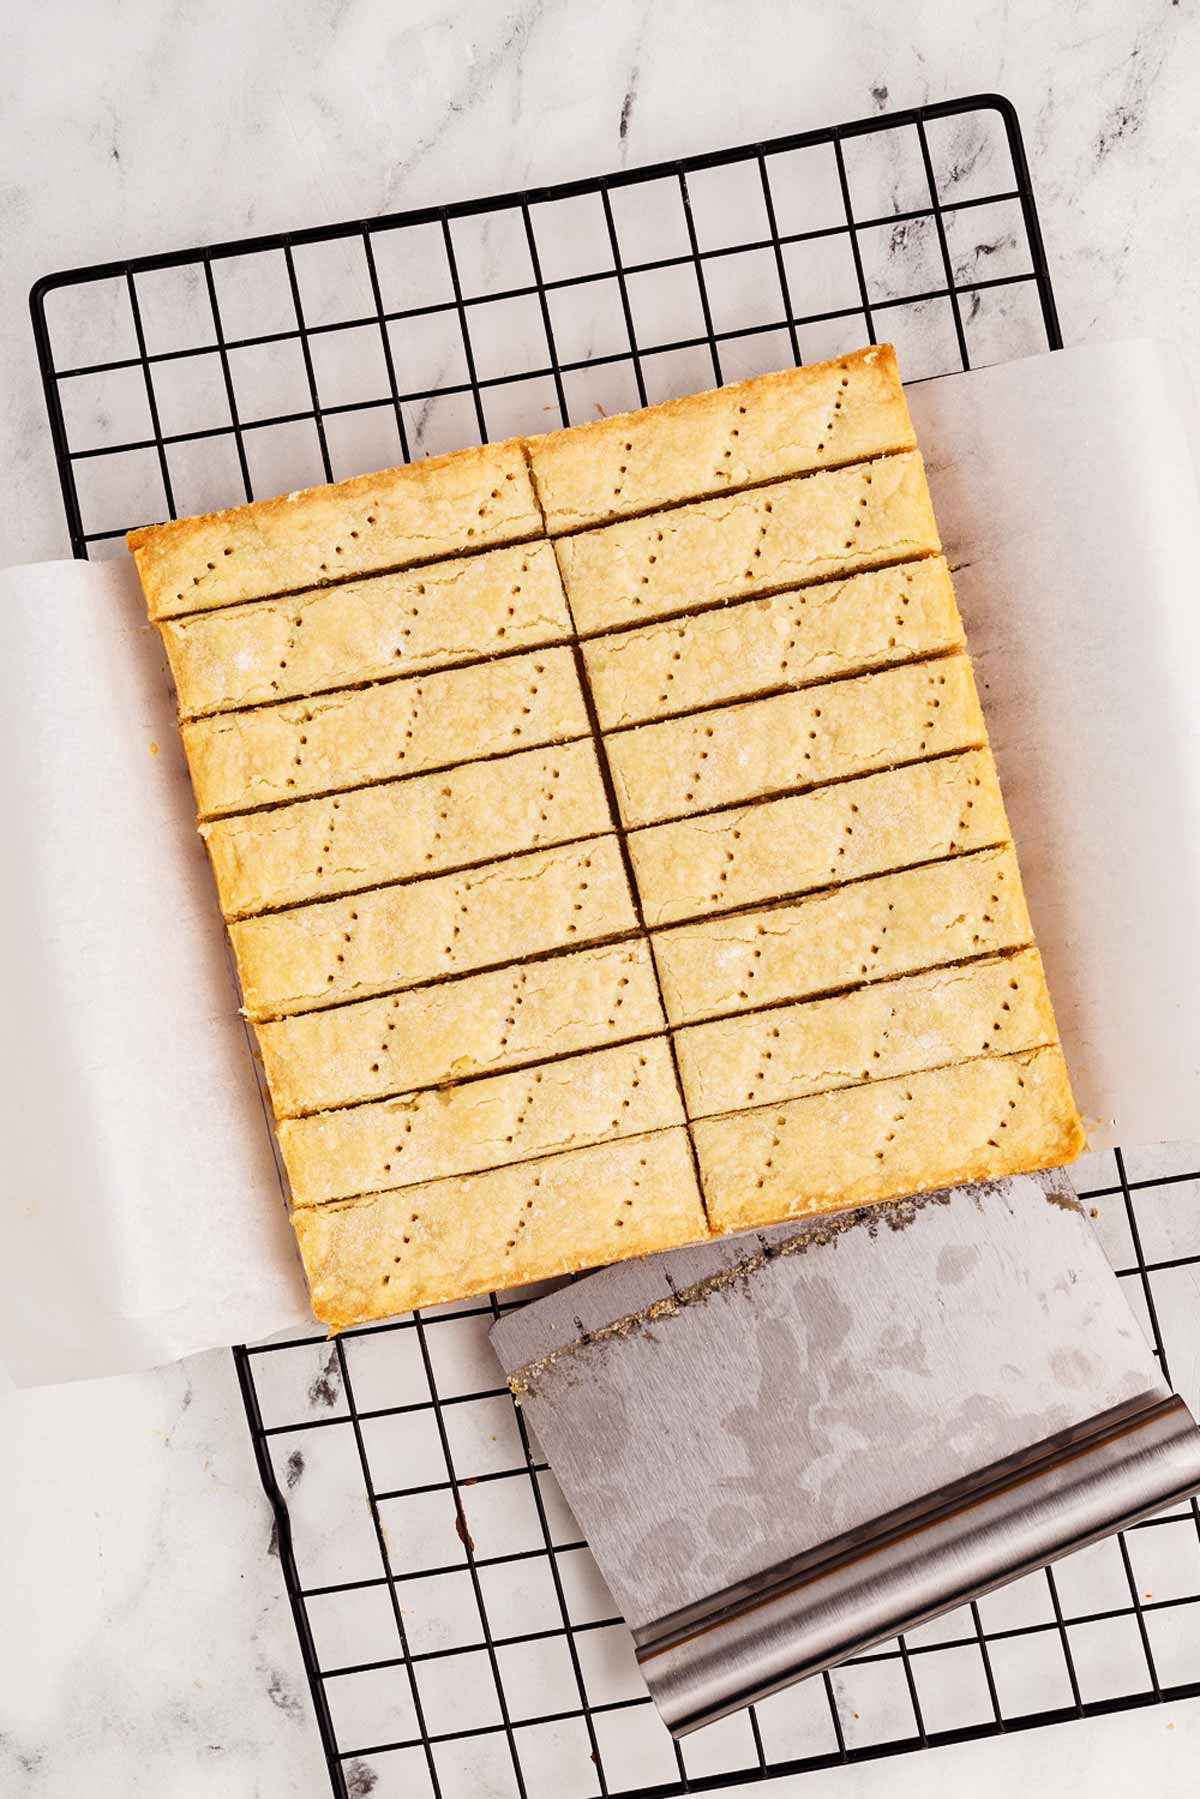
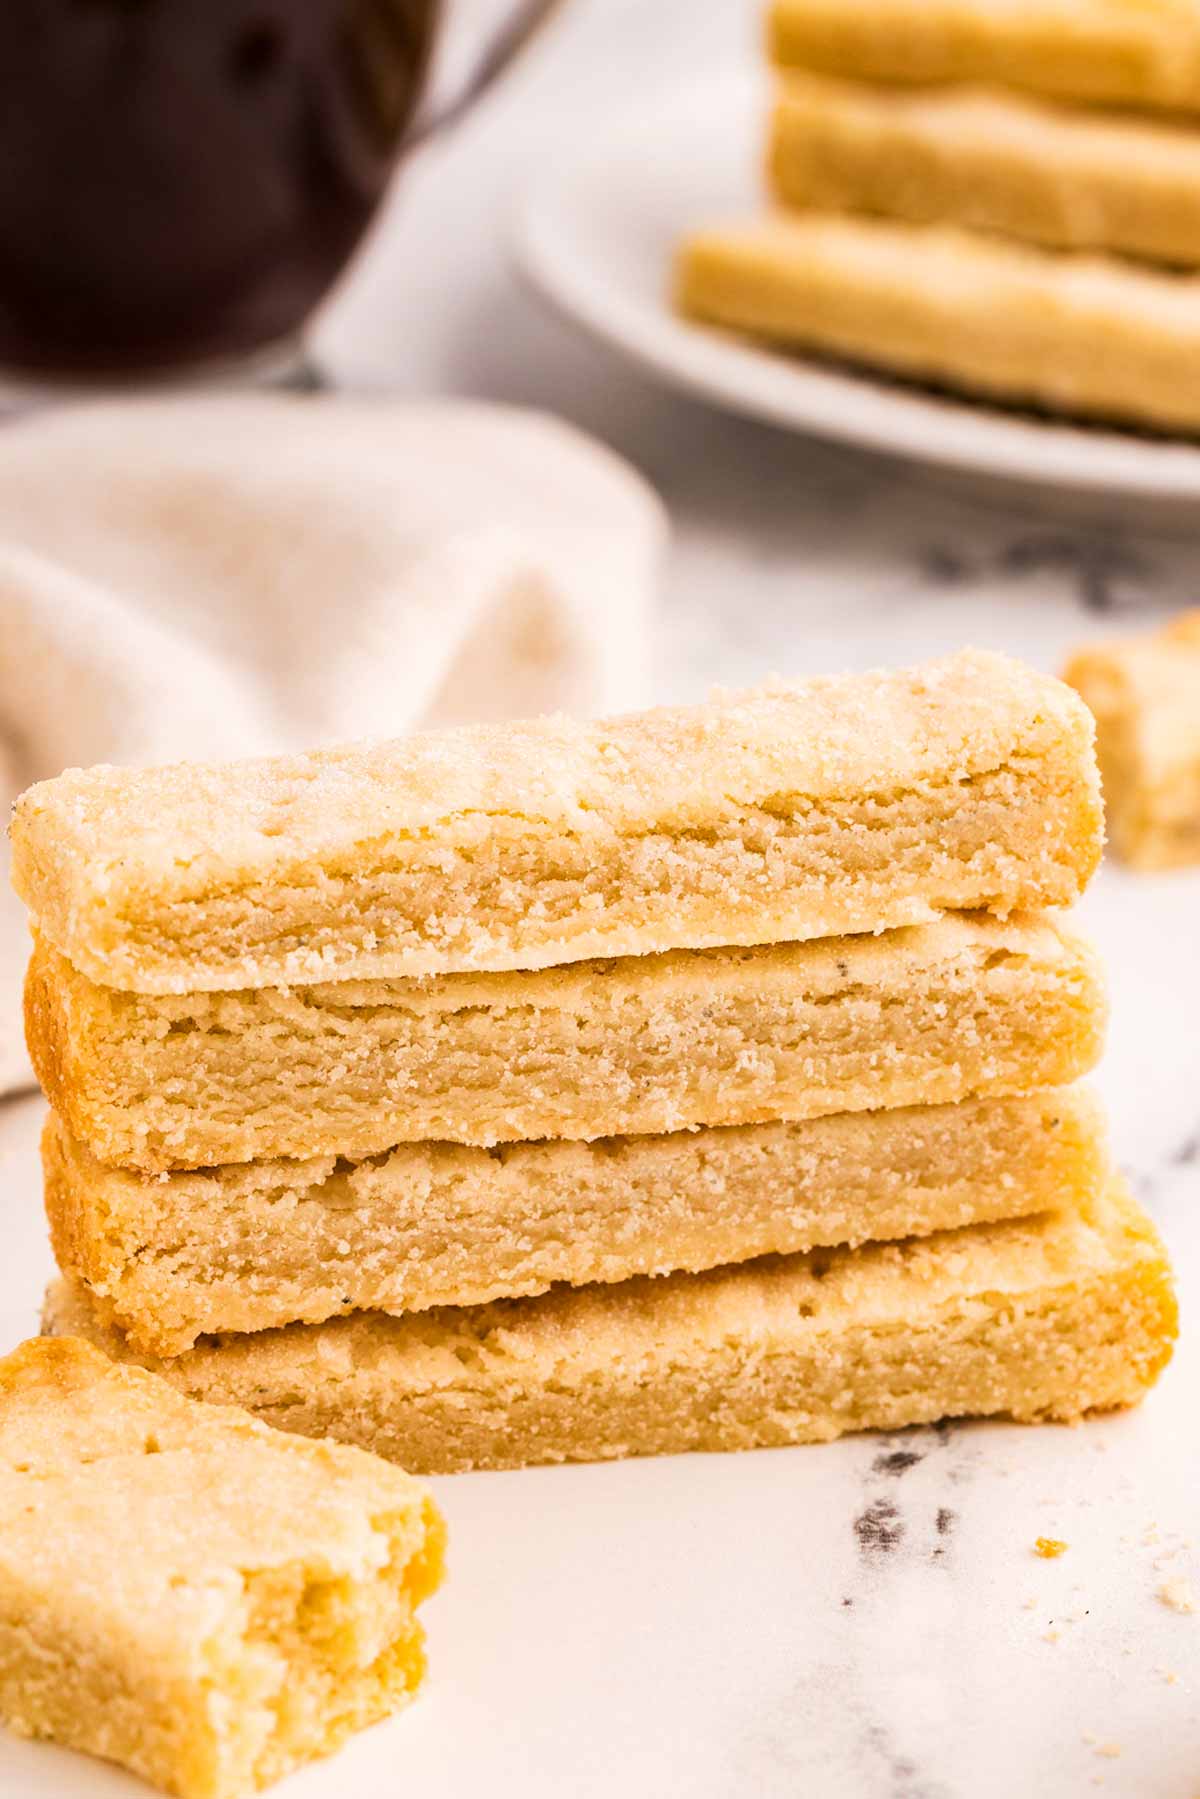
And there you have it: buttery, crumbly, melt-in-your-mouth perfection!
These cookies are dangerously good, so don’t be surprised if they disappear as quickly as you made them. My kids are pros at sneaking a second (or third!) before they’re even fully cooled. Enjoy!
Top tips for recipe success
- Use softened butter: Make sure your butter is at room temperature – not too hard and not melted. Softened butter mixes easily with the sugar and flour, giving you that perfect crumbly-yet-tender texture. If you’re in a hurry, cut the butter into small cubes to soften faster! You can also rinse a bowl in hot water and then invert it over the butter you’re wanting to soften.
- Don’t skip the chilling step: I know it’s tempting to skip this part, especially when you’re short on time, but chilling the dough is key to firm cookies that hold their shape while baking. Trust me, your patience will be rewarded!
- Score before baking: Lightly scoring the dough into rectangles before baking makes slicing so much easier later on. It’s way less stressful than trying to cut cooled, crumbly cookies and ending up with jagged edges (been there, done that).
- Keep an eye on the oven: Shortbread can go from perfectly golden to overbaked in a flash. Check it frequently, especially toward the end of the bake time. The edges should be pale golden, and the top should stay light – no dark brown here!
- Slice while warm: Once the cookies come out of the oven, let them cool just enough to handle (about 30 minutes), then slice along the scored lines. Cutting warm shortbread helps prevent cracking and ensures those neat, bakery-style rectangles.
- Reprick fork holes if needed: If the fork pricks close up during baking, gently redo them while the shortbread is still warm. It’s a small touch, but it adds to the classic look we all love.
- Don’t overmix the dough: When mixing the butter, sugar, and flour, stop as soon as the dough comes together. Overmixing adds too much air and can make the cookies less dense and tender – basically, less amazing!
With these tips in mind, you’re guaranteed shortbread success every single time. And hey, if your first batch doesn’t turn out picture-perfect, don’t sweat it – they’ll still taste incredible. (Plus, kids are never picky about how cookies look!)
Helpful recipe hints
Recipe variations
- Chocolate-dipped shortbread: Melt some chocolate (milk, dark, or white—your choice!) and dip one end of each cookie for a fancy twist. Sprinkle with crushed nuts or festive sprinkles while the chocolate is still wet for that extra wow factor. My kids call these the “fancy cookies.”
- Citrus zest shortbread: Add a teaspoon of freshly grated lemon or orange zest to the dough for a bright, citrusy flavor. It’s like sunshine in cookie form! Perfect for tea time with grandma or impressing that one friend who “loves a twist.”
- Spiced holiday shortbread: Mix in a pinch of cinnamon, nutmeg, or even ginger to the dough. Your kitchen will smell like a holiday candle, and the cookies will taste like Christmas magic!
- Vanilla bean shortbread: Add the seeds from a vanilla bean or a splash of high-quality vanilla extract to the dough for an extra layer of flavor. Bonus: Your kids might think these are the fancy bakery cookies and be super impressed.
- Chocolate chip shortbread: Stir in mini chocolate chips for a kid-approved upgrade. It’s basically the best of both worlds – shortbread meets chocolate chip cookies, and everyone wins.
- Nutty shortbread: Fold in a handful of finely chopped pecans, almonds, or hazelnuts. It adds a little crunch and makes you feel extra fancy, even if you’re just eating them in yoga pants on the couch (been there).
There’s almost no wrong way to customize this classic recipe, so have fun experimenting. Just be prepared for your family to start requesting all the variations – and to stash a few cookies away for yourself!
Storage tips
- Make-ahead dough: Shortbread dough can be prepped up to 3 days in advance. Press it into the pan, then wrap the pan tightly in plastic wrap and keep it in the fridge until you’re ready to bake.
- Storing leftovers: Once baked, store the shortbread in an airtight container at room temperature for up to a week. To keep them fresh and buttery, make sure they’re fully cooled before sealing them up. (Though let’s be real – leftovers rarely last that long!)
- Freezer-friendly dough: Want to get a head start? Freeze the unbaked dough! Wrap it tightly in plastic wrap and then place it in a freezer bag. It’ll keep for up to 3 months. When ready to bake, thaw overnight in the fridge, press into your pan, and chill/bake as directed.
- Freezing baked shortbread: You can also freeze the baked cookies for longer storage. Layer them between sheets of parchment paper in an airtight container and freeze for up to 3 months. Let them thaw at room temperature for a quick treat whenever you need one!
Serving and gifting ideas
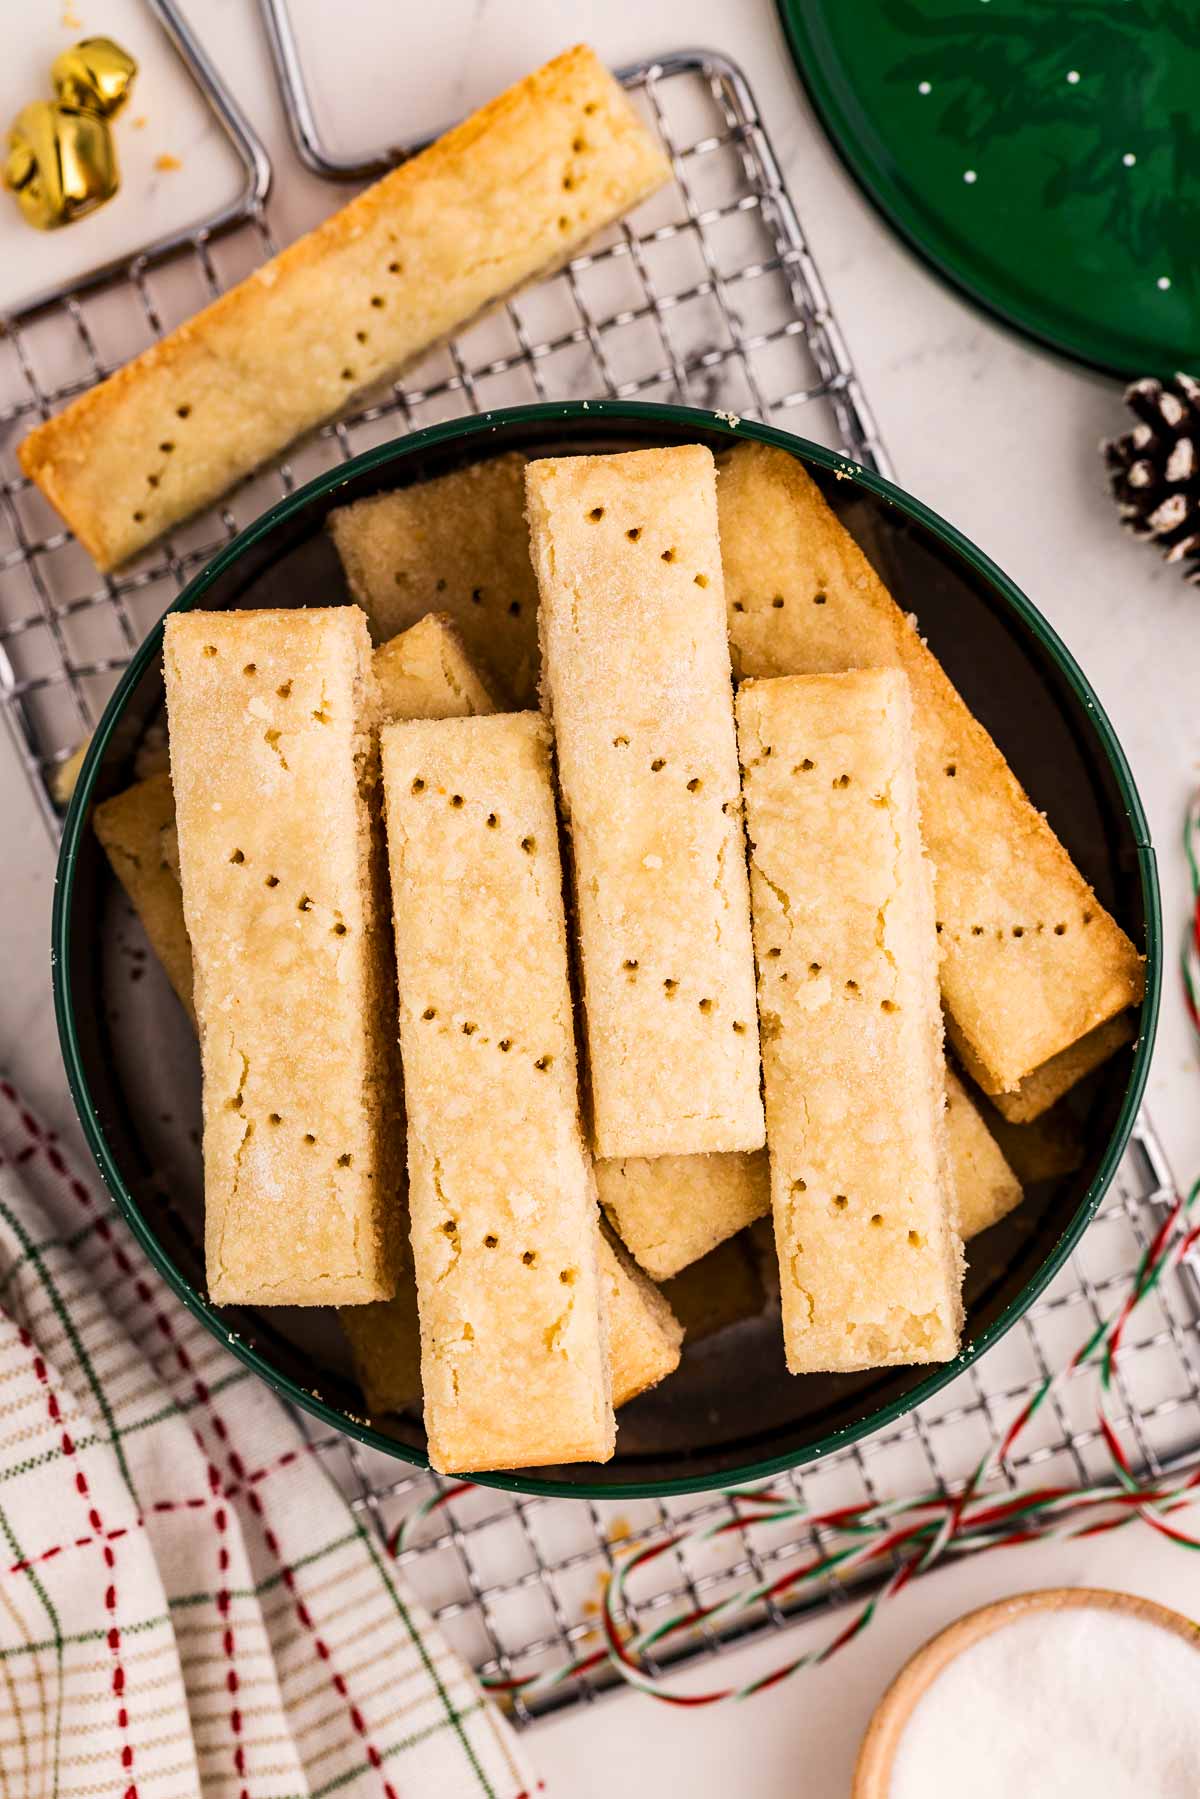
- Classic tea-time treat: Pair these buttery shortbread cookies with a warm cup of tea or coffee for the perfect afternoon pick-me-up. Bonus points if you serve them on a pretty plate!
- Nostalgic Christmas cookie platter: Arrange these shortbread cookies on a holiday-themed platter with Candy Cane Cookies, Gingerbread, and a scattering of candy canes.
- Layered parfaits: Crumble some shortbread into layers of whipped cream and fresh berries to create an elegant no-bake dessert. It’s like a shortcut trifle, and no one will guess how easy it was to make!
- Cookie gift jars: Stack the cookies neatly in a glass jar, tie a ribbon around it, and add a cute tag with the recipe for a thoughtful homemade gift. It’s personal, delicious, and way better than anything store-bought.
- Holiday treat tins: Include these shortbread cookies in a festive tin along with treats like Oreo Truffles or No-Bake Millionaire’s Shortbread Bars. It’s the ultimate sweet gift box that’s guaranteed to impress teachers, neighbors, or anyone who loves homemade goodies.
- Hostess gifts with a twist: Pair a batch of shortbread cookies with a jar of homemade jam or a small bottle of vanilla extract. It’s simple yet thoughtful – and it’s sure to make you the favorite guest at any party!
More classic cookies to try
PS If you try this recipe, please leave a review in the comment section and add a star rating in the recipe card – I appreciate your feedback! Follow along on Pinterest, Facebook or Instagram.
Printable recipe
Classic Shortbread Cookies
Recipe details
Ingredients
- 2 sticks unsalted butter softened at room temperature (1 cup)
- ½ cup fine caster sugar
- ¼ teaspoon salt
- 2 cups all-purpose flour
Instructions
- Make dough: In a large bowl, combine softened butter, sugar and salt. Mix gently using an electric mixer on low speed (or a wooden spoon by hand) until just combined—avoid overmixing to prevent incorporating excess air. Gradually add flour and mix until dough forms. Push together using clean hands a few times to help dough come together fully. Do not overmix!
- Prepare pan: Line an 8×8-inch OR 9×9 inch baking pan with parchment paper, leaving an overhang for easy removal. Press dough firmly and evenly into pan, ensuring it reaches all edges and corners.
- Chill dough: Cover pan with plastic wrap and chill in refrigerator for at least 30 minutes.
- Score and prick: Preheat oven to 325°F. Remove dough from refrigerator, remove plastic wrap. Score dough (= lightly cut surface) into 16-18 rectangles with a sharp knife (3 rows and 6 columns for shorter, wider shortbread fingers; 2 rows and 8 columns for longer, thinner shortbread fingers). Prick each rectangle 3–4 times with the tines of a fork, pressing about halfway through dough for a traditional look.
- Bake: Bake for 25–45 minutes (exact baking time will depend on exact oven and pan used), checking frequently, until edges are pale golden. Top should be set, but remain pale in color.
- Finish and cool: Sprinkle a small amount of fine caster sugar over shortbread immediately after removing it from oven. If fork holes have closed during baking, gently remake them while dough is warm. Allow shortbread to cool in pan set on a wire rack for 30 minutes.
- Slice and cool completely: Remove shortbread from pan, using overhanging parchment to lift it out. Slice along scored lines immediately, while still warm. Transfer shortbread rectangles to a wire rack to cool completely before serving.
Notes
Ingredient notes
- Butter: Use high-quality unsalted butter, softened.
- Caster sugar: Dissolves easily for a smooth texture; substitute with lightly processed granulated sugar if needed.
- Flour: Stick with all-purpose for perfect texture.
- Salt: Enhances flavor; omit if using salted butter.
Recipe tips
- Chill the dough: Essential for firm cookies that hold their shape – don’t skip this step!
- Score before baking: Makes slicing easier and neater after baking.
- Watch the oven: Bake until edges are pale golden and the top is set – avoid overbaking.
- Slice warm: Cut along scored lines while still warm to prevent cracking.
Storage tips
- Make-ahead dough: Refrigerate dough pressed in pan for up to 3 days, wrapped tightly.
- Store leftovers: Keep baked cookies in an airtight container at room temp for up to a week.
- Freeze dough: Wrap tightly and freeze for up to 3 months; thaw in fridge before baking.
- Freeze baked cookies: Layer with parchment in an airtight container; freeze up to 3 months and thaw at room temp.







Comments
No Comments