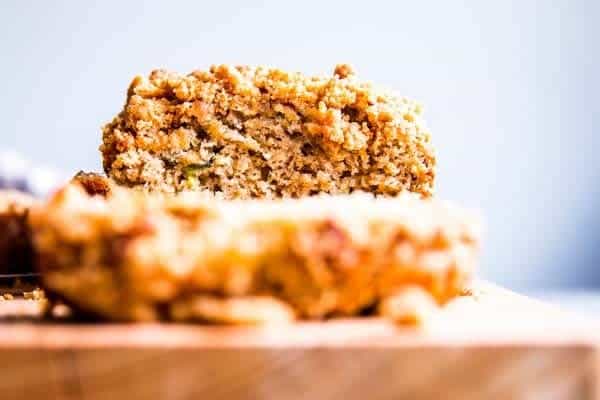
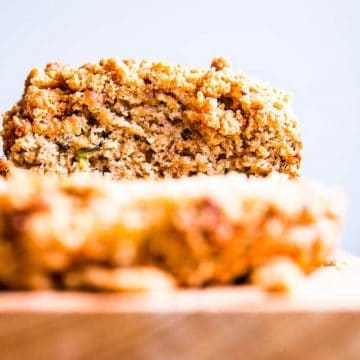
Cinnamon Crunch Zucchini Bread is a delicious but super easy baking recipe. It uses healthy ingredients like oat flour and plenty of shredded zucchini.
Make it for breakfast or brunch, tuck it into a lunch box or serve it as an after school snack – with the yummy streusel topping this is sure to be your family’s new favorite treat.
Remember when I shared this Cinnamon Crunch Banana Bread recipe and you got all excited about it?
And Pinterest got all excited about it, too?
Well, I’m still extremely excited about that recipe as well. So much so that I recently asked you on my Instagram page if you wanted me to make a zucchini bread version.
I mean, obviously everybody said yes ??♀️??
So, this is my new all-time favorite zucchini recipe I’m sharing with you!
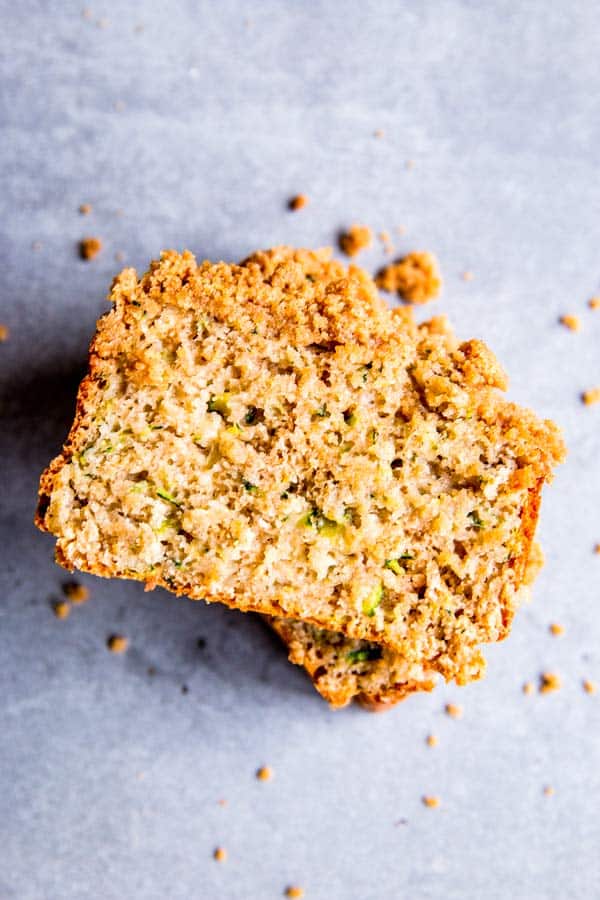
Cinnamon Crunch Zucchini Bread
This zucchini bread is a total favorite of mine. It’s extremely easy to make and tastes so good – a truly exciting twist on a classic.
Just take me to the recipe already!
If you’re looking for the full list of ingredients and clear instructions, that’s all at the bottom of this post! Before you scroll, there’s important information in the text below to make sure your recipe turns out amazing!
Do you have to peel zucchini to make zucchini bread?
No, there’s no need to peel the zucchini for zucchini bread!
Zucchini is a super soft vegetable when it’s cooked, and since you’ll be grating it it’s so small, it will just melt into the bread.
Bottom line: Save yourself time and effort and leave the peel on your zucchini when you’re baking zucchini bread.
How do you cut zucchini for bread?
While peeling is not necessary, you should absolutely grate your zucchini to make zucchini bread, not cut it with a knife.
The goal here are thin shreds of zucchini that melt into the bread. You don’t have to grate it super fine (it could get very mushy that way), a coarser grater is perfect.
There are different ways to do that:
With a food processor
- Attach a coarse blade to the food processor.
- Wash and trim the zucchini.
- Run it through your food processor to get short shreds (don’t shred it lengthwise or you’ll get very long shreds).
By hand
This is easiest with a box grater. FYI, the following link is an affiliate link and I make a commission from purchases made through it.
I have this one from microplane.
It’s so fast and easy, I never use my food processor anymore when I need to grate things ?
- Place your box grater on a clean kitchen towel.
- Wash and trim the zucchini.
- Grate it on its short, round side (again, to get short shreds) on the coarse side of your box grater.
Finally, once you’ve shredded it, you’ll need to put it into a clean kitchen towel (bonus points if you used a box grater – it will already be on a clean kitchen towel) and squeeze out any excess moisture over the sink.
If you skip squeezing the zucchini, your bread could be too wet and could not bake through.
Does zucchini bread need to be refrigerated?
No, you don’t need to keep zucchini bread refrigerated. It will not go bad on the counter, but it does keep for longer in the fridge.
Either way, you’ll want to pack it into a glass container with a tight-fitting lid (or pack it into a zip-loc bag, I just prefer the containers because it’s less wasteful and cheaper in the long run).
Don’t pre-slice, it will dry out faster.
If you keep the bread in a cupboard or on the counter, it will stay fresh for 1-2 days. In the fridge, it will last for up to a week if packed correctly like I described above.
Love this recipe? Tag me!
If you make this recipe, snap a pic and hashtag it #savorynothings — I love to see your creations on Instagram or Facebook, or add your photo and review on Pinterest!
How To Make Cinnamon Crunch Zucchini Bread
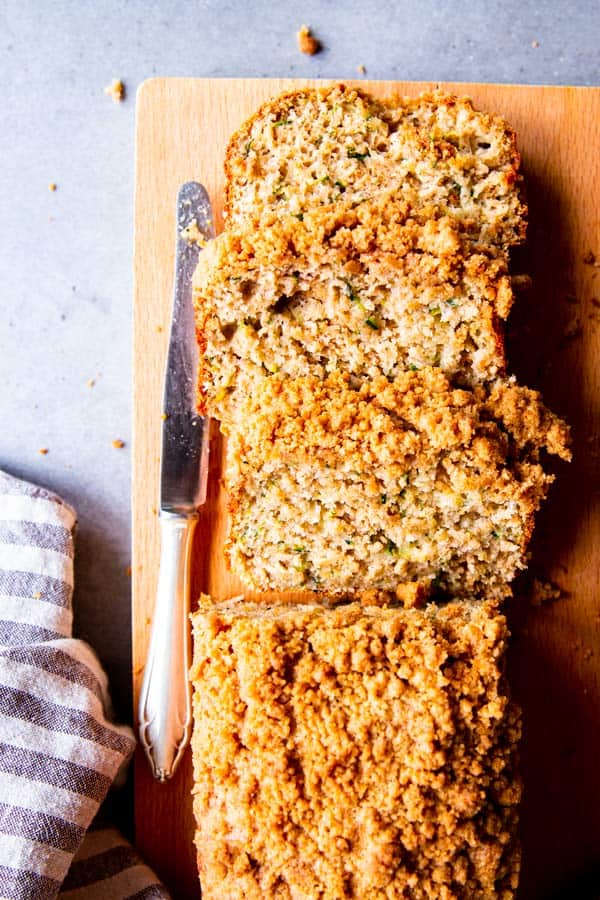
What do I need to make this zucchini bread?
You really don’t need a lot to bake any kind of quick bread, but there are a few essentials you cannot make this without.
Tools you need to make my zucchini bread recipe
FYI, the following product links are affiliate links. I make a commission for purchases made through these links.
- A loaf pan. Obviously you can’t make anything in bread shape without a loaf pan. I have a very simple one like this. Even though it is nonstick, I always line it because I don’t trust the bread to come out otherwise, ha! If you don’t have a loaf pan, you can also make this recipe into 12 regular-size muffins. They bake in 20-25 minutes.
- A spatula to gently fold the batter. I hear from a lot of people who make muffins and quick breads and pancakes and such by whisking the wet and dry ingredients together. Please. Do not do that to your breakfast food. You deserve fluffy zucchini bread, not a dense one!
- A grater. Either use a food processor or a box grater like I do. (Even though I have this mega power food processor ?)
Other than that, you just need the ingredients, which are super simple.
Ingredients for Cinnamon Crunch Zucchini Bread:
- Ingredients for the streusel topping (which is flour, brown sugar, cinnamon and a small amount of butter)
- 1 cup oat flour (that’s about 1 ¼ cups oats blitzed into flour)
- 1 ¼ cup all-purpose flour
- ⅓ cup sugar
- 1 teaspoon cinnamon (optional for extra cinnamon-y goodness)
- 1 ½ teaspoons baking powder
- ½ teaspoon baking soda
- ¼ teaspoon salt
- 1 medium-large zucchini
- 1 cup buttermilk
- ¼ cup honey
- 1 large egg
Step By Step Instructions
There’s a video for this recipe if you scroll near the bottom of this post, but if you prefer not to watch it I grabbed a few screenshots from it for the step by step instructions below.
Just so you know why they look a little awkward and not so clean and pretty like the rest of the pictures ??
Step 1: Make the streusel.
The first step to make this zucchini bread is to make the streusel.

I had people complain about the texture of the streusel in my Cinnamon Crunch Banana Bread, and how there’s way too much.
While I personally love the original recipe (there is no such thing as too much streusel in my books ?), I tested a few different toppings for this zucchini version and I think I came up with the perfect middle ground.
To make the streusel, simply stir together the dry ingredients for the topping in a small-medium bowl. Add the cold butter and gently rub it into the dry ingredients with your fingertips, until small crumbs form.
Then chill it in the fridge until you’re ready to use it.
FYI, I always make the streusel first in any recipe that calls for it, because I like to chill it in the fridge before I bake it.
Even when I make cobblers and crisps I always make the topping first and then refrigerate it, because it’s a little like cookie dough:
You want it to stay nice and crumbly and form these nice crunchy bits on top of your baked goods.
If you make it as the last step, not only will your batter sit at room temperature for too long (and lose some baking powder power!), but also the butter in the streusel will be warm already and just run away in the oven.
Step 2: Prep the zucchini.
Then you’ll want to shred the zucchini.
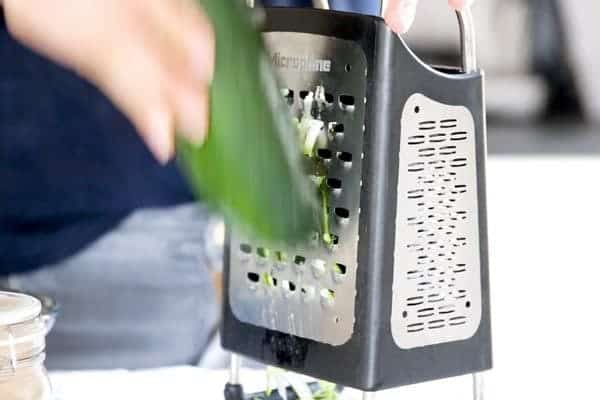
Shred it using a food processor or a box grater, like I described in a section above (scroll up if you skipped over it and need some help).
Place the shredded zucchini on a clean kitchen towel and squeeze out as much water as you can over the sink.
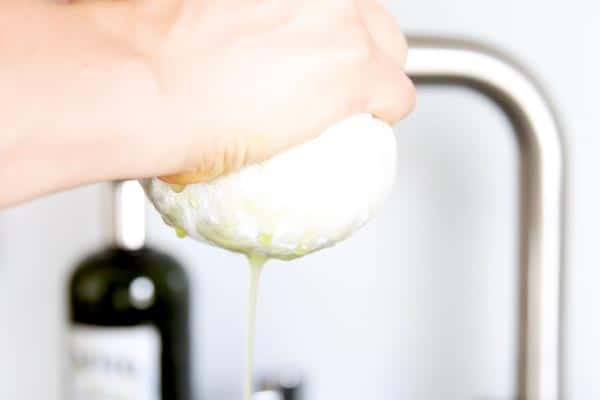
Then, just set the squeezed zucchini shreds aside in the kitchen towel.
Step 3: A little prep.
The next step is pretty simple:
Line a 5×9 inch loaf pan. And preheat your oven to 360°F.
See? I wasn’t lying. This recipe is so easy to make ?
Step 4: The dry ingredients.
Now place all dry ingredients in a large bowl and whisk very well.

While you don’t want to use a whisk when you’re combining the wet and dry ingredients, it’s a great idea to use one when you’re mixing them separately first.
With a whisk, it’s quick and easy to thoroughly combine the dry ingredients. You’ll especially want the baking powder and baking soda well distributed among the other ingredients, to make sure your bread rises evenly.
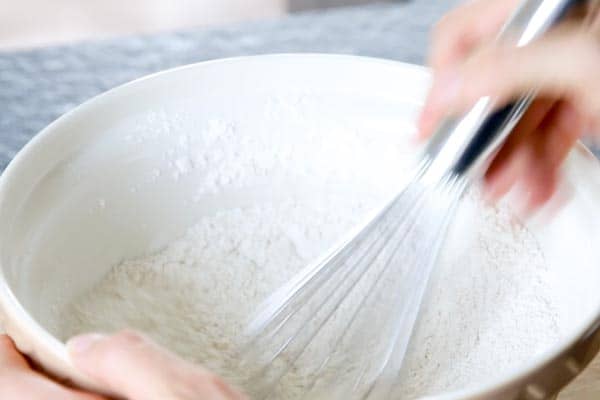
Remember, you shouldn’t stir too much once the wet and dry ingredients are combined, so now is really the time to make sure those dry ingredients are mixed up well.
Step 5: The wet ingredients.
Then, you can get to your wet ingredients and whisk them all up in a separate bowl or measuring jug.

Again, you can use your whisk here. Make sure you whisk everything together very well until it looks all smooth.
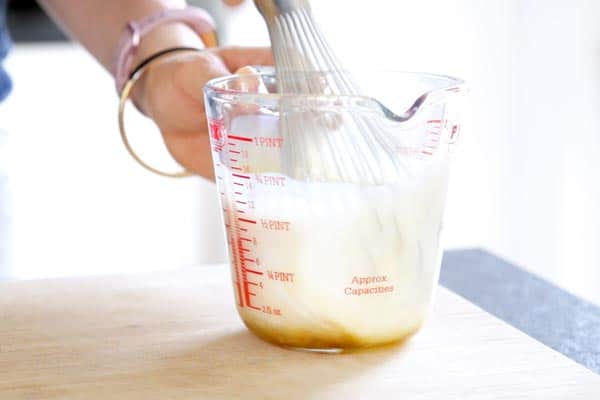
Then, stir the shredded zucchini into the wet ingredients.
I don’t add the zucchini right away because it makes it harder to whisk the ingredients together. It’s way easier to first make sure the buttermilk, eggs etc are mixed very well before stirring in the zucchini (I use spoon to add the zucchini, because the little shreds cling to a whisk like crazy!)
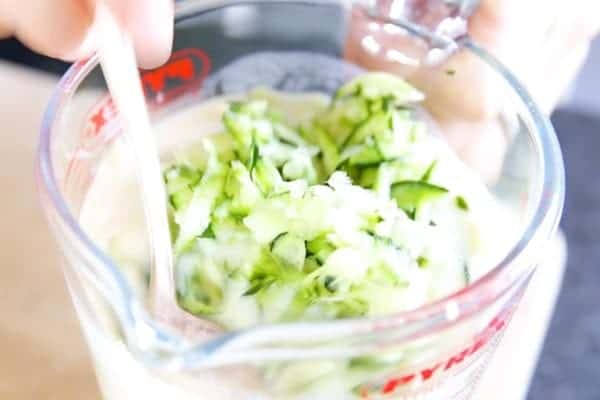
Step 6: Combining the wet and dry ingredients.
Now it’s time to set your whisk aside and switch to a spatula (you can also use a wooden spoon or a regular spoon if you don’t have a spatula, it’s just a little less convenient, but don’t let the lack of a spatula keep you from making this scrumptious zucchini bread).
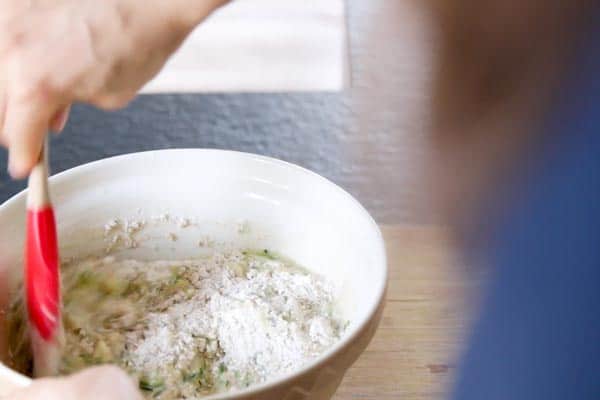
Pour the wet ingredients into the bowl with the dry ingredients and carefully fold them together. I usually don’t fold more than 10 times, a scraglly, messy quick bread batter makes for the fluffiest bake!
Step 7: Get the bread ready for baking.
Now pour the zucchini bread batter into the prepared loaf pan.
Just scrape it all in. Please don’t bang the pan on your counter to knock out air bubbles like you would with a cake – you really want to keep any and all air bubbles in this, they help make the finished bread light and fluffy!
Grab your streusel from the fridge and evenly sprinkle them on top and lightly push them into the batter with your fingers.
Ready for the oven!
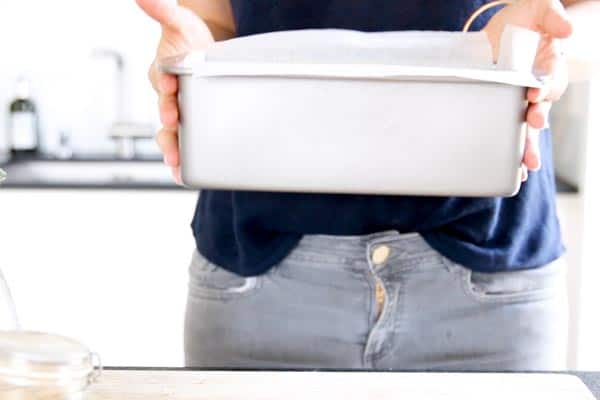
Step 8: Bake and cool.
Finally, bake the bread in the preheated oven for around 50 minutes, or until a toothpick inserted into the middle comes out clean.
Cool in the pan for 15 minutes, then remove to a cooling rack to cool completely.
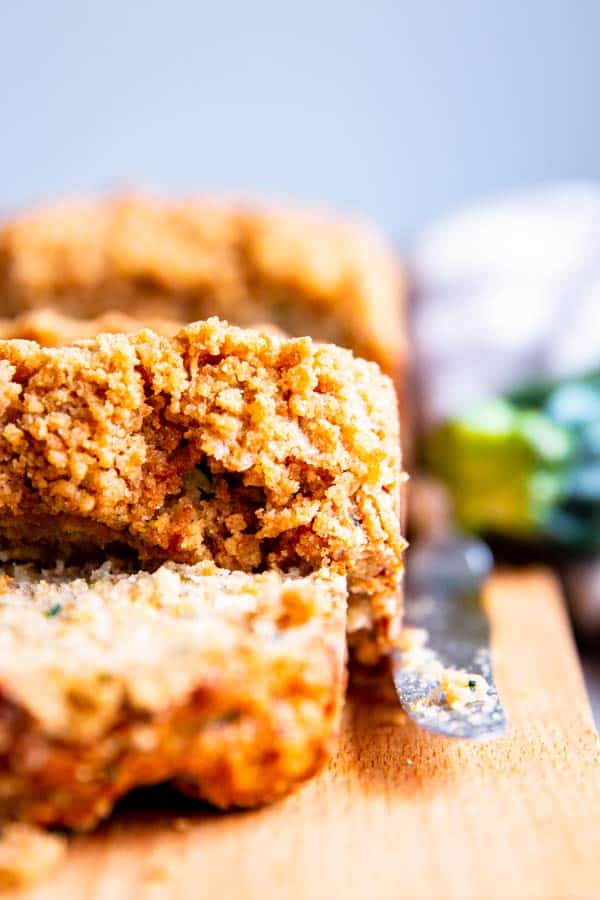
Like this recipe? Save it to your Pinterest board now!
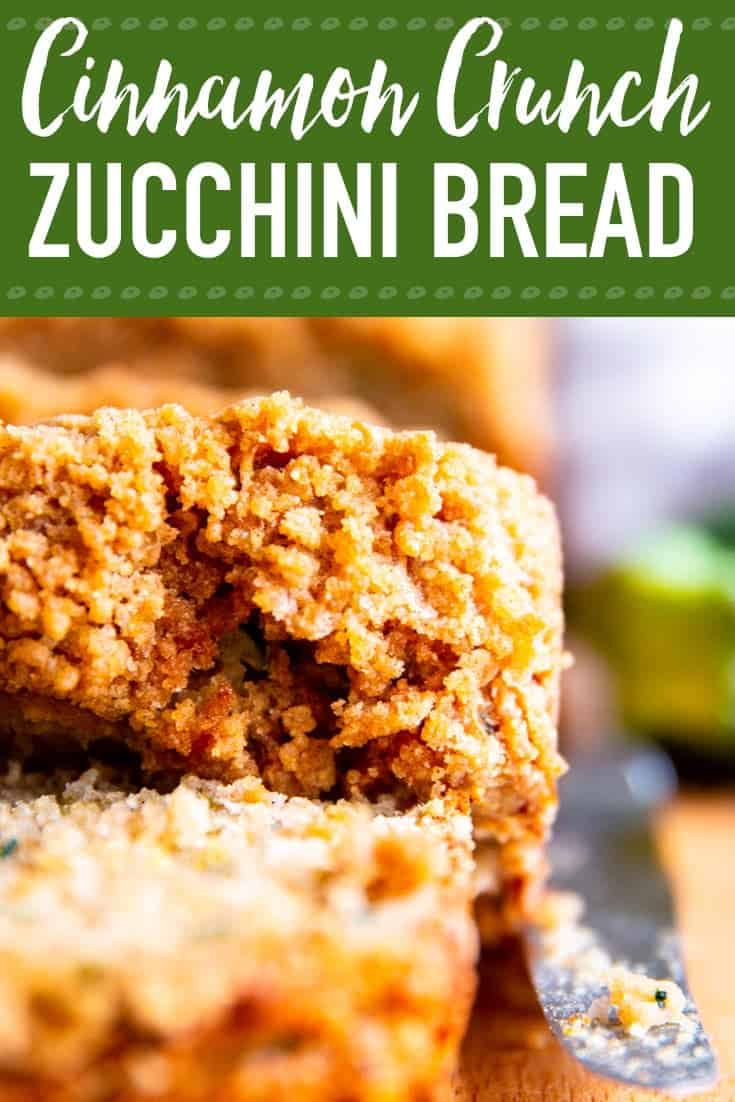
Can you freeze this zucchini bread?
This bread freezes very well. I often have a loaf or two in my freezer for quick snacks or emergency breakfasts.
While I do not recommend pre-slicing to store the bread in the fridge or on the counter, I do usually slice it to freeze it.
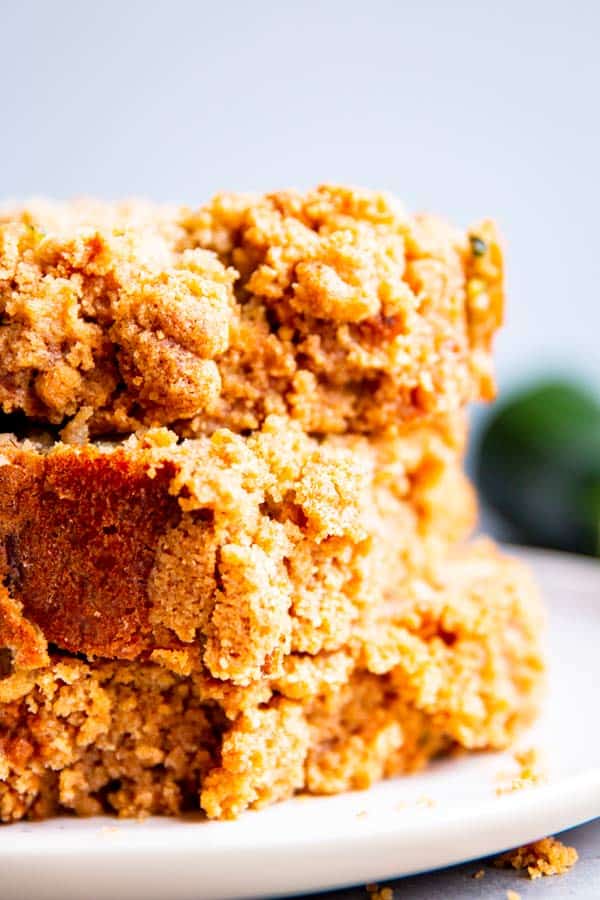
I just pack the slices into individual portions. That way I can always grab just as much as I need, it defrosts way faster than an entire bread and I can even throw it into a lunchbox if I’m out of everything before grocery shopping day, and it will be defrosted by the time lunch rolls around.
While this recipe can be frozen, please remember to do the following:
- Wait for the bread to cool completely before freezing it (otherwise your freezer could heat up too much and affect the other frozen goods in there).
- Use a container or bag that is suitable for freezing.
- Label the bag or container with the contents, today’s date AND the use-by time.
- Defrost thoroughly before eating.
There is no need to reheat the bread after defrosting it, but I do like warming it up a little sometimes to give it that freshly-baked feel.
So… What goes well with zucchini bread for breakfast?
When we have this for breakfast, I like to serve something on the side to round out the meal. I get hungry again really fast if I don’t have enough protein for breakfast, and by hungry I do mean hangry ??♀️?
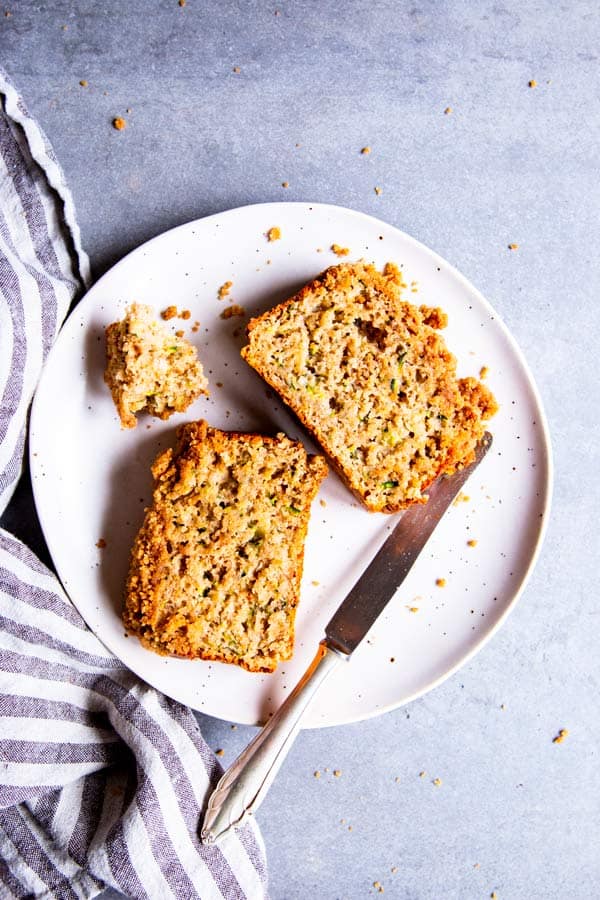
Here are a few ideas what we love to have with our Cinnamon Crunch Zucchini Bread in the morning:
- A protein smoothie
- Creamy Banana Triple Berry Fruit Salad (it has a Greek yogurt dressing that is so, so good!)
- scrambled eggs with veggies in them or an omelette (which turns breakfast into a fancy two course meal, three courses if you count the coffee separately, ha!)
Like this recipe? Why not try some more of my quick bread recipes?
I LOVE making quick breads. Some are breakfast-worthy… Others are more like dessert ?
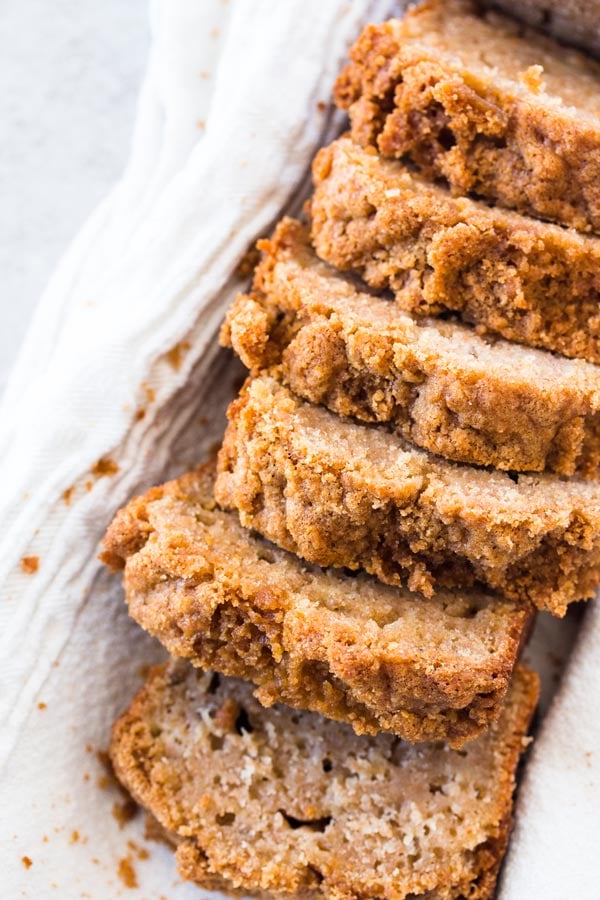
Some of my favorites you’re going to love just as much as this one include Chocolate Chip Banana Bread, Pecan Streusel Pumpkin Bread and Lemon Blueberry Banana Bread.
Need some extra help & motivation on your home cooking journey?
Come join my Facebook group!
You’ll find motivation, help and the best tips to make feeding your hungry bunch of lion cubs a little less daunting.
We talk about all things from-scratch cooking, making memories in the kitchen and not losing our minds while doin it all.
Click here to join now!
And if you’ve joined already, why not invite any friends that may find it helpful?
Watch me make this zucchini bread in the video below:
(If you’re on a desktop computer or a laptop, the video could already be playing on the right hand side of this post!)
Grab the printable recipe for this Cinnamon Crunch Zucchini Bread here:
Printable recipe
Cinnamon Crunch Zucchini Bread
Recipe details
Ingredients
For the streusel:
- ⅓ cup all-purpose flour
- ¼ cup brown sugar
- ½ teaspoon cinnamon
- 2 tablespoons cold butter
For the dry ingredients:
- 1 cup oat flour just blitz about 1 ¼ cups oats in a food processor until ground to a flour. Measure 1 cup ground.
- 1 ¼ cups all-purpose flour
- ⅓ cup sugar
- 1 teaspoon ground cinnamon optional to make it more cinnamon-y
- 1 ½ teaspoons baking powder
- ½ teaspoon baking soda
- ¼ teaspoon salt
For the wet ingredients:
- 1 medium-large zucchini yield about 2 cups shredded
- 1 cup buttermilk
- ¼ cup maple syrup
- 1 large egg
Instructions
- Make the streusel: Combine flour, sugar and cinnamon for the streusel in a small-medium bowl. Add the cold butter and cut it into the flour mix until small crumbs form. Chill in the fridge until ready to use.
- Shred zucchini: Shred the zucchini on a coarse grater and squeeze excess liquid.
- Prep: Preheat your oven to 360°F and line a 5×9 inch loaf pan with baking parchment.
- Mix the dry ingredients: Add all dry ingredients to a large bowl and whisk until well combined.
- Mix the wet ingredients: Add all wet ingredients EXCEPT for the shredded zucchini to a medium bowl or measuring jug. Whisk very well until smooth. Stir in the zucchini.
- Combine wet and dry: Pour the wet ingredients into the bowl with the dry ingredients and fold them in until JUST combined. Do not overmix!
- Finish and bake: Pour the batter into the prepared loaf pan. Top with the streusel, gently pushing it into the batter. Bake for around 50 minutes or until a toothpick inserted comes out clean. Cool in the pan for 10-15 minutes before removing to a cooling rack.
Notes
WHILE THIS RECIPE CAN BE FROZEN, PLEASE REMEMBER TO DO THE FOLLOWING:
- Wait for the bread to cool completely before freezing it (otherwise your freezer could heat up too much and affect the other frozen goods in there).
- Use a container or bag that is suitable for freezing.
- Label the bag or container with the contents, today’s date AND the use-by time.
- Defrost thoroughly before eating.




Pam Cupples says
Made a loaf just to see how it went. Followed recipe and instructions. Turned out awesome! I will be making a few loaves for the freezer shortly. Thanks for this recipe.