

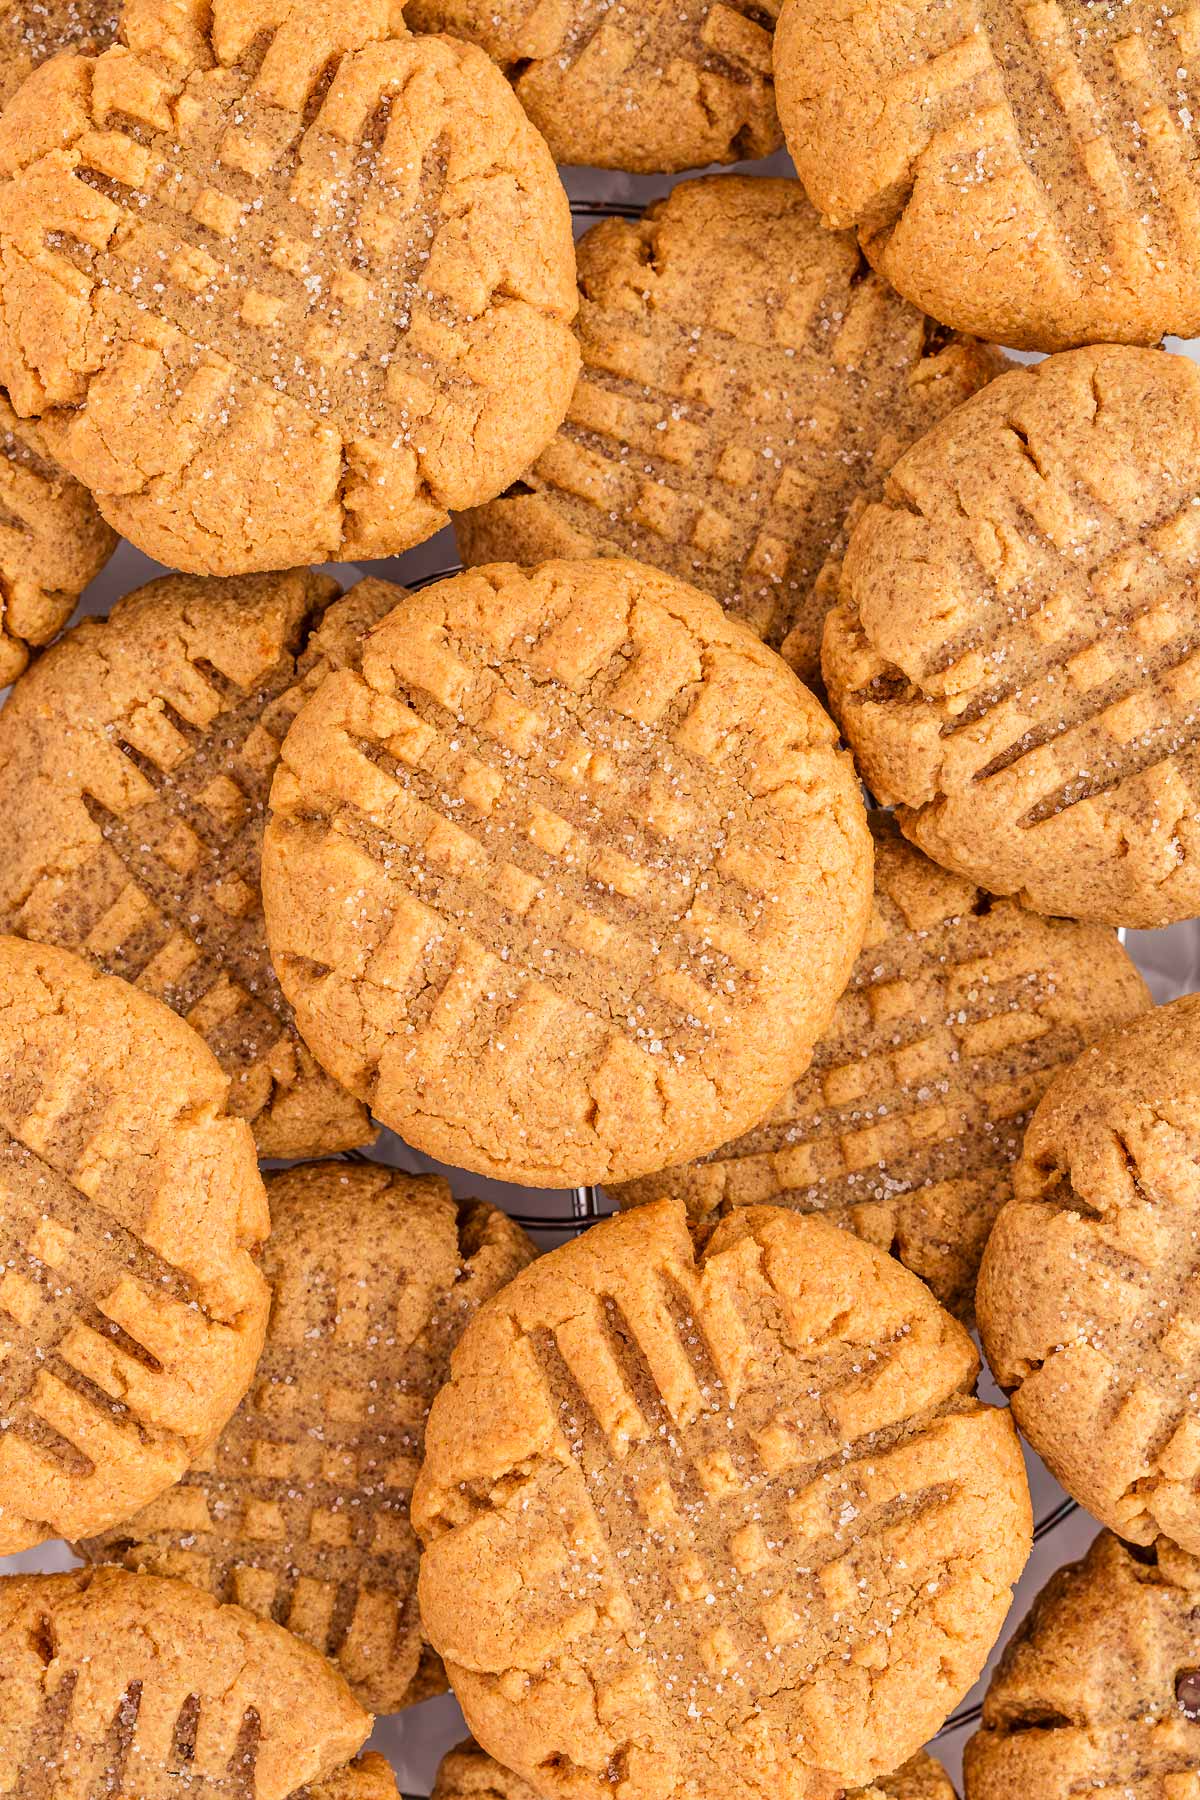
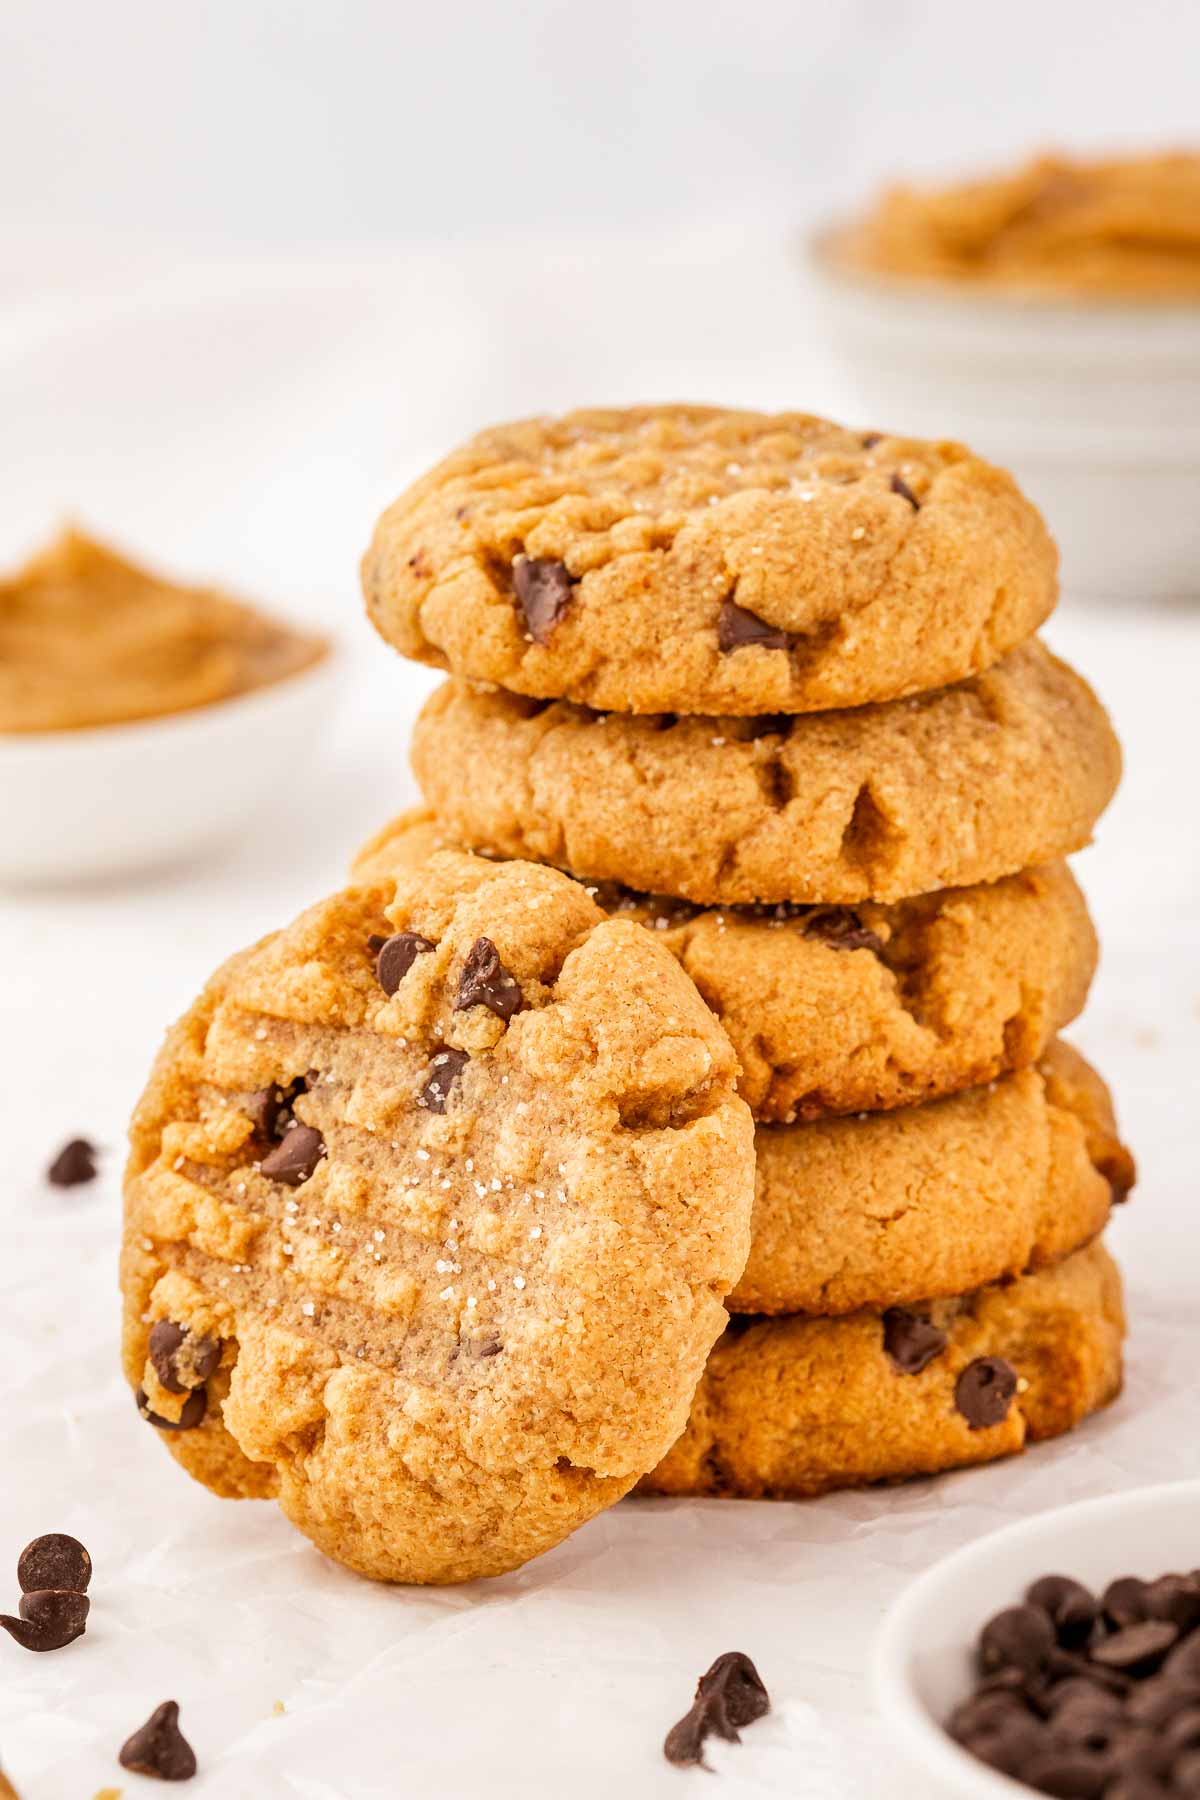
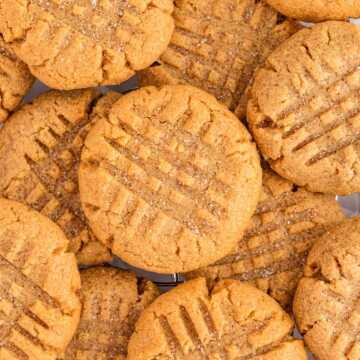
If you’re looking for the ultimate easy cookie recipe, you’ve just found it – these 3 Ingredient Peanut Butter Cookies are so simple, even your little ones can help whip them up. With perfectly soft centers, that classic criss-cross fork pattern, and an optional chocolate chip twist, they disappear just as quickly as you bake them!
Jump to:
Why this recipe works
- Ridiculously simple: With just three ingredients (plus optional chocolate chips if you’re feeling fancy), these cookies come together faster than you can say “cookie craving.” I love recipes like this because they’re perfect for those last-minute “Mom, we need dessert!” moments.
- Kid-approved and mom-friendly: My kids adore helping with these – from mixing the dough to making that criss-cross fork pattern. It’s a fun, low-mess activity that doubles as a sweet treat reward for everyone involved.
- Perfectly versatile: These cookies are soft, rich, and packed with peanut butter flavor, but you can easily customize them with add-ins like mini chocolate chips or a sprinkle of sea salt.
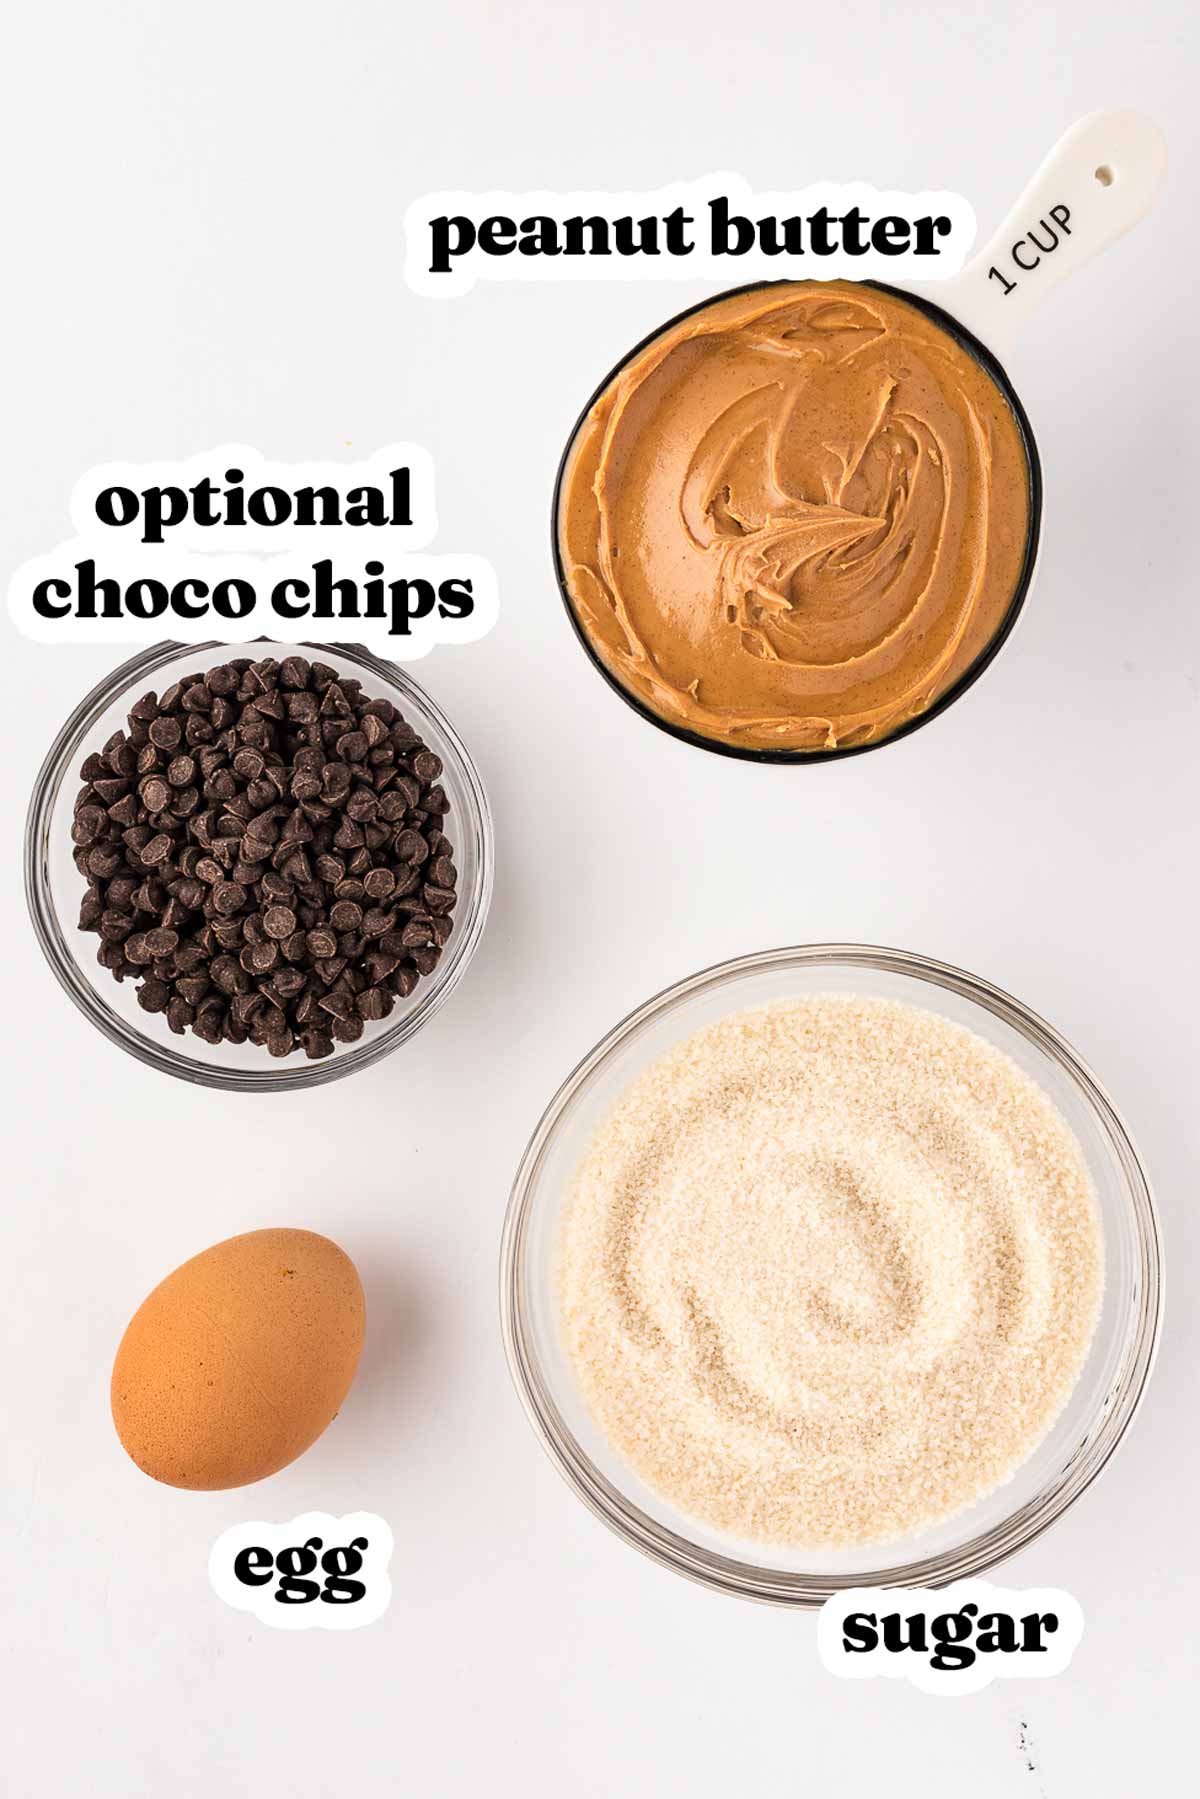
Ingredients you’ll need
Here is a visual overview of the ingredients in the recipe. Scroll down to the printable recipe card at the bottom of this post for quantities!
Ingredient notes
- Peanut butter: Stick to creamy peanut butter for the best texture – the regular kind, not the natural, oily ones that can separate. I’ve tried this with natural peanut butter before, and let’s just say the results looked like a Pinterest fail.
- Sugar: White sugar keeps these cookies perfectly sweet and chewy. If you’re out of white sugar (or you just like experimenting), light brown sugar can be used for a softer, slightly caramel-like cookie. You’re still just three ingredients away from magic – or use half white, half light brown for a four ingredient treat!
- Eggs: A large egg is essential to hold everything together. If you’re baking for someone with egg allergies, a flax egg (1 tablespoon flaxseed meal + 2.5 tablespoons water) works surprisingly well – I’ve tried it in a pinch, and it’s a great option.
- Chocolate chips: Totally optional, but they take these cookies from delicious to “Mom, you’re the best!” status. I like using mini chips because they don’t overpower the cookie.
Recipe variations
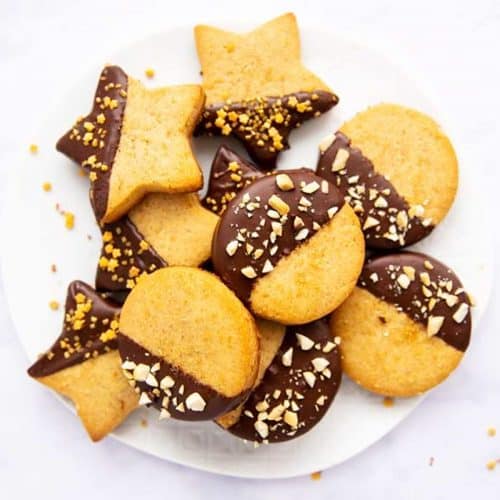
- Chocolate drizzle: Melt some chocolate and drizzle it over the cooled cookies or dip them for a fancy touch. Add sprinkles or chopped nuts if you like!
- PB&J cookies: Make a thumbprint in the center before baking and fill it with your favorite jam after they cool.
- Mini cookie bites: Roll smaller dough balls for bite-sized cookies that are perfect for popping into lunchboxes. Bake them only for a few minutes and watch your oven closely.
- Let the kiddos handle it: If you want to give your younger kids an opportunity to make a recipe with just a little help from mom, hand them a visual recipe. You can get the printable by clicking here, to start having loads of fun with your kiddos in the kitchen! Mess-free-ness not 100% guaranteed 😉
How to make peanut butter cookies
Let’s make these cookies together! Trust me, they’re so simple and fun that even the kiddos can jump in to help. Here’s how we do it:
1. Get prepped: First things first, preheat your oven to 350°F. While it heats up, line your baking sheet with parchment paper or a silicone baking mat.
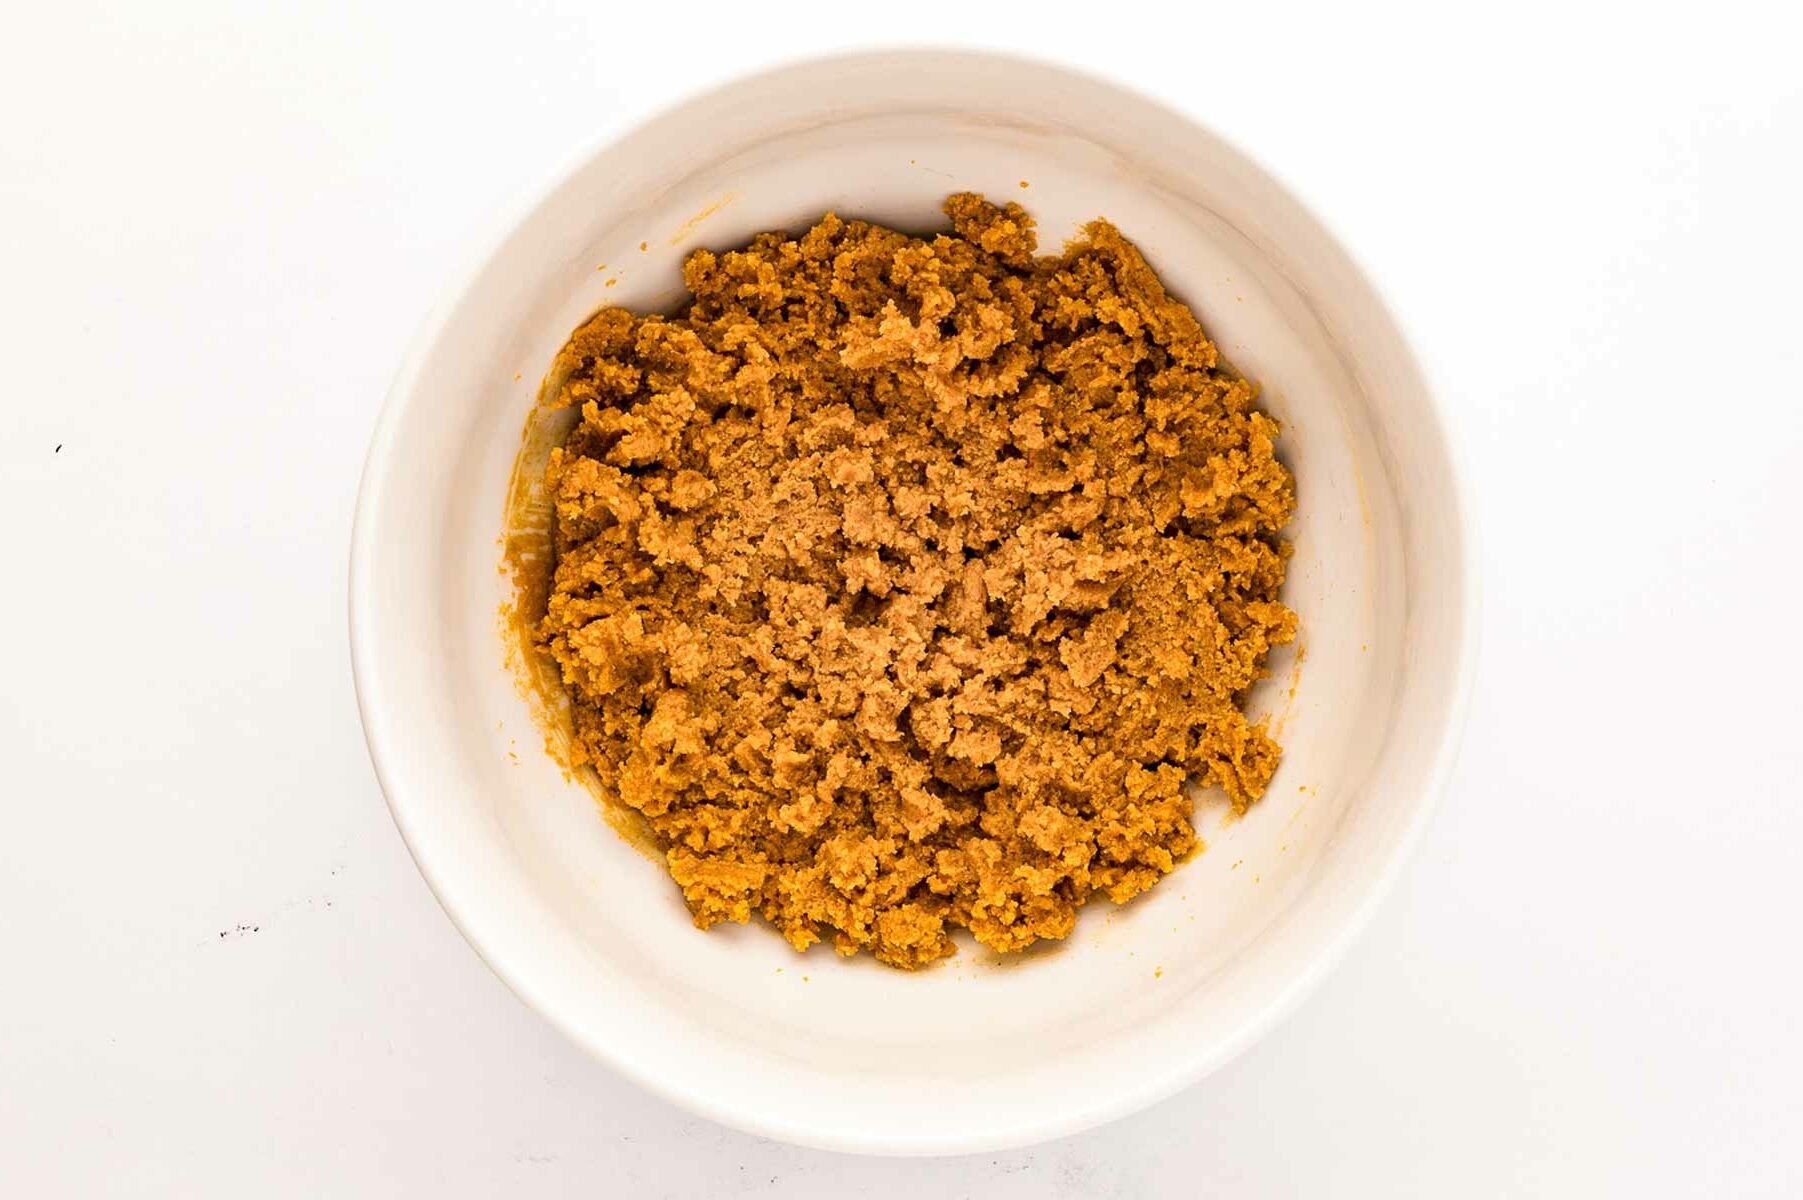
2. Mix the dough:
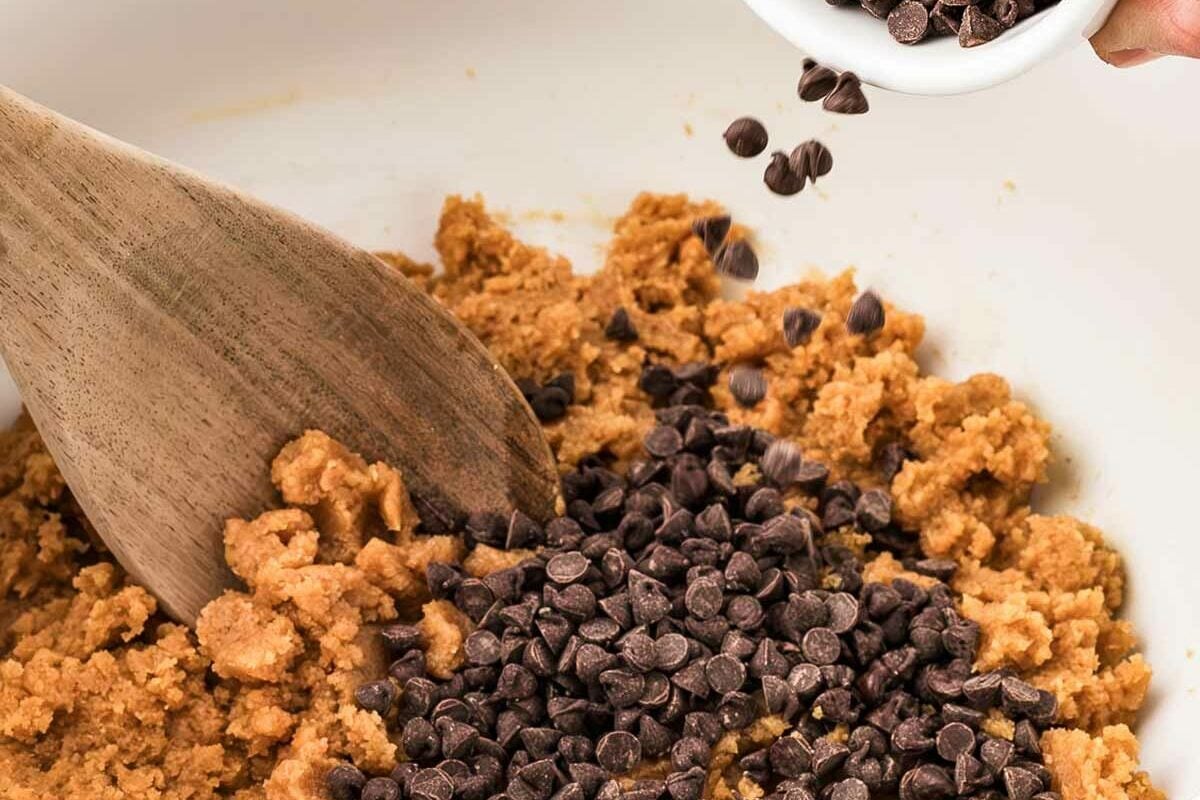
2. Add optional chips:
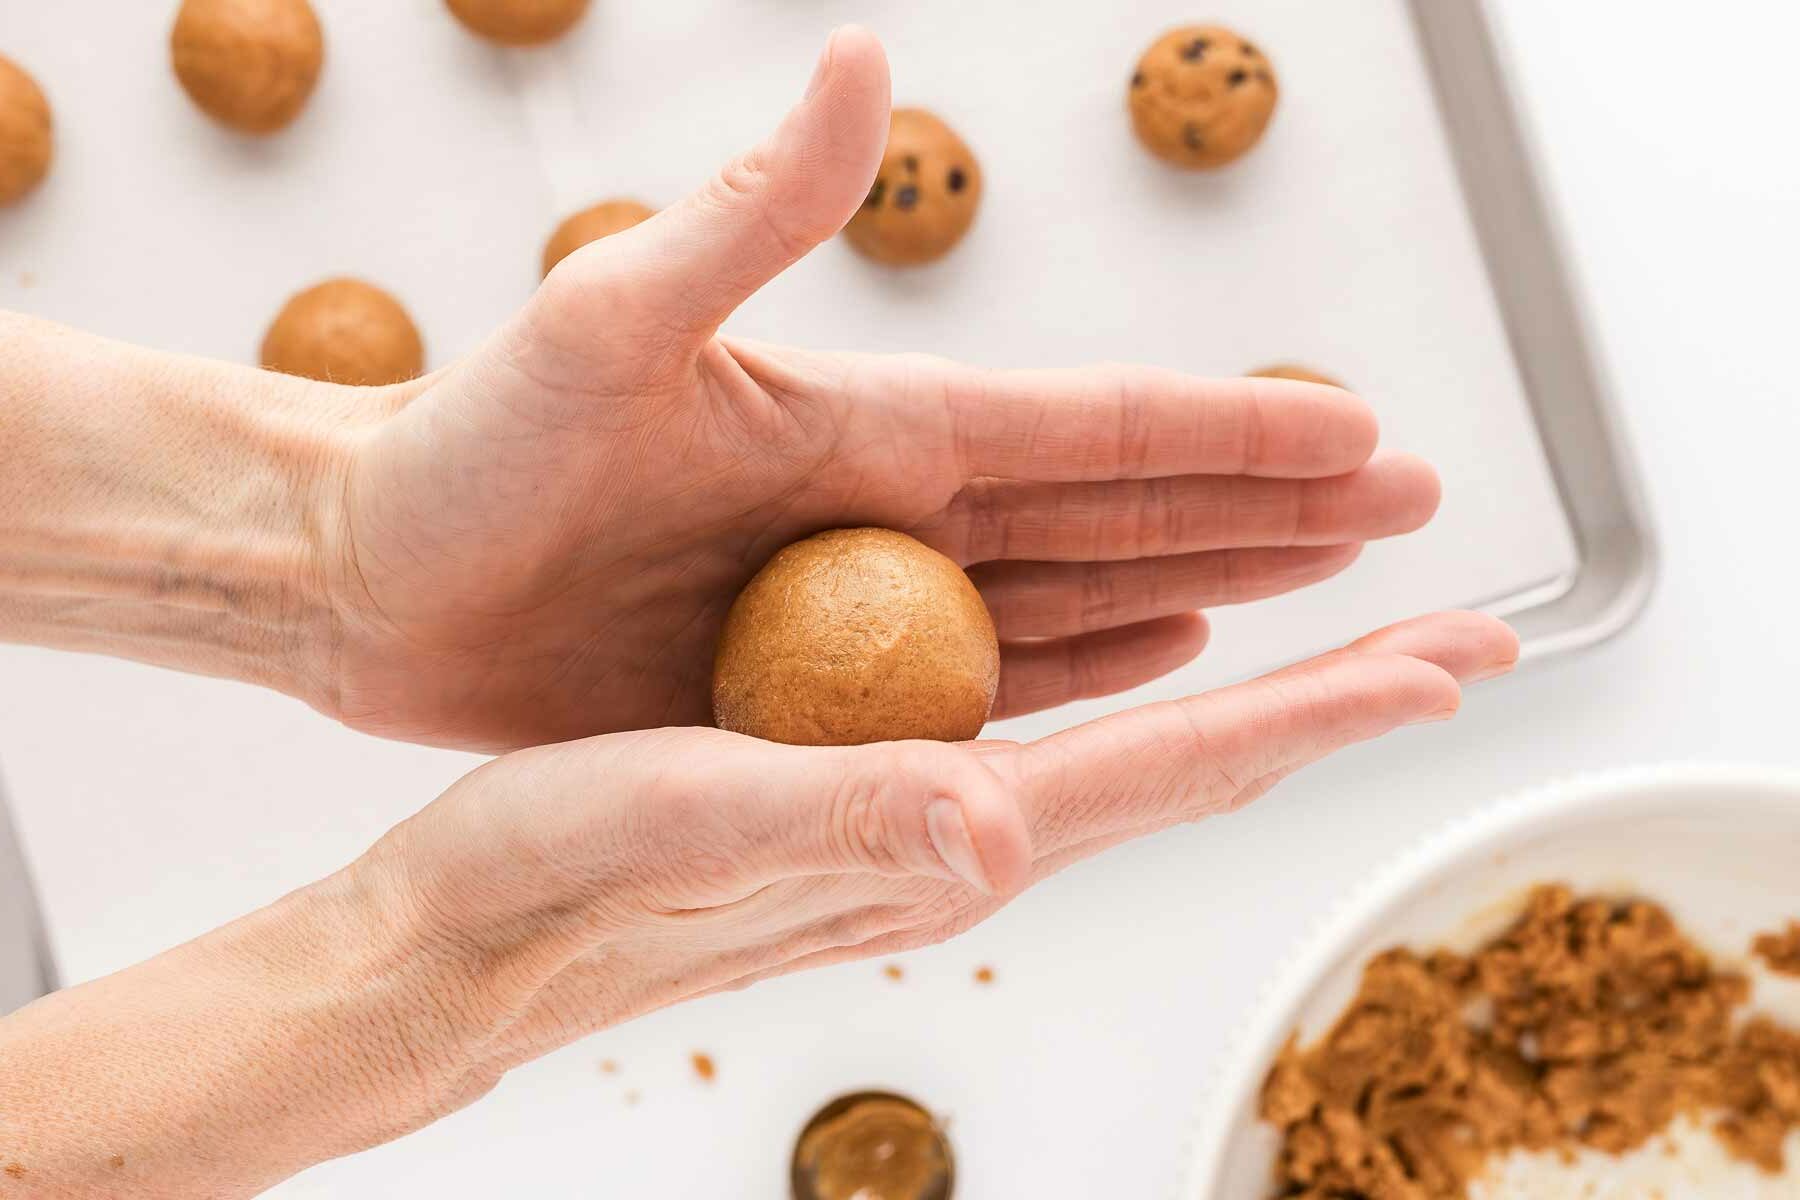
3. Roll the cookies:
4. Criss-cross:
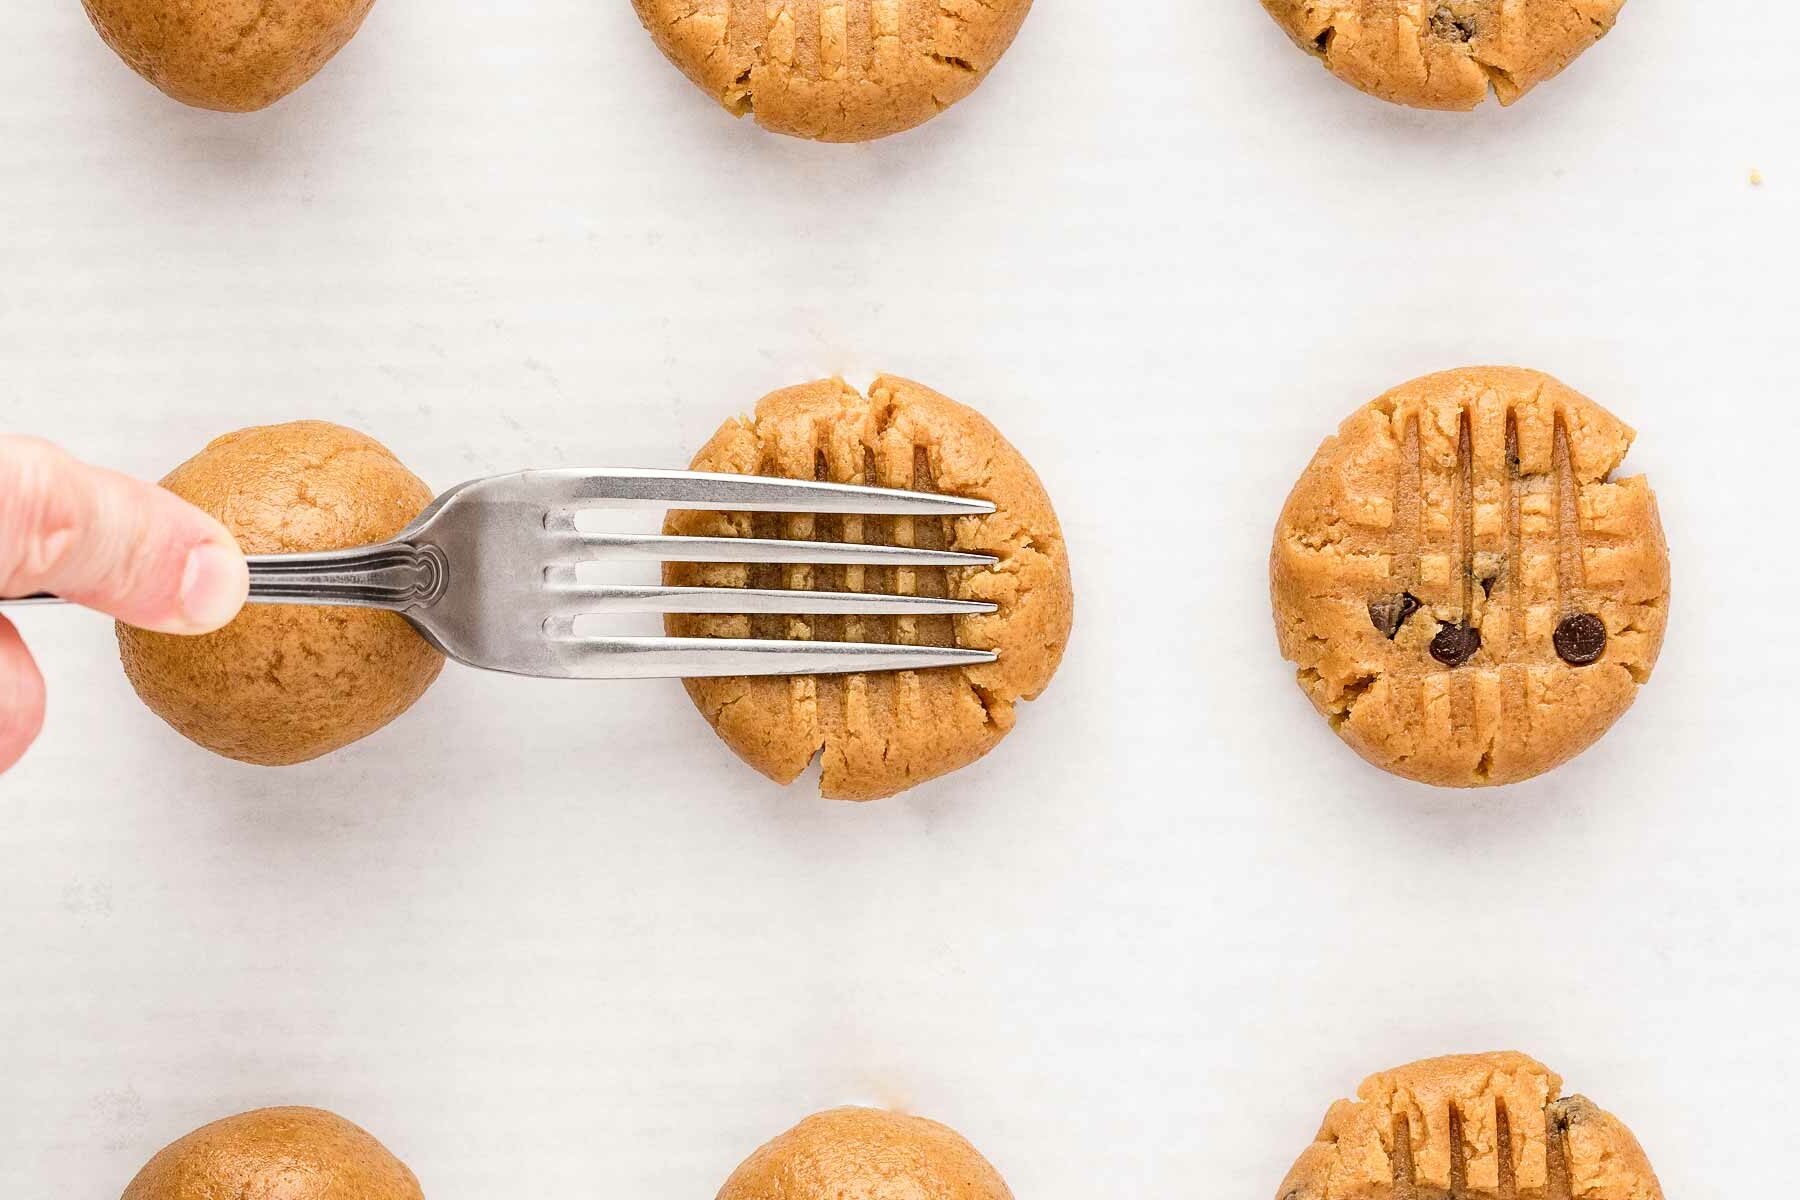
Bonus points if your little helpers handle this step!
5. Bake:
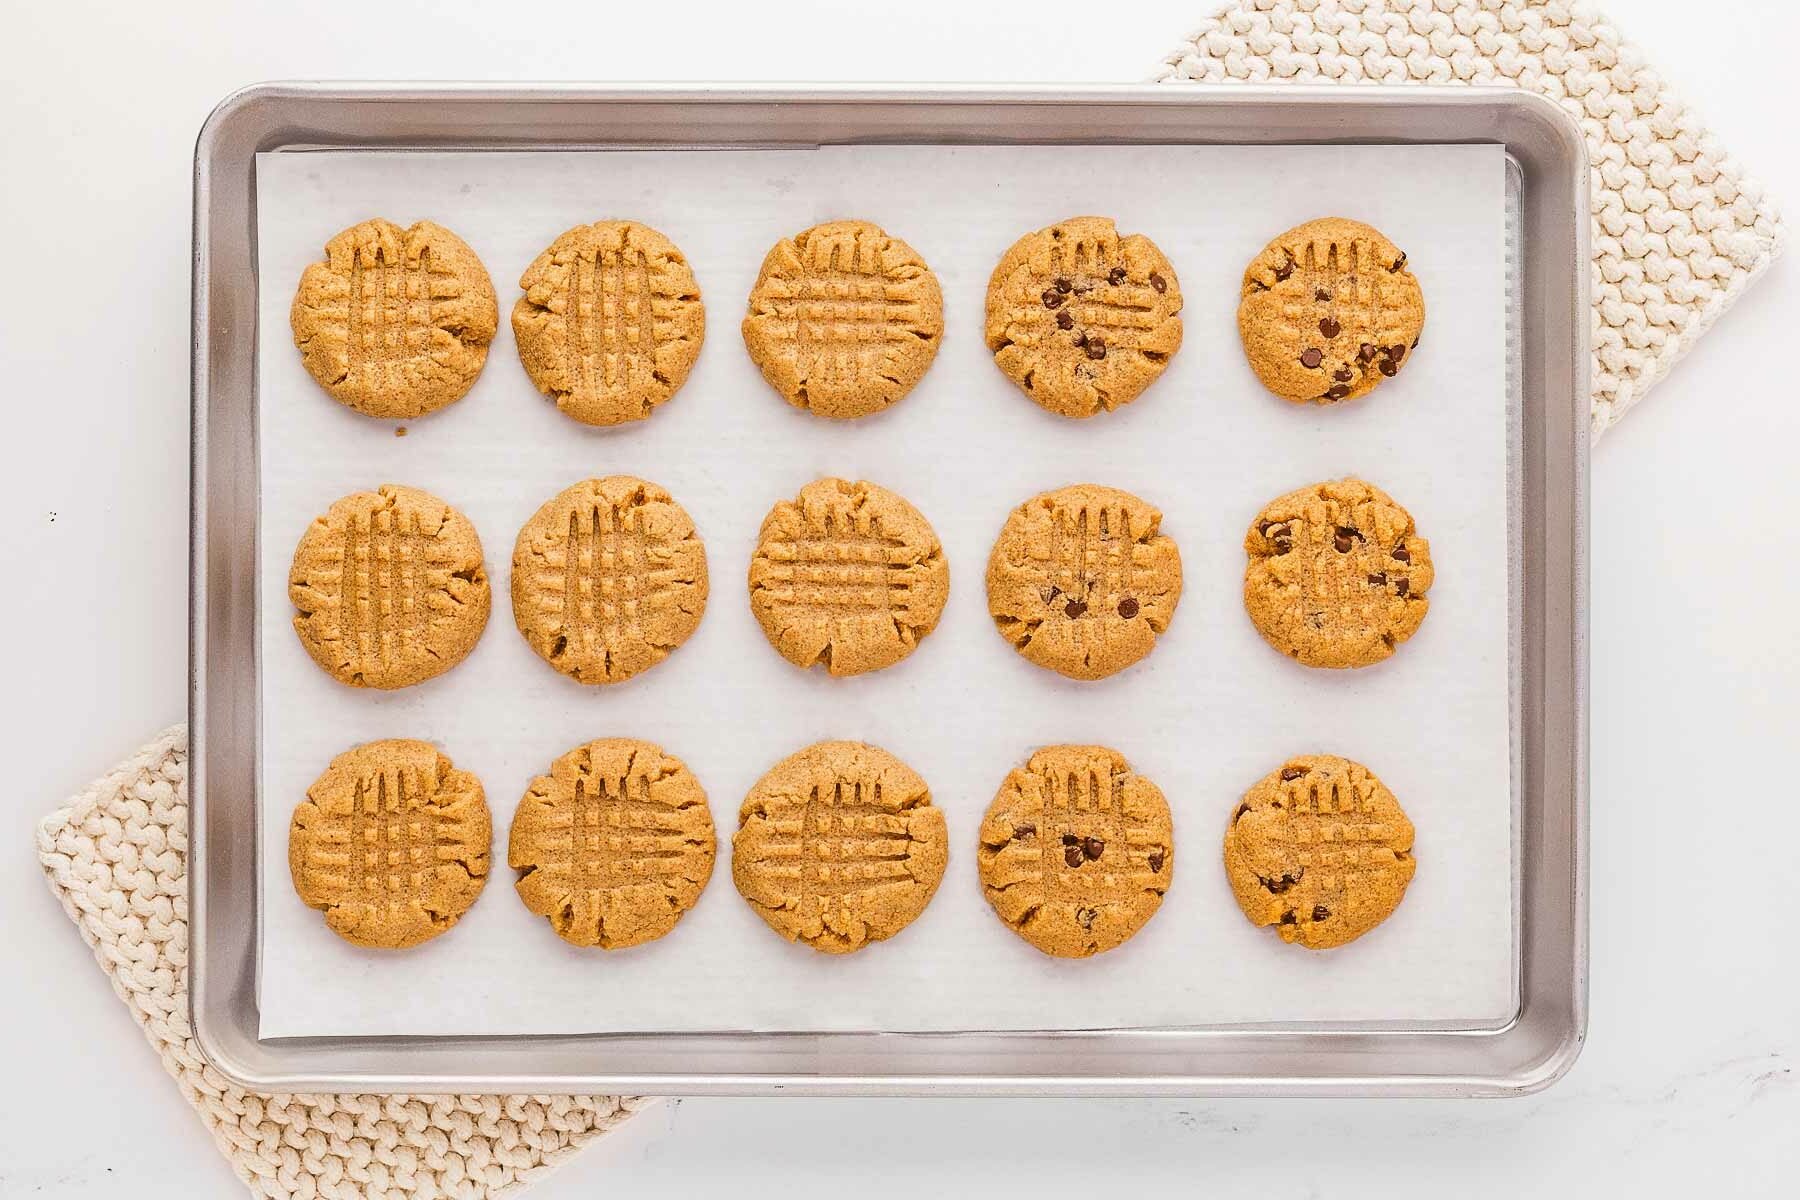
They’ll still be soft when you take them out, but don’t worry – they firm up as they cool.
5. Cool and enjoy:
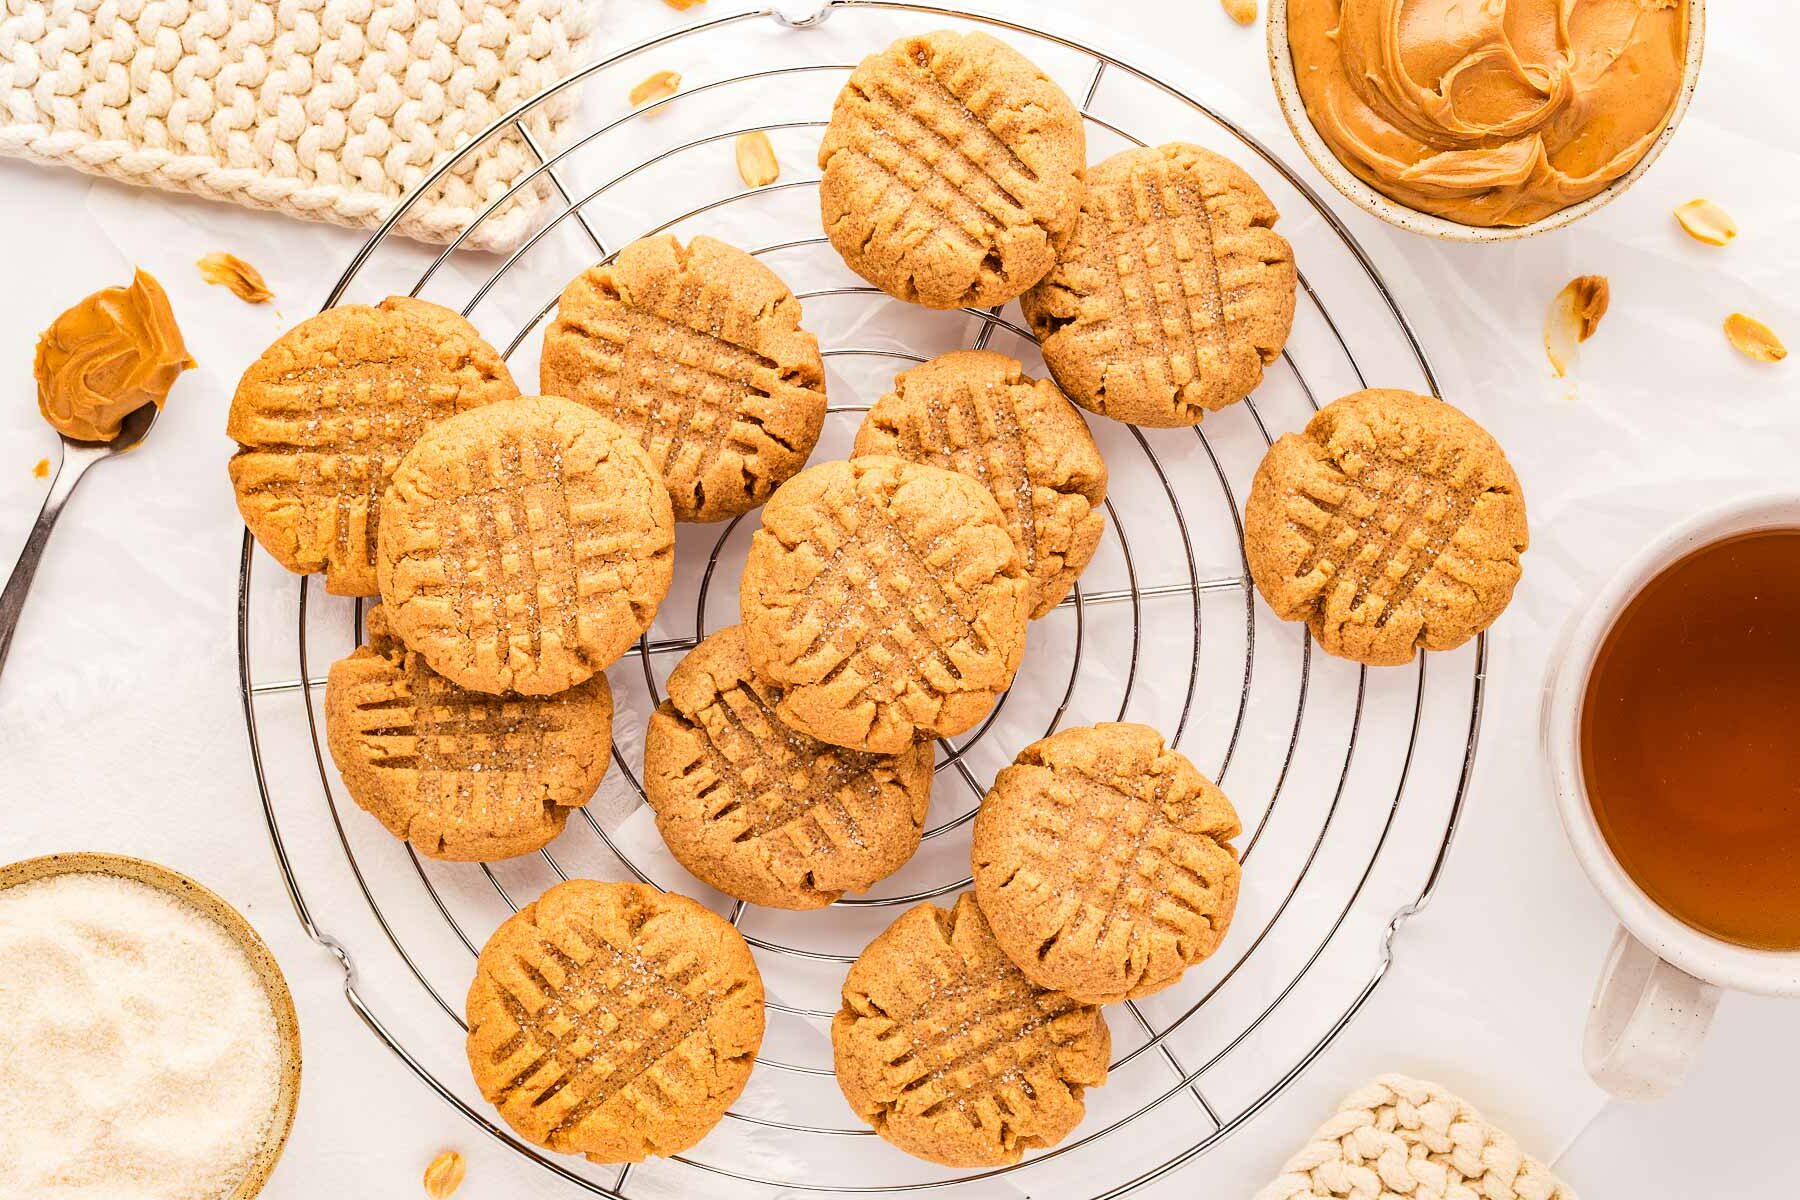
And that’s it – you’ve made the easiest, most delicious peanut butter cookies ever! They’re perfect for an after-school treat, a holiday cookie swap, or just because you deserve a sweet moment for yourself. 😊

Top tips for recipe success
- Use room temperature peanut butter: If your peanut butter is straight out of the fridge, it might be too stiff to mix easily. Let it sit out for a bit to soften, or give it a quick stir if it’s been sitting in the pantry for a while. Trust me, this makes mixing so much smoother!
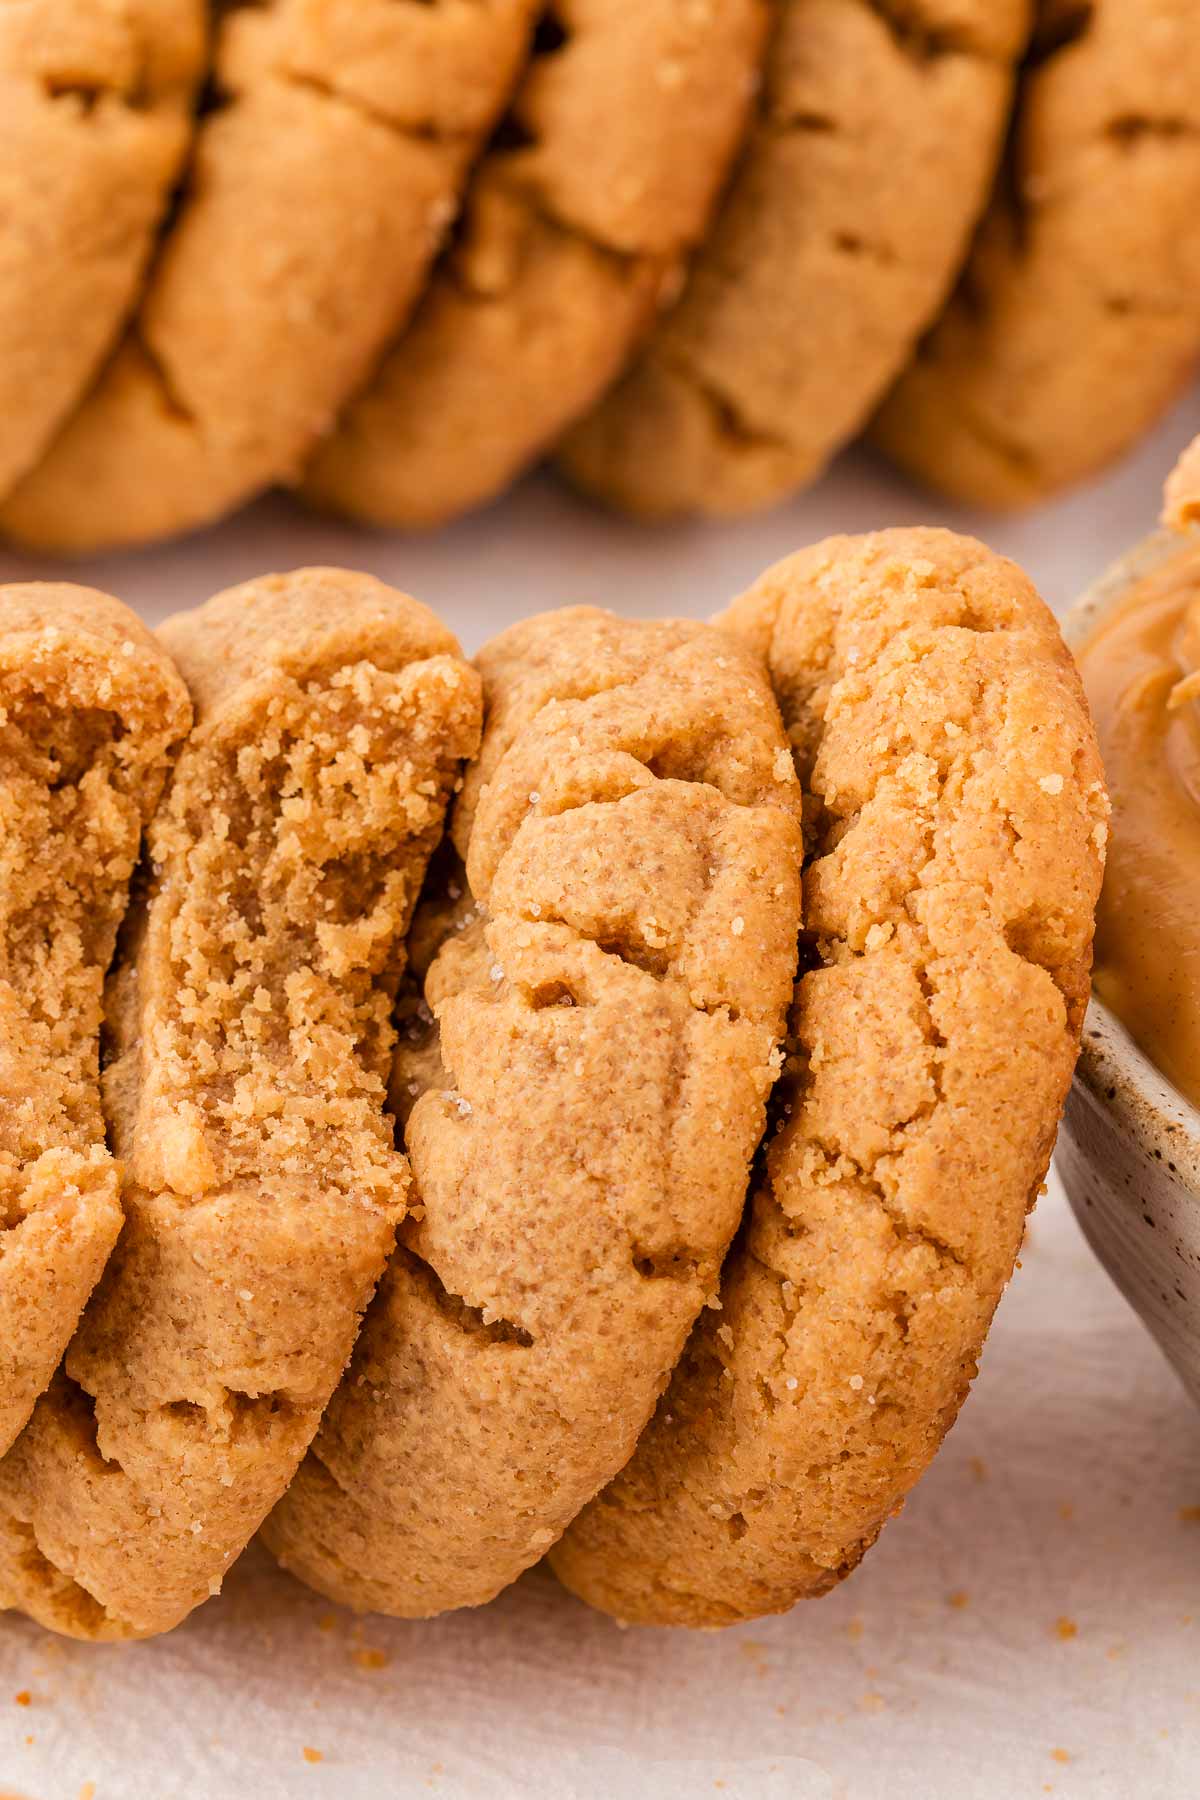
- Don’t skip the fork pattern: The criss-cross isn’t just for looks – it helps flatten the cookies to the right thickness since they don’t spread in the oven. Plus, it’s a fun step to let the kids help with (my little ones feel like pro bakers when they do this).
- Keep an eye on the bake time: These cookies can overbake quickly since they’re so small. Aim for 8–10 minutes and pull them out when the edges are just lightly golden. They’ll look a little soft, but they firm up as they cool – it’s the secret to that perfect chewy texture!
- Use parchment paper or a silicone baking mat: This ensures the cookies don’t stick and makes cleanup super easy – because who has time for scrubbing pans? (Not this mom!)
- Cool on the tray first: Let the cookies cool on the baking sheet for at least 5 minutes before transferring them to a rack. They’re fragile when warm, and this gives them time to set without falling apart.
Helpful recipe hints
Troubleshooting & storage questions
Overbaking is a common cause of dry cookies. These cookies usually bake quickly, often within 8 to 10 minutes. They may appear soft when you first remove them from the oven but will firm up as they cool.
Crumbly cookies can result from using natural peanut butter, which tends to separate and lacks the stabilizers found in commercial brands. It’s recommended to use a no-stir, commercial peanut butter like Jif or Skippy for better consistency.
Reducing the sugar significantly can also affect the structure and texture of the cookies.
Without added fats like butter or oil, these cookies can stick to the baking surface. To prevent this, always line your baking sheet with parchment paper or a silicone baking mat before placing the dough. This ensures easy removal after baking.
Yes! You can mix the dough up to a day in advance and keep it tightly covered in the fridge. Let it sit at room temperature for 10-15 minutes before baking to make scooping and shaping easier.
Store baked cookies in an airtight container at room temperature for up to a week. (Though in my house, they’re usually gone way before that!) If your kitchen is warm, keep them in the fridge for a firmer, chewier texture.
Absolutely! Roll the dough into balls, flatten them slightly with a fork, and freeze on a baking sheet. Once frozen, transfer to a freezer-safe bag or container for up to 3 months. You can bake them straight from the freezer—just add an extra minute or two to the baking time.
Yes! Let baked cookies cool completely, then layer them with parchment paper in a freezer-safe container. They’ll stay fresh for up to 3 months. When you need a quick treat, thaw at room temperature or warm them in the microwave for a few seconds.
Serving and gifting ideas
- Classic milk pairing: Serve these warm cookies with a cold glass of milk for that timeless comfort combo. It’s a hit with my kids and brings back all the nostalgic vibes for me.
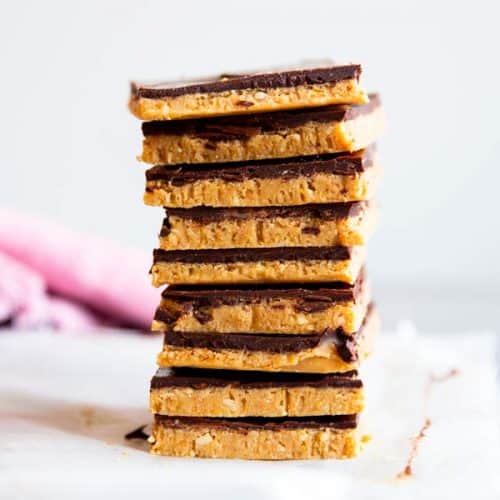
- Cookie platters: Arrange these cookies alongside other favorites like Chocolate Crinkle Cookies and Snickerdoodles for a festive assortment. Perfect for holiday gatherings or playdates when you want to impress without the stress.
- Teacher appreciation: Package a few cookies in a decorative tin or box as a sweet thank-you for teachers. It’s a personal touch that shows appreciation – and gives them a well-deserved treat.
- Bake sale favorite: These cookies are a crowd-pleaser at school bake sales. Easy to make in large batches and loved by all ages – just be prepared for them to sell out fast!

PS If you try this recipe, please leave a review in the comment section and add a star rating in the recipe card – I appreciate your feedback! Follow along on Pinterest, Facebook or Instagram.
Printable recipe
Flourless Chocolate Chip Peanut Butter Cookies
Recipe details
Ingredients
- 1 cup creamy peanut butter
- 1 cup granulated sugar
- 1 large egg
- ½ cup chocolate chips I used mini chips; optional
Instructions
- Prep: Heat oven to 350°F. Line a cookie sheet with baking parchment or a silicone baking mat.
- Make cookie dough: Place peanut butter, sugar and egg in a mixing bowl and mix until well combined (I use an electric mixer, but a stand mixer or even a wooden spoon would work). Add the chocolate chips, if using, and stir in until evenly distributed.
- Shape cookies: Shape cookies, using around 1 heaping tablespoon of cookie dough per cookie to roll into 1-inch balls. Place on the prepared baking sheet. Use back of fork to slightly flatten cookies, creating a criss-cross pattern. Cookies will not spread in oven – flatten to desired thickness (thicker cookies stay soft, thinner cookies get more crisp).
- Bake: Bake for 8-10 minutes, or until lightly golden (cookies will still be soft). Cool on the cookie sheet for 5 minutes, then remove to a cooling rack to cool completely.
Notes
Ingredient notes
- Peanut butter: Use creamy, not natural, for best results.
- Sugar: White sugar is ideal, but light brown sugar adds a soft texture and caramel flavor. Use a mix for the best of both!
- Egg: Use a large egg; a flax egg works for allergies (1 tbsp flaxseed meal + 2.5 tbsp water).
- Chocolate chips: Optional but delicious – mini chips work well.
Recipe tips
- Room temperature peanut butter: Makes mixing easier.
- Flatten with a fork: Creates the classic criss-cross pattern and helps shape the cookies.
- Watch the bake time: Pull cookies at 8–10 minutes when edges are lightly golden.
Storage tips
- Make ahead: Refrigerate dough up to a day; let soften 10 minutes before shaping & baking.
- Leftovers: Store cookies in an airtight container for up to a week, or refrigerate in warm climates.
- Freeze dough: Roll, flatten, freeze on a tray, then store in a bag for up to 3 months; bake from frozen with 1–2 extra minutes.
- Freeze baked cookies: Layer with parchment in a container for up to 3 months; thaw at room temperature or microwave briefly.
More recipe information
Recipe first published on 06/07/2016. Updated with new photos and improved text on 12/21/2024.

Amiylah Williams says
These recipes are amazing 🤩
Leigh says
Cant wait to make them! Looks so decadant and simple to make
Rita says
These were super easy and delicious. I added a tsp of baking soda. They are perfect. We can’t stop eating them. Thank you.
Mike Oxlong says
nice recipe, used it for my chemistry class ?
Luna says
I used organic coconut sugar instead and added walnuts to the mixture, was very very yummy! Thank you for the recipe!
WENDY says
Really good!! I actually used 3/4 cup of Brown Sugar instead of white sugar and added a tsp of vanilla. 🙂
Carrie says
So good! I added a little bit of sea salt to the top as well. ?
Nora says
What a great idea, Carrie!
Anita says
I don’t have chocolate chips, do you think if I chopped up a bar of chocolate it would work?
Nora says
Yes, for sure, Anita!
Jenn says
I love the egg substitute and I am not using sugar, I was thinking of putting in applesauce so that I don’t have to put the sugar in. And know that it can still give that same texture and I can leave the egg out then too.. that’s always a hit around here.
Nora Rusev says
That sounds so interesting, Jenn! I tried to make a healthy version of these once and miserably failed. I’ll have to try again!
Regina says
I used swerve instead of sugar, and you can use sugar free chips, I’m pre diabetic so cutting sugar where I can.
Britt says
These were DELICIOUS! We can’t have eggs so we used flaxmeal/water egg replacement & it worked! Thanks for a simple & yummy recipe!
Nora Rusev says
I’m so glad, Britt! Thank you for sharing your egg substitution, I’m sure it will be helpful to others, too!
Bell says
Can I frezee these?
Nora says
Yes Bell, absolutely! You can either freeze them baked for up to 3 months (just unpack them and place them on a wire rack on the counter for a couple of hours to defrost), or you can scoop the cookies and freeze them unbaked (up to 3 months). I recommend freezing them in a single layer on a baking sheet until solid (1-2h) before transferring to a bag, so they don’t stick together. You can bake from frozen, they’ll take a few extra minutes and will be thick. You can also defrost them in the fridge for a couple of hours, then they’ll be less thick.
Mary-Kate Burnett says
we are giving the neighbors these because we are stuck inside !
Danielle says
Aww you have the cutest little helper, Nora! I definitely need to try these cookies out with some chocolate chips! You can never go wrong with a little chocolate 😉
Alyssa @ My Sequined Life says
Sometimes simple recipes are the best! Plus any that don’t dirty up the whoooole kitchen immediately jump to the front of the line. 😉 I love these, Nora!!
Medha says
Love the graphic! So cute 🙂 Peanut butter cookies are just the best, and I love the minimalist ingredients list- pinning!
Rachel @ Bakerita says
Sounds like so much fun baking with your little helper! 🙂 These cookies sound SO good, Nora!