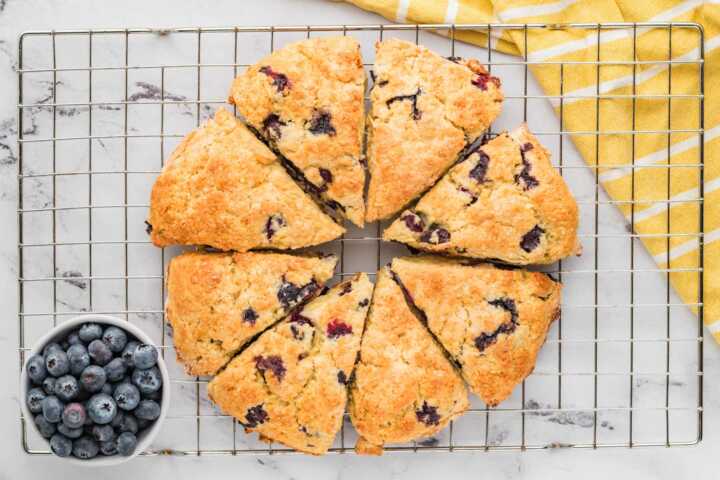
This Blueberry Scones recipe has been here on my blog since 2018—and yes, I’m still making them exactly the same way. Because when something works this well, you don’t mess with it.
We’re talking golden crust, fluffy-soft middle, juicy bursts of blueberry, and the subtle tang of buttermilk in every bite. They come together fast, don’t require a mixer, and freeze beautifully—though honestly, they barely last an hour around here!
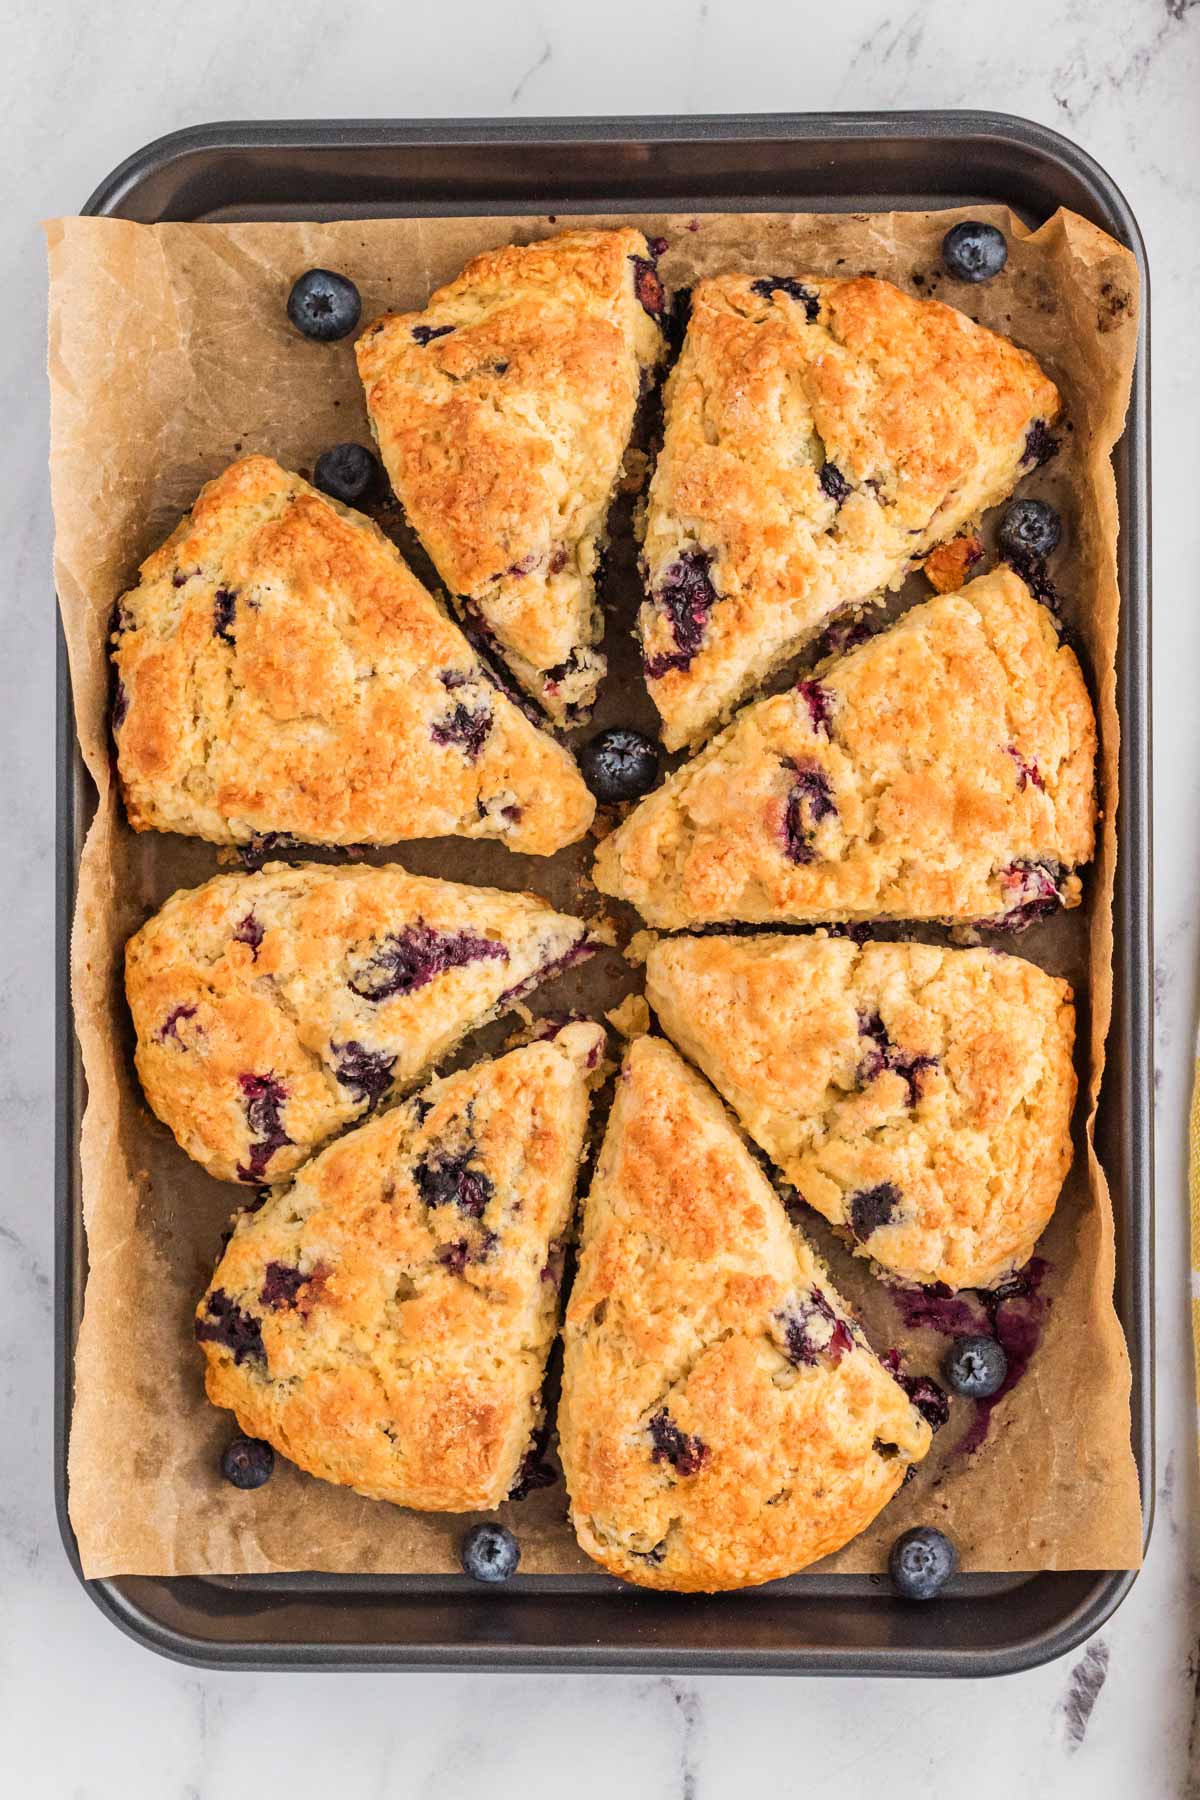
I judged scones too soon. These ones earned their keep.
The first time I ate a scone, I was thoroughly underwhelmed. Dry, hard and boring – definitely not what you want from a bakery goodie! But at some point I ate a good one, and then I decided I had to learn how to make them.
I was so surprised to find out how easy scones are to make at home, and now they’re a regular for special brunches around here! This recipe has lots of juicy blueberries and a lemon glaze for the perfect spring treat (and shhh… make sure to tuck away my pumpkin scone recipe for the fall, too!).
🫐 Why this recipe actually delivers
- The dough is messy on purpose. That “is this even working?” stage? That’s where the fluffiest, best-textured scones live.
- Buttermilk + lemon zest = unmatched flavor. Tangy, fresh, and just sweet enough.
- They’re rustic in the best way. This is not a tea party scone. It’s the kind of breakfast treat you grab on a Tuesday morning and eat standing over the sink. (No judgment. That’s how I do it.)
What’s in these scones (besides tears of joy)
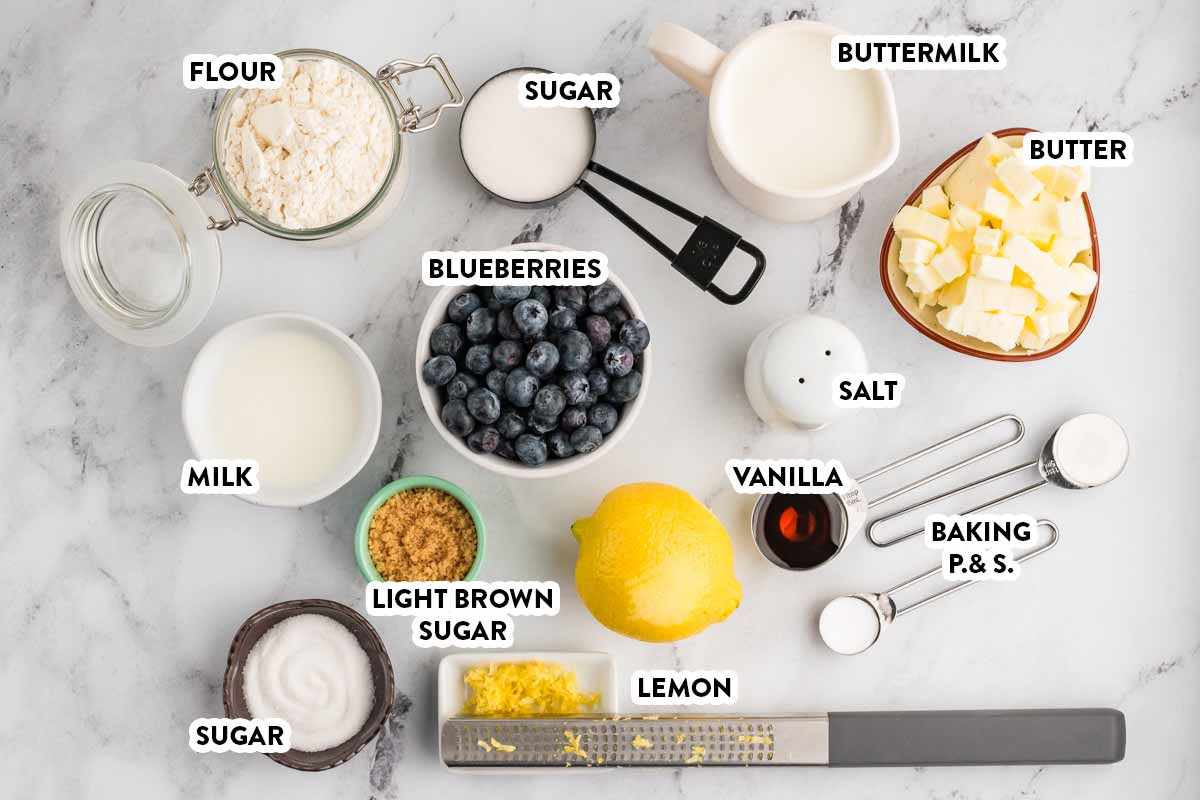
You’ve got your usual scone suspects: flour, sugar, leavening, salt—and a little lemon zest for brightness. Cold butter is key here (no soft spreadables, please), and real buttermilk gives that classic tender texture. Fresh blueberries are best—frozen ones work, but things get a little… smudgy. Brush the tops with milk and a sugar mix for sparkle, and you’re golden. Literally.
Buttermilk Blueberry Scones
Ingredients
- 2 ½ cups flour
- ⅓ cup sugar
- 1 teaspoon grated lemon zest
- 2 teaspoons baking powder
- ½ teaspoon baking soda
- ½ teaspoon salt
- ½ cup cold butter (cubed)
- 1 cup blueberries (fresh preferred; frozen will yield messy/grey scones)
- ⅔ cup buttermilk
- 1 tablespoon vanilla extract
For brushing
- 1 tablespoon milk
- 1 tablespoon granulated sugar
- 1 tablespoon light brown sugar
Optional glaze – see notes
Instructions
- Prep:Preheat the oven to 400°F (200°C). Line a baking sheet and sprinkle with flour.
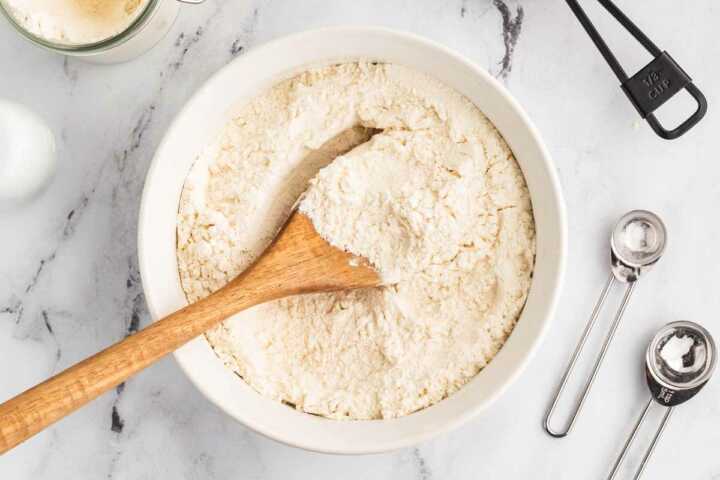
- Mix dry ingredients:Combine flour, sugar, lemon zest, baking powder, baking soda and salt in a large mixing bowl.2 ½ cups flour, ⅓ cup sugar, 1 teaspoon grated lemon zest, 2 teaspoons baking powder, ½ teaspoon baking soda, ½ teaspoon salt
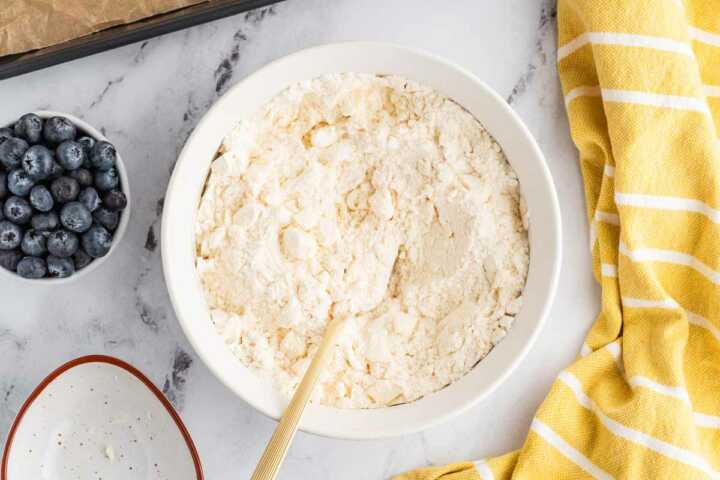
- Blend in butter:Add butter to the bowl with the flour and cut in with a pastry blender, a fork OR your clean fingers. You should end up with a bowl full of pea-sized crumbs.½ cup cold butter
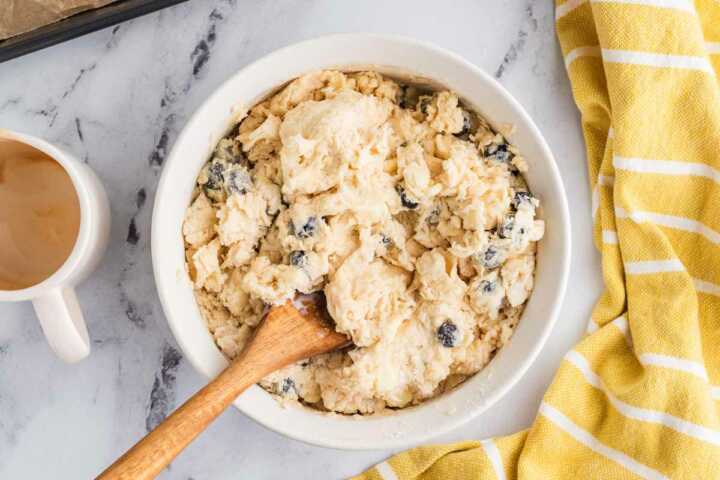
- Add liquids:Stir blueberries into the crumb mixture. Whisk together buttermilk and vanilla and pour into the bowl, too. Stir with clean hands or a wooden spoon JUST until combined. Do not overwork! Do not burst the berries! A scraggly, messy dough makes the fluffiest, lightest scones.1 cup blueberries, ⅔ cup buttermilk, 1 tablespoon vanilla extract
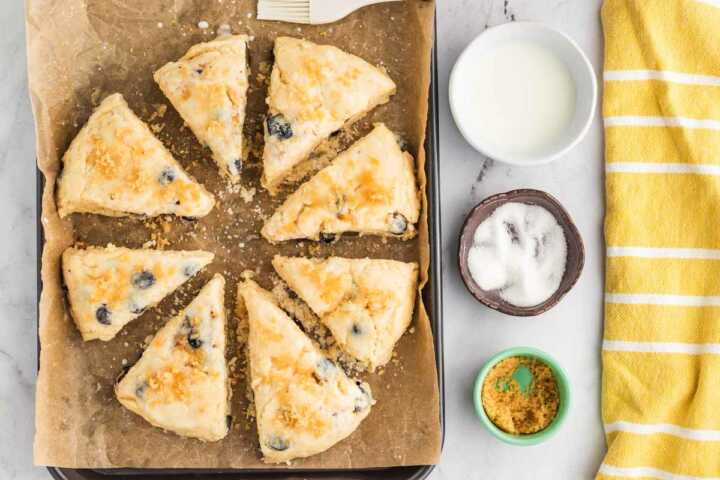
- Shape:Turn out the dough on your prepared baking sheet. Gather it into a ball and slightly flatten it into a roughly 7 inch (18cm) disk (this works best with slightly damp fingers). Cut into 8 wedges. Pull the wedges slightly apart, so they're about 2 inches (5cm) away from each other.
- Finish and bake:Brush the scones with milk and sprinkle with both sugars. Bake in the preheated oven for 20-25 minutes, or until golden. Transfer to a cooling rack and allow to rest until cool enough to touch. They are best served warm – see notes for glaze.1 tablespoon milk, 1 tablespoon granulated sugar, 1 tablespoon light brown sugar
Video
Recipe first published in 2018. Updated on 03/21/2021 and again on 04/10/2025 (new photos and text, recipe has remained the same).
FAQ – For the scone-curious, scone-skeptical, and scone-obsessed
💡 What’s the secret to fluffy, tender scones?
Two things:
- Measure your flour correctly (spoon and level—it matters!).
- Don’t knead the dough. Seriously. I know it’s tempting, but scone dough is like a cat—don’t poke it too much and it’ll turn out soft, chill, and perfect.
🔪 How do I shape and cut the dough without ruining everything?
- Flour your baking sheet like you mean it.
- Use a super sharp knife or dough scraper to cut clean wedges—sharp edges = better rise.
- Pull the wedges apart gently. Yes, it’s awkward. Yes, you have to do it. No, they won’t bake right if you skip it.
🍋 Do I have to glaze them?
Not at all. They’re delicious as-is.
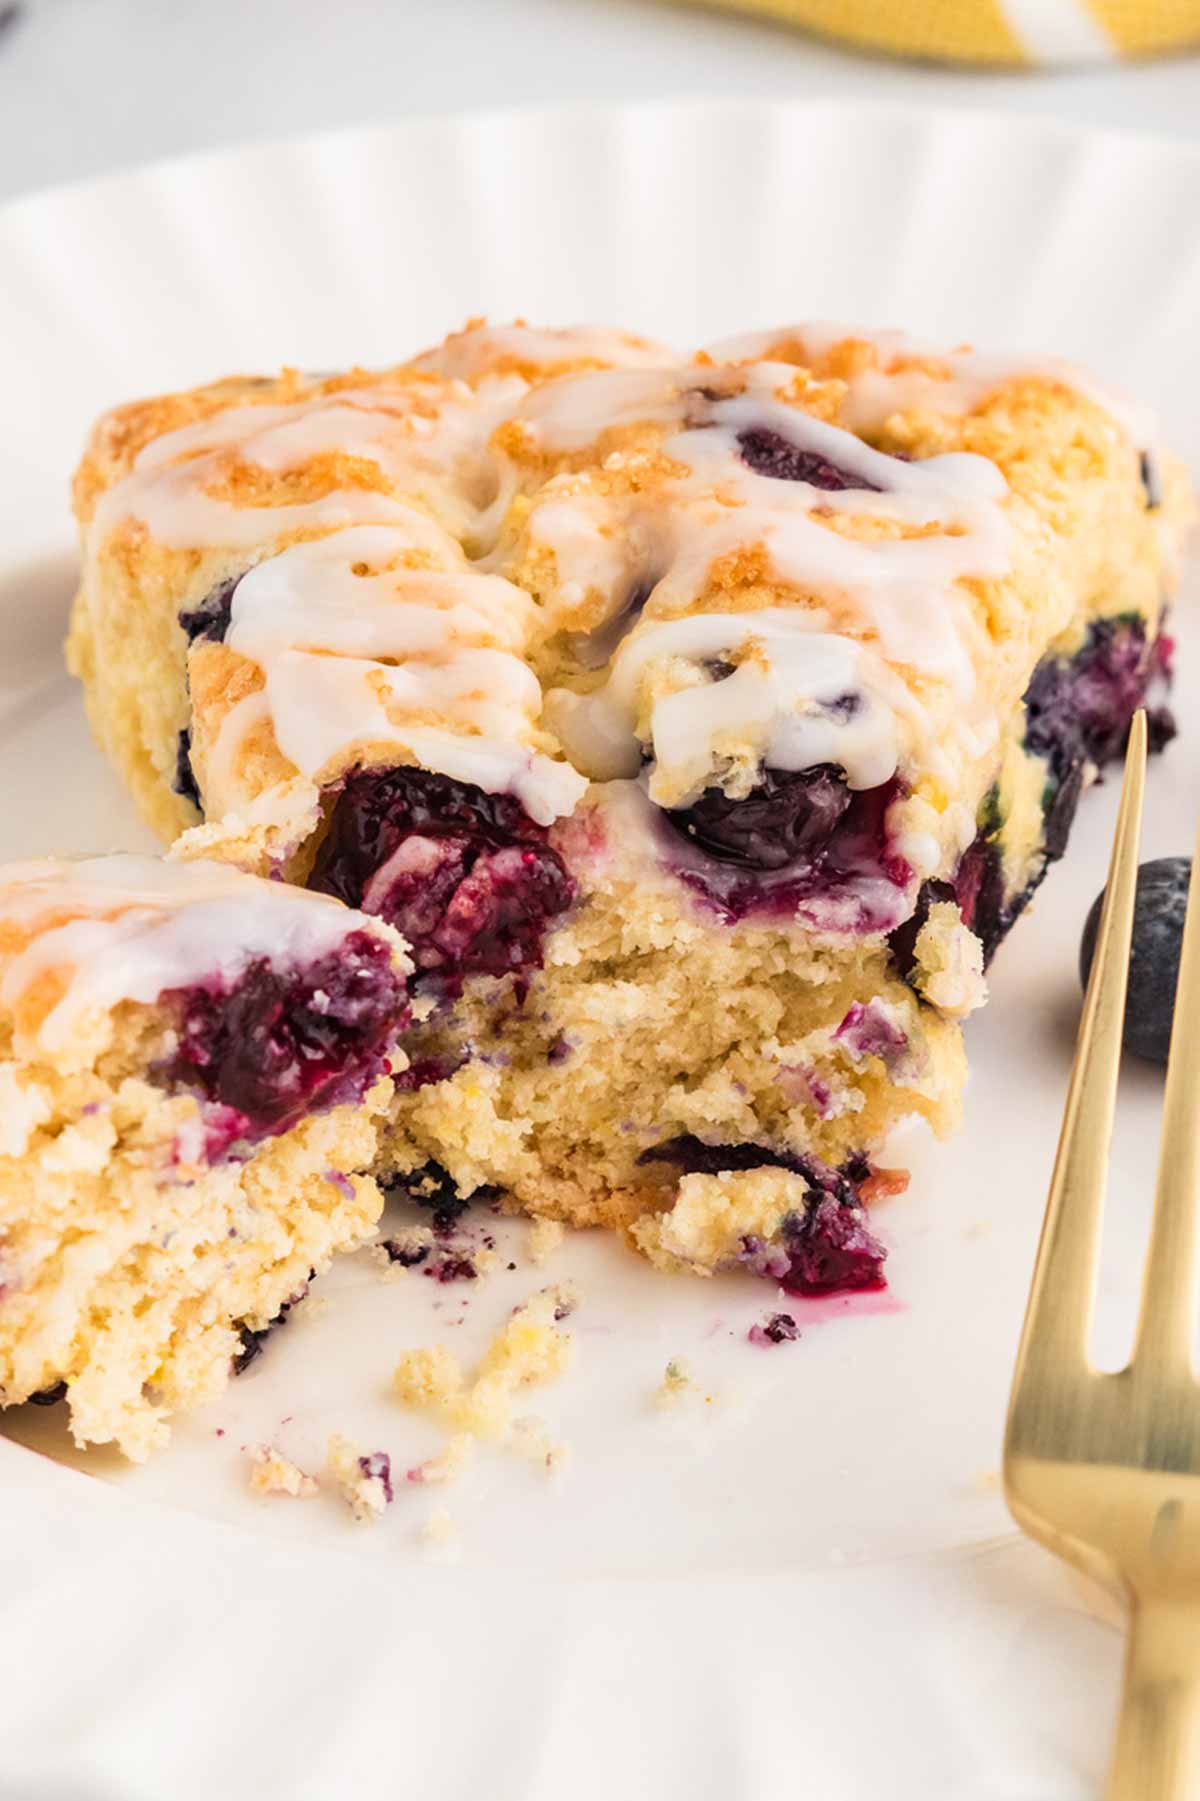
But if you’re feeling fancy, just stir ½ cup powdered sugar with 2–3 teaspoons lemon juice and drizzle over the warm scones. It’s quick, easy, and makes them look ✨extra✨.
🥶 Can I freeze them?
Yep. Freeze baked scones (cooled completely) in an airtight container for up to 3 months.
Thaw on the counter and warm in the microwave or toaster for that just-baked texture again.
🕒 How long do they keep?
They’re best the day you bake them. But if you must, store in an airtight container for up to 3 days. Give them a quick warm-up before serving and they’ll still be delightful.
Watch the recipe video
💌 Tried them? Fell in love with scones? Been baking them since 2018, too?
Leave a rating or comment below so I know I’m not the only one still hopelessly devoted to a blueberry baked good.
📌 And pin the recipe now so you’ve got it ready for Sunday mornings and snacky afternoons!





Mary B says
I think I have found my blueberry scone recipe!! Unfortunately I was unable to use lemon zest as I’m unable to buy lemons at this time but wonderful nonetheless. Many thanks.
Myre says
Easy to prepare and came out delicious. Was a hit in my house.
Nora says
Very happy to hear it, Myre!
Val says
These are delicious! I keep going back to this one.
Jenny says
Had extra buttermilk, and a 2L basket of blues from a local farm…went on the hunt for a scone recipe online and found this one. SO GLAD I MADE THEM. I wasn’t too sure when the dough was more crumbly than I was used to but I trusted the process and I wasn’t let down! Flavour- amazing. Texture- perfection. Saved this recipe in my recipe box because I WILL be making it again and again! Thank you for this recipe
Marlisa says
I’ve made them twice. I’m new to scones and this was great. I used frozen blueberries, which I hVe a lot of…kept them frozen to the last minute and the scones are not messy or grey.
Devan says
My first time making scones, and I can’t wait to improve! @Nora, I do have questions! My scones came out rather dry, and not packed with tons of flavor.. any suggestions? I followed instructions without deviating.
Nora says
Devan, if your scones were dry my first question would be how you measured your flour? Most of the time, when baked goods come out dry, it’s because you accidentally added too much flour.
Anita Bertmeyer says
So good! Not nearly as daunting as I thought it would be to make scones. The tips were great, as were the step by step pictures. Especially for cutting in the butter for a newbie like me. Starbucks scones are ruined to me forever now. Not sorry.
Nora says
Glad the tips were helpful, Anita! Not sorry either 😉
Susan says
I’ve tried quite a few scone recipes over the years (I’ve been a baker since the age of 8 and I’m now 75). They’re usually good, I haven’t ever had a “fail” with scones. But my goal has never been “good”, it has always been REALLY, REALLY good. Like you consume one and you’re still thinking about it a few days later. These scones are REALLY REALLY good. My husband is eating one right now and two times he has said, “Wow! These are really really good!” (and he wasn’t even aware that was the goal!). Thank you for a wonderful recipe and thank you for all your helpful hints. I particularly liked the part where you cautioned against over-handling the dough and not kneading, no matter how tempting. I plan on throwing away all my other scone recipes (including pins) so there will be no confusion when I get old and forgetful. 🙂
Nora says
Susan, what an honor for my humble scone recipe! I’m so glad you and your husband enjoyed them so much. Thank you for taking the time to read the tips and instructions so carefully, and thank you for your kind words. I appreciate it very much!
Rowena Garcia says
It was so easy to make and ingredients were available in the pantry. I am so pleased with the outcome. My husband requested I make another batch – the same day.
Ivette says
Absolutely perfect!
Nora says
I’m so glad to hear it, Ivette!
Robyn says
Always shied away from scones..too messy…too much trouble for a hard crumbly cookie…OMG…have I missed out! Your recipe and the results were the best thing I put in my mouth baked by me in ages!
Thank you for this recipe from the bottom of my cookie crumbs to the tip of my ever increasing waistline!
Nora says
Oh Robyn, your commend made me laugh out loud! I’m so incredibly glad you enjoyed the scones.
Mary B says
My husband and I loved these! I used frozen berries, even a few more than 1 cup, just defrosted them a little first. Used a grater to grate the very cold butter into the flour. Yes, the scones were a little colored, but we didn’t care. Often the ugliest desserts are the tastiest! We’ll definitely be having these again.
Nora says
I’m so glad, Mary!
Anna says
Absolutely fantastic, thank you!
Nora says
I’m so glad, Anna!
Juanitadownes75@gmail.com says
Omg…!!! These are so yummy…..I used cooking creme with mine and the lemon flavor is soooo good?
Nora says
I’m so glad!
Lise says
I love these scones. They were easy to make and so delicious and addictive!
Val says
These are delicious! Making them again as the first ones disappeared with rave reviews! Thanks!