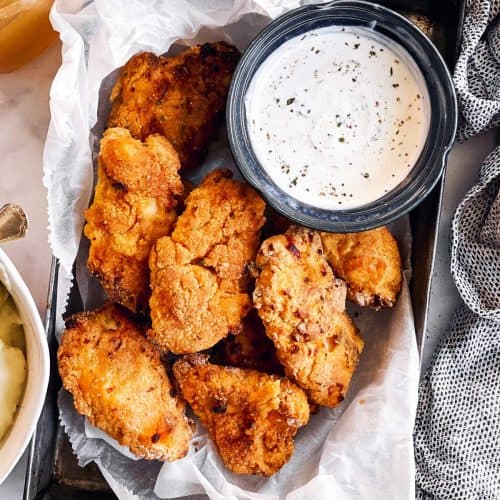
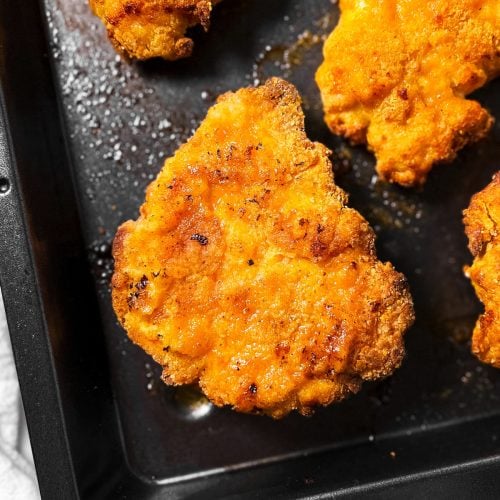
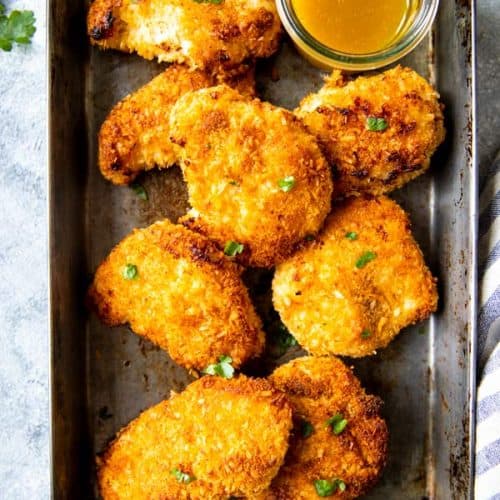
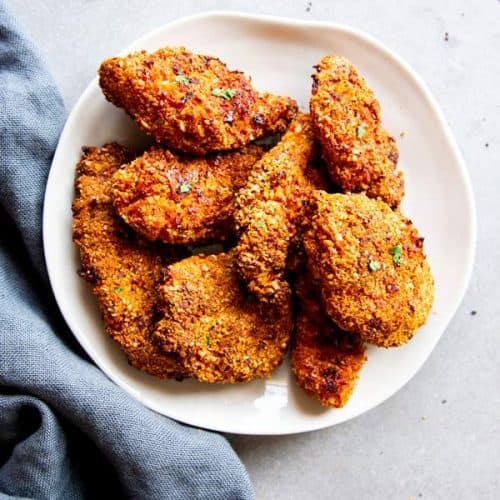
This Air Fryer Fried Chicken comes out beyond crispy on the outside, while the meat on the inside stays so juicy! It’s a great and mess-free way to make this family favorite dinner. Quick, easy and delicious!
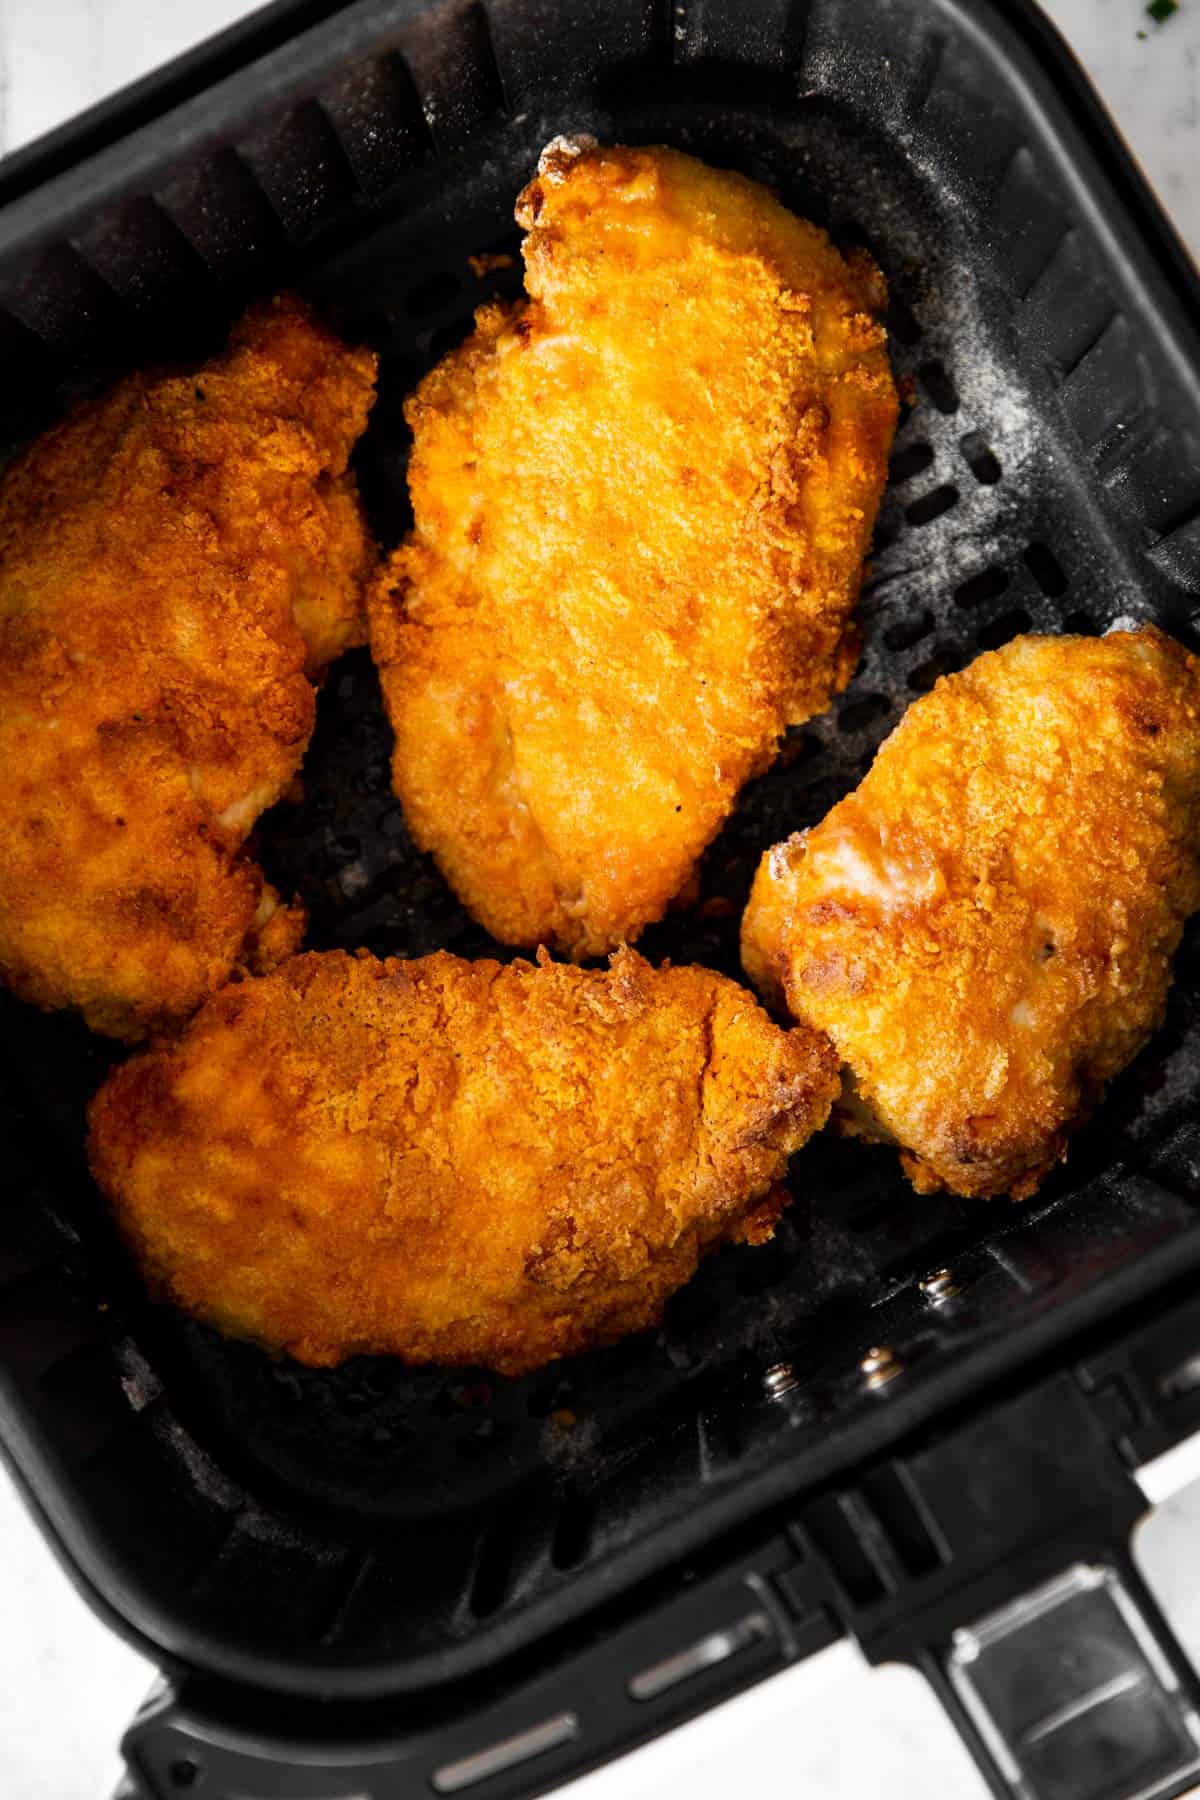
I think it’s no surprise that we love all things fried chicken around here. My Homemade Baked Chicken Nuggets were one of the first posts I shared on this blog all the way back in 2014.
My Oven Fried Chicken has been a huge hit ever since I shared it here on Savory Nothings, too – but now it’s definitely time for the air fryer version. And to be quite honest? I don’t think I’ll ever go back to making “fried” anything any other way again, it’s simply too perfect!
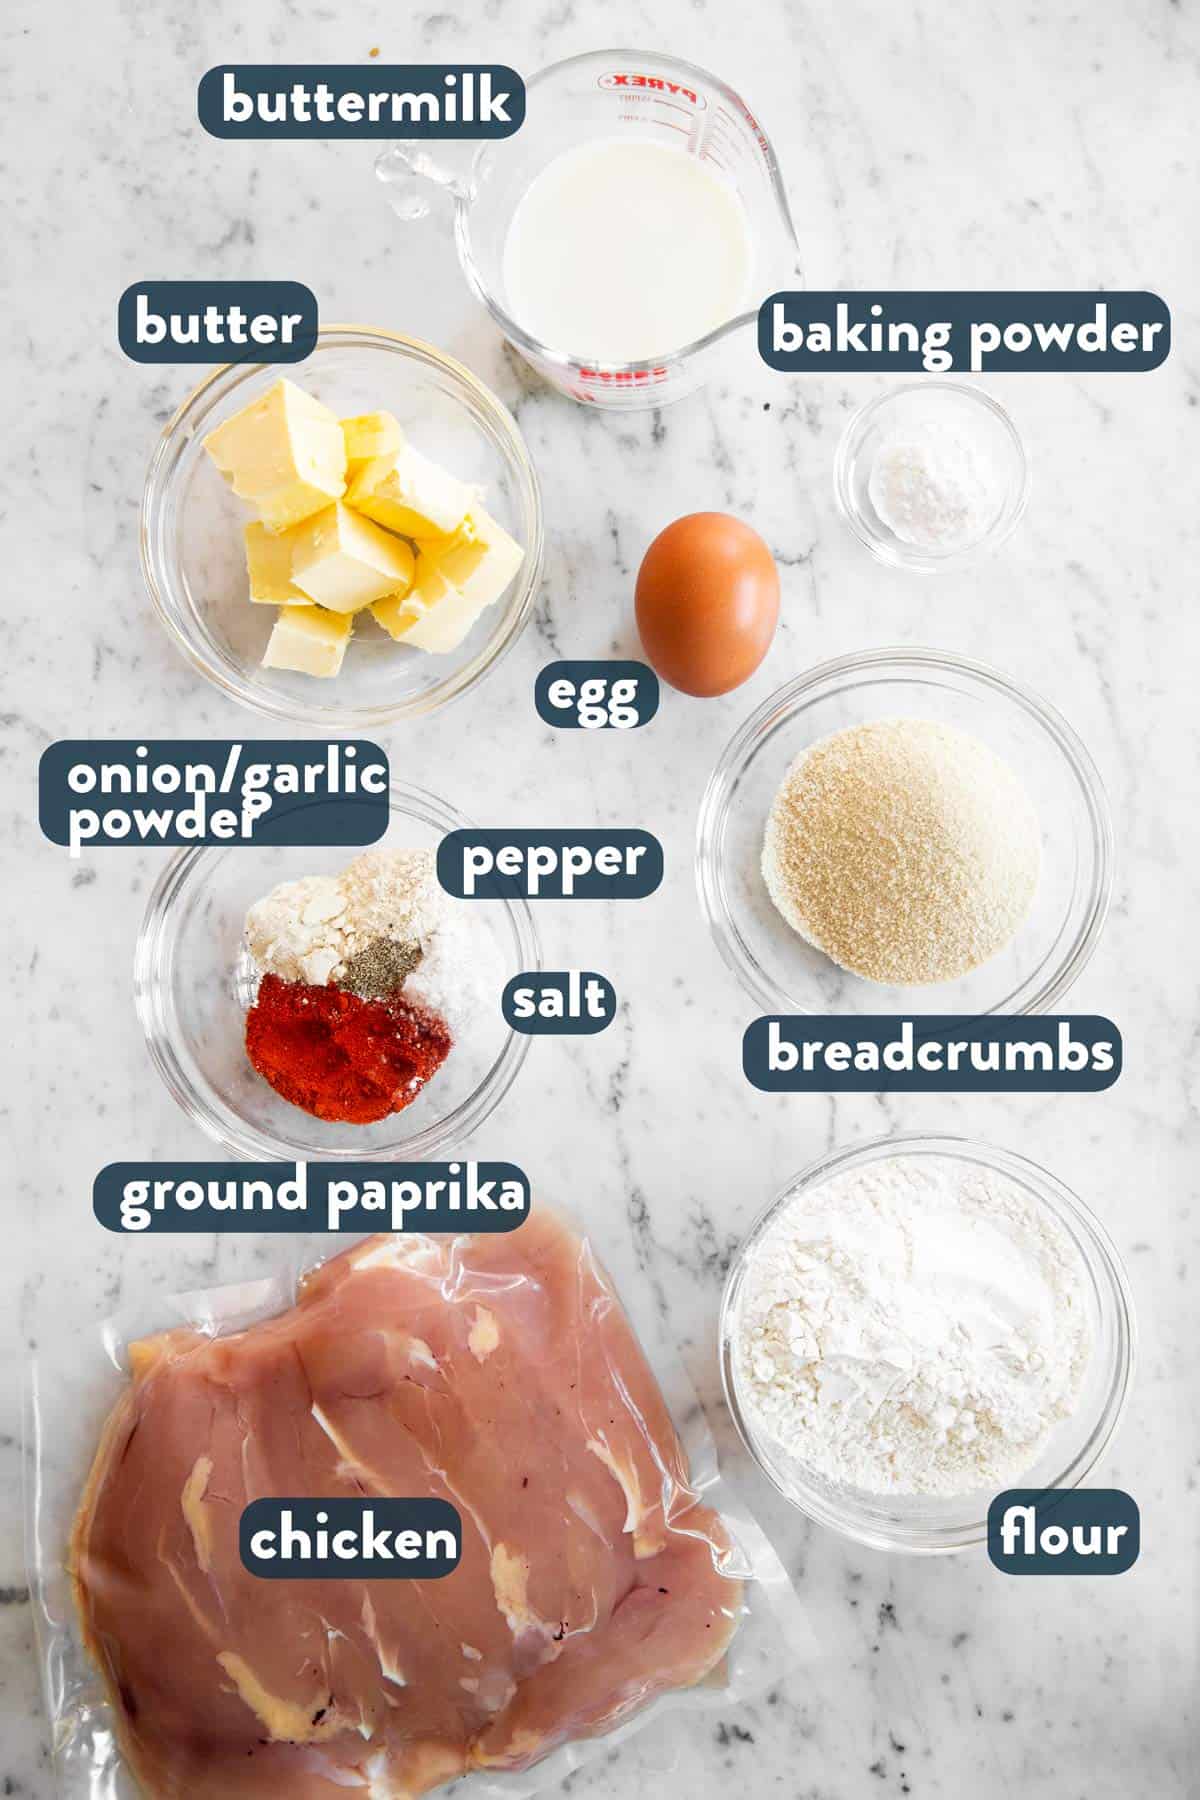
Ingredients you’ll need
Here is a visual overview of the ingredients in the recipe. Scroll down to the printable recipe card at the bottom of this post for quantities!
Ingredient notes
- Chicken: You can make this recipe with chicken breast, thighs, drumsticks or chicken tenders. I have seen a few recipes making them with different pieces, but I actually wouldn’t recommend it because they all have slightly different cooking times and make it more difficult to cook the chicken right. This really needs to be eaten as soon as it’s ready, so I prefer to use all of the same cut per batch I air fry.
- Breadcrumbs: I used regular because Panko isn’t available all the time in my neck of the woods. Either works just fine – and you can even use Italian seasoned in a pinch if that’s all you have on hand.
- Buttermilk: I prefer buttermilk over regular milk in this recipe, but if all you have is regular milk you can stir 1 tablespoon apple cider vinegar into the milk, leave it to sit on the counter for 10 minutes and then use it. I have made this recipe with regular milk before and while it’s delicious, the breading tends to stick a little less well. Another great option is to use 2 eggs in place of the buttermilk if you don’t have any on hand. Just doesn’t have that little bit of tang from the buttermilk – I serve it with some lemon wedges to make up for it ?
- Butter: Even though this is an air fryer recipe, you do still need fat to create a crispy, cooked coating. Without the butter, you’d be left with a very dry/floury coating. So please don’t skimp on this. It really isn’t that much butter per serving compared to deep fried chicken and you’ll regret it if you don’t use enough. I suppose you could spray the chicken with oil spray instead and it would be OK, but to be perfect I very strongly recommend the butter.
- Baking powder: This may seem like an odd ingredient here, but together with the egg it adds some body to the breading and helps to puff it up and brown more.
How to make fried chicken in the air fryer
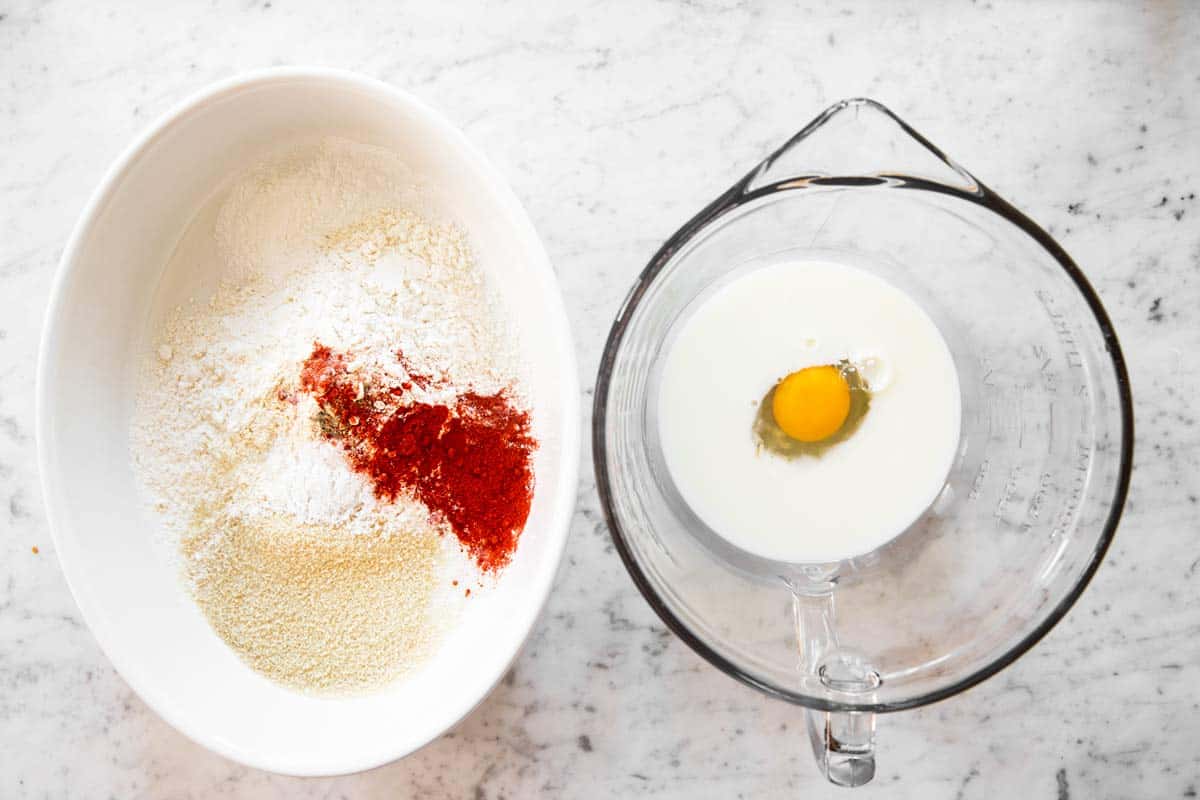
1. Start by making your breading mixes: The dry ingredients go into a wide, shallow dish (I always use a baking pan) and the egg/buttermilk go into a bowl.
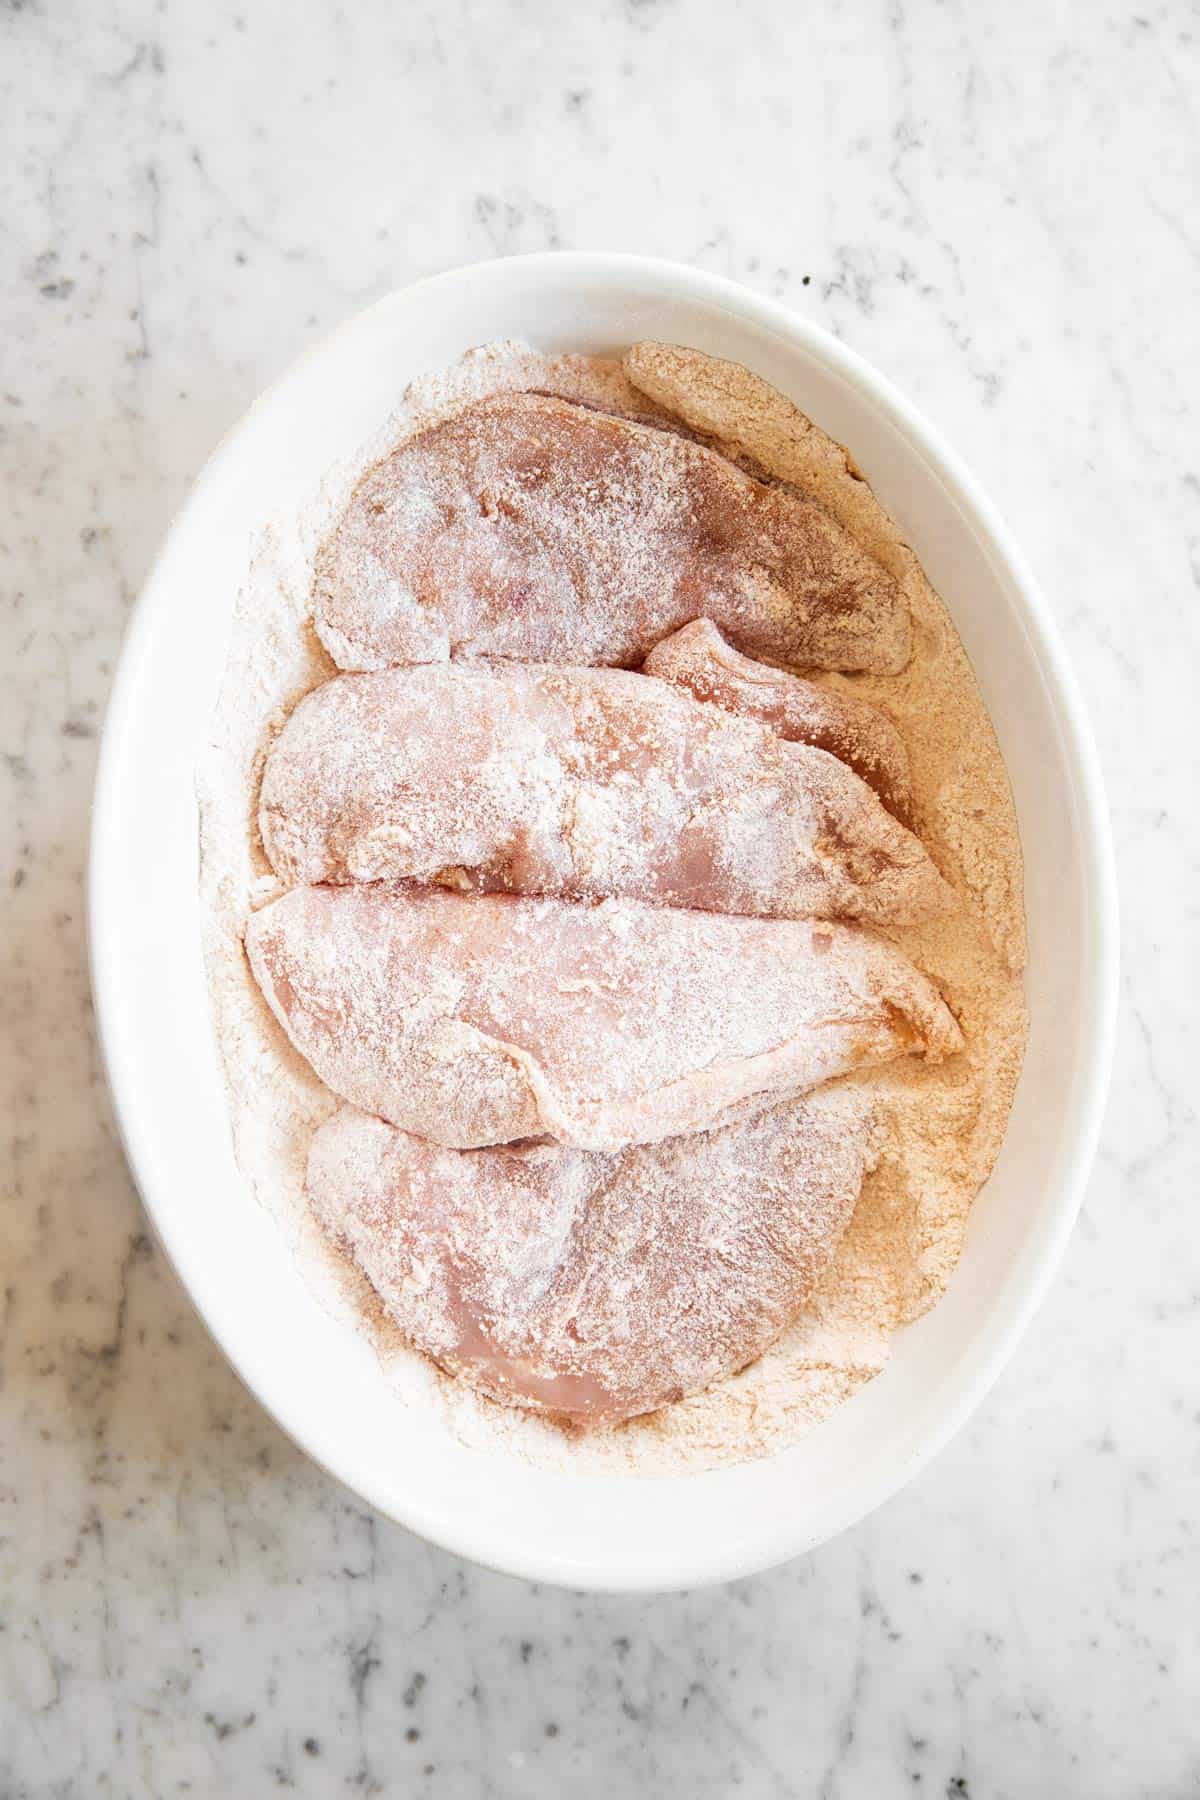
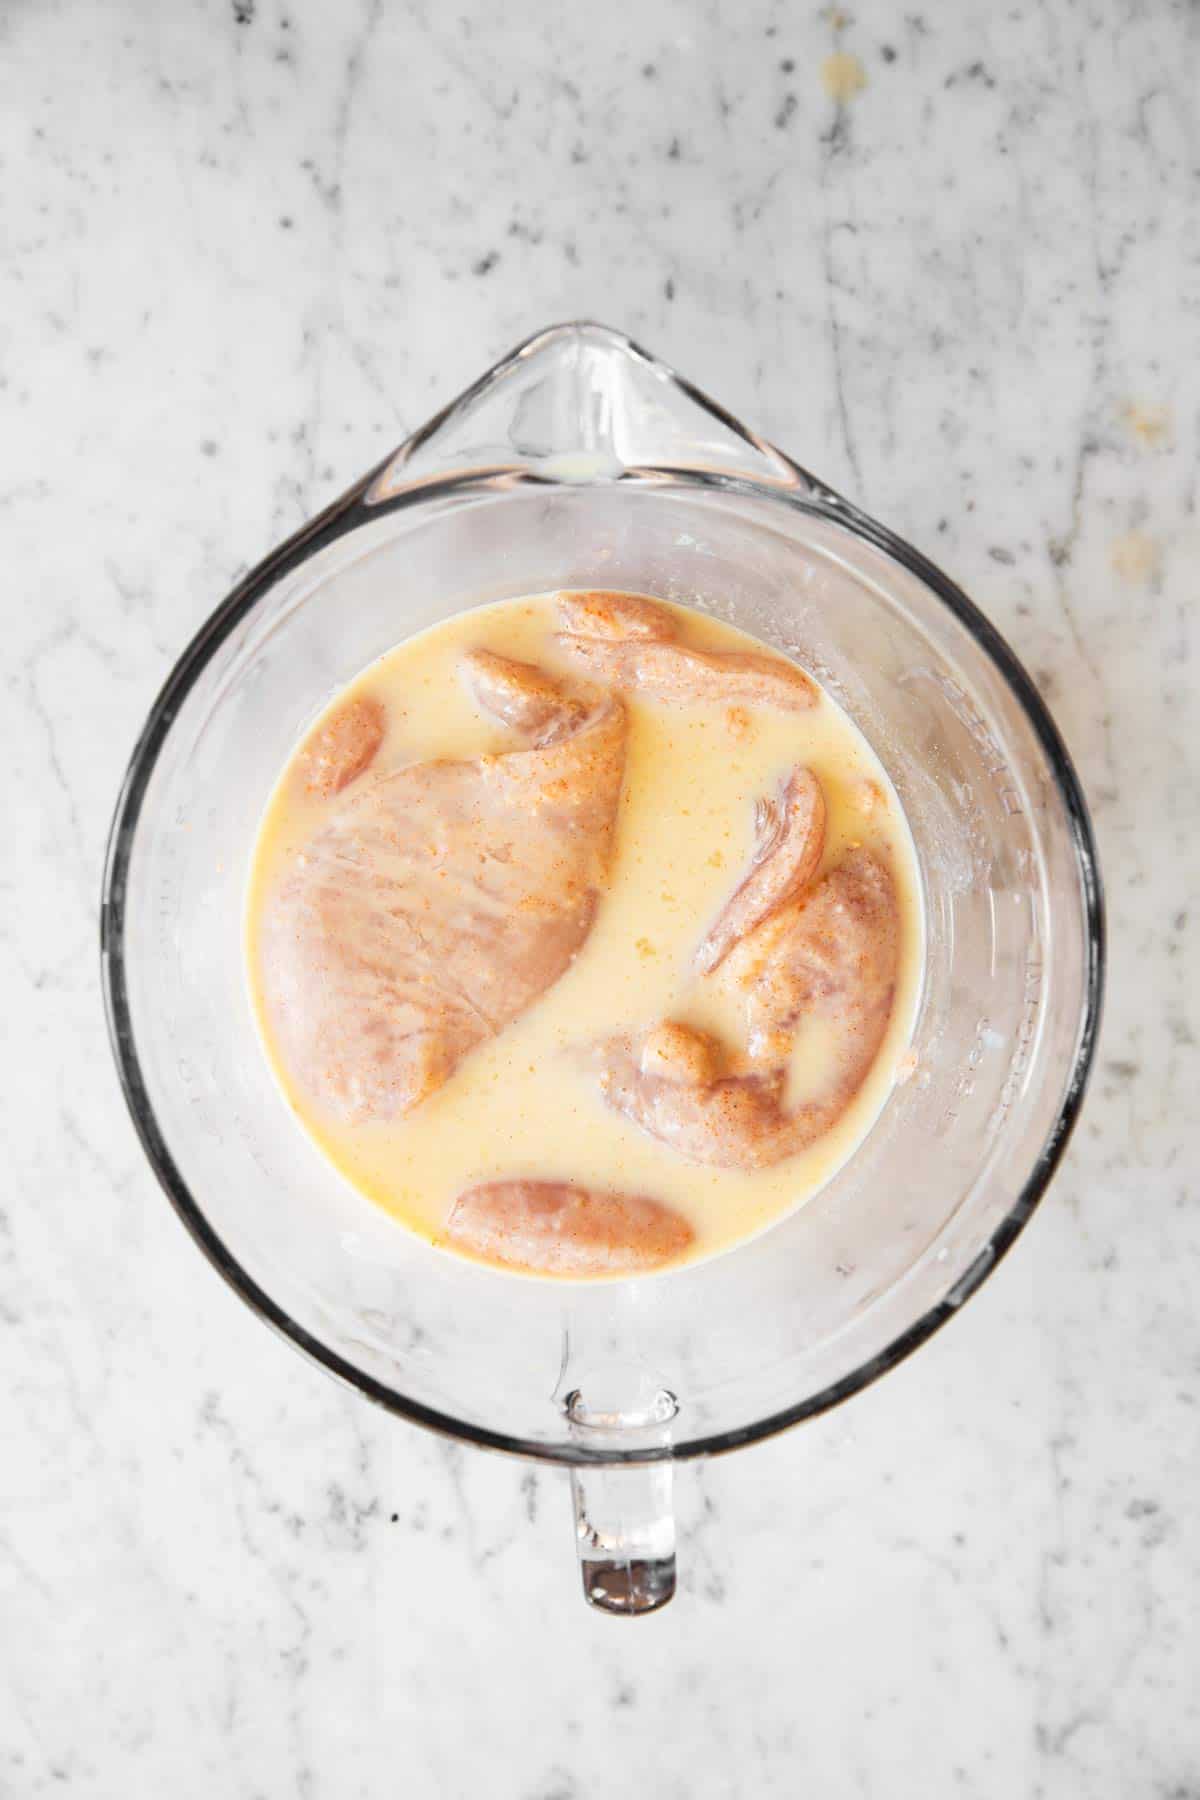
2. Then, toss the chicken in the dry mixture. You only want it thinly coated at this point. Next, you’ll want to place the chicken in the egg mixture.
You can add all of the meat at once for this, no need to do each piece separately (breading works much, much quicker this way – just a little trick I have figured out over the years, I’m sure it’s not revolutionary but I wanted to mention it for those who might be interested!)
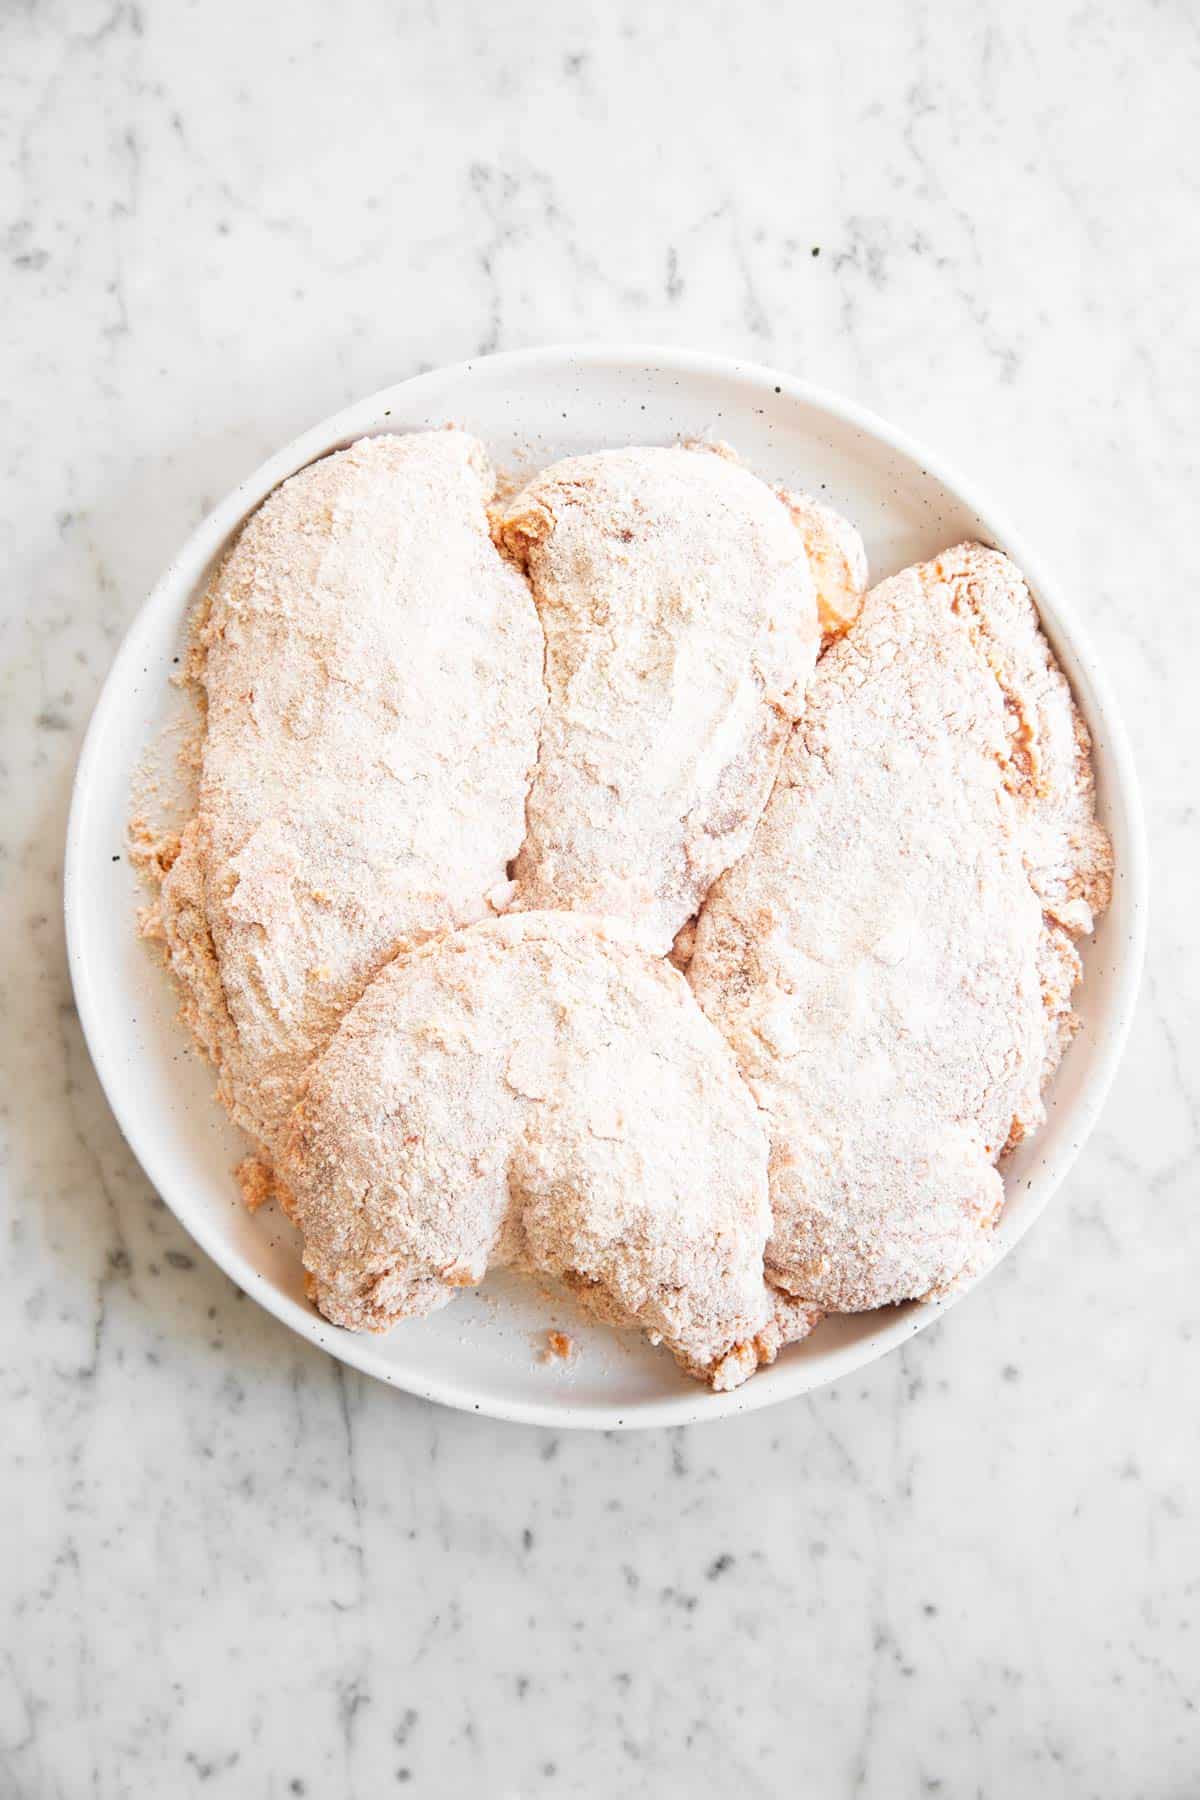
3. The final step in breading is to thickly coat each piece of chicken with the flour mixture again. This time, you’ll have to do each piece separately. Also, please pound/press the coating onto the meat for best results.
The breading may look a little dry/floury at this point, but it will cook up golden and crispy with the butter in the air fryer!
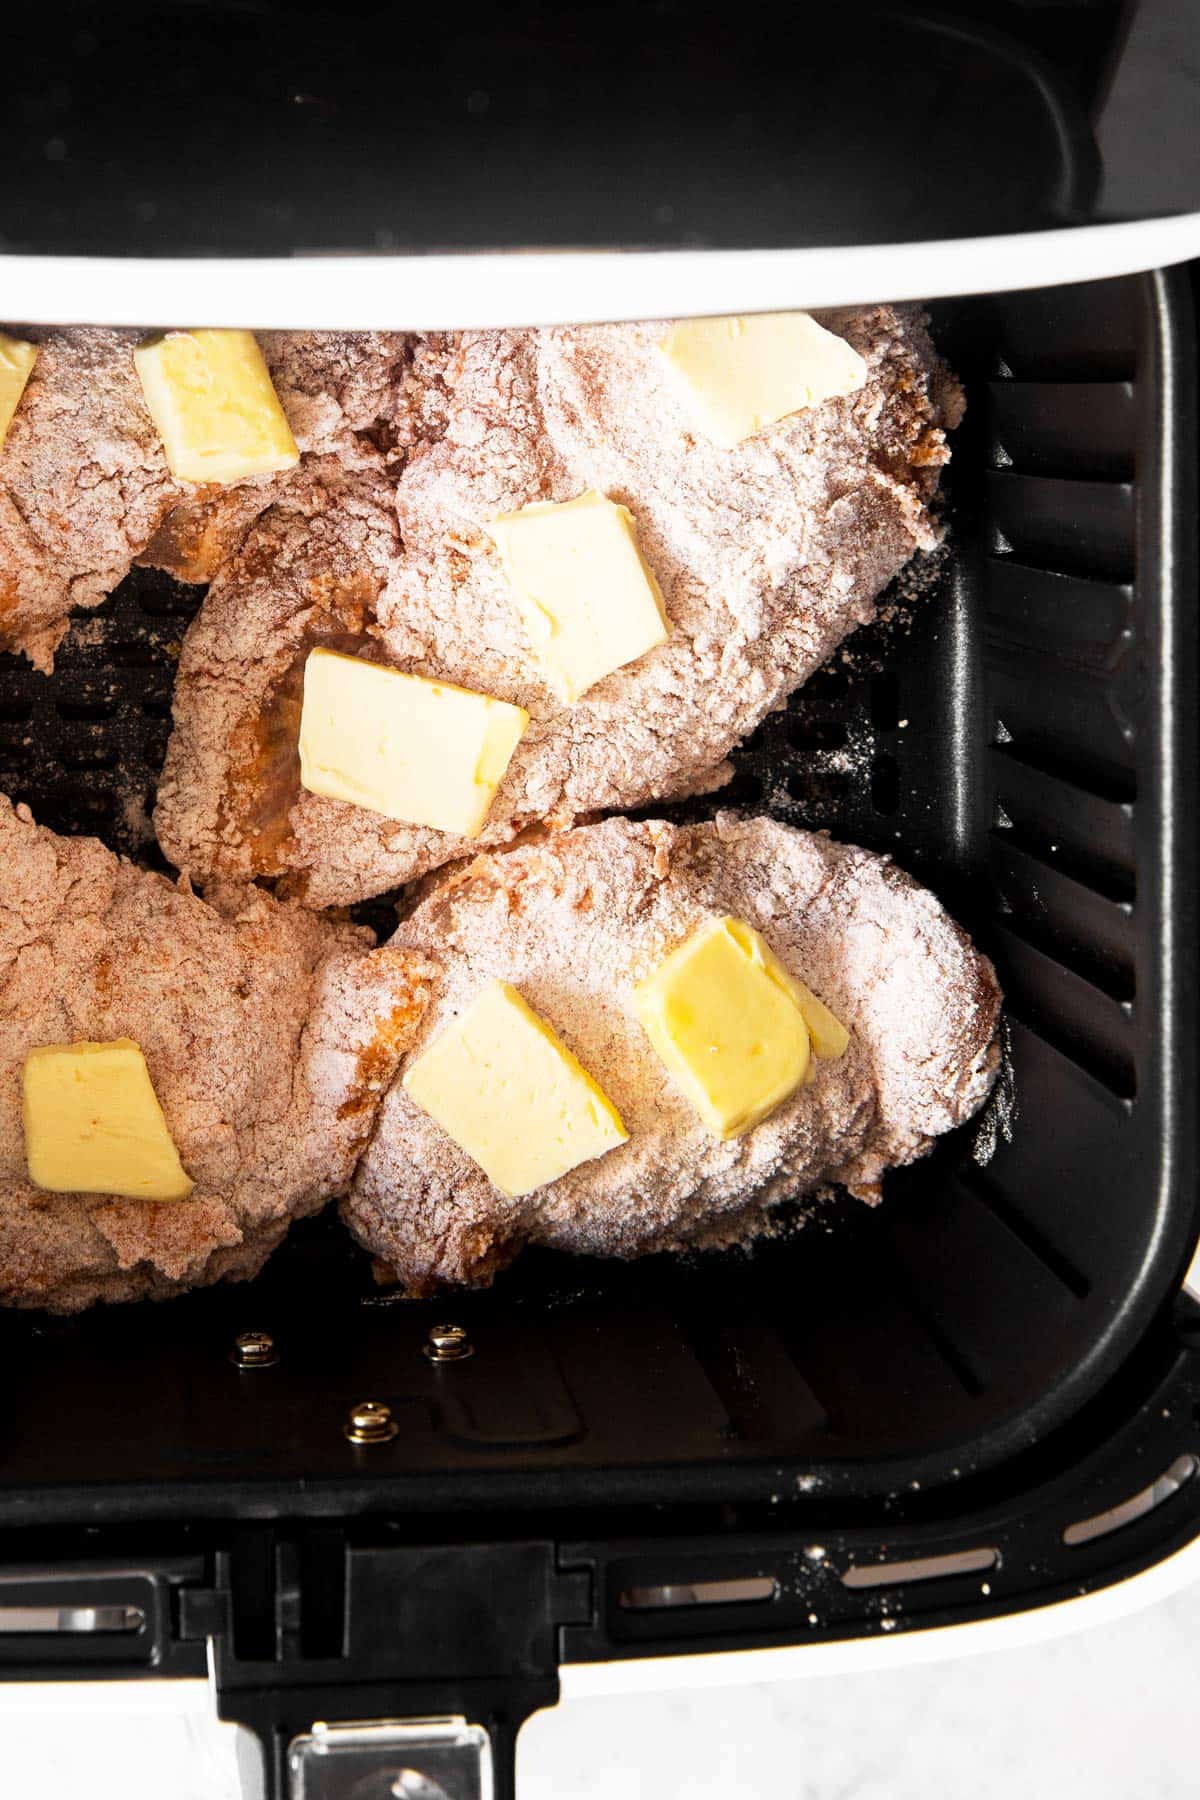
4. Now place the breaded pieces in the air fryer basket (make sure to preheat the air fryer for 5 minutes beforehand). Dot each with thinly sliced butter, then air fry.
Carefully flip your chicken, dot with a little more butter and air fry until done.
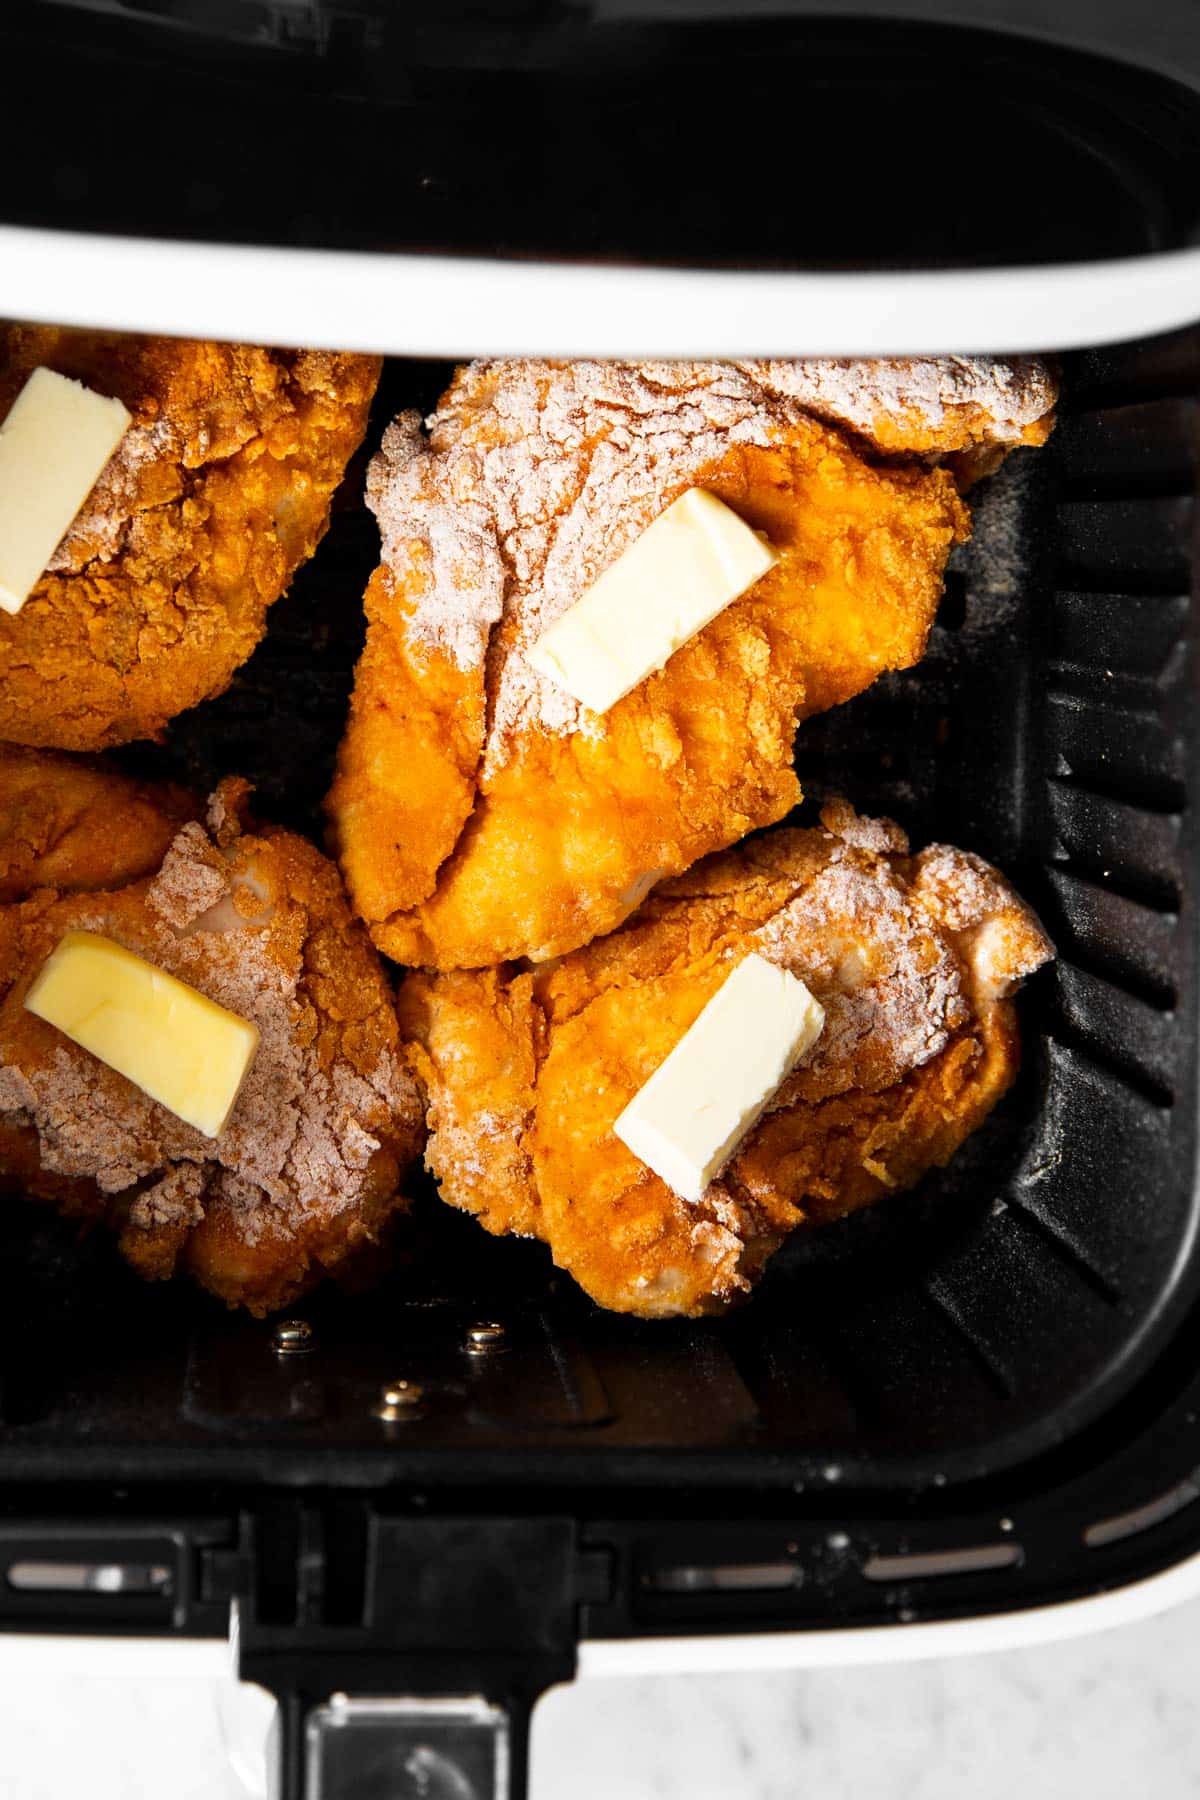
I like to flip it one more time and finish for 1-2 minutes at the highest temperature my air fryer will go to for maximum crispiness!
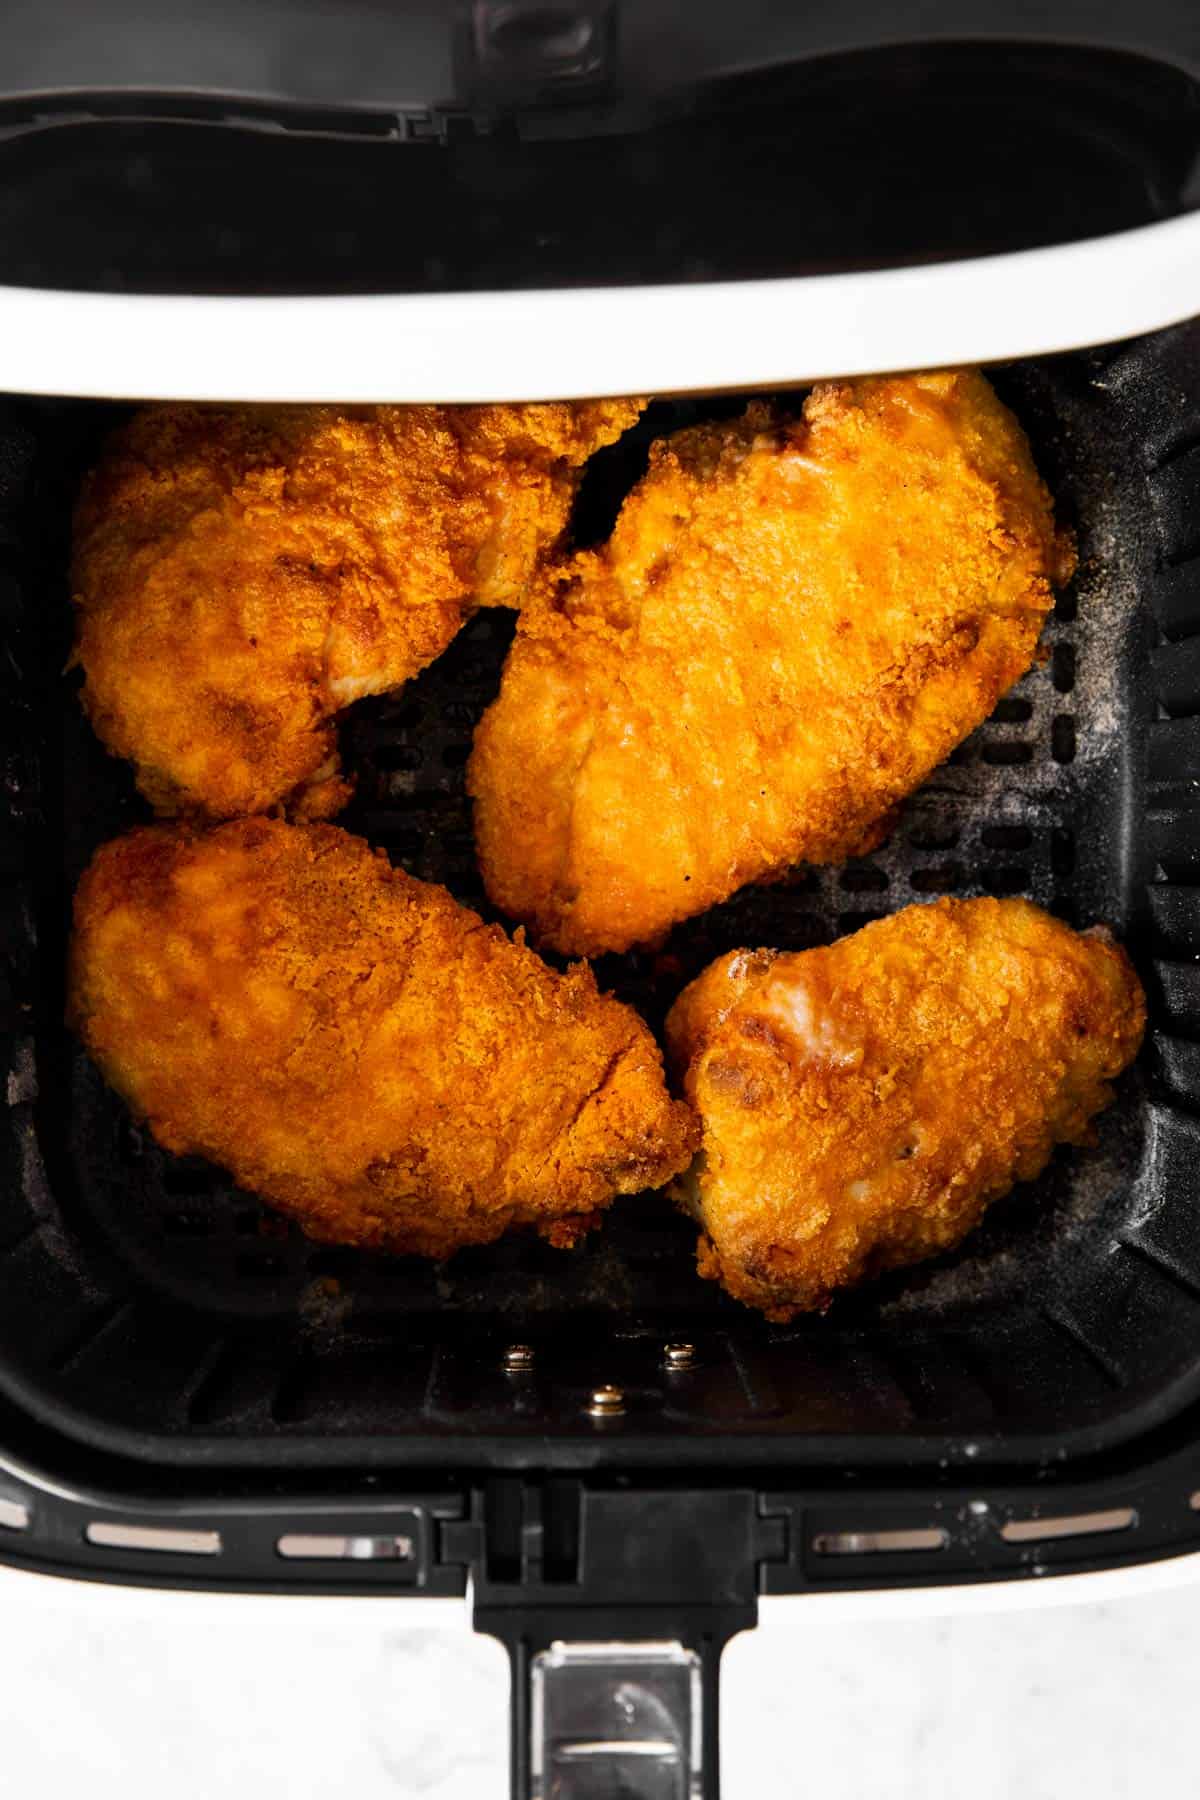
Your chicken needs to be served a couple of minutes after it’s done, so hurry your family to the table ?
Recipe tips
- I recommend combining the dry breading ingredients before combining the wet ingredients. That way your whisk isn’t wet when wanting to use it for the dry ingredients – and you don’t need to wash/dry it in between OR use two utensils!
- Make sure to pound the breading onto the chicken, else it may fall off. I either use the back of a large spoon or the back of my kitchen tongs for this. But if you’re breading by hand, you can also just use your flat hand to pound the breading on.
- You may not need all of the dry mix, but it’s easier to bread if there is plenty.
- Evenly distribute the sliced butter over each piece to make sure some will melt everywhere. Otherwise you’ll be left with dry patches. You can check on your chicken after about 5 minutes and see if there are any dry patches of flour. Feel free to dab a little oil on there, or place another small pat of butter on the dry part.
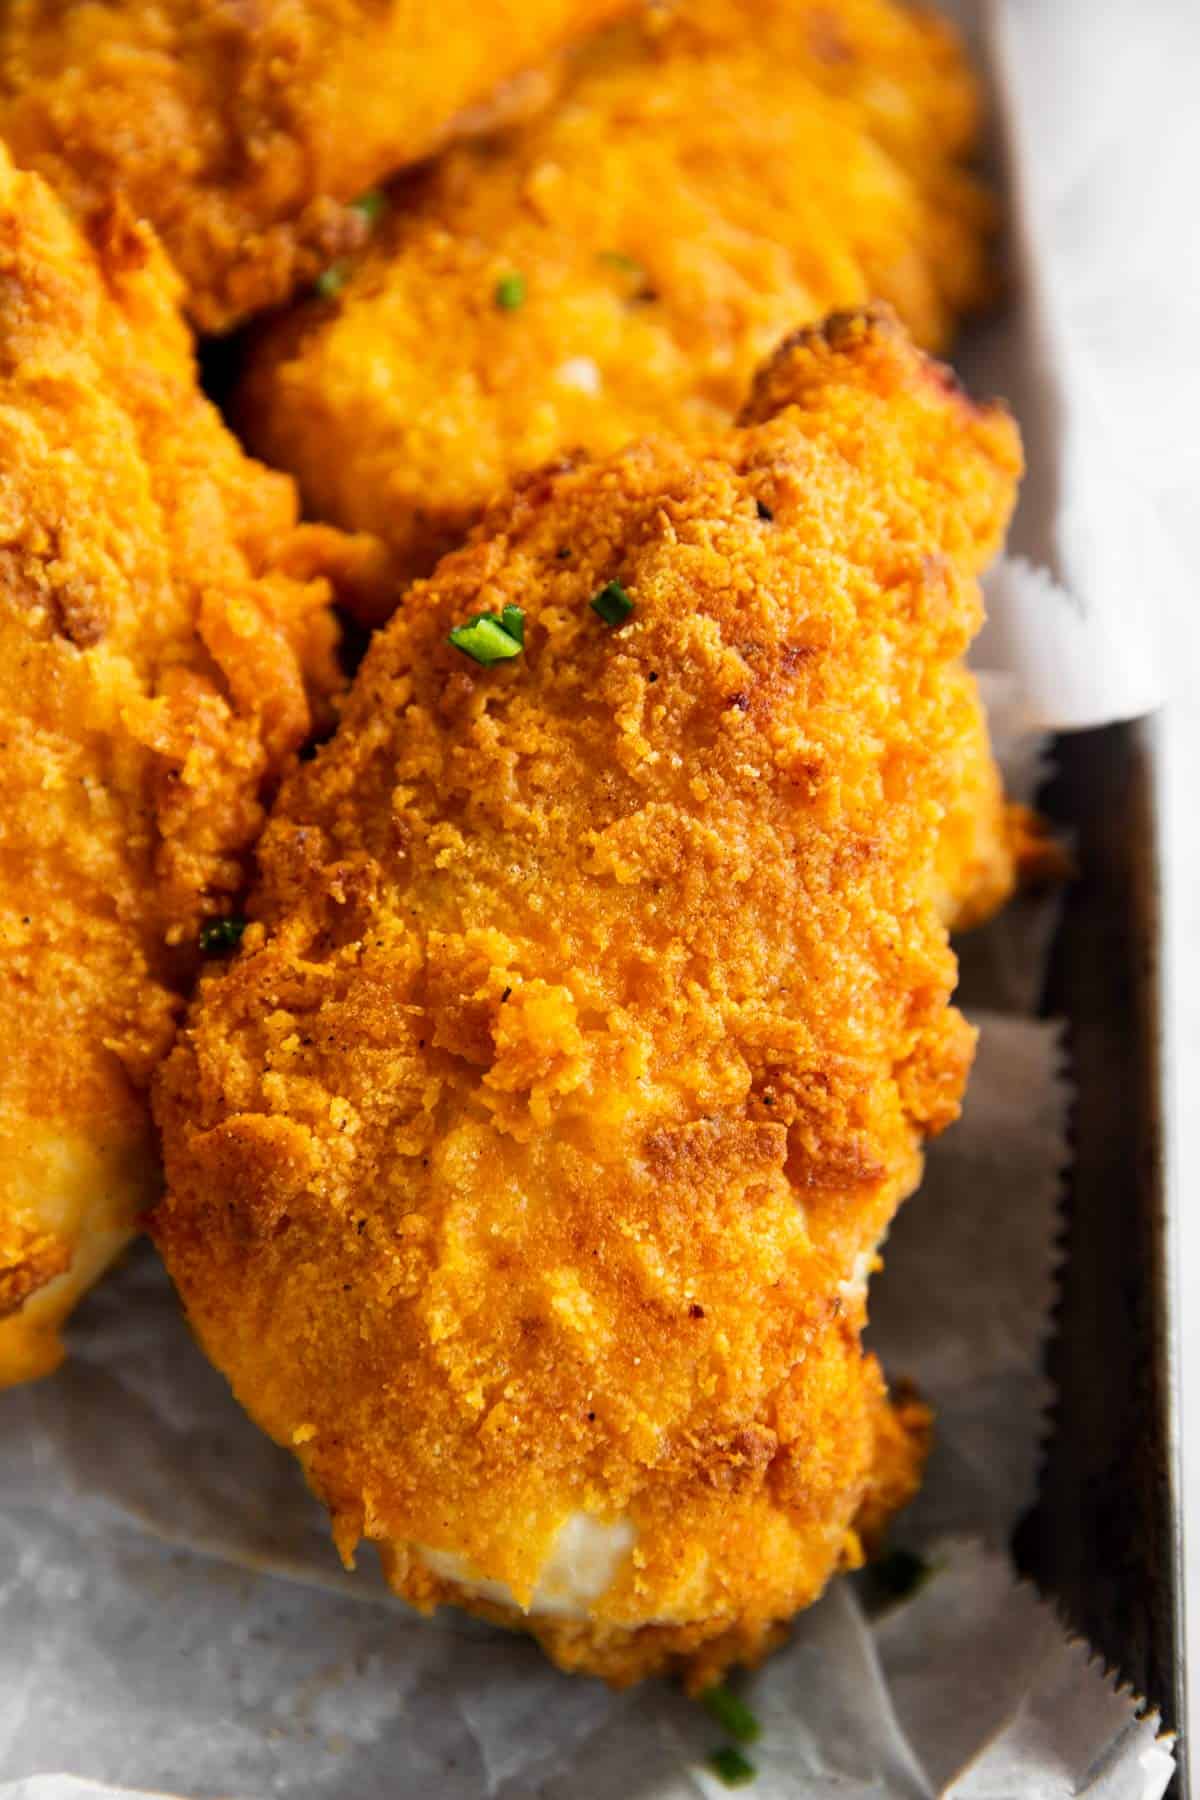
- Please do serve this right away. If you allow it to sit for a while, it will start to turn soggy. That’s perfectly normal because the chicken stays so juicy when cooked in the air fryer! It will start to release its juices once it’s cooked and then the breading will become affected after a while. So please, serve ASAP!
Recommended internal temperature for chicken
Wondering when your chicken is done and safe to be eaten? I highly recommend investing in (the following is an affiliate link an I earn a commission for purchases made through it) a meat thermometer. I check pretty much everything I cook and bake with mine to make sure I’m at the accurate temperature.
The US government’s food safety website recommends cooking all poultry to an internal temperature of at least 165°F (74°C) for safe consumption.
Serving ideas
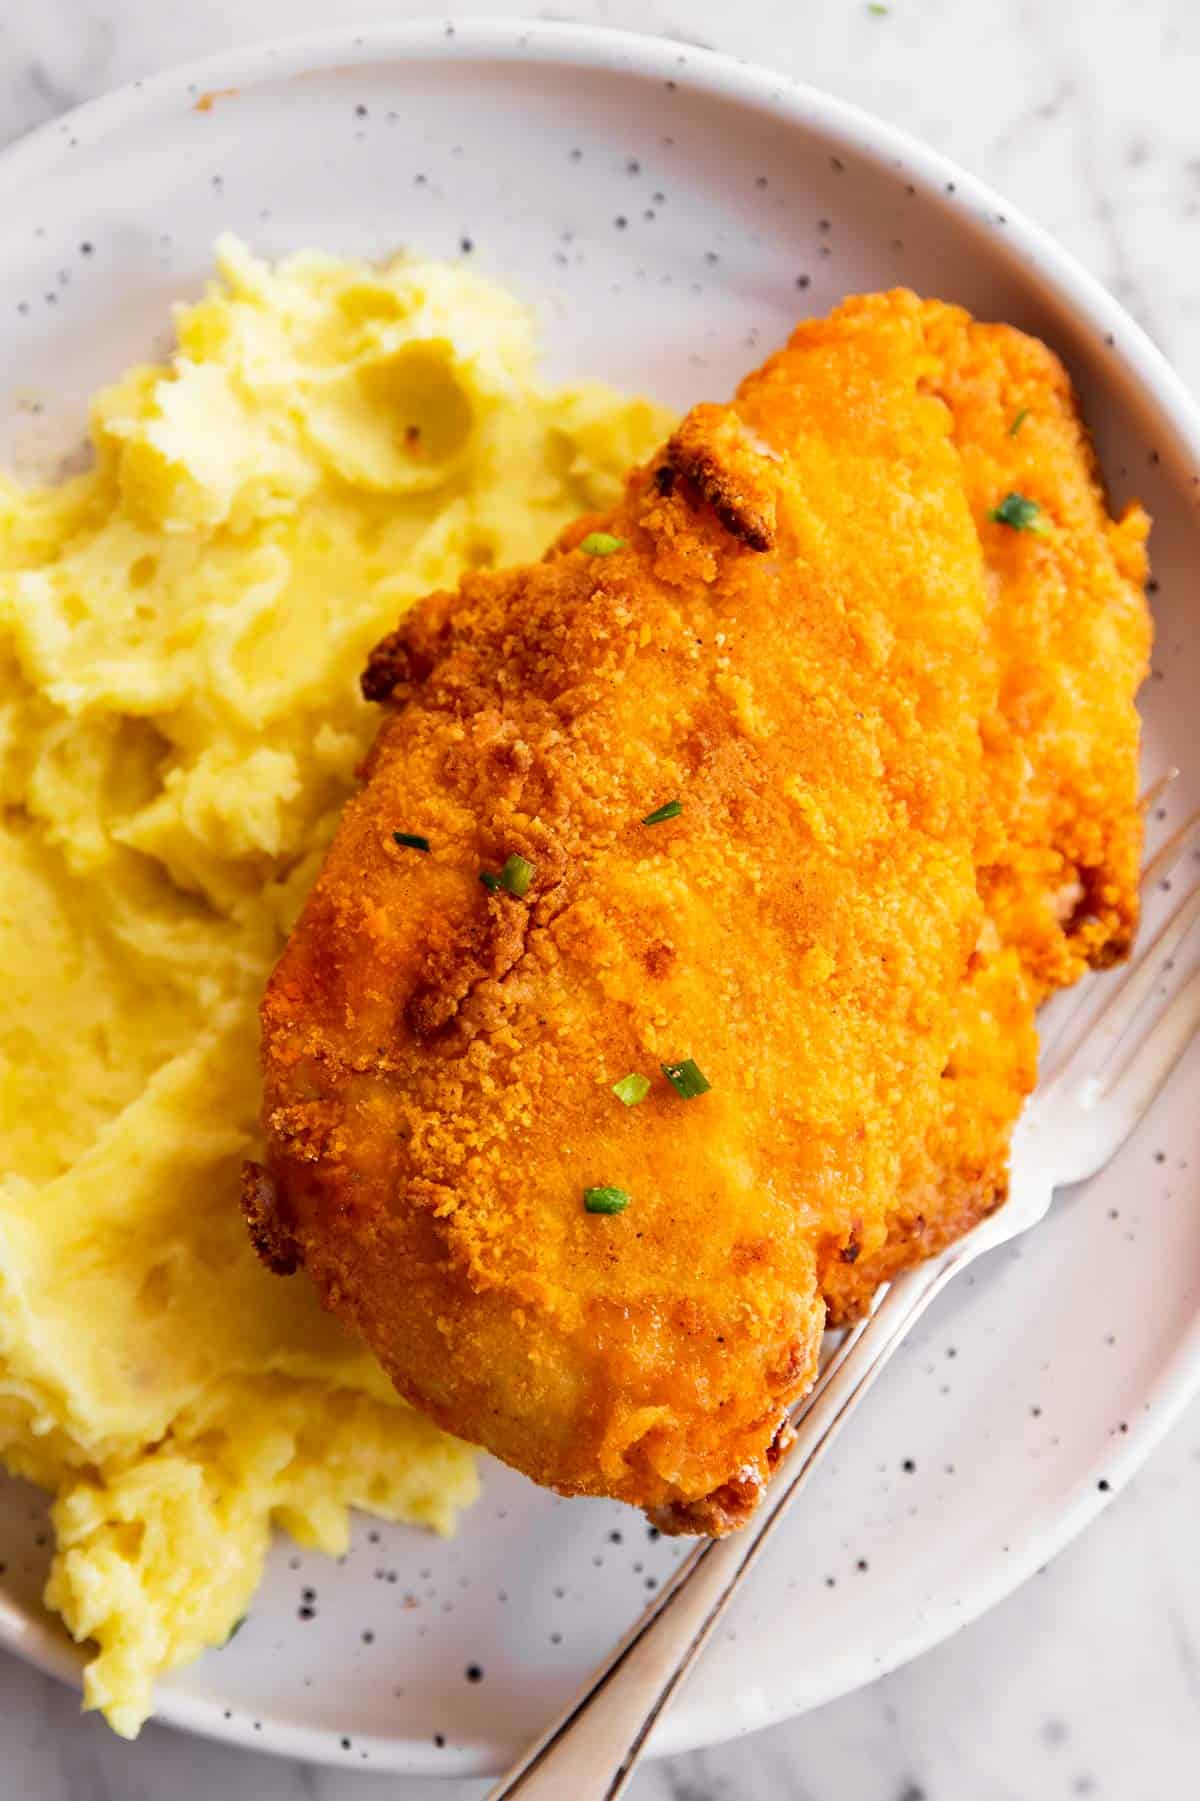
We love our Air Fryer “Fried” Chicken as the classic dinner with mashed potatoes (or a quick stovetop Mac and Cheese!) and usually sautéed green beans on the side. Although I have been contemplating getting a second air fryer just so I can make Air Fryer Green Beans with this, but I really really can’t justify it in any other way, so… It may never happen ?
Other vegetables we enjoy with this are roasted broccoli or asparagus, and during summer I absolutely love it with coleslaw.
Watch the recipe video
PS If you try this recipe, please leave a review in the comment section and add a star rating in the recipe card – I appreciate your feedback! Follow along on Pinterest, Facebook or Instagram.
Printable recipe
Air Fryer Fried Chicken
Recipe details
Ingredients
For the dry breading mix:
- 1 cup all purpose flour
- 4 tablespoons plain breadcrumbs Panko or Italian seasoned work as well
- 1 teaspoon baking powder
- ½ tablespoon salt
- 2 teaspoons ground paprika
- 1 teaspoon garlic powder
- 1 teaspoon onion powder
- ½ teaspoon ground pepper
For the egg mixture:
- 1 large egg
- ⅓ cup buttermilk see notes for substitutes
- For the chicken:
- 1 ½ pounds chicken breast, boneless thighs or drumsticks all work
For topping:
- 3 tablespoons cold butter thinly sliced
Instructions
- Prep: Preheat air fryer for 5 minutes.
- Make breading mixes: Add all ingredients for dry breading mix to a shallow dish and whisk to combine. Then place egg and buttermilk in a separate mixing bowl and whisk to combine.
- Bread chicken: Toss chicken in dry mixture to thinly coat, then in egg mixture. Finally, dredge each chicken piece through dry mix again, this time thickly coating. Pound/press breading into chicken for it to stick (may seem floury and dry, but will cook perfectly with the butter added). You may not need all of the dry mix, but it's easier to bread if there is plenty.
- Air fry: Place breaded chicken pieces in the hot air fryer basket (do not stack!). Top each piece with several slices of butter (using about 2 of the 3 tablespoons).Air fry at 400°F (200°C) until golden brown and crispy on top (8-10 minutes for thinner chicken breast, 10-12 minutes for thicker chicken breast, 12-14 minutes for chicken thighs, 6-8 minutes for chicken strips, 10 minutes for drumsticks).
- Finish: Carefully flip chicken, dot with remaining butter and air fry at 400°F (200°C) for the same time as before again, until breading is golden and crispy and chicken reaches an internal temperature of at least 165°F (74°C).I flip for a final time and air fry for 1-2 minutes on the highest temperature my air fryer will go to for maximum crispiness. Serve immediately.
Notes
Ingredient notes
- Chicken: You can make this recipe with chicken breast, thighs, drumsticks or tenders. I have seen a few recipes making them with different pieces, but I actually wouldn’t recommend it because they all have slightly different cooking times and make it more difficult to cook the chicken right. This really needs to be eaten as soon as it’s ready, so I prefer to use all of the same cut per batch I air fry.
- Breadcrumbs: I used regular because Panko isn’t available all the time in my neck of the woods. Either works just fine – and you can even use Italian seasoned in a pinch if that’s all you have on hand.
- Buttermilk: I prefer buttermilk over regular milk in this recipe, but if all you have is regular milk you can stir 1 tablespoon apple cider vinegar into the milk, leave it to sit on the counter for 10 minutes and then use it. I have made this recipe with regular milk before and while it’s delicious, the breading tends to stick a little less well. A great option is to use 2 eggs in place of the buttermilk if you don’t have any on hand. Just doesn’t have that little bit of tang from the buttermilk – I serve it with some lemon wedges to make up for it ?
- Butter: Even though this is an air fryer recipe, you do still need fat to create a crispy, cooked coating. Without the butter, you’d be left with a very dry/floury coating. So please don’t skimp on this. It really isn’t that much butter per serving compared to deep fried chicken and you’ll regret it if you don’t use enough. I suppose you could spray the chicken with oil spray instead and it would be OK, but to be perfect I very strongly recommend the butter.
- Baking powder: This may seem like an odd ingredient here, but together with the egg it adds some body to the breading and helps to puff it up and brown more.
Recipe tips
- I recommend combining the dry breading ingredients before combining the wet ingredients. That way your whisk isn’t wet when wanting to use it for the dry ingredients – and you don’t need to wash/dry it in between OR use two utensils!
- Make sure to pound the breading onto the chicken, else it may fall off. I either use the back of a large spoon or the back of my kitchen tongs for this. But if you’re breading by hand, you can also just use your flat hand to pound the breading on.
- Evenly distribute the sliced butter over each piece to make sure some will melt everywhere. Otherwise you’ll be left with dry patches. You can check on your chicken after about 5 minutes and see if there are any dry patches of flour. Feel free to dab a little oil on there, or place another small pat of butter on the dry part.
- Please do serve this right away. If you allow it to sit for a while, it will start to turn soggy. That’s perfectly normal because the chicken stays so juicy when cooked in the air fryer! It will start to release its juices once it’s cooked and then the breading will become affected after a while. So please, serve ASAP!




Crista says
I made chicken breast stripe with this recipe and they were so good! so crispy and juicy! Thank you for sharing!
Nora says
I’m so glad, Crista! This is one of my children’s most requested recipe, and I’m always so happy when others love it, too.
Cindy Spach says
Just wondering if you spray any oil on the bottom of the air fryer prior to placing the chicken pieces in it?
Nora says
Cindy, I do not because the nonstick coating of my air fryer works so well – but you definitely can if you feel the need for it, or to make extra sure it doesn’t stick!