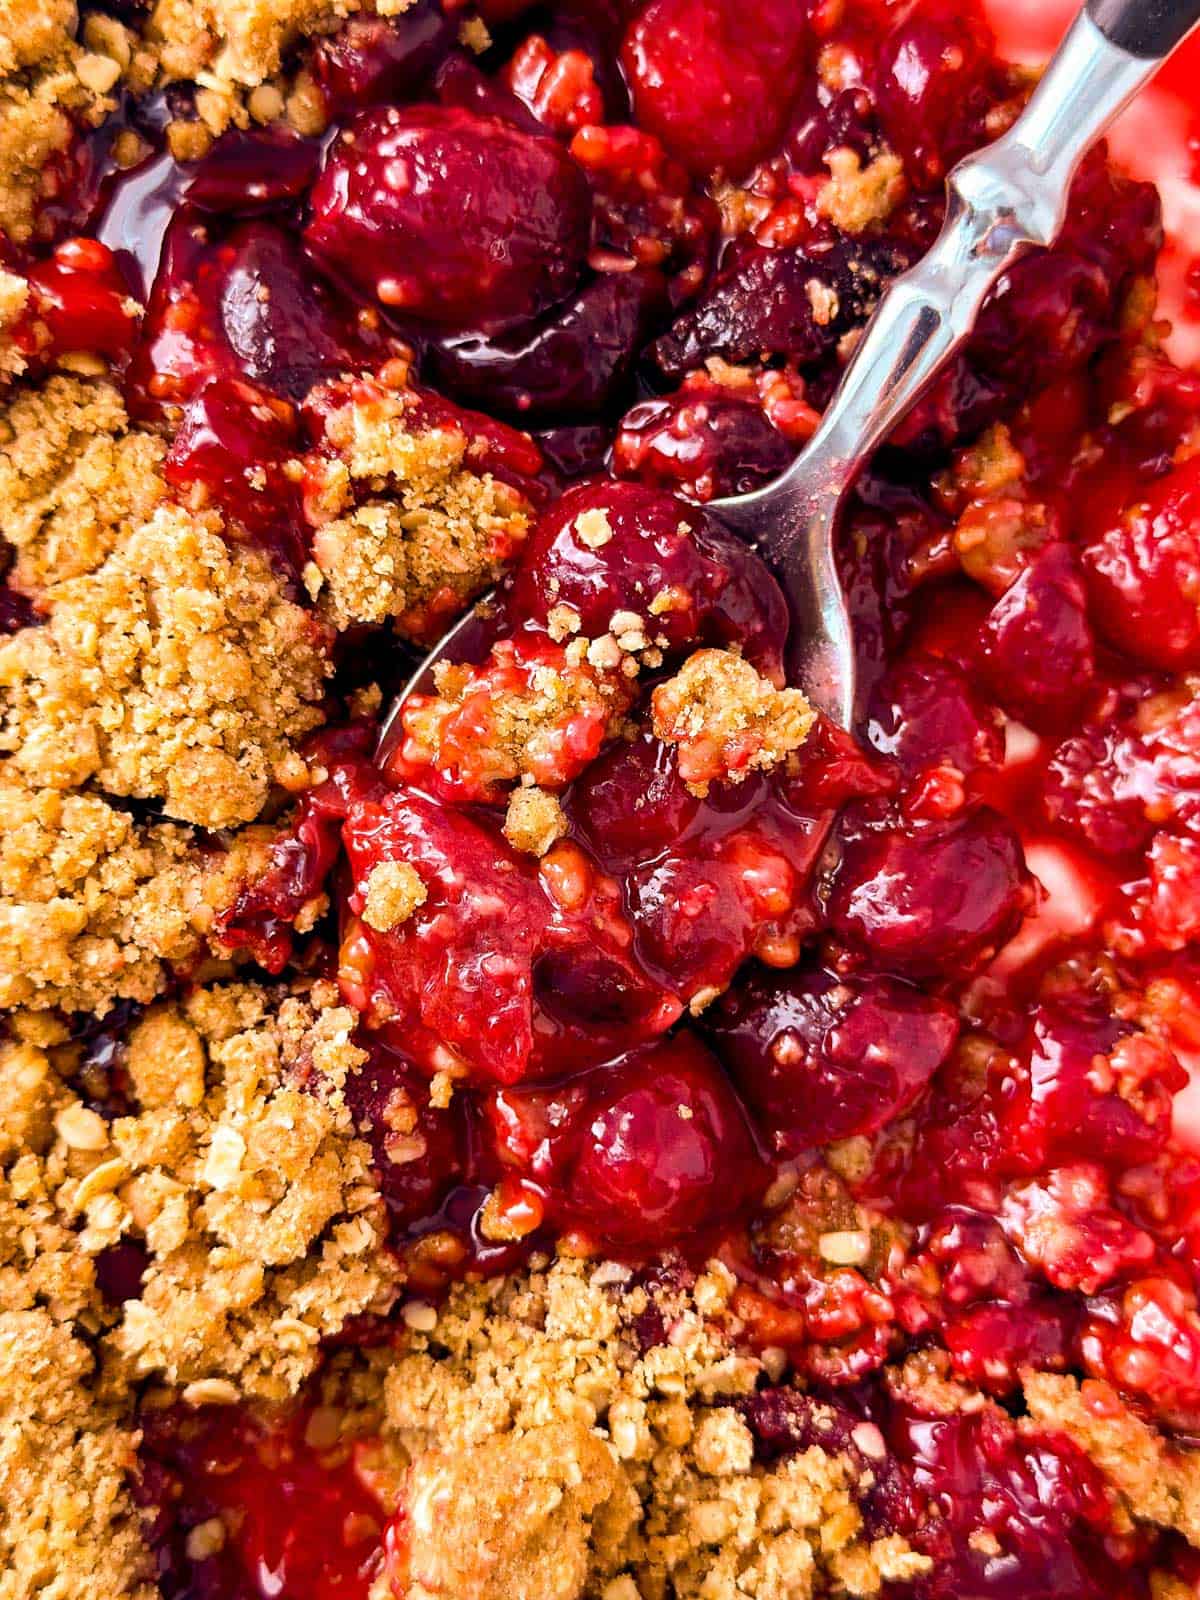
This classic Cherry Crisp is everything you dream of in a summer dessert. Imagine your favorite sweet (or tart!) cherries bubbling under a buttery brown-sugar oat crumble – all topped off with a scoop of vanilla ice cream!
This from-scratch version is almost as easy as using pie filling and cake mix, but takes the flavor up a notch. Trust me, once you try it, you’ll never look back!
Why you’ll love this recipe
- Make it year round: You can use fresh, frozen or canned cherries in this recipe – that way you don’t need to wait for cherry season to treat yourself to this dessert. Or you can avoid pitting all of those cherries and make a mess-free treat when your time in the kitchen needs to be cut short!
- Extra-loaded with crumble: My kids always used to fight over the crumble topping, so now I make sure to top my crisps with enough crumble to generously top each portion.
- Guaranteed jammy filling: I usually pre-cook the fruit filling for crisps, cobblers and pies (I’ll only skip the pre-cooking in crock pot desserts, because the fruit has a long time to soften and cook in there), and this recipe is no exception. This means you have a guaranteed jammy filling and no surprises with soupy cherries, or fruit that’s only half-cooked.
I have a soft spot for fruity desserts – I can take or leave chocolatey things, but a fruit crisp, cherry cobbler or cherry pie? The best!
My cherry crisp recipe features the jammiest cherry filling, topped off with my signature brown sugar oatmeal crumble. I say signature like I’m some big name, but really it’s just what my husband and kids call it 😉
Ingredients you’ll need
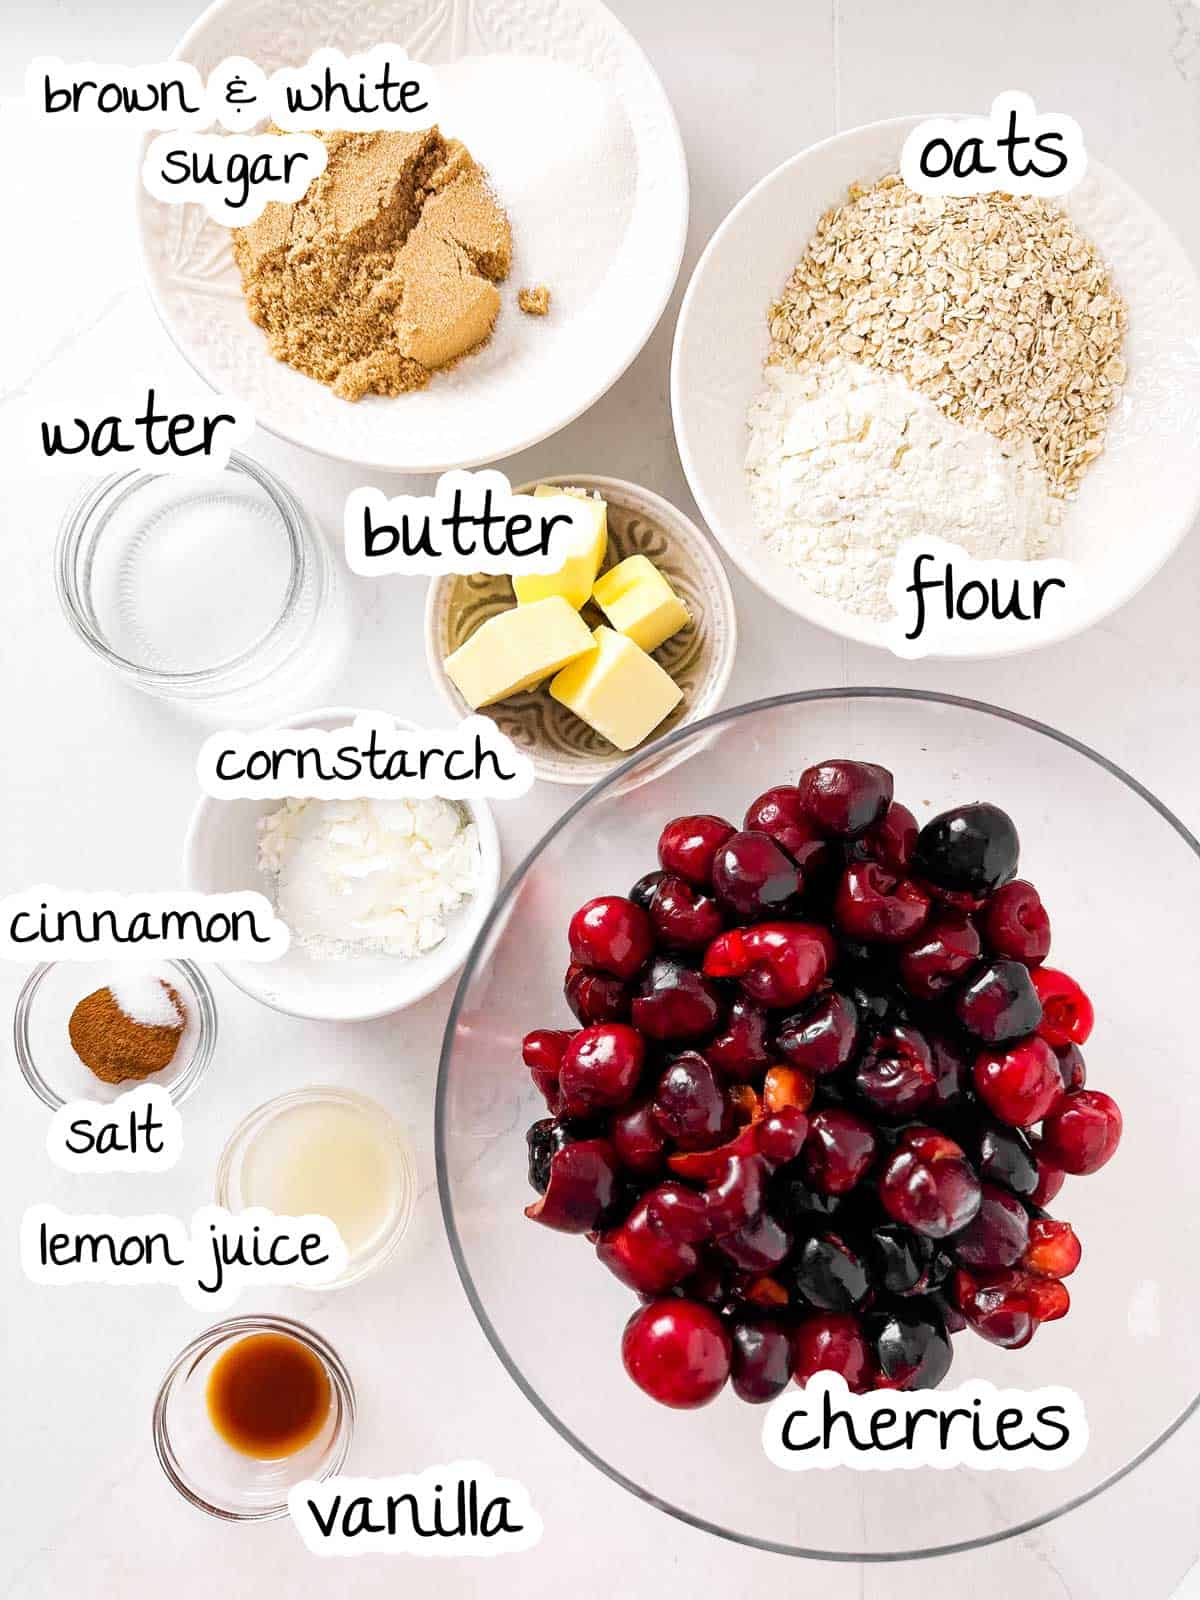
Here is a visual overview of the ingredients in the recipe. Scroll down to the printable recipe card at the bottom of this post for quantities!
Ingredient notes
- Cherries: Sweet or tart cherries are both fine, adjust the sugar (and possibly skip the lemon juice) if you’re using tart cherries. You can use fresh or frozen fruit – you don’t even need to defrost from frozen! If you’re using canned cherries, check the notes below for the small changes you need to make to the recipe to make it work.
- Oats: Use quick cooking oats for the best results. They bind the crumble better and bake up quicker in the oven. Old-fashioned olds yield a topping that’s too dry for my personal taste.
- Butter: Real butter yields the richest taste. If you prefer using margarine, make sure to use stick margarine intended for baking and NOT a buttery spread.
- Lemon juice: Skip or reduce if using tart cherries.
Adjustments for canned cherries:
Use 3 14.5-oz cans.
Strain cherries, catching juice, then place juice in a wide pan, reserving ¼ cup. Add vanilla extract and sugar to taste (some cherries come in sweetened juice, be sure to adjust). Bring to a boil.
Dissolve 3 tablespoons cornstarch in ¼ cup reserved juice. Take pan off the heat and whisk in cornstarch slurry until fully incorporated. Put pan back over medium-low heat, stirring constantly, until thickened. Add more cornstarch slurry if needed, depending on your exact canned cherry product.
Stir in lemon juice (if needed). Stir in cherries, adjust for taste and texture as described in recipe and use as directed in recipe.
How to make a cherry crisp
Before you begin: Heat your oven to 360°F. Butter a 9-inch pie dish or other baking dish of similar size (9×9 or 7×11 both work well).
1. Step: Cook the cherries
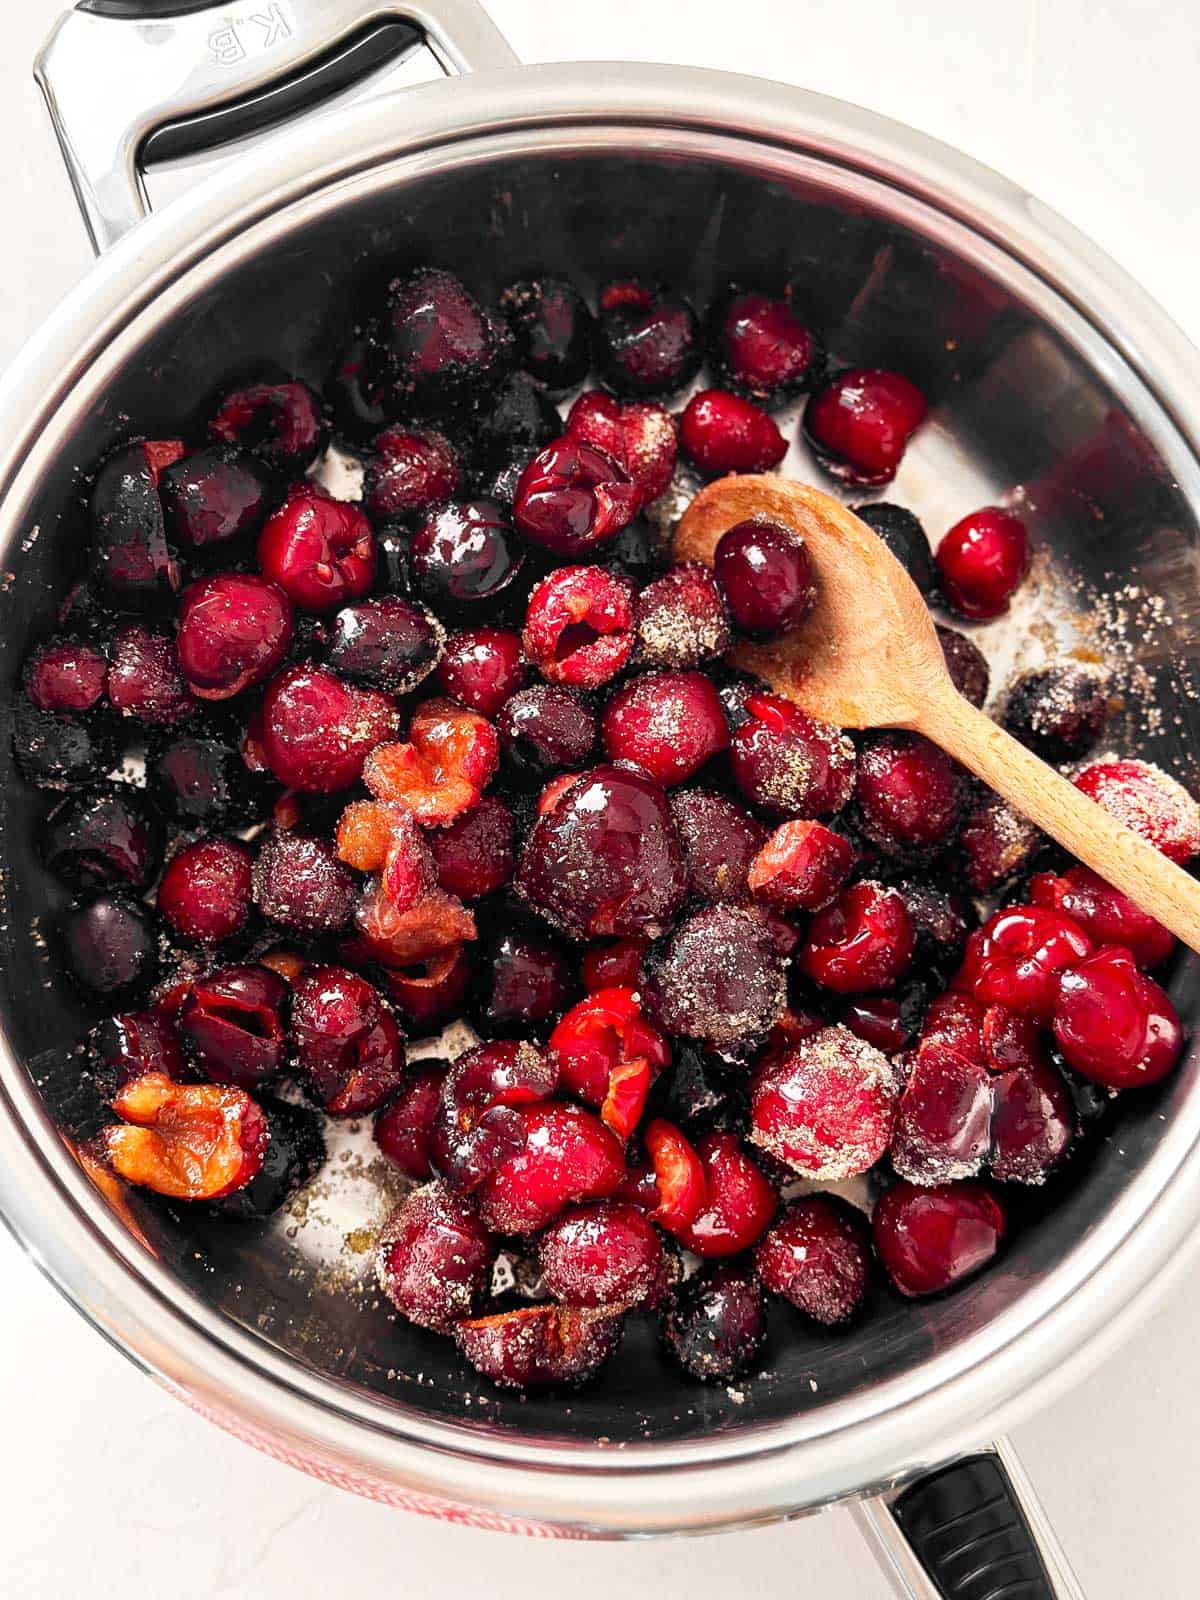
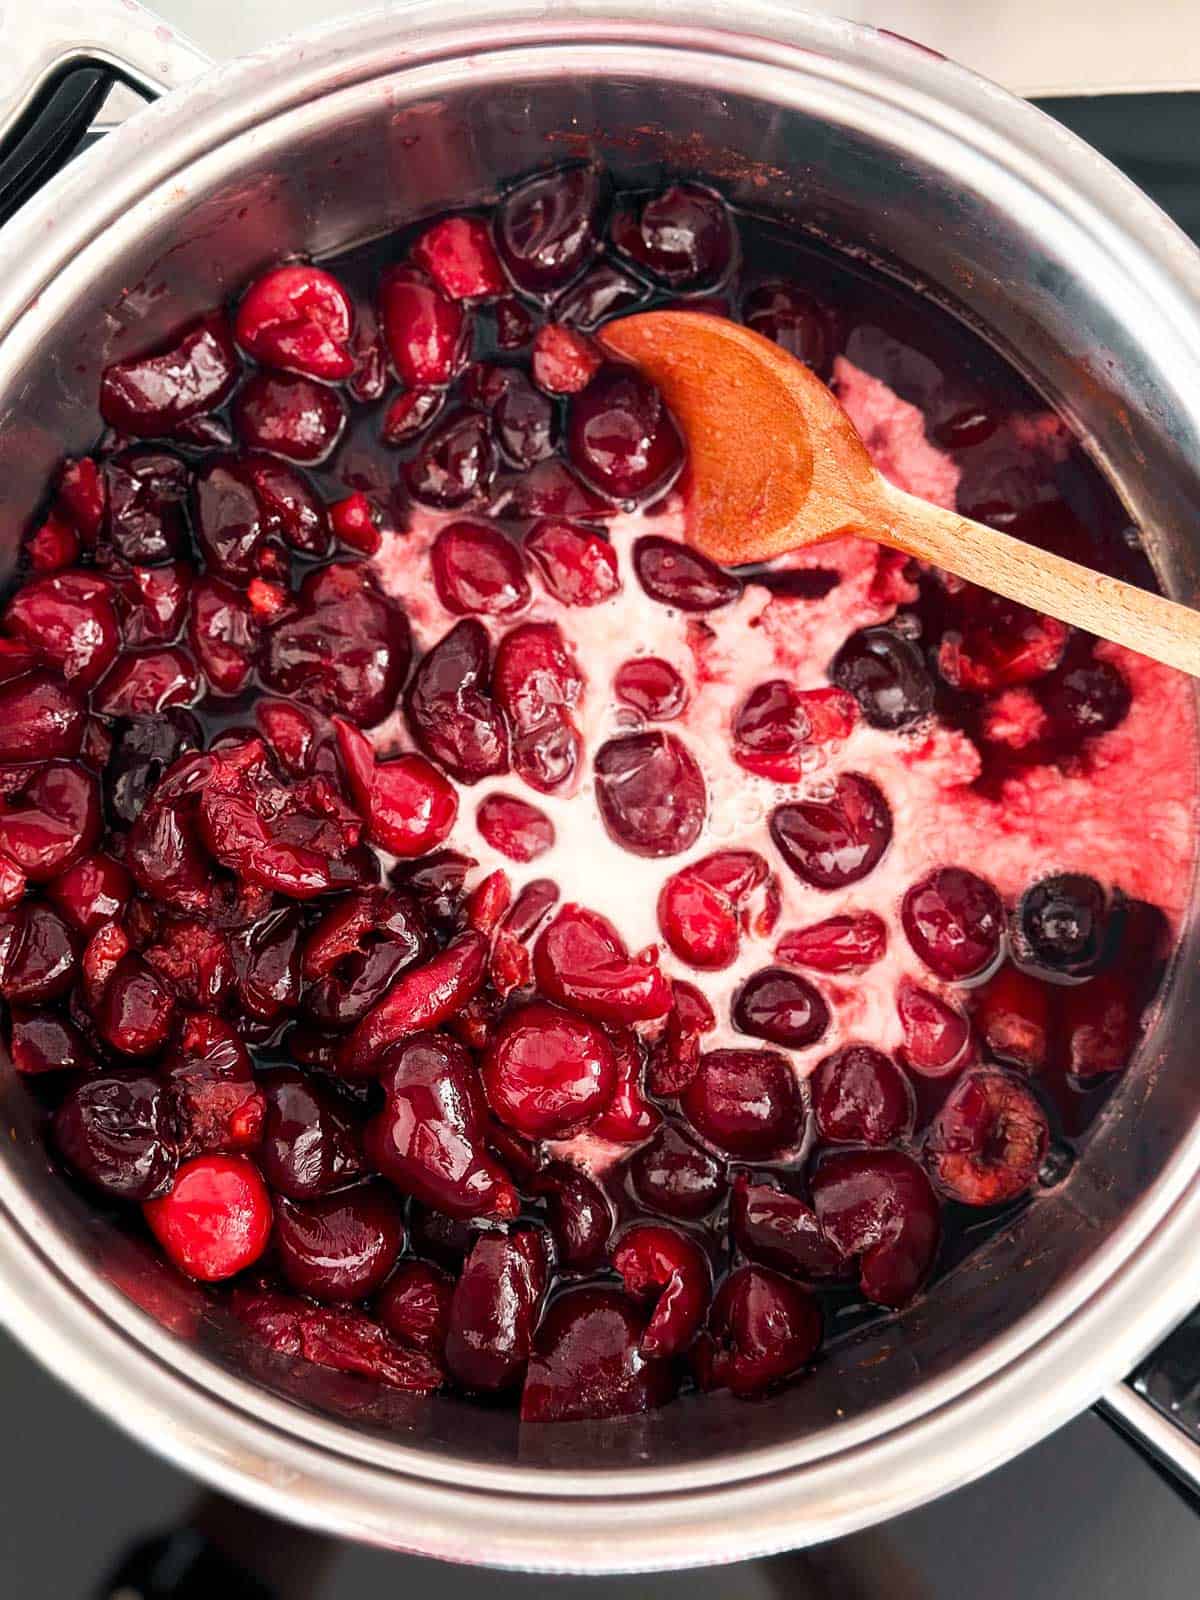
Place the cherries in a wide pan with the sugar and vanilla extract. Bring to a boil over medium-high heat, then immediately reduce the heat to a low simmer.
Cover with a lid and simmer for 5 minutes, or until the cherries have released their juices.
2. Step: Thicken the filling
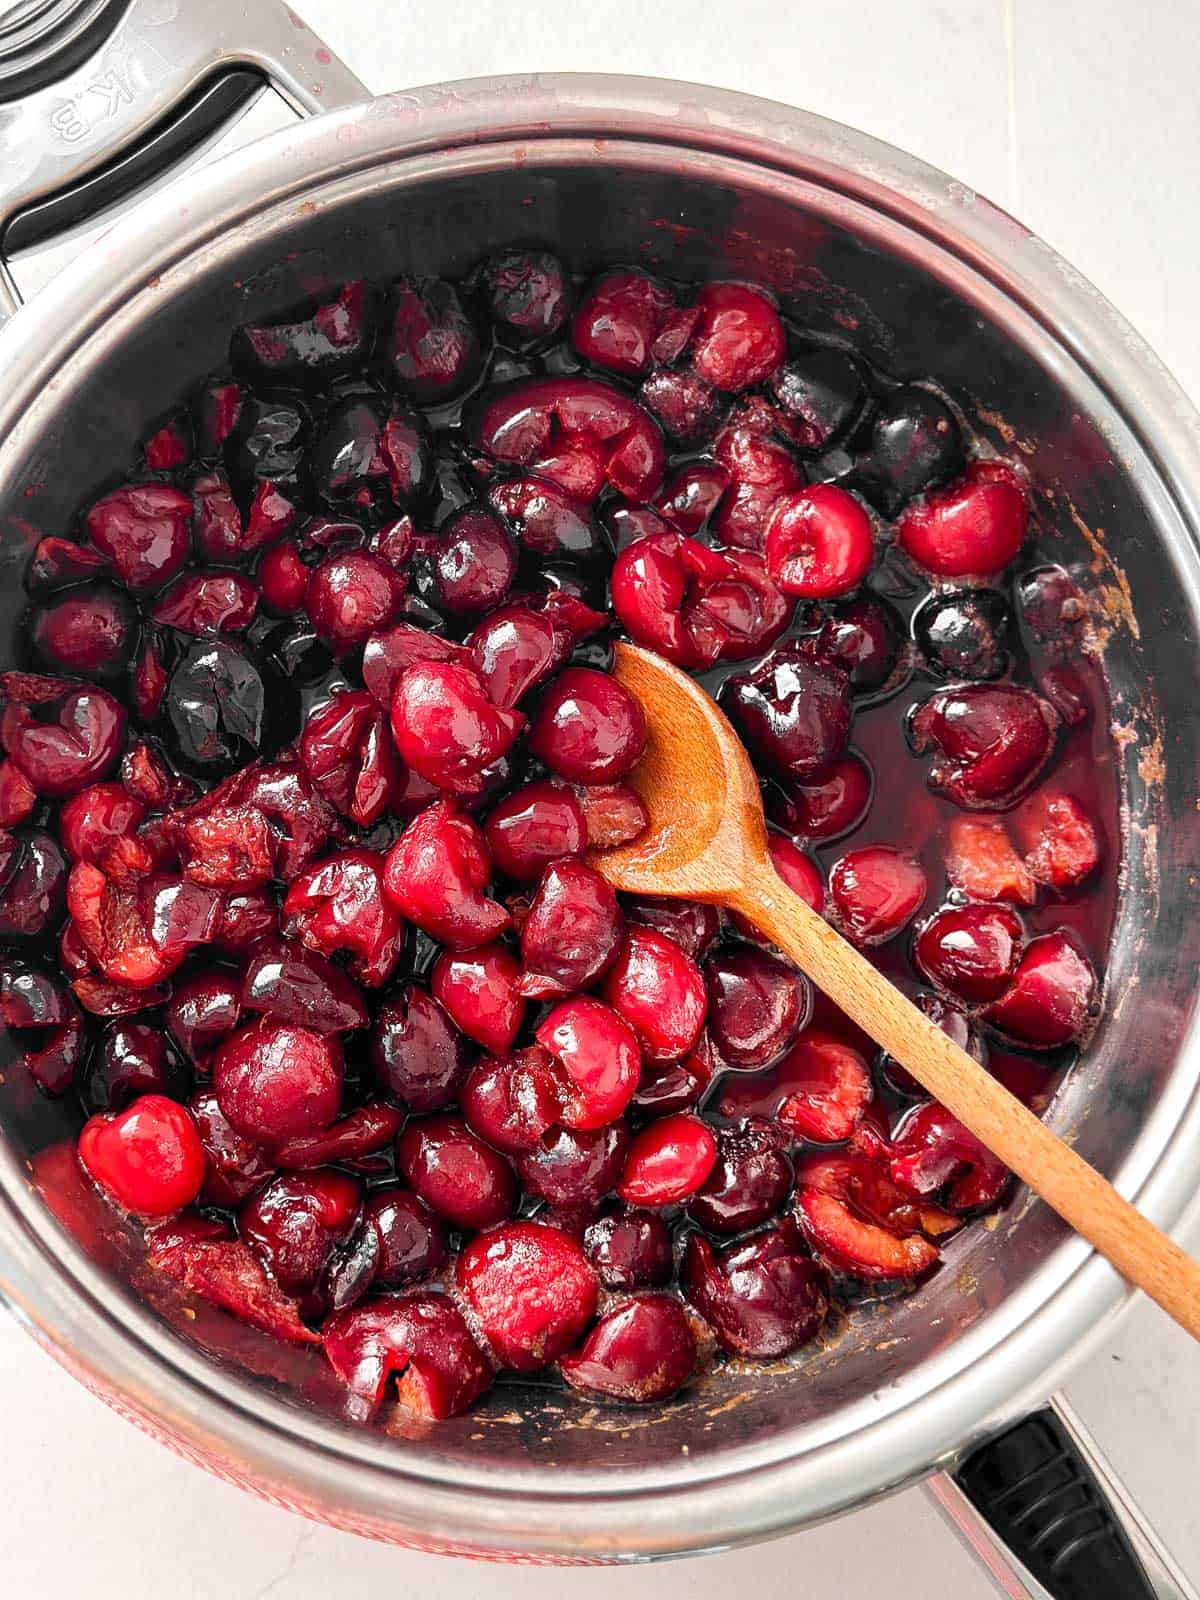
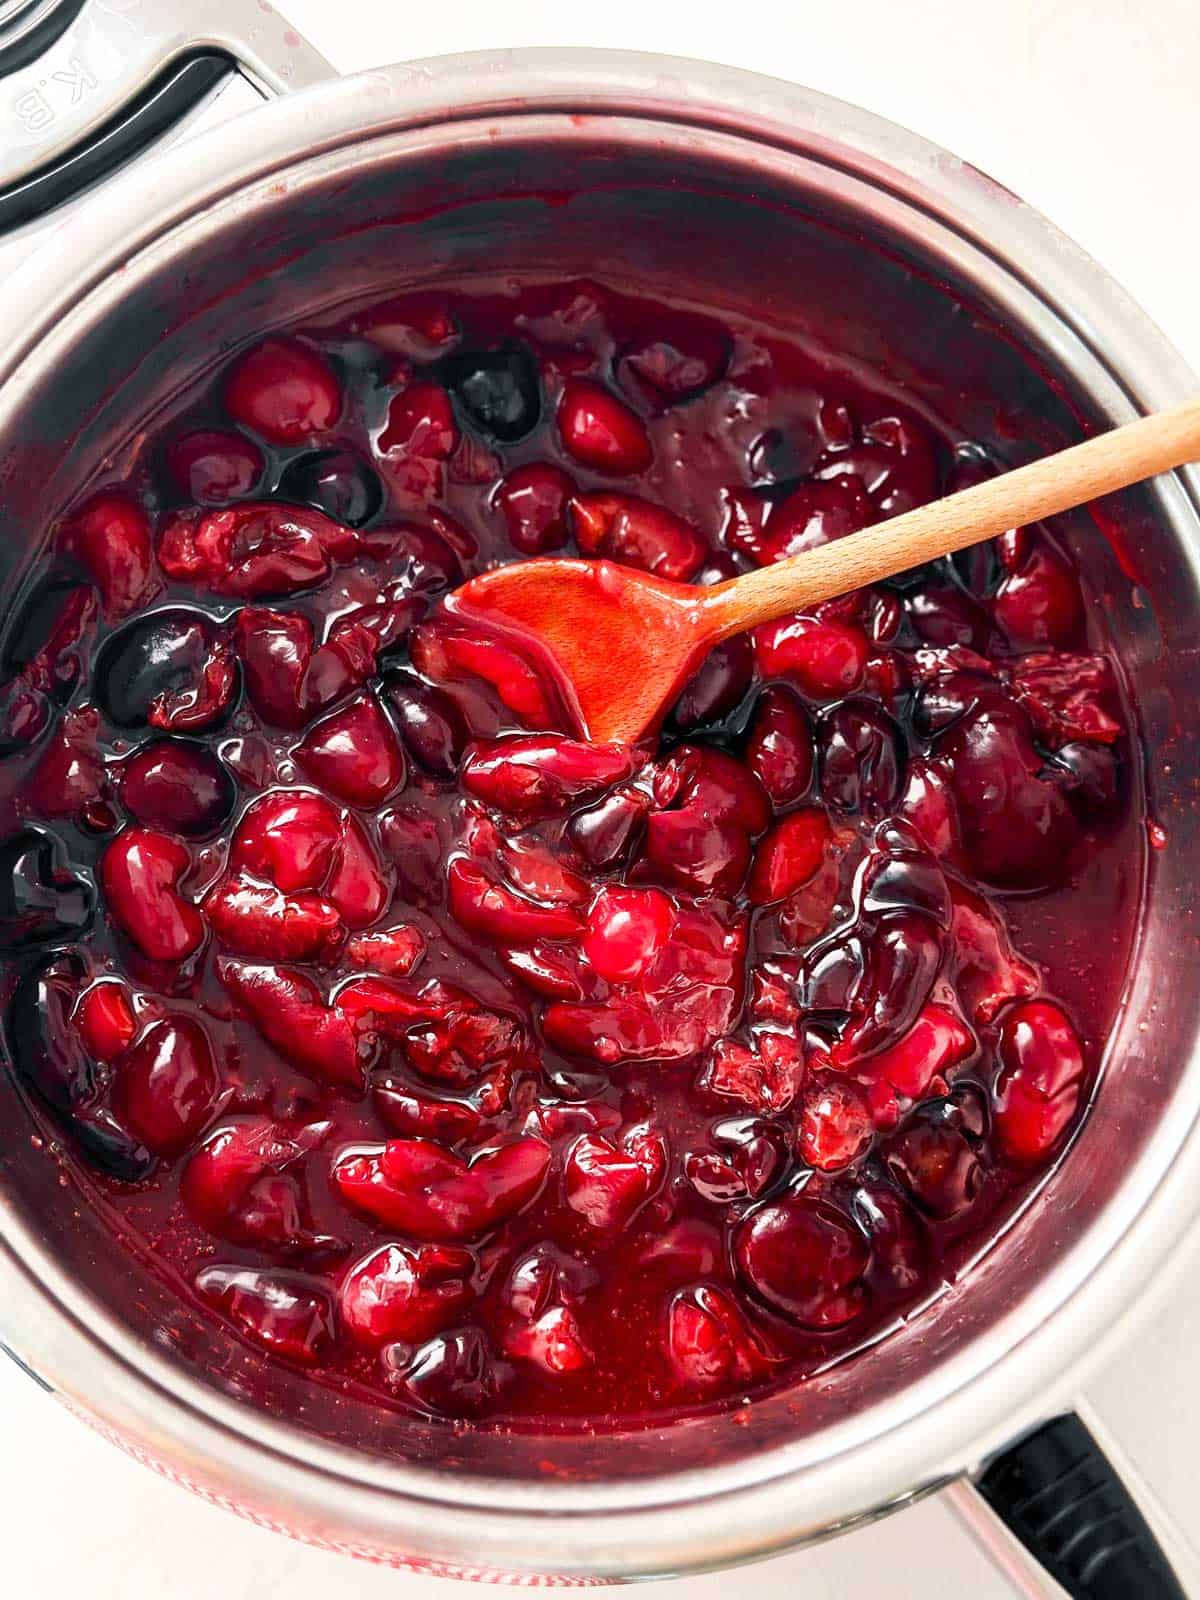
Whisk the cornstarch into the water until no lumps remain. Take the pan with the cherries off the heat and quickly stir in the cornstarch slurry – work fast to avoid lumps, but be mindful so you don’t splatter yourself with hot cherry juice.
Place the pan back over low heat and simmer gently until the juices have thickened, about 1-2 minutes.
3. Step: Finish and cool the filling
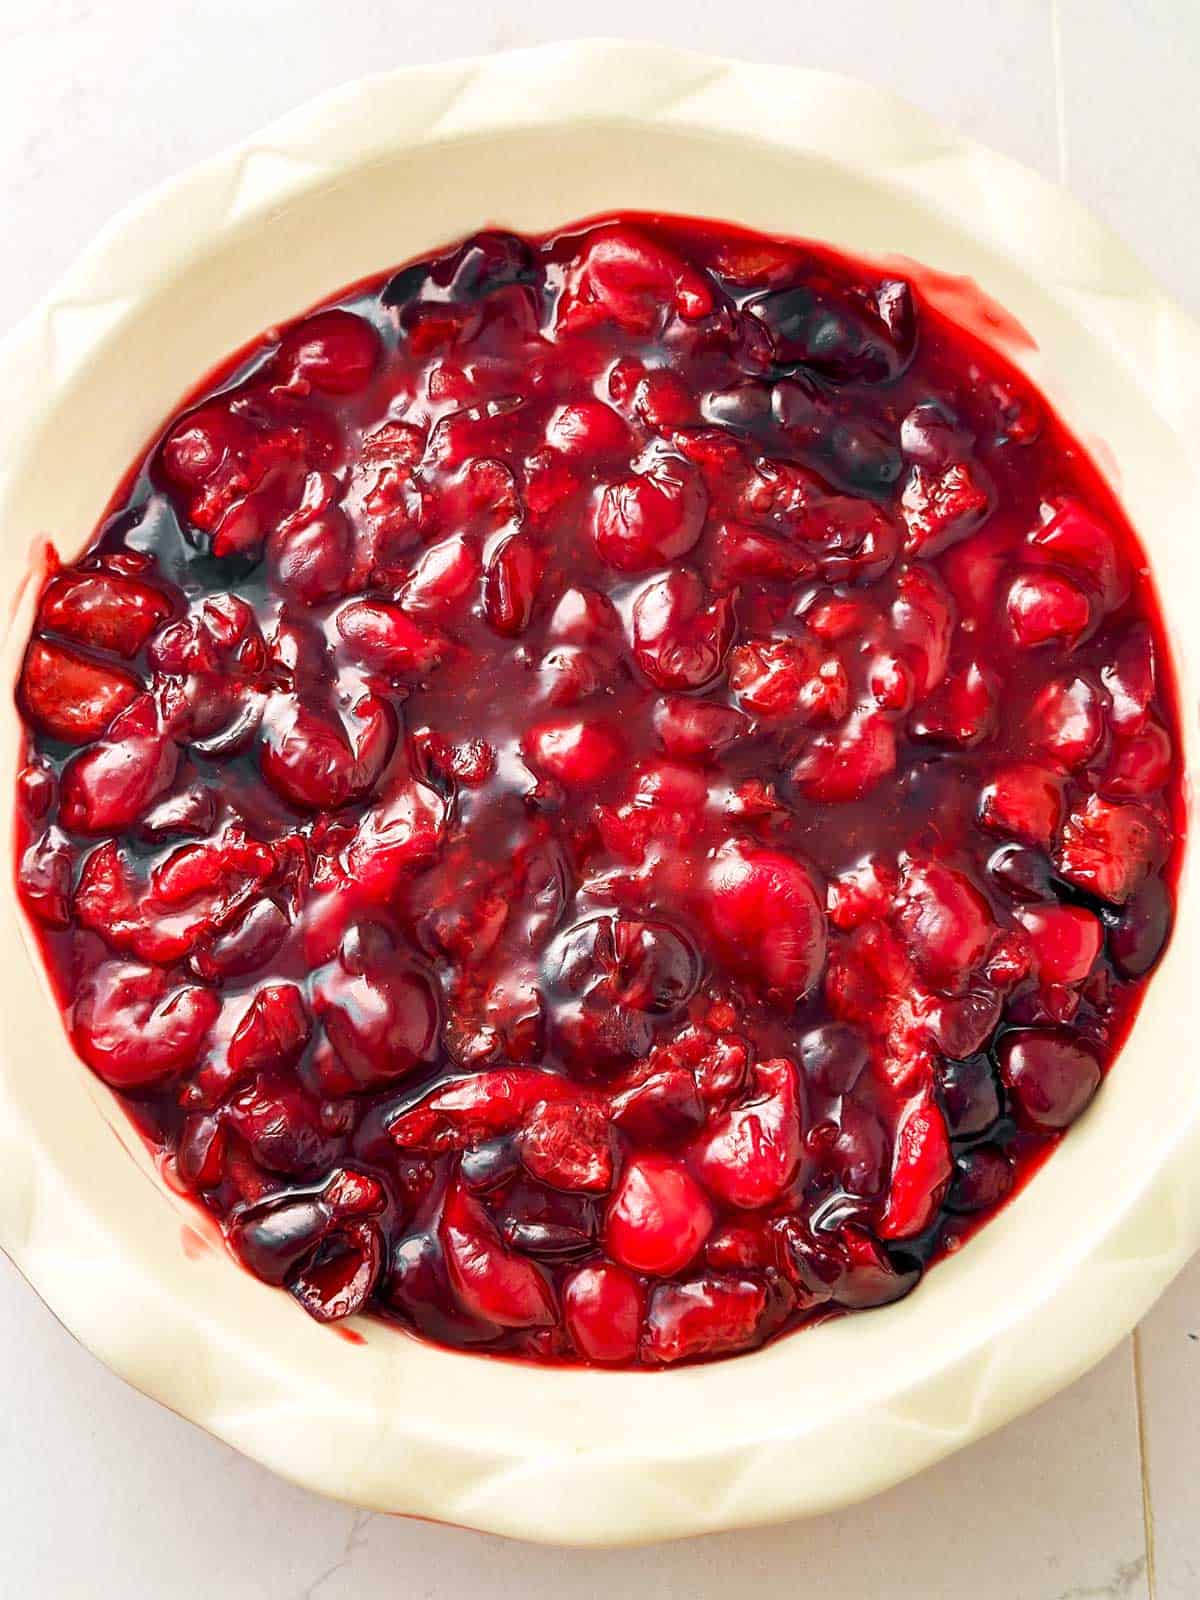
Take the pan with the cherries off the heat. Add lemon juice to taste. Check the filling for consistency and sweetness. Add more sugar if needed.
The filling should be jammy, like thicker pie filling. If the filling is too thick, thin it out with a tablespoon or two of water. If it’s too thin, whisk another tablespoon of cornstarch into a tablespoon of cool water, then stir it into the filling, little by little, until the right consistency is reached.
Keep in mind that the filling thickens as it cools, so make sure you don’t thicken it too much! Spread the filling in your prepared dish and set aside to cool while you prepare the topping.
4. Step: Make the topping
Place all dry ingredients for the topping in a medium bowl and mix to combine.
Add the diced butter (cold from the fridge!) and cut it into the dry flour mixture until crumbly.
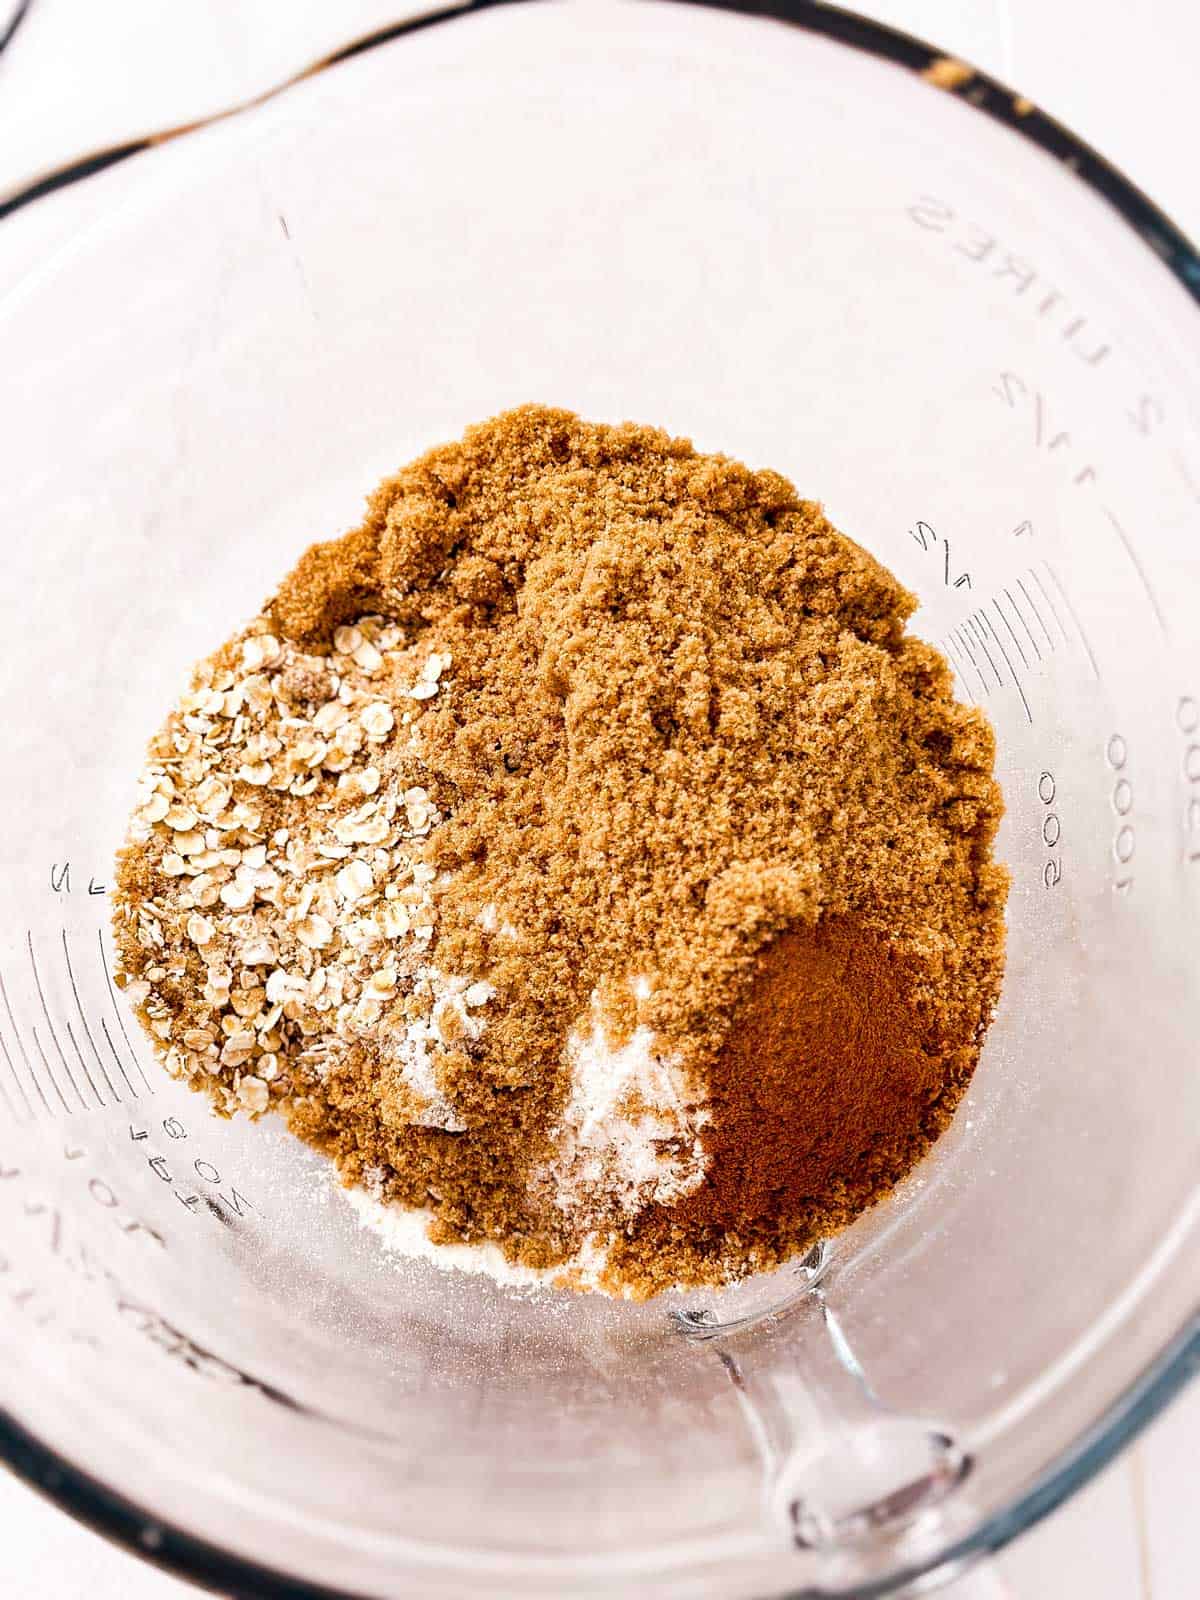
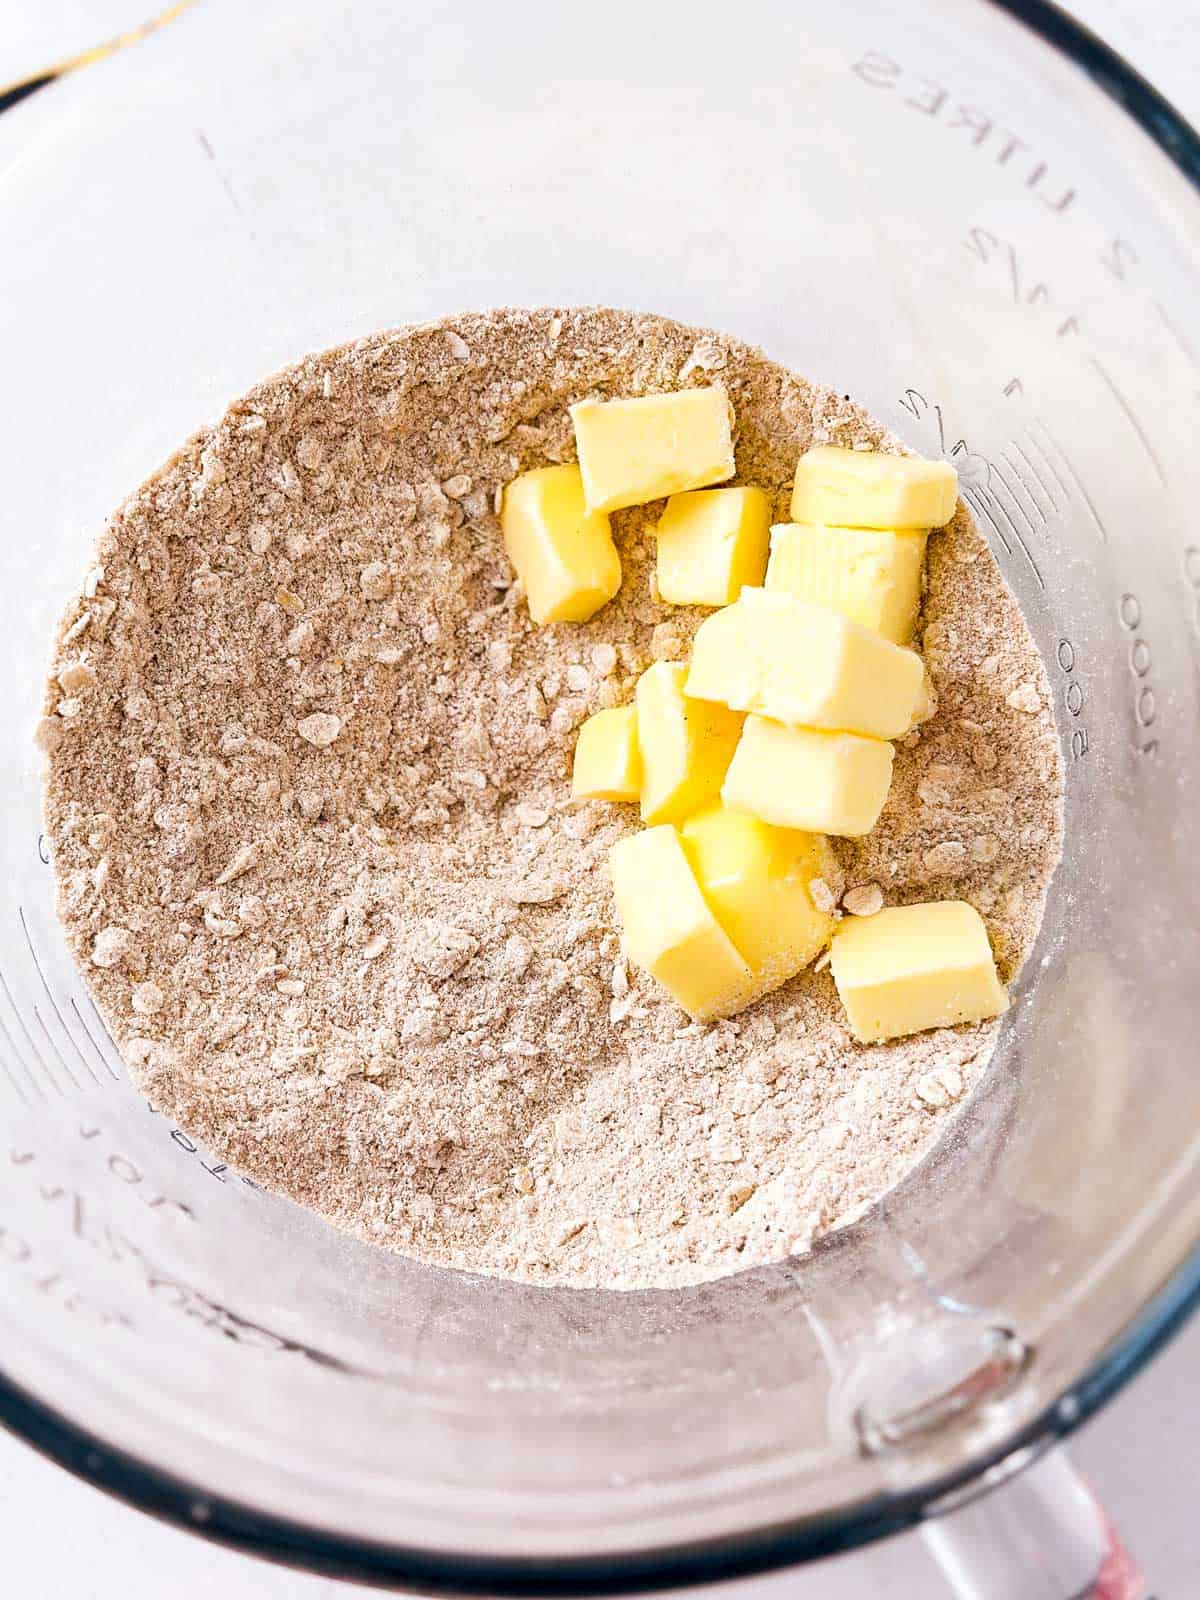
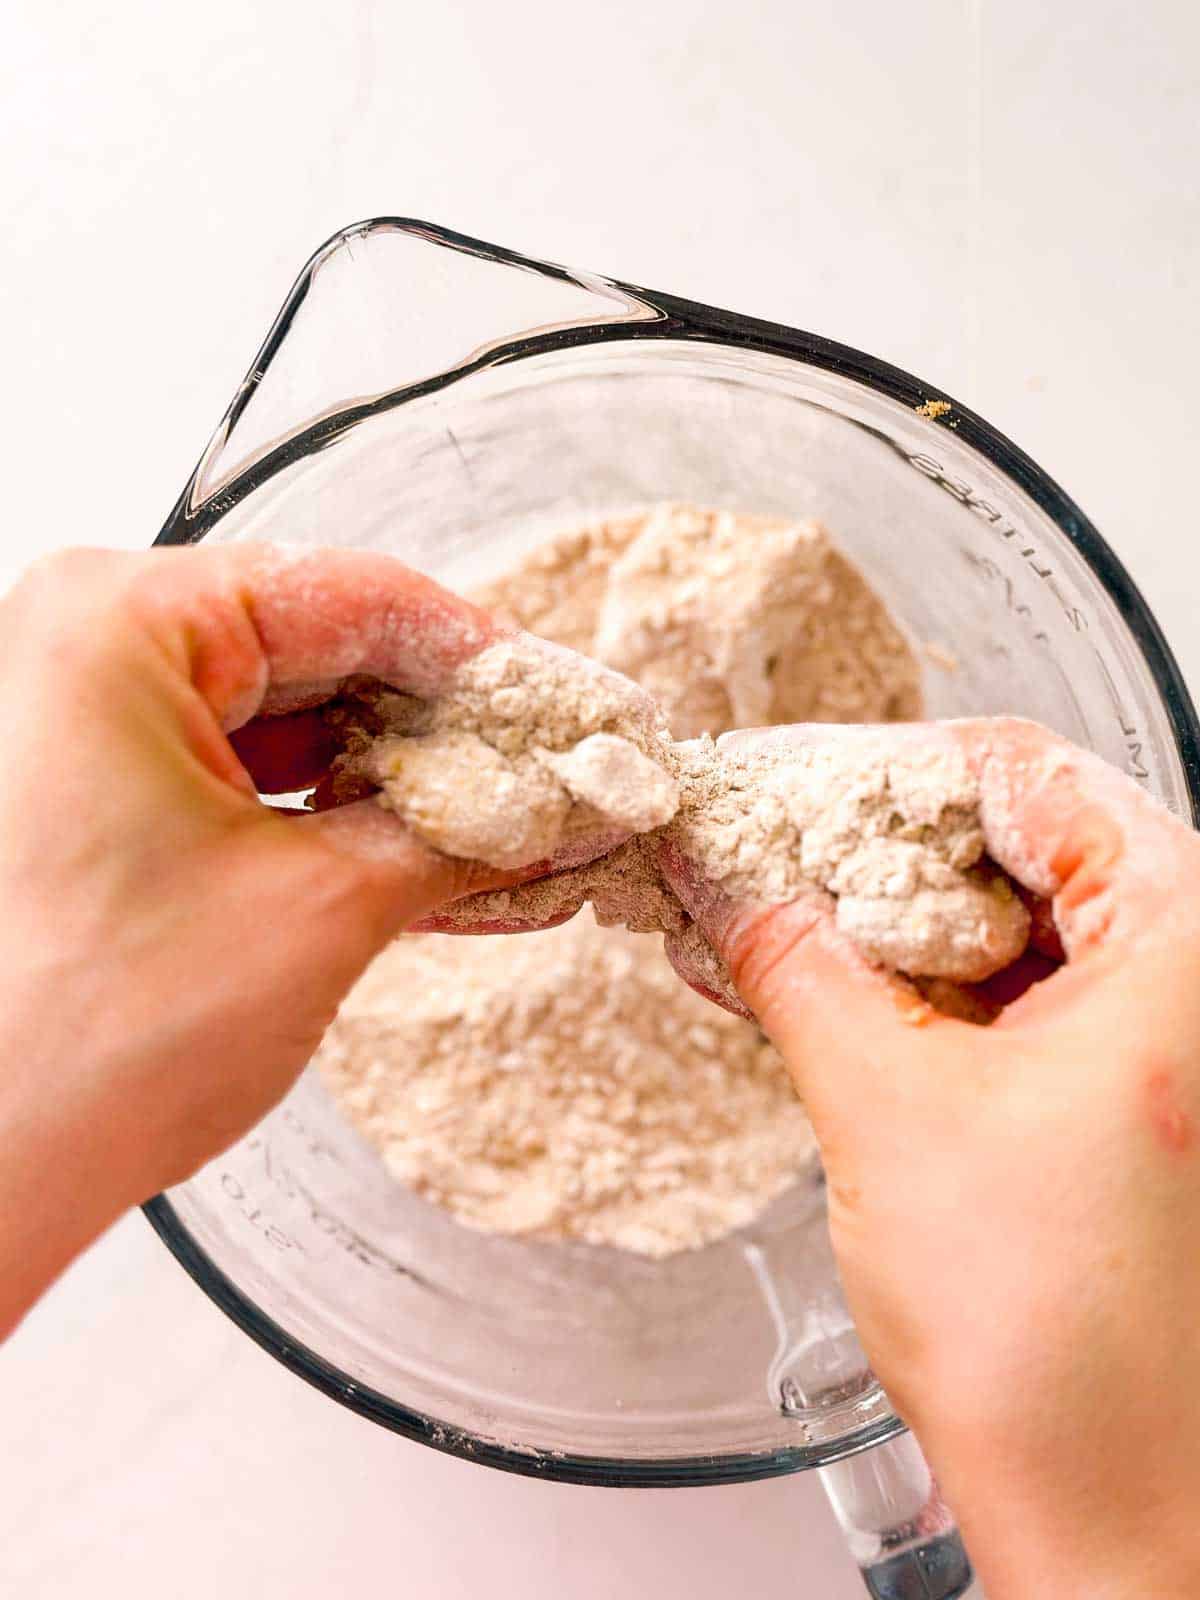
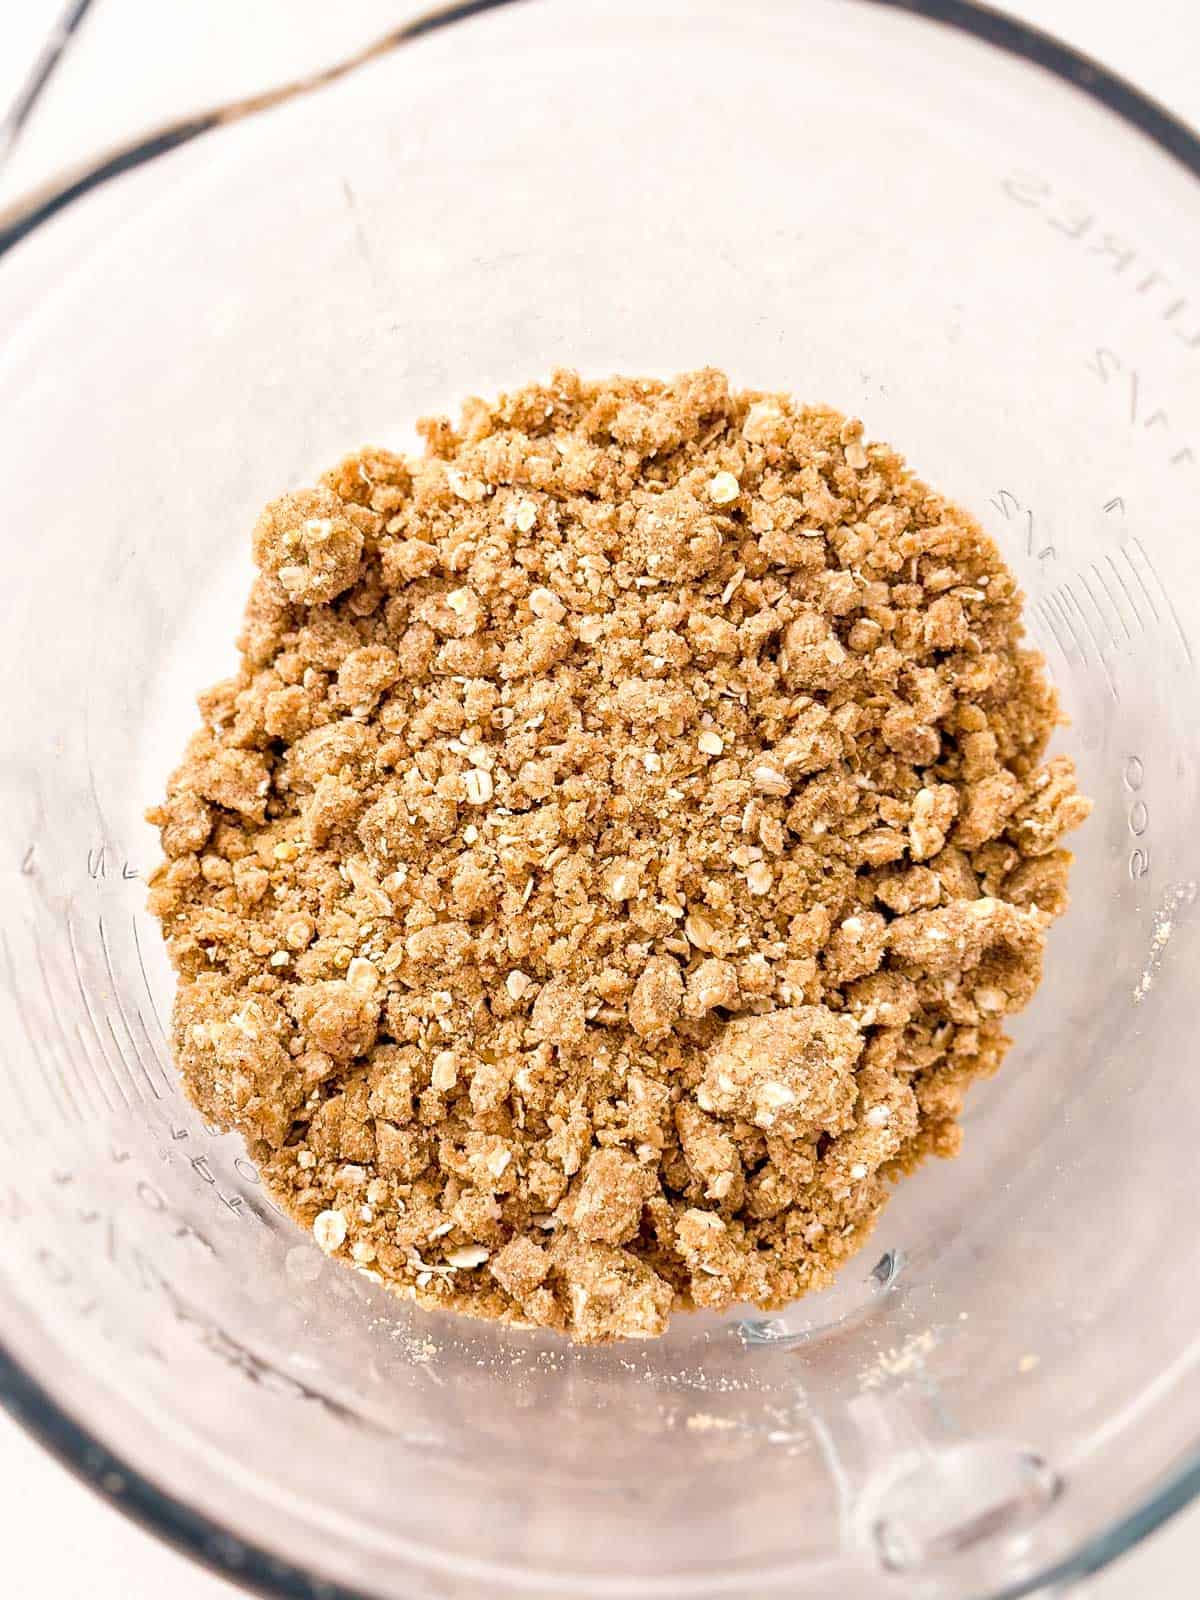
Note: If you’re a novice baker, “cutting in” means to mash/rub the dry ingredients and butter together until you have a bowl filled with crumbs and no more visibly dry flour left. Use your fingertips or a pastry blender for this step.
5. Assemble and bake
Evenly scatter the topping over the cherry filling. Bake in the hot oven at 360°F for 20-25 minutes, or until the topping is golden and the filling is bubbly around the edges.
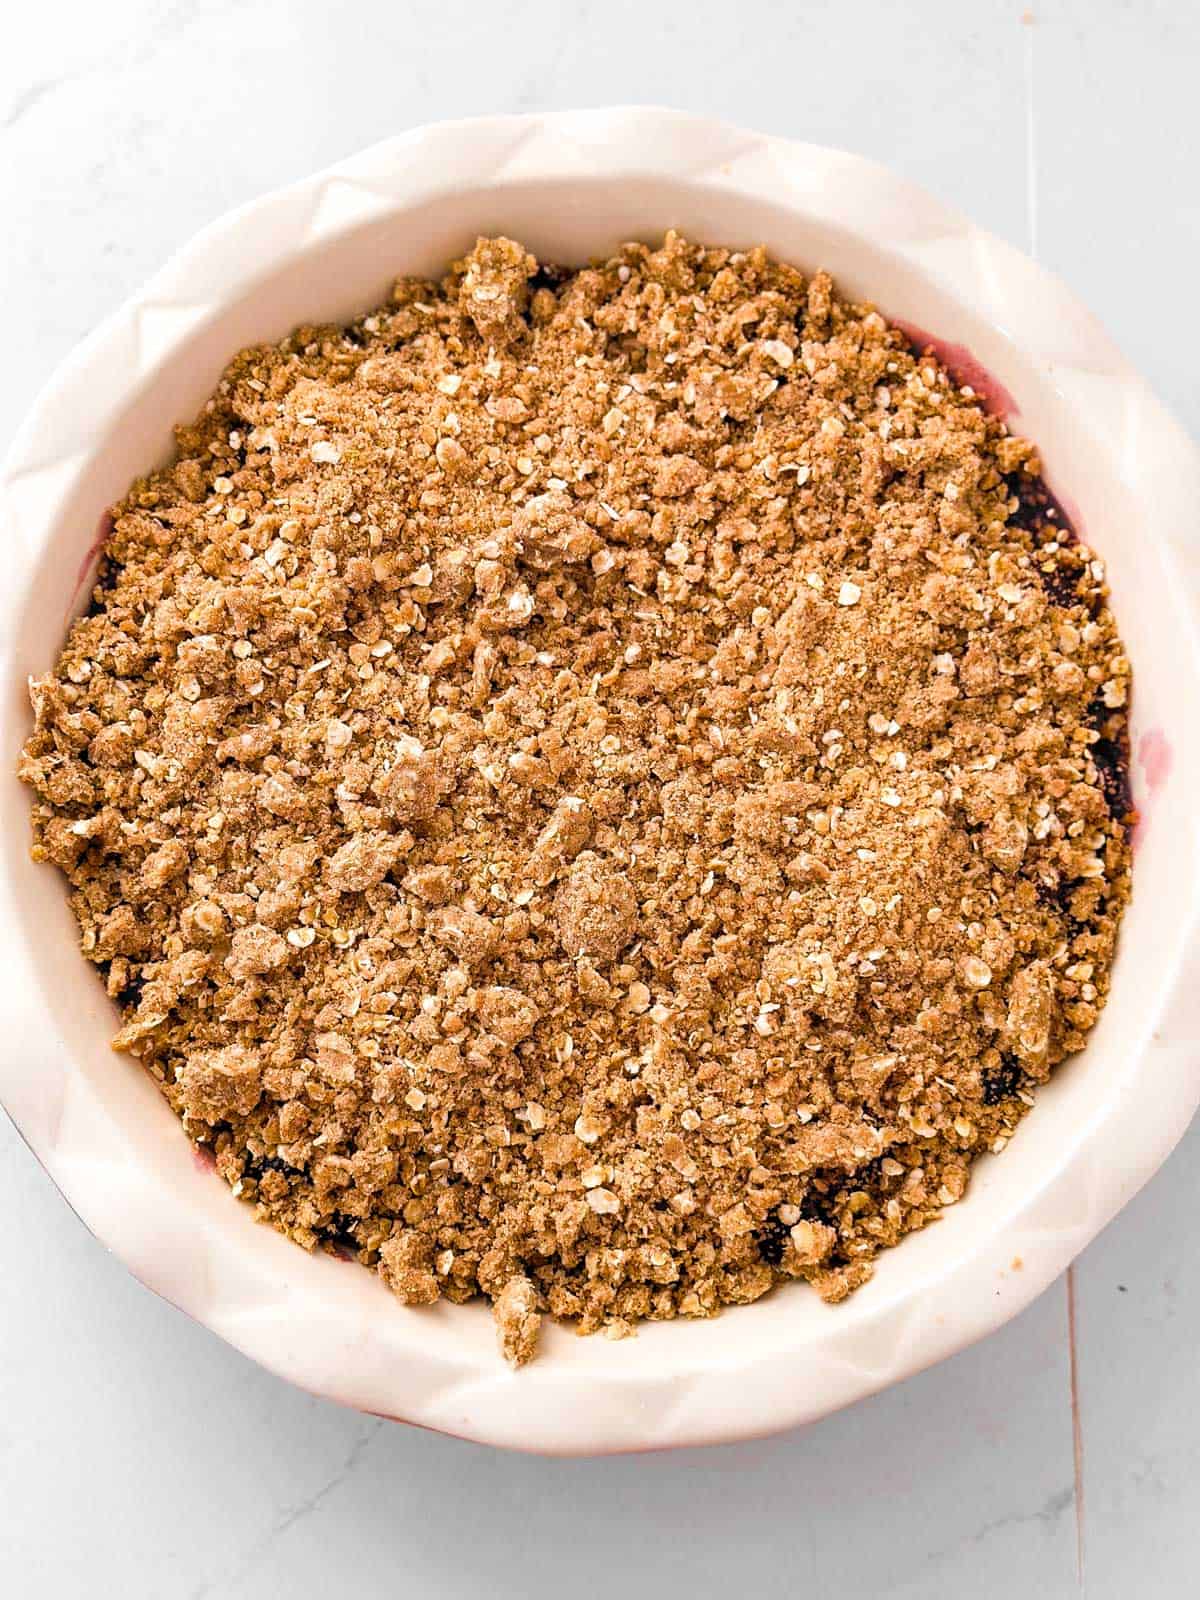
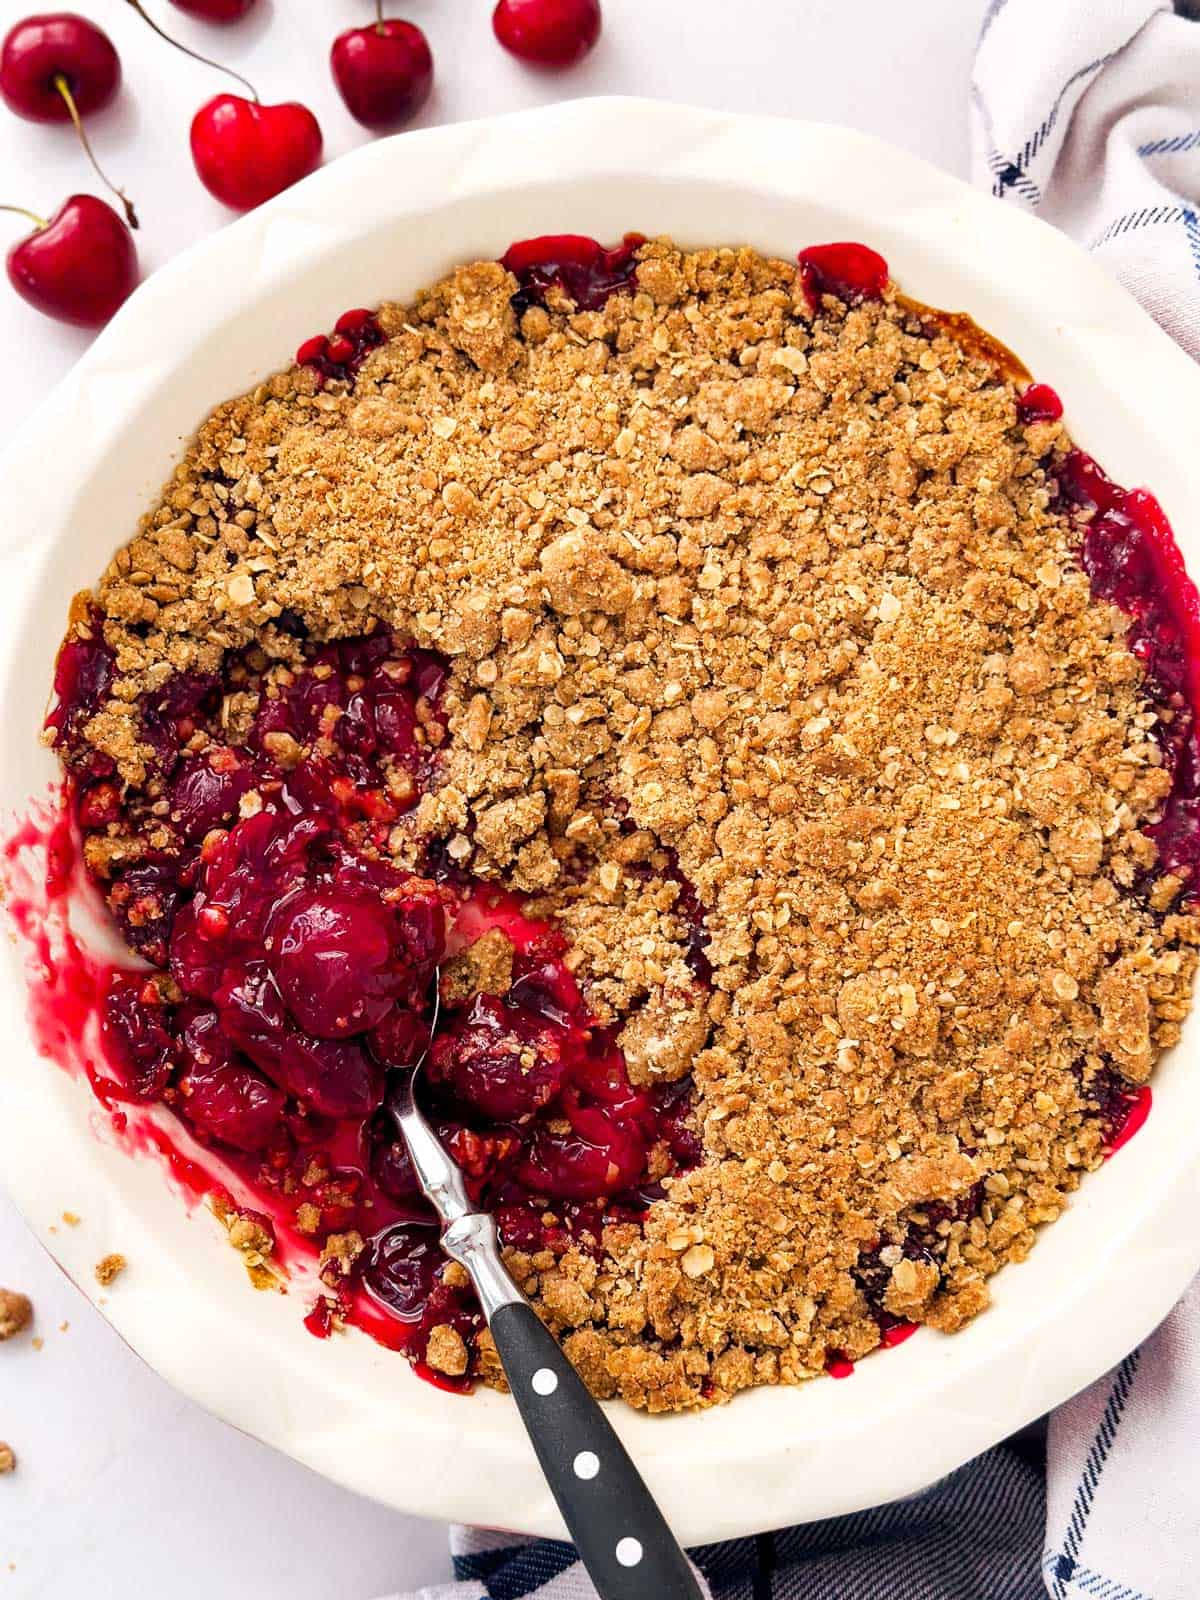
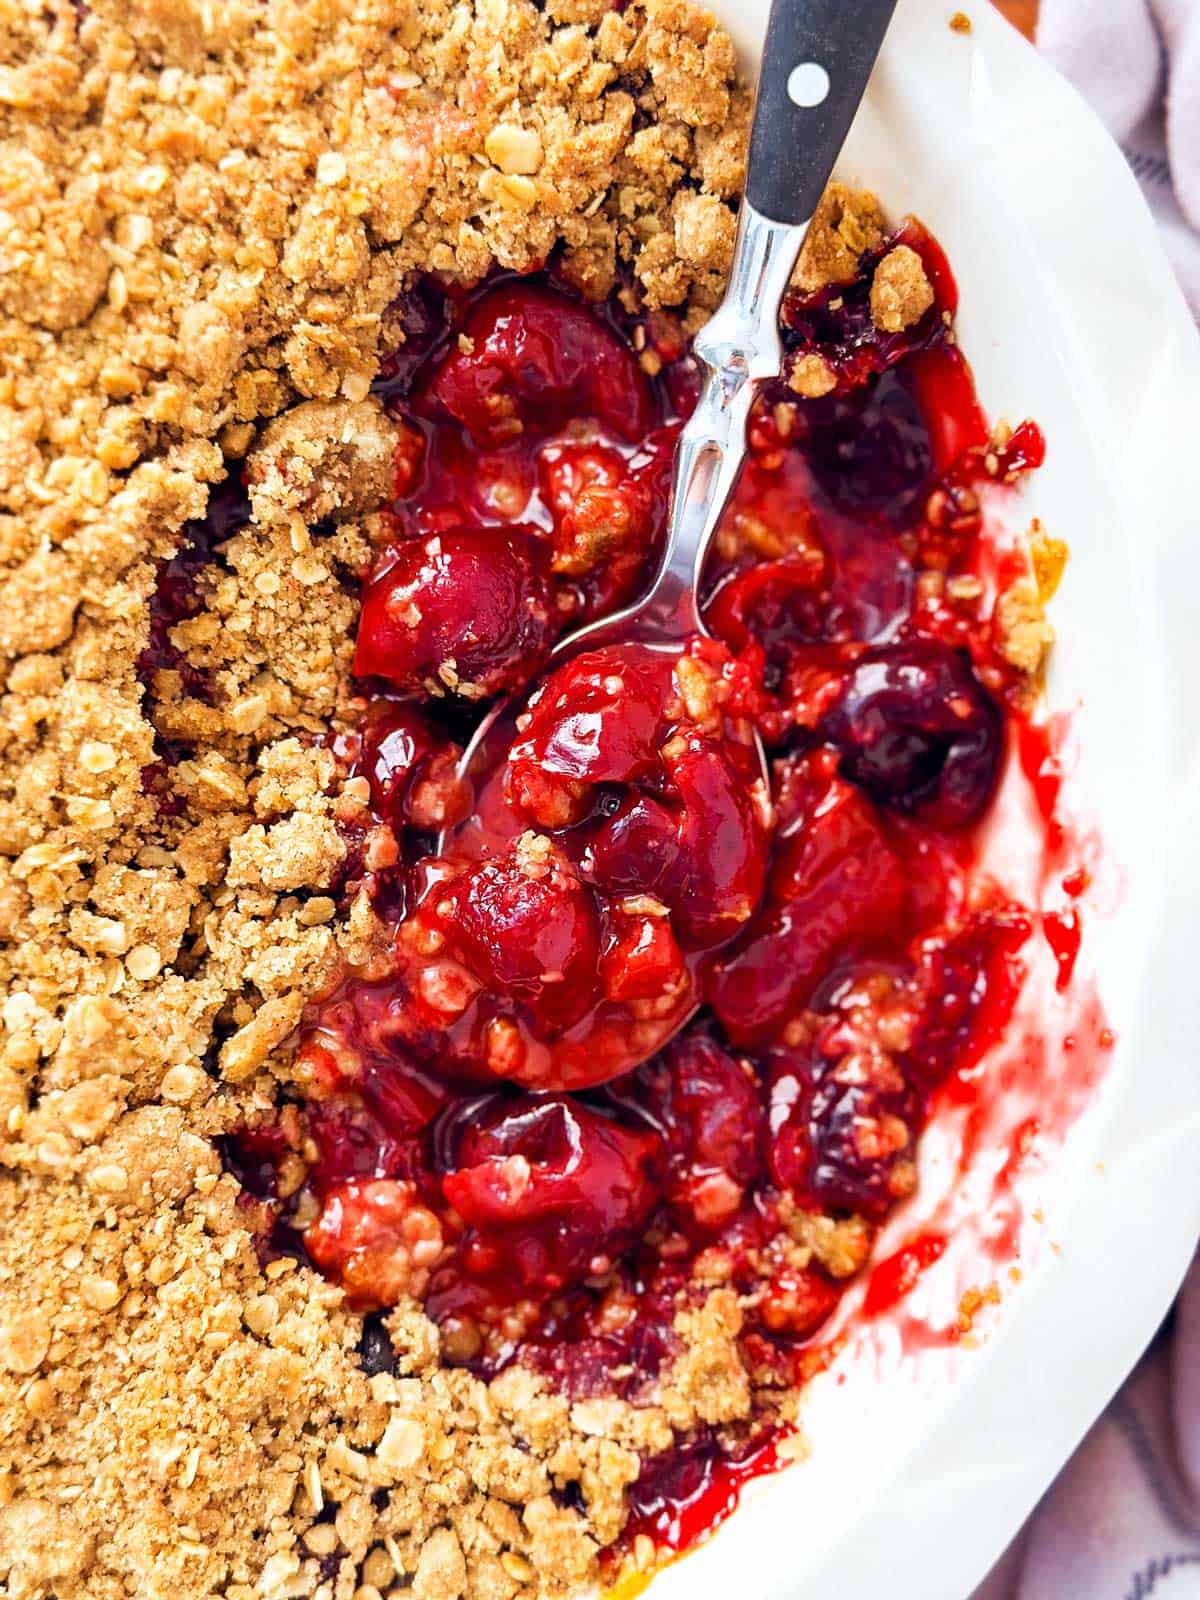
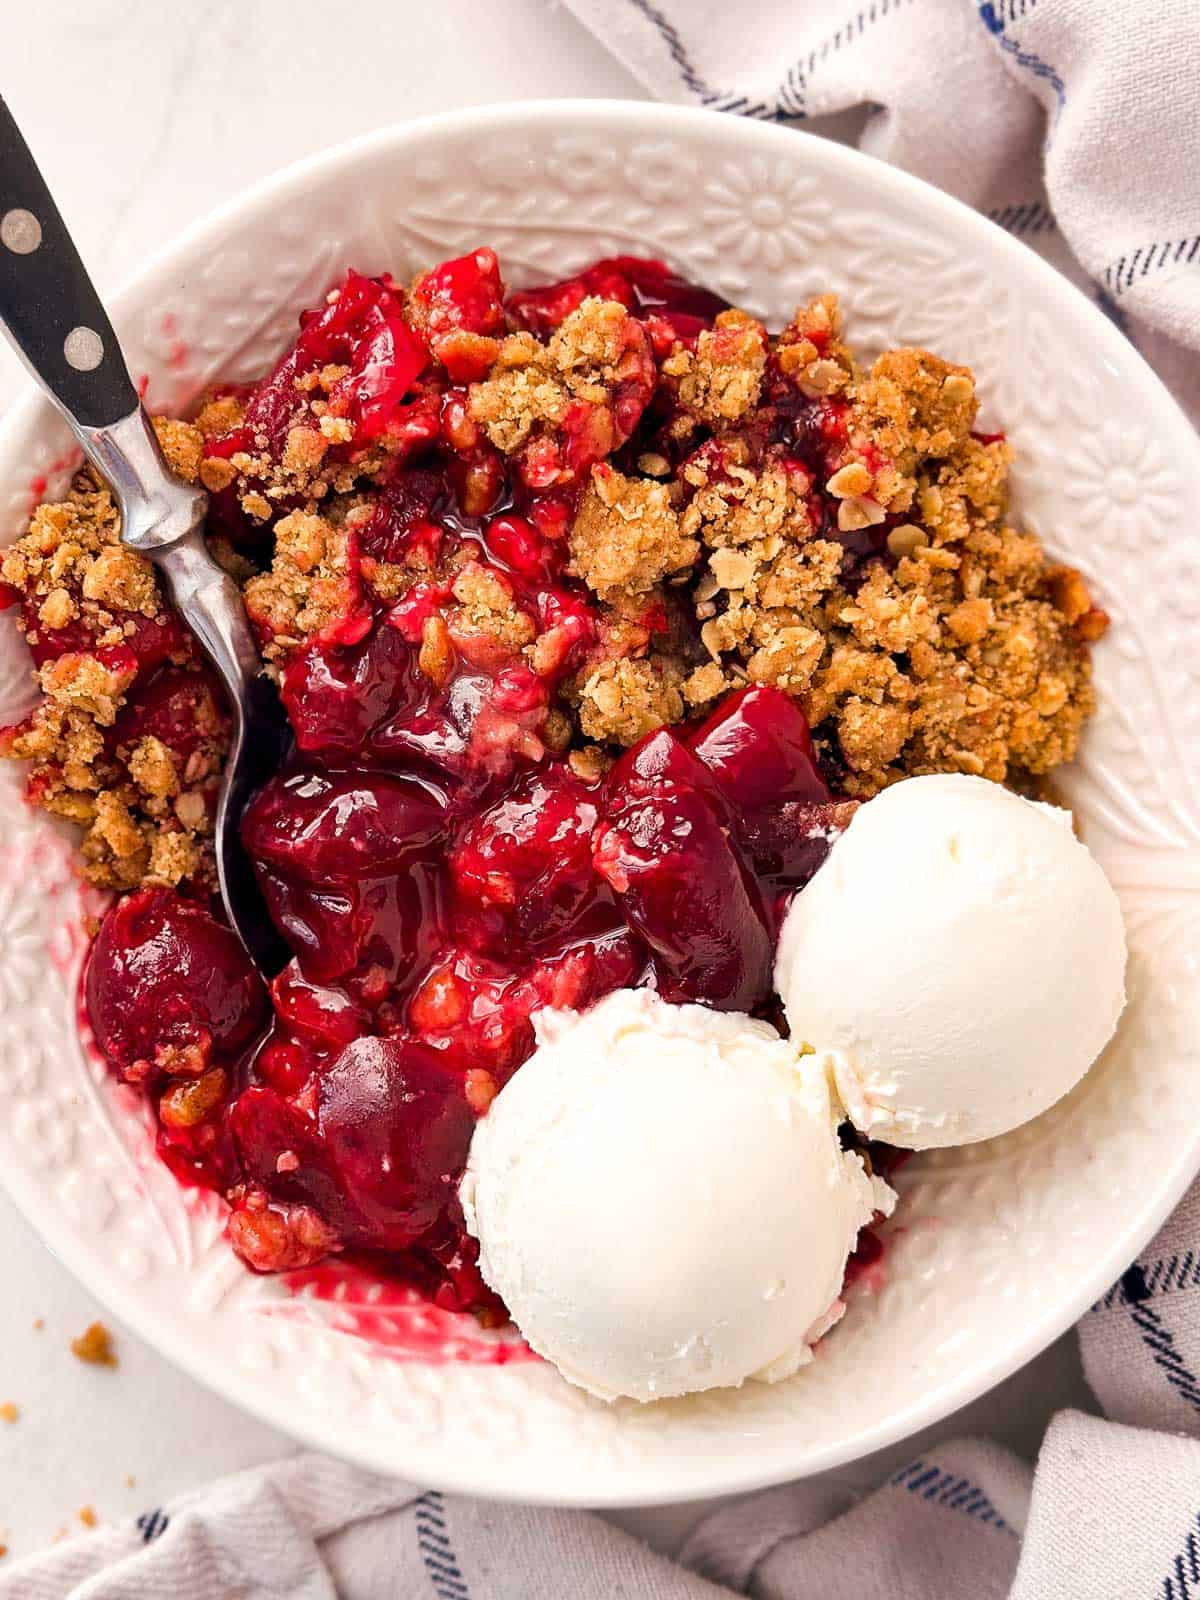
Allow the crisp to cool for 30 minutes so the filling can thicken, then serve warm with scoops of vanilla ice cream.
Top tips
- Crumble topping: Make sure to knead/rub/mash the butter and dry ingredients long enough until no more dry flour is visible. But stop once the topping is crumbly, or it will turn into paste! If this happens, place the bowl in the freezer for 10-15 minutes to firm it back up, then break it into pea-sized crumbs.
- Make sure filling had time to cool a little: Make sure the filling has cooled a little (it doesn’t need to be cold, but cooled enough to stop steaming) before adding the topping. Otherwise, the crumble may sink into the filling.
- Place on a baking sheet if needed: If your dish is more shallow or you’re otherwise concerned about splatters, place the baking dish with the crisp on a lined baking sheet in the oven to catch any juices bubbling over.
Helpful hints
Recipe variations
- Make it nutty: Add ⅛ teaspoon almond extract to the filling, add ⅓ cup slivered almonds to the topping. Or use ⅓ cup chopped walnuts or pecans in the topping!
- Add Bourbon: Instead of using all water, use 3 tablespoons bourbon plus 1-2 tablespoons water to mix the cornstarch slurry for the filling.
- Use canned pie filling: To make this recipe extra-easy, use 2 (21-oz) cans cherry pie filling in place of the homemade filling.
Storage
Leftovers: Short term (up to a day), you can loosely cover the crisp with a clean tea towel (use one you wouldn’t mind a cherry stain on) and keep it on the counter.
Otherwise, just cover your Cherry Crisp with plastic wrap and pop it in the fridge; it’ll keep for up to 3 days.
Reheating: To keep that topping nice and crispy, warm up your leftovers in the oven at 350°F until they’re hot. If you’re short on time, the microwave works too, though you might miss out on some of the crispiness.
Freezing: For longer storage, put your Cherry Crisp in an airtight, freezer-safe container, label with the name and use-by date and freeze it for up to 3 months. When you’re ready to enjoy it, let it thaw in the fridge overnight and then reheat as directed above.
Serving ideas
Top off portions with a scoop of vanilla ice cream for that classic summer dessert. A dollop of whipped cream is also delicious!
For a lighter (breakfast-friendly) version, add a scoop of plain or vanilla Greek yogurt! This is my personal favorite.
More summer fruit desserts
PS If you try this recipe, please leave a review in the comment section and add a star rating in the recipe card – I appreciate your feedback! Follow along on Pinterest, Facebook or Instagram.
Printable recipe
Cherry Crisp
Recipe details
Ingredients
For the filling
- 5 cups cherries pitted (about 1.5 – 2 pounds), OR 1.5 lbs frozen, OR 3 (14.5-oz) cans (see notes for adjustments!)
- 2 tablespoons brown sugar
- 2 tablespoons white sugar
- 1 teaspoon vanilla extract
- 2 tablespoons cornstarch
- 3 tablespoons water or more as needed
- 2 tablespoons lemon juice or to taste
For the topping
- ½ cup all-purpose flour
- ½ cup quick-cooking oats
- ½ cup brown sugar
- ½ teaspoon ground cinnamon
- ¼ teaspoon salt
- 4 tablespoons unsalted butter diced, cold from fridge!
Instructions
- Prep: Butter a 9-inch pie dish, 9-inch square pan or 7×11 rectangular pan (use adequately deep pans, not shallow ones). Heat oven to 360°F.
- Cook cherries: Place 5 cups cherries (pitted) in wide pan. Add 2 tablespoons brown sugar, 2 tablespoons white sugar and 1 teaspoon vanilla extract. Bring to a boil over medium-high heat. Immediately reduce heat to a simmer. Cover with a lid and simmer for 5 minutes, stirring from time to time, until cherries have released juices and are softening.
- Thicken filling: Remove pan from heat. In a small bowl, whisk 2 tablespoons cornstarch into 3 tablespoons water or more as neededuntil no lumps remain, then quickly stir through cherries. Place pan back over low heat and simmer 1-2 minutes, until juices have thickened. Take off the heat.
- Adjust and cool filling: Add 2 tablespoons lemon juice (or to taste) and more sugar if needed, to taste. If filling is too thick, add 1-2 more tablespoons water. If filling is too thin, stir 1 tablespoon cornstarch into 1 tablespoon water, then add to cherry filling little by little until desired consistency (jammy, thick-ish pie filling consistency) is reached. Spread filling in prepared dish and set aside to cool while preparing topping.
- Make topping: Combine ½ cup all-purpose flour, ½ cup quick-cooking oats, ½ cup brown sugar, ½ teaspoon ground cinnamon and ¼ teaspoon salt in a medium bowl. Add 4 tablespoons unsalted butter (diced, cold from fridge) and rub into dry ingredients until crumbs form and no more dry flour is visible.
- Assemble and bake: Evenly scatter crumb topping over cherry filling. Bake on middle rack in hot oven at 360°F for 20-25 minutes, until topping is golden and filling is bubbly around the edges. Remove dish from oven and place on a cooling rack for 30 minutes before serving warm with vanilla ice cream, if desired.
Notes
Ingredient notes
- Cherries: Sweet or tart cherries are both fine, adjust sugar (and possibly skip lemon juice) if using tart cherries. Use fresh or frozen fruit – no need to defrost from frozen, just simmer a little longer until fully heated!
- Canned cherries: Use 3 14.5-oz cans. Strain cherries, catching juice, then place juice in a wide pan, reserving ¼ cup. Add vanilla extract and sugar to taste (some cherries come in sweetened juice, be sure to adjust). Bring to a boil. Dissolve 3 tablespoons cornstarch in ¼ cup reserved juice. Take pan off the heat and whisk in cornstarch slurry until fully incorporated. Put pan back over medium-low heat, stirring constantly, until thickened. Add more cornstarch slurry if needed, depending on your exact canned cherry product. Stir in lemon juice (if needed). Stir in cherries, adjust for taste and texture as described in recipe and use as directed in recipe.
- Oats: Use quick cooking oats for the best results. They bind the crumble better and bake up quicker in the oven. Old-fashioned olds yield a topping that’s too dry for my personal taste.
- Butter: Real butter yields the richest taste. If you prefer using margarine, make sure to use stick margarine intended for baking and NOT a buttery spread.
- Lemon juice: Skip or reduce if using tart cherries.
Recipe tips
- Crumble topping: Stop working in butter once the topping is crumbly, or it may turn into paste. If this happens, place bowl in freezer for 10-15 minutes to firm topping back up, then break into pea-sized crumbs.
- Don’t skip cooling filling for a few minutes, or topping may sink into filling while baking.
- Place on a baking sheet if needed: If your dish is more shallow or you’re otherwise concerned about splatters, place baking dish with crisp on a lined baking sheet to catch any juices bubbling over in oven.
- Store leftovers covered on counter for up to a day, or in fridge for up to 3 days. Reheat at 350°F in oven for 5-10 minutes.





Kelly says
Made for the 4th, was a big hit! I added almond extract and chopped almonds and we loved it.