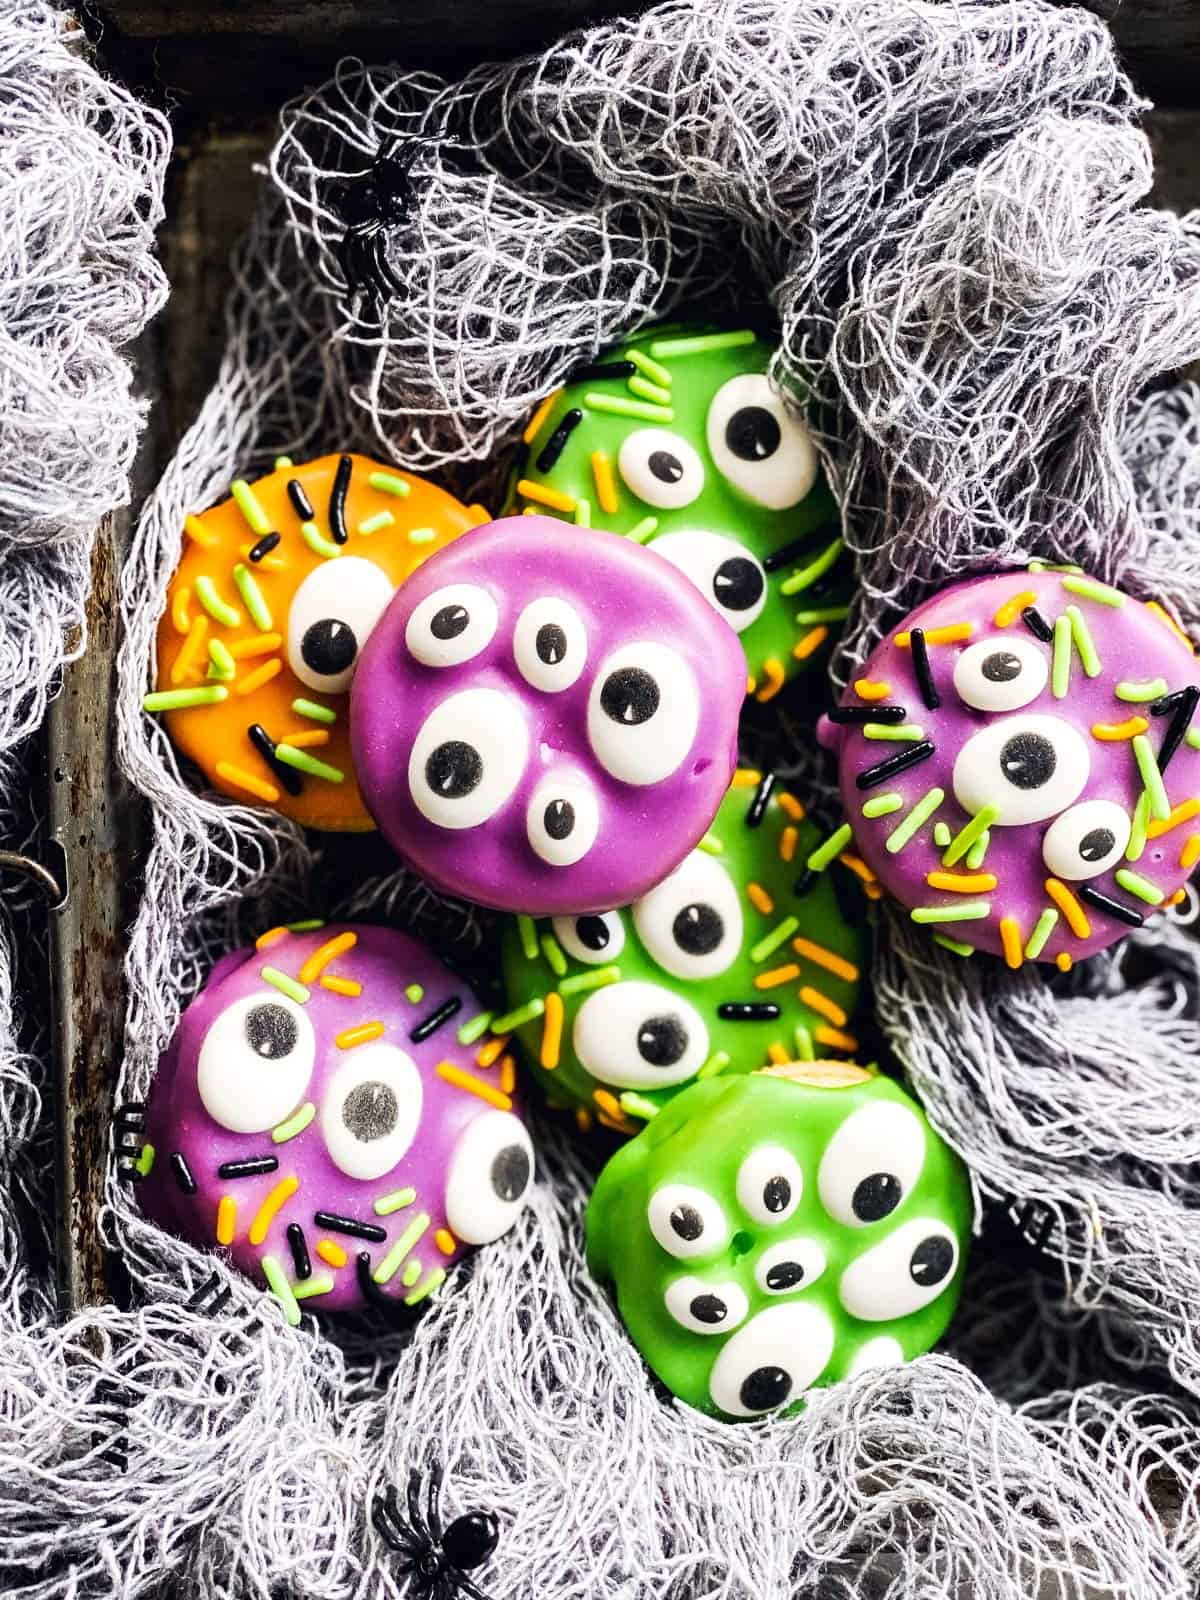
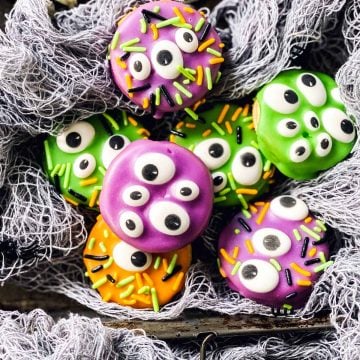
These Monster Oreos are so easy and doable – the perfect Halloween Treat to make with the kids. You only need four ingredients to assemble them!
I wasn’t always a huge fan of Halloween, but now that my kids are getting a little older – I’ve come to love it! They get so excited and it’s the most precious thing. What I don’t love, though? Picking treats and things to make with them – only to end up with a hugely impossible project.
With three young kids? Easy is the name of the game, and so are these decorated Oreo cookies. You only need four ingredients to make them, and they really are fun and easy. And yes, even if you make them with the kiddos ?
Ingredients you’ll need
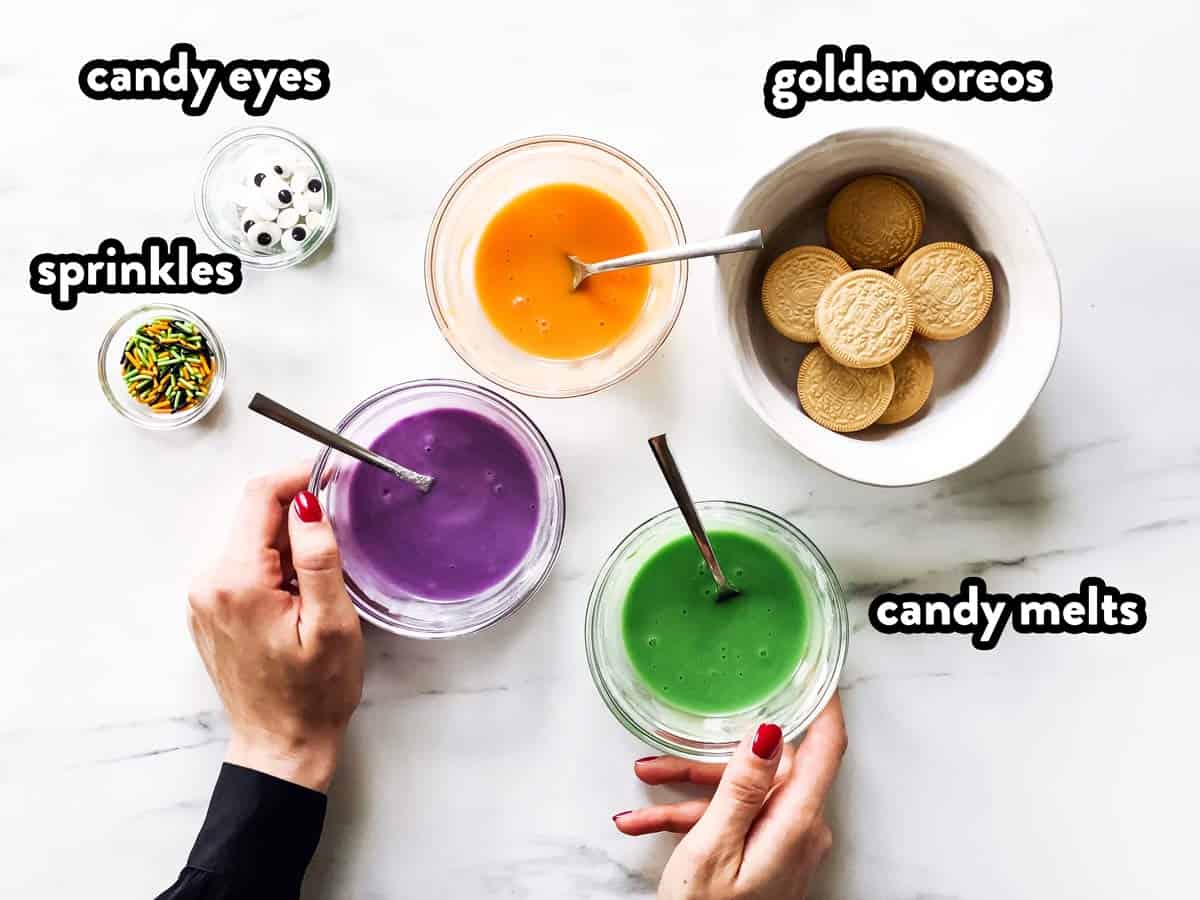
Here is a visual overview of the ingredients in the recipe. Scroll down to the printable recipe card at the bottom of this post for quantities!
Ingredient notes
- Candy melt colors: I chose orange, purple and green to make my monsters. You can of course use any color you like! I found these the most goulish-Halloween-y.
- If you don’t have any candy melts: No candy melts, or none available where you are? You can also make these with a thick powdered sugar glaze. Just use 1 cup powdered sugar with a few teaspoons of water. Stir well, you want a fairly thick, white glaze – about the consistency of thick glue. Add a few drops of food coloring and use it as you would use candy melts!
- Candy eyes: I recommend using at least two different sized eyes. I used oval larger and oval smaller ones and added different combinations to all of my Monster Oreos.
- Sprinkles: I used the sprinkles I had in the pantry in a Halloween mix. I liked that they had similar colors to the candy melts I chose, so the monsters would look scary-cute and not like psychedelic monsters ?
- Golden Oreos: You can of course use regular Oreos as well. I like to use the golden ones here simply because of personal preference.
Step by step photos
Recipe tips
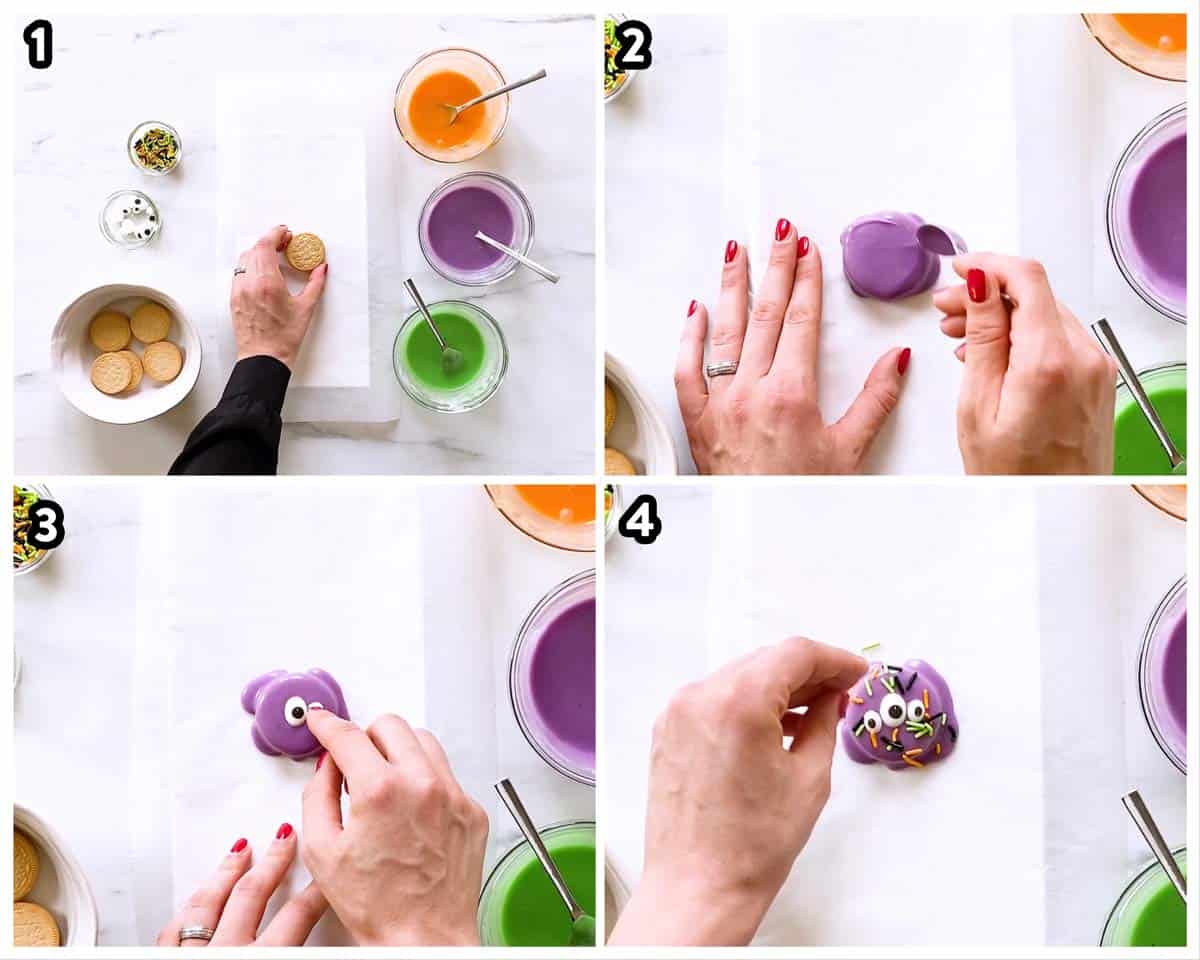
- There’s no need to cover the bottom of the Oreo cookies with candy melts/glaze! Glazing the bottom only makes them stick really badly and if you’re not planning on adding popsicle sticks, you’ll only see the front anyways. Also… It’s SO much easier ?
- I always decorate Oreos on a few sheets of baking parchment – even if the end up sticking a little, they release very easily.
- I highly recommend lifting the decorated Oreos onto a fresh sheet of parchment twice: Once about 5 minutes after decorating them, and then once again after another 15-20 minutes. This will leave behind any drippings around the edge and will give you a much cleaner look on the finished product.
- Make sure to let the decorated cookies fully dry for a few hours (even better overnight) so they don’t get ruined by touching them.
Storage tips
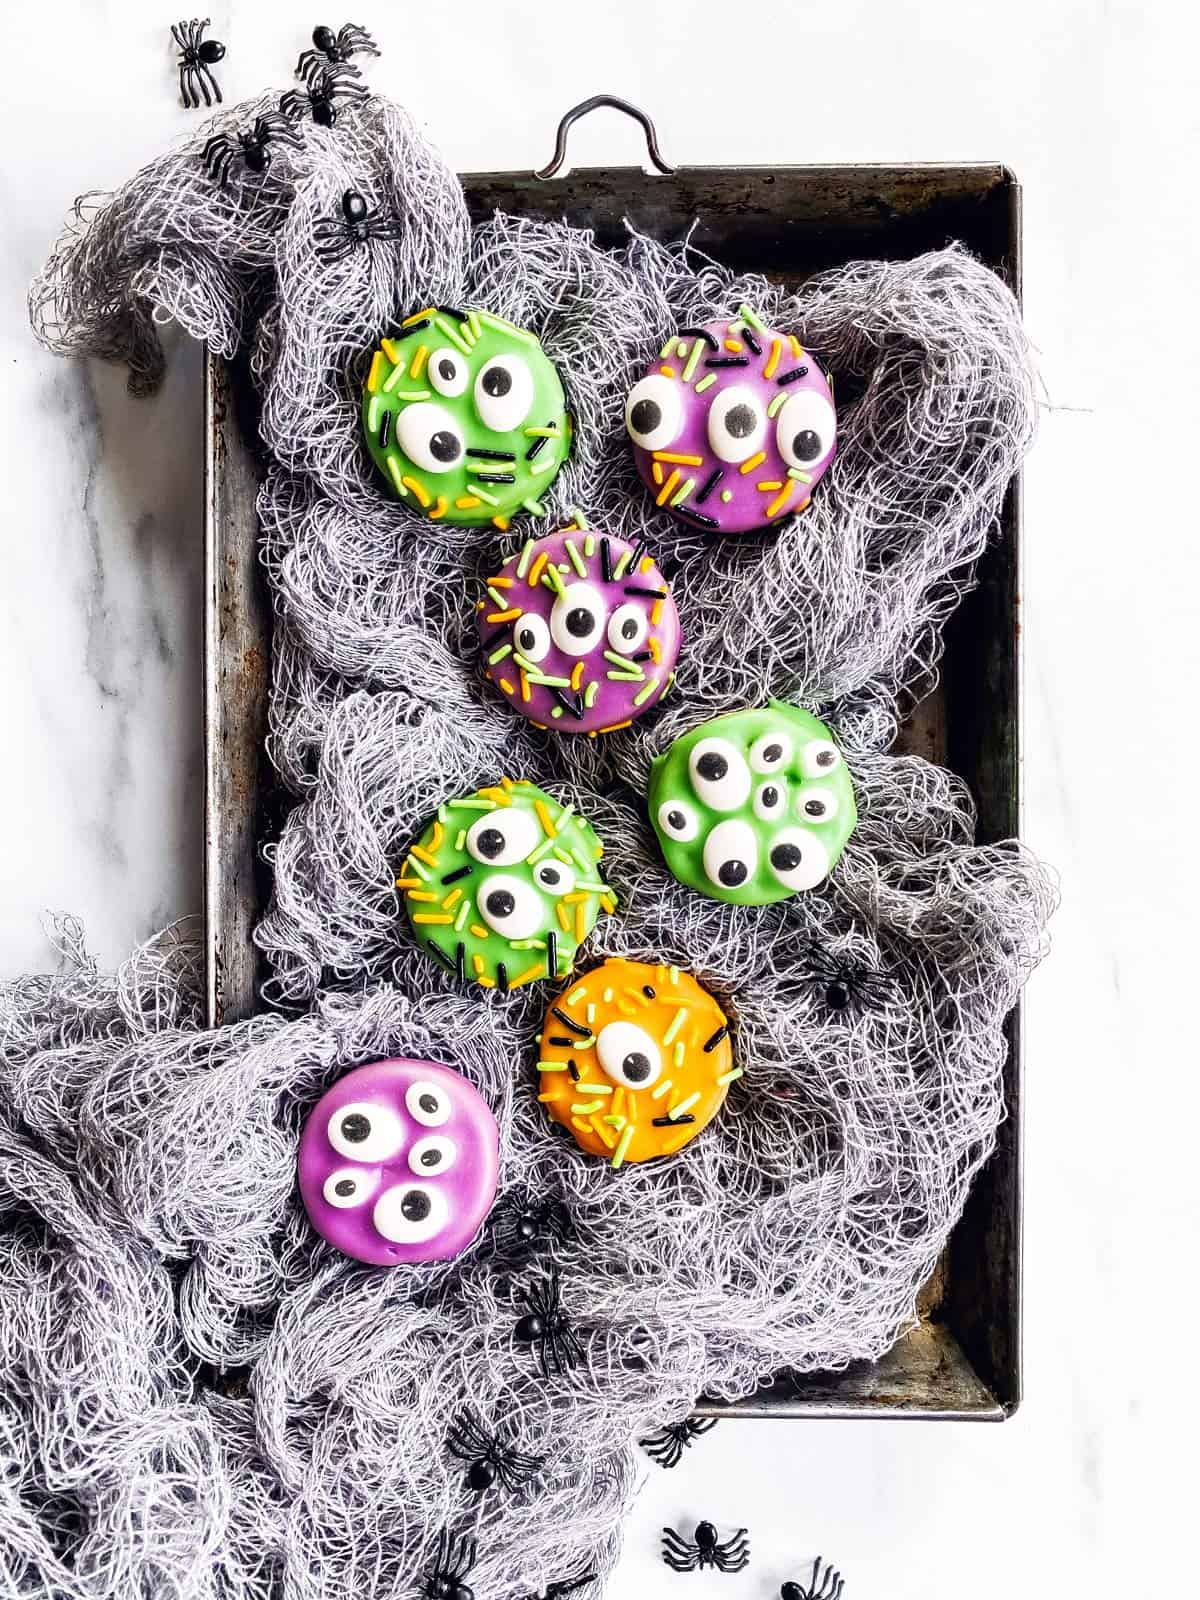
You can store these at room temperature for up to a week. I recommend placing them in a single layer in a cookie tin and storing them in a cupboard away from the sun.
More Halloween treats
If you’re looking for more easy treats to make for Halloween, try my Easy Monster Cookies!
PS If you try this recipe, please leave a review in the comment section and add a star rating in the recipe card – I appreciate your feedback! Follow along on Pinterest, Facebook or Instagram.
Printable recipe
Monster Oreos
Recipe details
Ingredients
- 1 package golden Oreo cookies either 14.3oz regular OR 15.25oz double stuf work
- candy eyes I recommned using at least 2 different sizes
- candy melts in colors of your choice I needed about 12oz in total to make 30 cookies
- Jimmies sprinkles in colors of your choice I used about ½ cup, but I didn't add sprinkles to all my monster cookies
Instructions
- Melt candy melts according to the package instructions – I recommend starting with about ¼ of a 12-oz bag if you're using 3 colors. You can always melt more later.
- Place a cookie on a clean sheet of baking parchment. Spread a spoonful of melted candy melts on top, so it slightly drips down the sides (there is no need to cover the bottom – it's way less messy and easier to just spread candy melts over the top!).
- Decorate the cookie with eyes and sprinkles as you like.
- Let the cookie sit on the parchment for about 5 minutes, then use an offset spatula to transfer it to a clean parchment. After 15-20 minutes, carefully transfer it to a clean part of the parchment again and let it fully dry for a few hours, better overnight.





Samantha Luria says
My 3 years old helped me with this! It was great because it didn’t require perfection. And bonus: no dipping!
Nora says
I’m so glad, Samantha! My kids love making these, too.