Do you sous vide? If you’re here, you probably do – and chicken breast is one of the best cuts to cook this way, if you ask me. The difference in texture and juiciness is just unbelievable! I could geek out about this recipe all day, ahem.
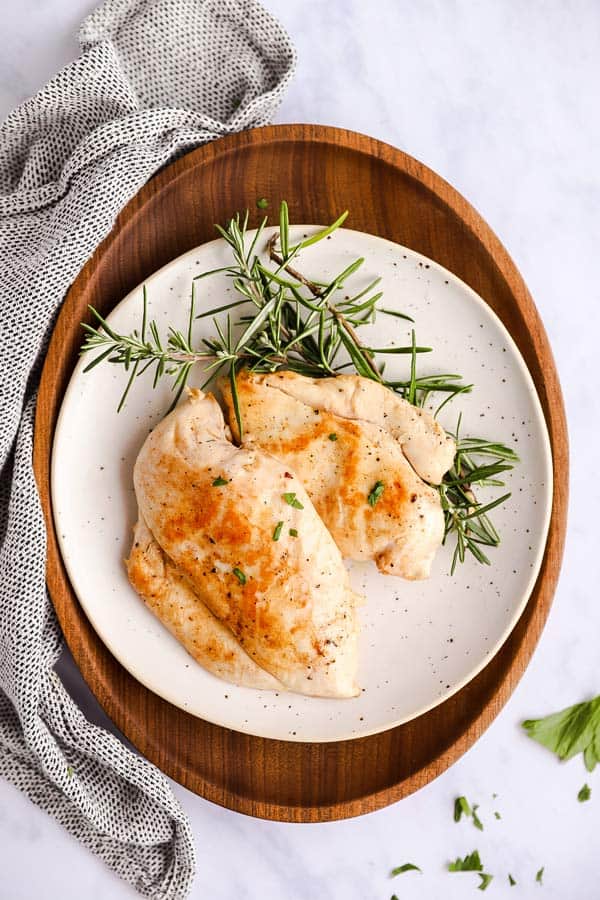
We bought our first immersion circulator (or “sous vide machine” for those of us who believe in layman’s terms) in 2014, we own Thomas Keller’s ancient book on sous vide cooking and my husband most definitely cooks from Modernist Cuisine at Home.
Needless to say, I’m pretty sure it’s time for some family-friendly sous vide recipes around here. And we’re starting off with a basic chicken breast recipe. I have one kid who refuses to eat chicken breast in any form, unless it’s cooked this way – so you already know this is a good one 😉
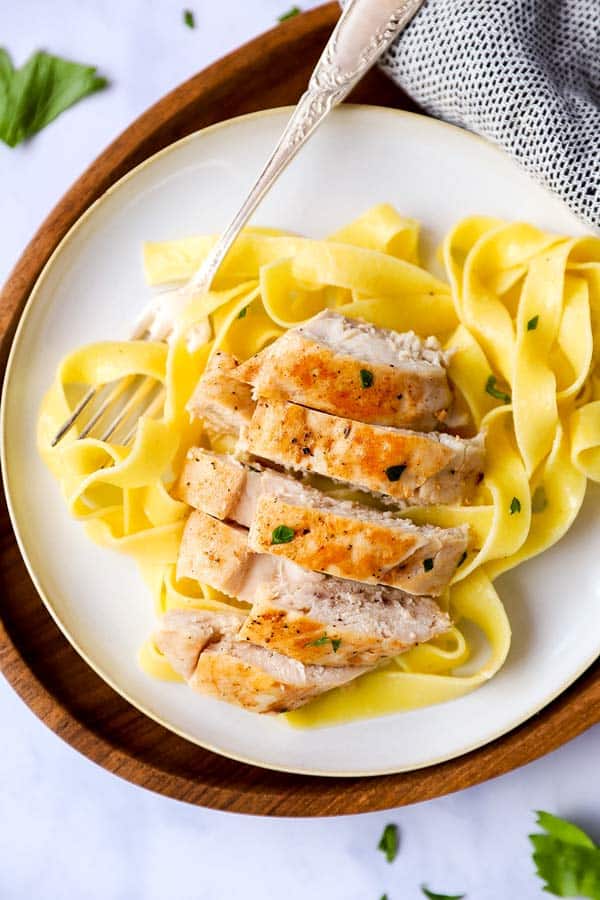
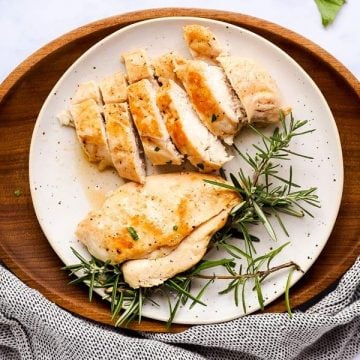
We like this chicken over some creamy Fettuccine Alfredo with sautéed green beans on the side. Such an easy and tasty meal everyone around the table likes. Enjoy!

Garlic Herb Sous Vide Chicken Breast
Recipe details
Ingredients
Seasoning:
- ¼ - ½ teaspoon salt
- ¼ teaspoon celery salt
- ¼ teaspoon ground paprika
- ¼ teaspoon dried garlic powder
- Black pepper to taste
For the chicken:
- 2 chicken breasts
- 2 teaspoons olive oil
- 1 sprig fresh rosemary
- 1-2 sprigs fresh thyme
To finish:
- 1 tablespoon butter
Instructions
- Prep: Prepare your sous vide machine according to the manufacturer's instructions and set it to heat to 146.5°F.
- Season chicken: Mix all ingredients for the seasoning in a small bowl, then rub all over the chicken.
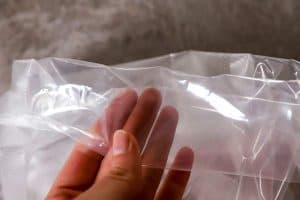
- Bag chicken up: Pour the olive oil in the sous vide bag. Then, place the chicken laying flat at the bottom of the sous vide bag (fold the rim over before inserting the chicken, to avoid contamination - see the step photos below). Add the thyme and rosemary sprigs (if using) and vacuum-seal the bag moderatly snug.
- Cook: Place the bag in the heated water batch and, with the sous vide machine running, cook it for 1 hour or until done (check the internal temperature with a thermometer, if you're unsure).
- Finish: Unbag the chicken, discard the aromatics. Heat the butter in a large skillet over medium-high heat. Once sizzling, add the chicken and brown 30-60 seconds on either side while pushin down on the chicken slightly to maximise contact between the meat and the skillet. Serve immediately.
Notes
Step by Step Photos:
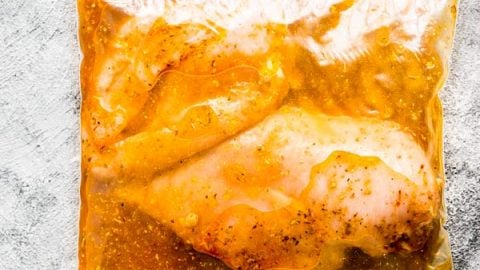
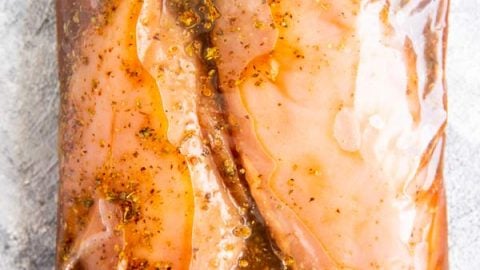
It's important to season the chicken well, or you'll have bland meat. Fold the sous vide rim over to add the chicken, to keep the seal from getting contaminated.
 Place the chicken, oil and seasoning at the bottom of the bag before vacuum sealing.
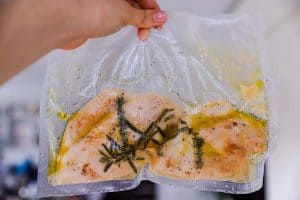
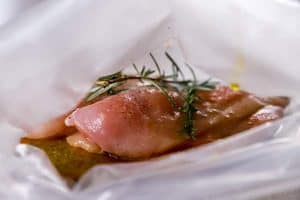 Vacuum snuggly, but not tightly - otherwise you'll squish the chicken too much. In this photo below you can see how the chicken is at the bottom of the bag, laying flat. This is important, or your bag will not properly stay below the water surface.
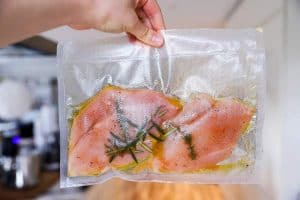 The chicken will look a bit weird after cooking, that's perfectly normal.
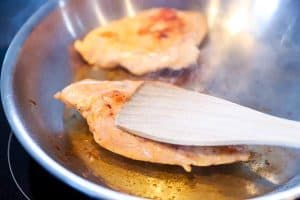
 Finish the chicken breast in a sizzling skillet in melted butter (you only want to do a quick sear on either side, or you'll overcook the chicken) to make it look delicious.
Ingredient Notes:
Chicken: For perfectly consistent results, use chicken breasts that are roughly the same size. As you can see in the photos, I defintiely didn't follow this suggestion. We buy our chicken from a small producer and the sizes are... not standardized 😉 Garlic: What, no fresh garlic?! No... I'm not a huge fan of the way fresh garlic turns out in sous vide chicken. So I use a high-quality dried garlic powder in the seasoning rub instead.Cooking Tips:
For the most precision: Use a meat thermometer if you want to go for the most precision vs an average timing. I prefer one that can be left in the meat during cooking. They aren't cheap, but I use mine all the time (for non-sous vide cooking, too, even to test the internal temperature of a cake). Food floating? Make sure to vacuum the meat properly (see step photos above for reference). If you still have trouble, try claming the bag to the side of your pot. You can also use special floating plastic balls for sous vide, they help the food bags to stay submerged AND they help to keep energy usage lower by insulating the water surface. Sous Vide Bags: I want to preface this by letting you know that I'm a big sceptic when it comes to plastic around food, and I'm a stickler about limiting single use plastic, too. That being said... When cooking sous vide, I do not rely on things like ziploc bags, reusable food bags or the like. I only use BPA and phtalate free bags specifically sold to use in sous vide cooking (eg suitable for uing with heat). Here's my reasoning: Bags specifically sold for sous vide cooking are designed to be used in a hot, wet environment - possibly with some acids like vinegar or lemon juice, too. Ziploc bags are NOT designed to do that. Ziploc bags may be BPA free, but they are not designed to use in combination with near-boiling water. The bags are in intense contact with raw meat etc, so I don't trust a reusable bag either - not even if I can wash it in the dishwasher. The risk of food-borne illness is just too big to me to consider this until someone convinces me otherwise. And I don't cook sous vide often enough to produce large quantities of reusable plastic waste - I'm currently still using up the roll of bags from my FIRST sous vide machine I bought 5 years ago! tl;dr: You're obviously free to sous vide in a way that suits you, but I thought I'd share why I don't advertise the use of ziploc bags or reusable bags for sous vide cooking here on my blog.Nutrition
More recipe information
Try these chicken recipes next:
Greek Chicken Marinade
This is one of my all-time favorite marinades to add flavor to chicken in the summer.
Honey Mustard Chicken with Bacon
This sauce is so good. Cook the chicken sous vide and finish it in the simmering sauce, if you prefer.
Balsamic Bruschetta Chicken
A quick and easy chicken recipe for busy weeknights. You could even sous vide the chicken and finish it on the grill!








Linda says
I sous vide chicken a lot. but never used a rub. I used the breast and leg quarter with this rub, same bag, added some dried rosemary to it and in the water bath for a few hours. my plan was to cut this up for salads but forgot to char it. It was so good without that I would do this again. Perfect cold with a salad. That seasoning was perfect.
Nora says
I’m so glad to hear it, Linda!
Jonathan Crawford says
Awesome recipe!