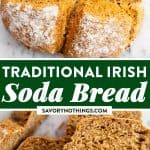
Don’t miss out on a loaf of this Traditional Irish Soda Bread this St. Patrick’s Day! With just a handful of ingredients, this is a quick and easy homemade bread anyone can master.
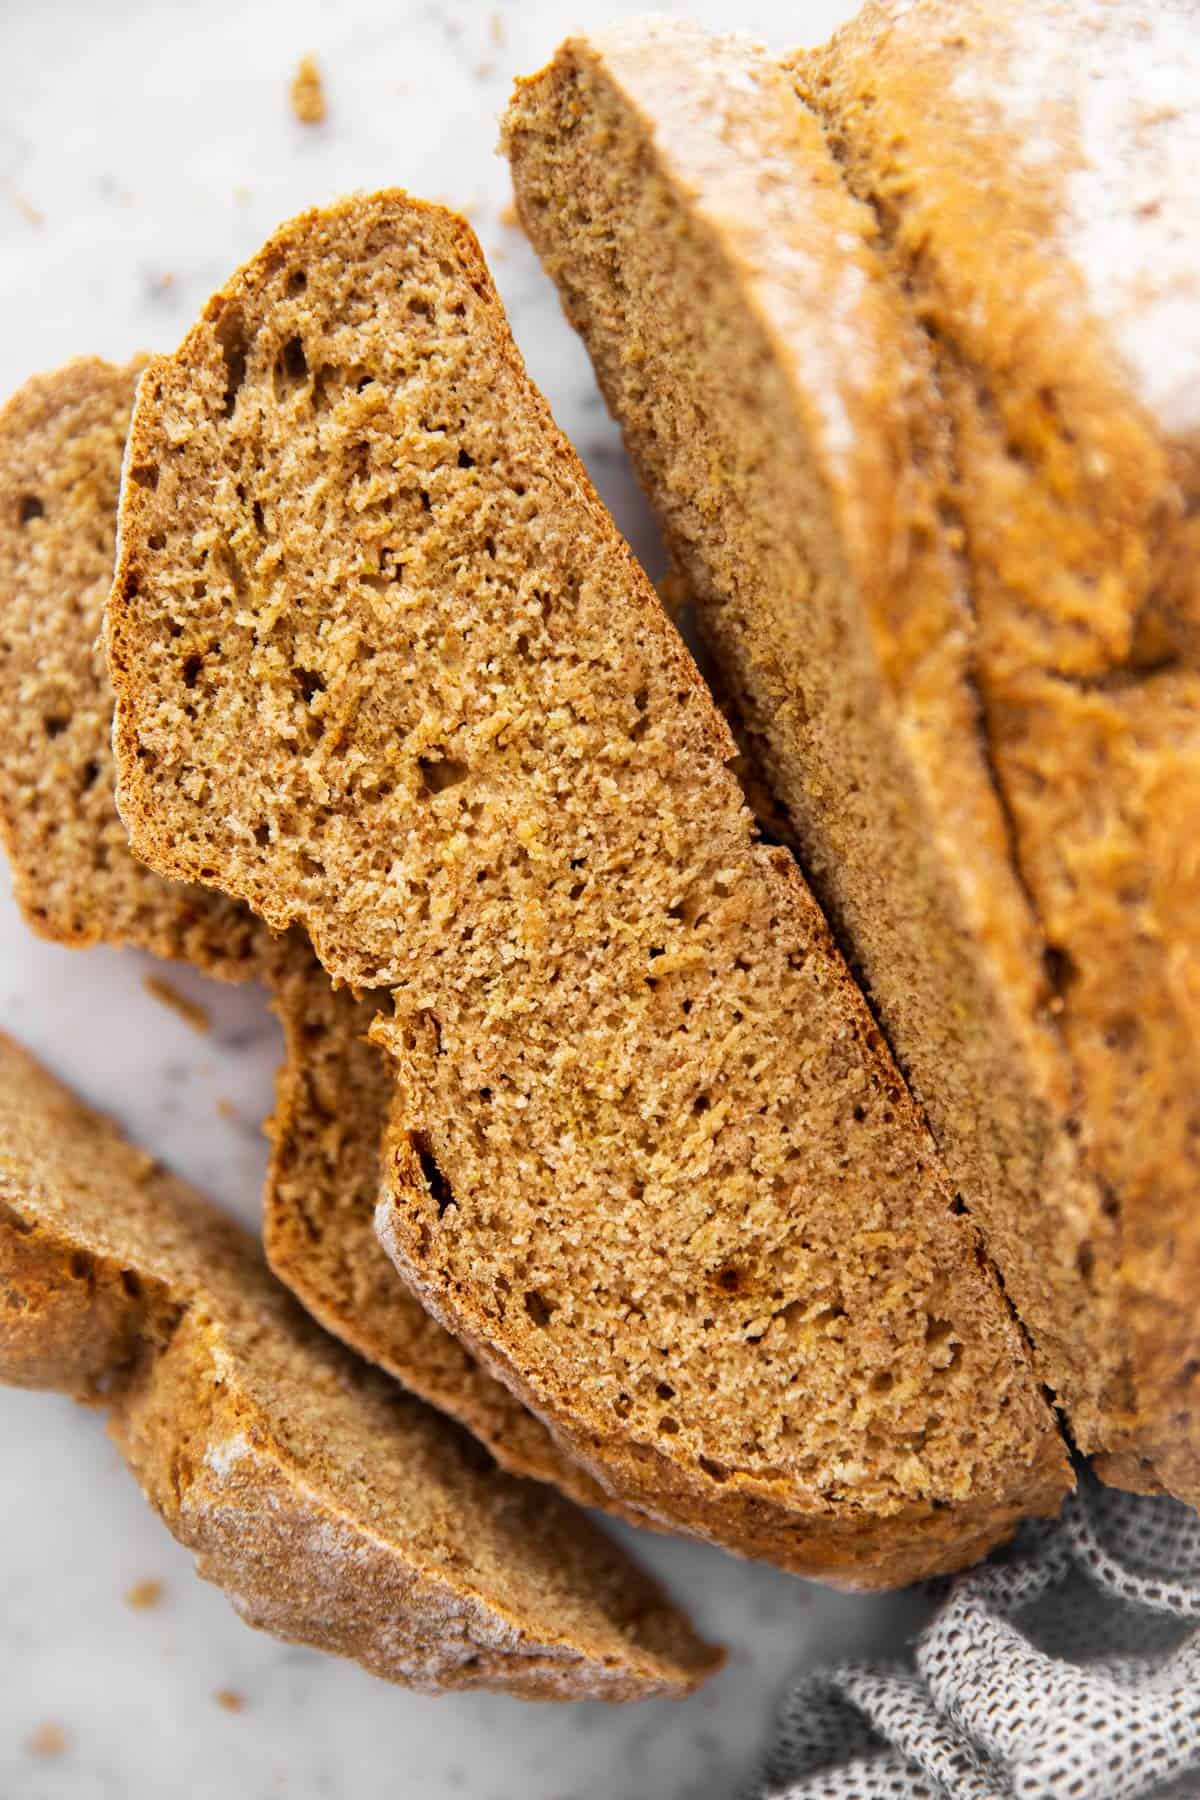
I think Irish Soda Bread is about my favorite bread to bake at home. Maybe because it doesn’t have yeast and doesn’t need to rise, so I can make it with less than an hour to spare before dinner.
Or maybe because it’s so delicious, I could devour the entire warm loaf by myself, ha!
What is Irish Soda Bread?
So, how does it even work to bake a bread without yeast, and in such a short amount of time? In short, it’s a quick bread you can serve both with a hearty soup or with butter and jam – super versatile, easy and absolutely delicious.
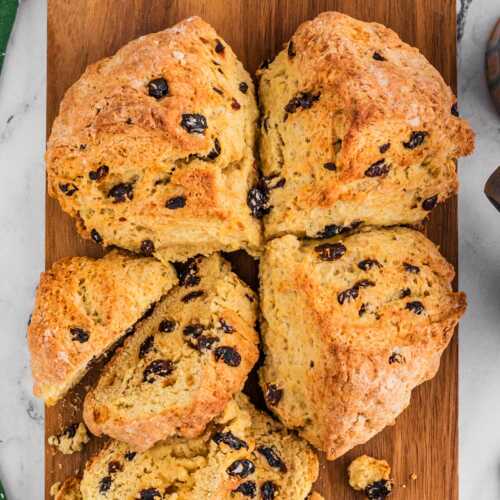
I know there’s lots of recipes with eggs, sugar, raisins… out there, but raisins in a sweetened soda bread actually turn it into “Spotted Dog” ? I actually shared the “American” version of a Irish Soda Bread with Raisins here on the blog, too, to illustrate the differences. I think they are both delicious, but definitely different from each other.
I learned how to make Irish soda bread from an Irish friend while living in the UK, and it has just 4 ingredients: Flour, salt, baking soda and buttermilk. OK, 5 if you’re going to use half whole wheat flour and half white flour. But yes, a very simple, hearty, rustic bread.
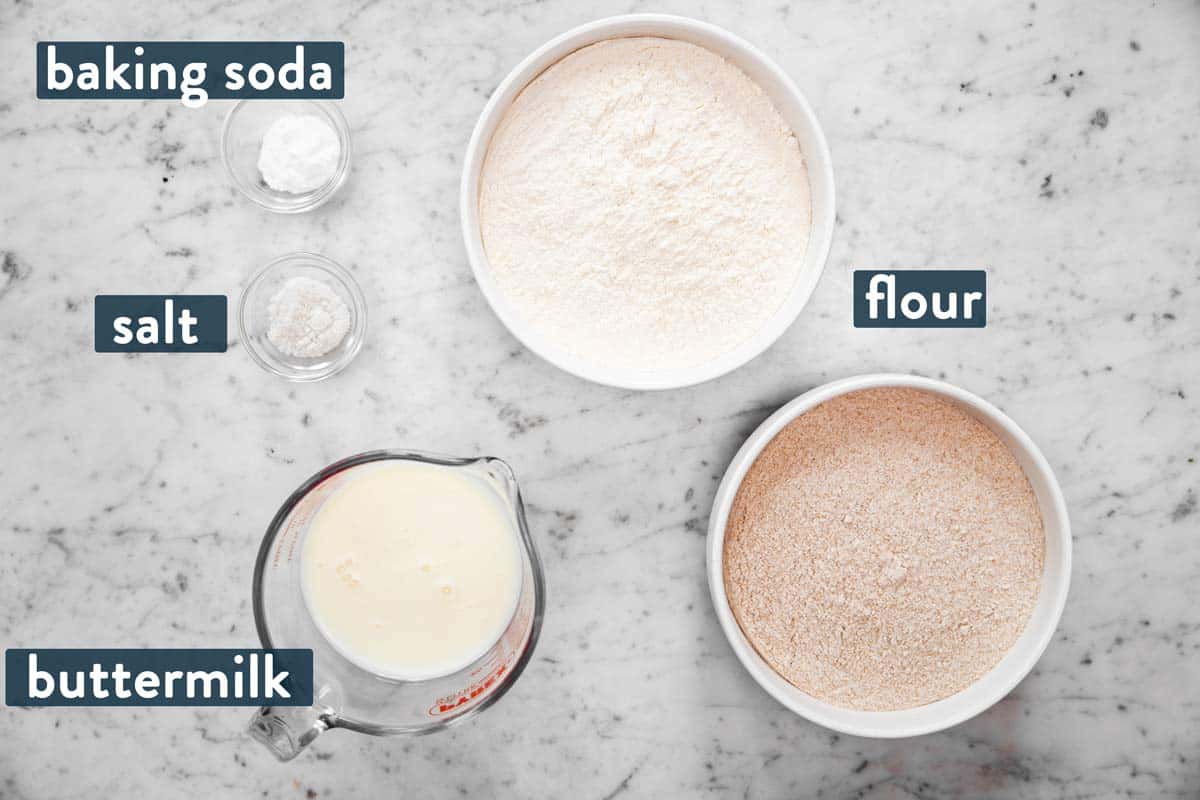
Ingredients you’ll need
Here is a visual overview of the ingredients in the recipe. Scroll down to the printable recipe card at the bottom of this post for quantities!
Ingredient notes
- Flour: You can make it with all white flour, or (my preferred method) turn it into a whole wheat Irish soda bread by using half whole wheat flour. I do not recommend making a 100% whole wheat soda bread, as it tends to turn out somewhat dense and heavy.
- Buttermilk: I very strongly recommend you use actual buttermilk to bake this bread. It does turn out the softest and rises the most with real buttermilk. If you want to make this right now and can’t get to a store, use regular milk with 1 tablespoon white vinegar stirred into, let this sit for 10 minutes on the counter before using. You can also use half milk and half plain yogurt (NOT Greek Yogurt!). You may need an additional splash of milk for the yogurt version.
- Baking soda: Please do not use baking powder in place of the baking soda. They are chemically not the same, and the authentic taste/texture happens with baking soda.
How to make Irish Soda Bread
Start by combining the flour (or flours, if using a mix of white and whole wheat) in a bowl. Then pour in the buttermilk while stirring with your fingers.
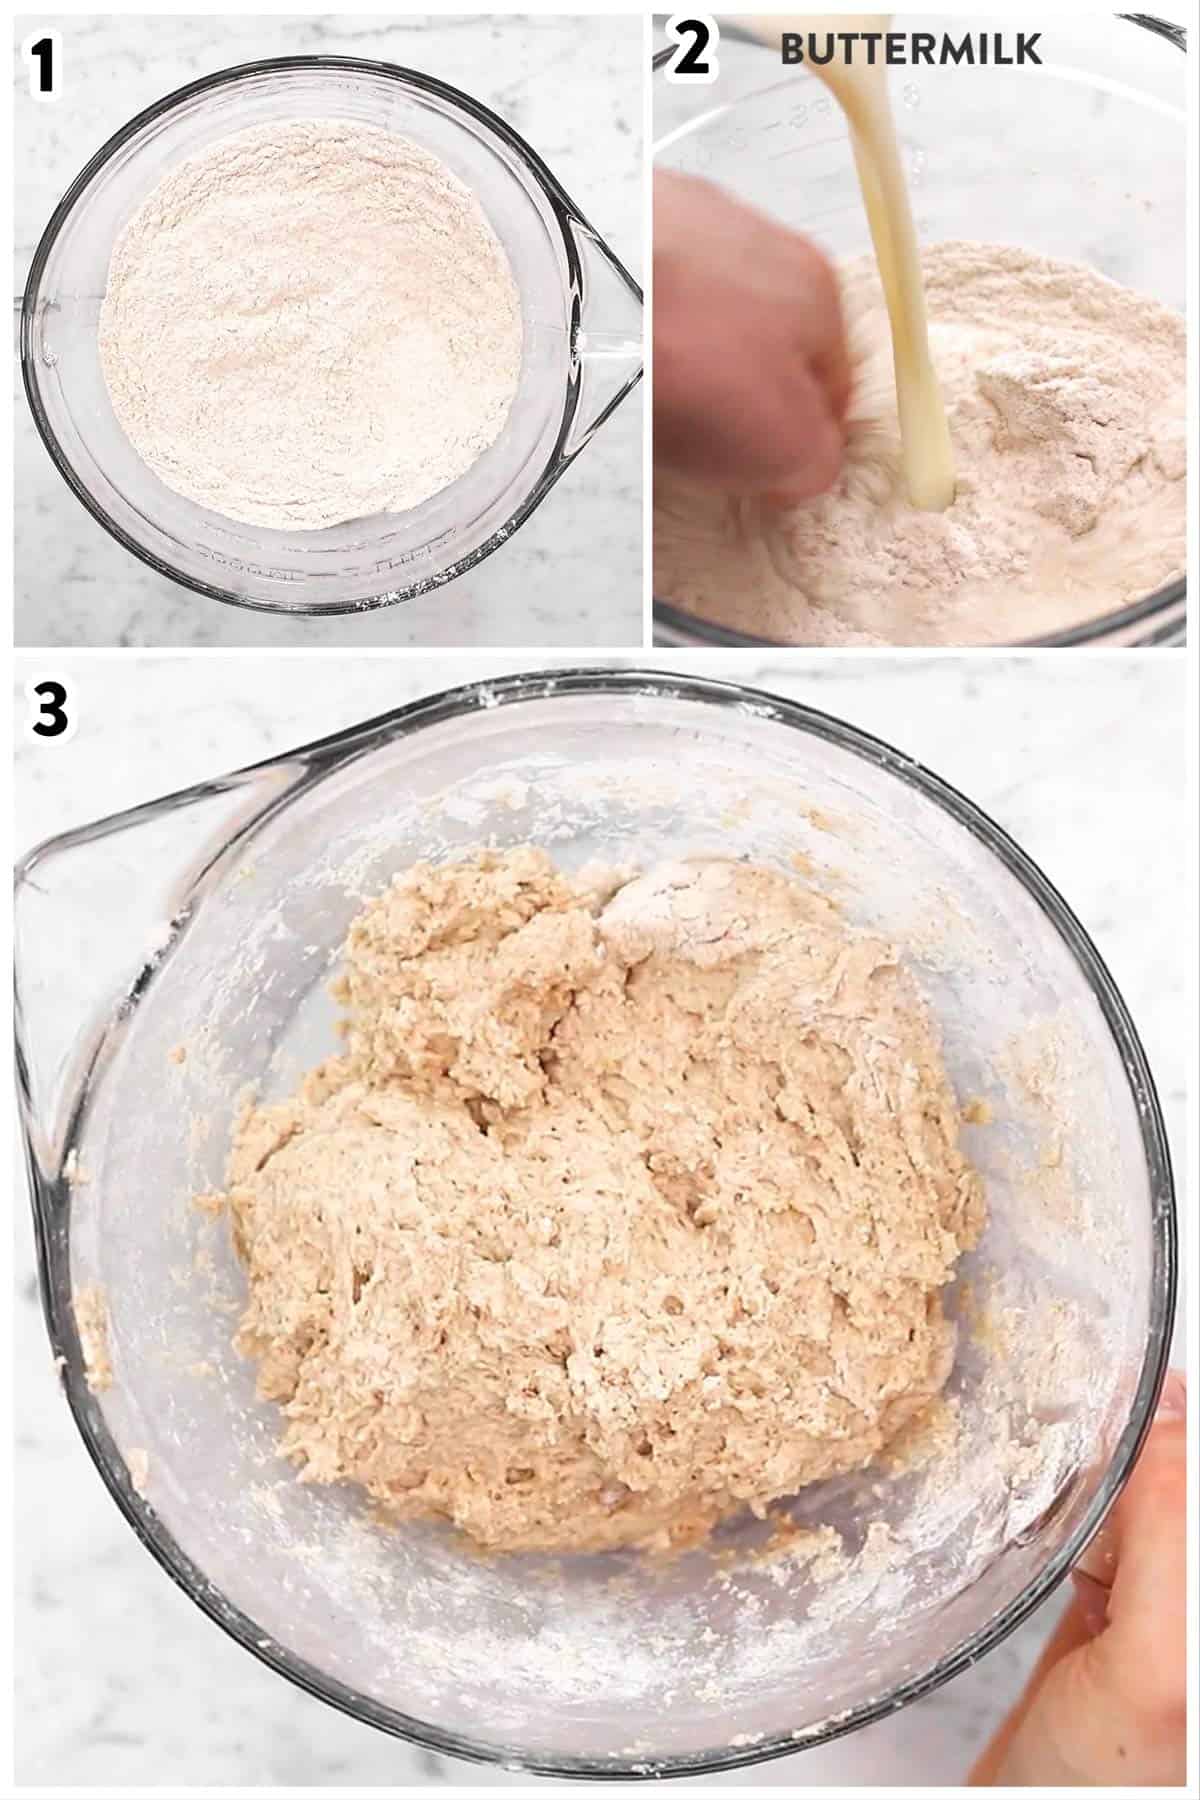
Stir enough to make the dough come together, but don’t knead or stir beyond the point of combining.
Tip out the dough on a lined, floured baking sheet. Knead 3-4 times to make it come together, then shape into a disc between 6 and 7 inches (15-18cm) in diameter. Lightly flour the top.
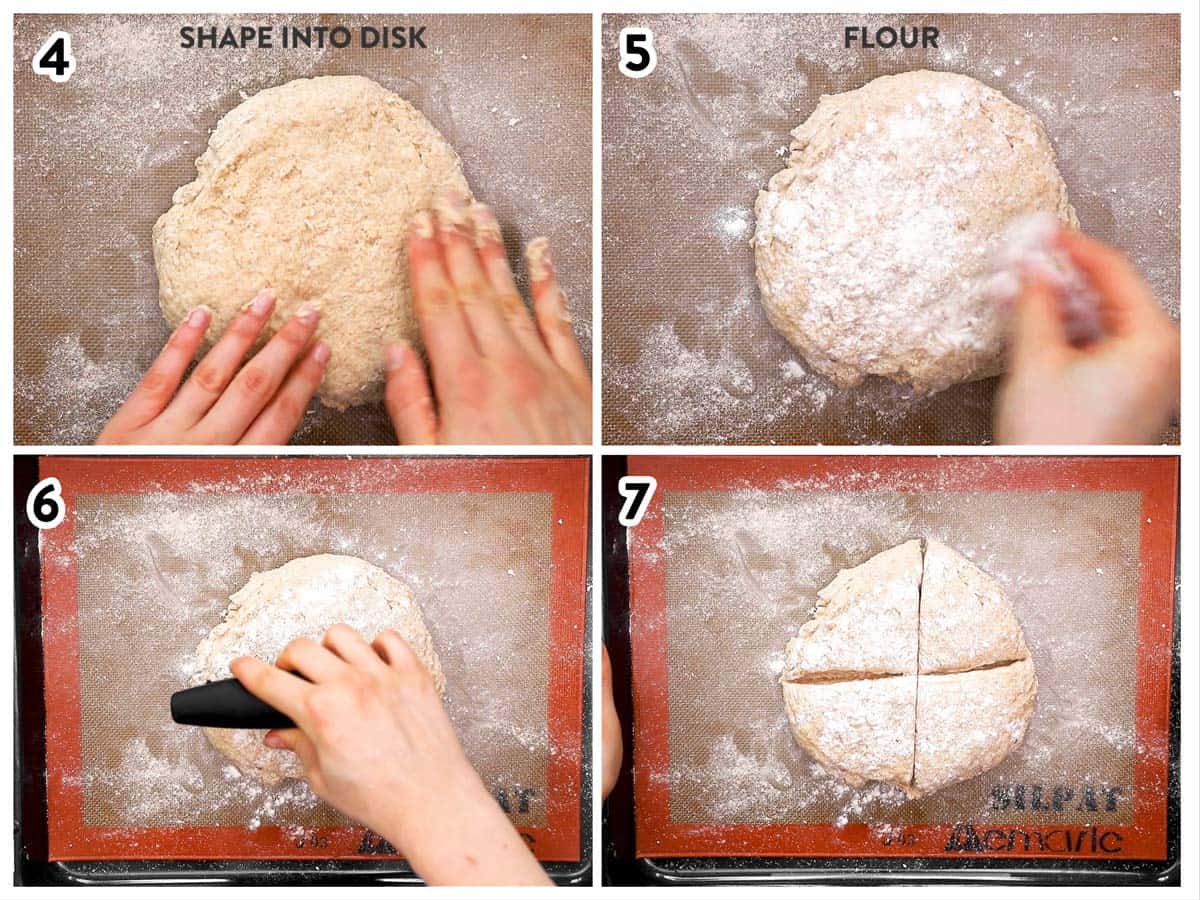
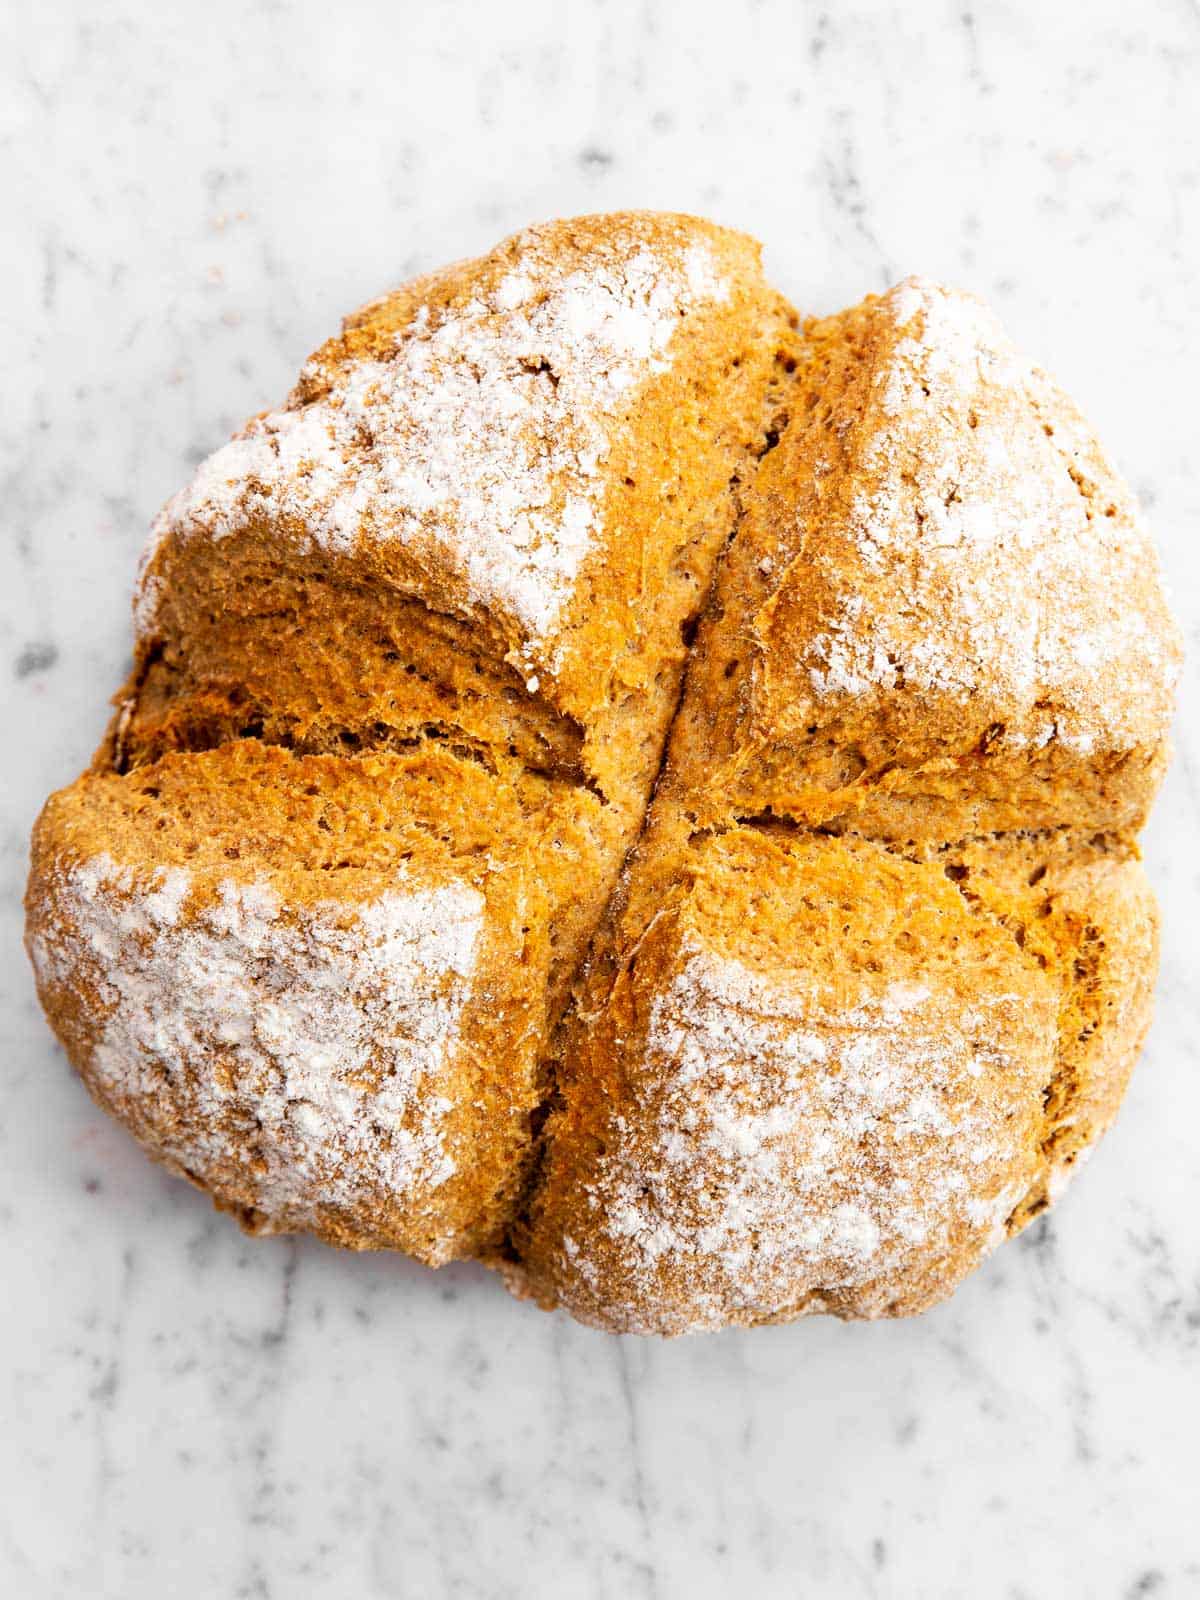
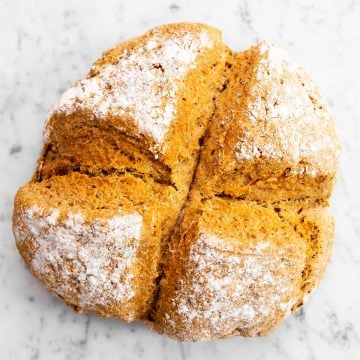
Deeply cross cut the bread, then bake! Cool on a wire rack before slicing to serve.
Recipe tips
The dough handling
Normally, you’d knead a bread dough thoroughly, probably in your stand mixer. Right?
Well, not this one. This one should be handled as little as possible or you’ll knock out all the air that makes this bread rise.
Stir the buttermilk into the dry ingredients with your fingers just until they come together. Turn out the dough onto a lined and floured baking sheet, gather it into a ball and lightly knead 4-5 times before shaping it into a slightly flat circle.
That’s all the dough handling you need to do! It takes less than 5 minutes. Win!
The cross cut
Did you know one of the most crucial steps in making soda bread is the way you slash it before baking? It’s true. I learned it from watching an old Paul Hollywood show that is no longer shown anywhere ?
Since it’s a very close-textured dough, it’s difficult for the heat to get all the way through it. UNLESS you cross cut it really well. This is no time to be gentle – your unbaked bread should end up looking like a four leaf clover, with a cross cut that divides it into four sections.
You really DO need to cut almost all the way through the bread, or it will not bake right in the middle. I like using my dough scraper for this! I have this exact one from Amazon. (FYI, this is an affiliate link and I earn a commission for purchases made after clicking through.)
How do you know when soda bread is done?
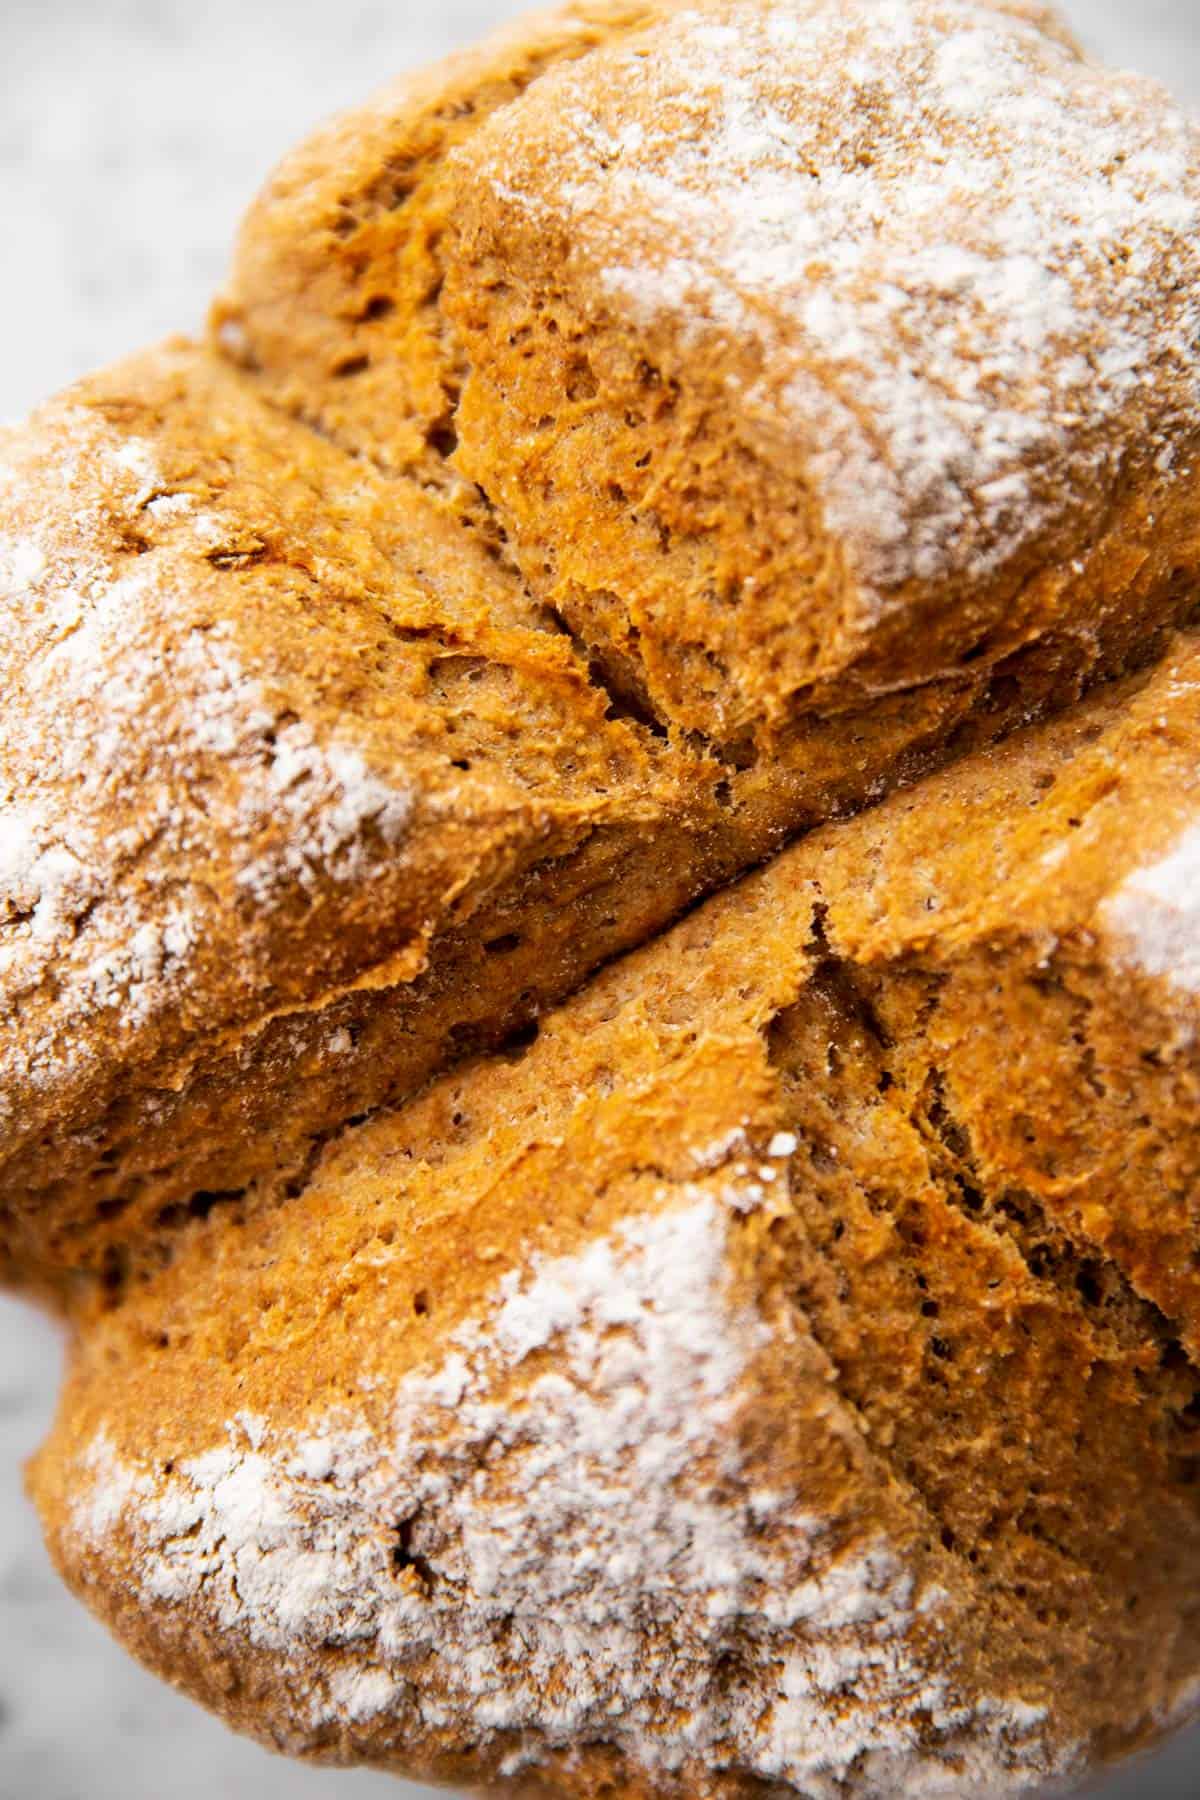
Tap the bottom of the bread – if it sounds hollow, your bread is done!
Storage tips
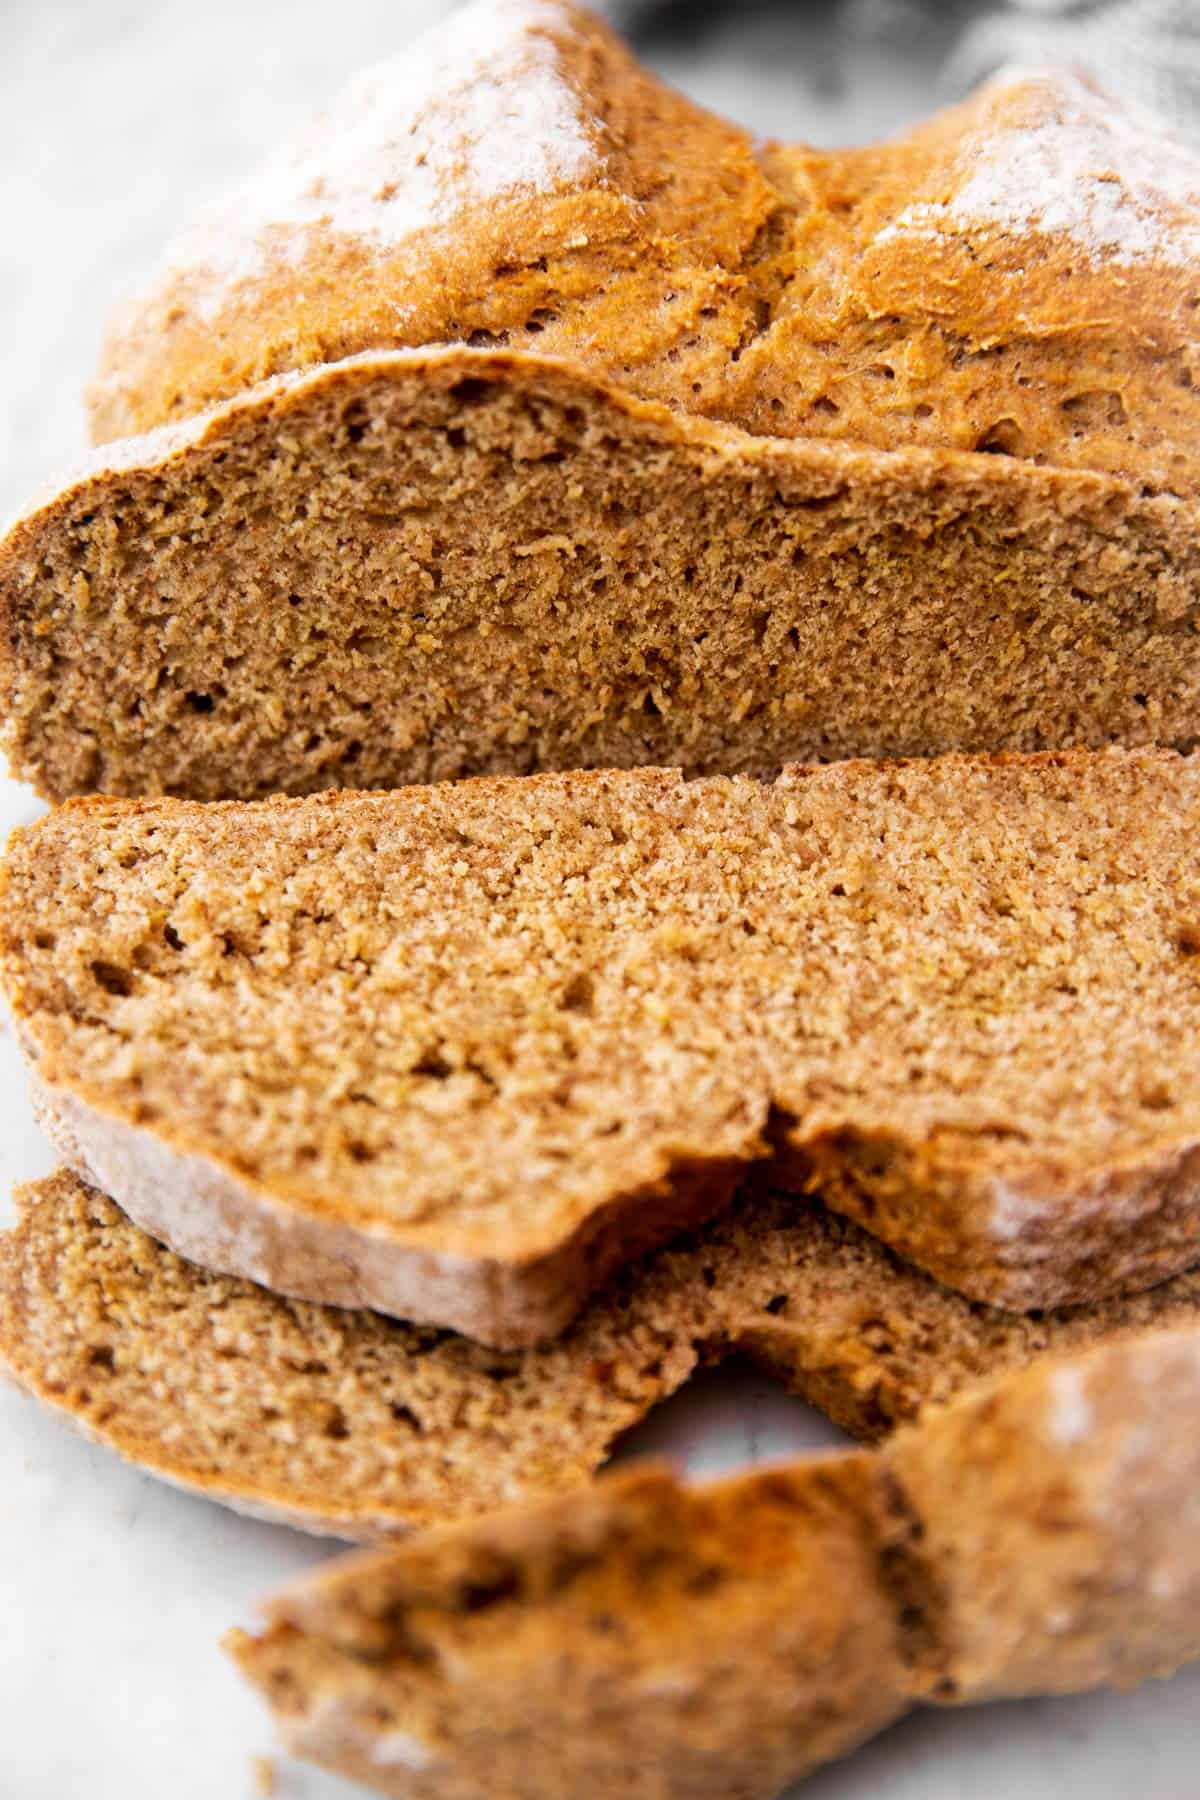
Soda bread tends to dry out quickly, and it’s best served on the day you made it.
If you want to store leftovers for a day or two, wrap it into a clean kitchen towel and toast before serving.
Freezer tips
You can freeze this bread, though I don’t do it often because it bakes so quickly, but it’s a great way to make ahead some tasty food.
Wrap well in plastic wrap, then in aluminium foil. Label with the name and freeze for up to 3 months.
Defrost on the counter for 15-30 minutes, then unwrap and place on a cooling rack. Defrost on the counter until no longer frozen. Either toast sliced or reheat the loaf in the oven at 325°F for 10-15 minutes.
Serving ideas
Since this is neither sweet nor savory, it goes well with a lot of dishes. Some of our favorite ways to eat it:
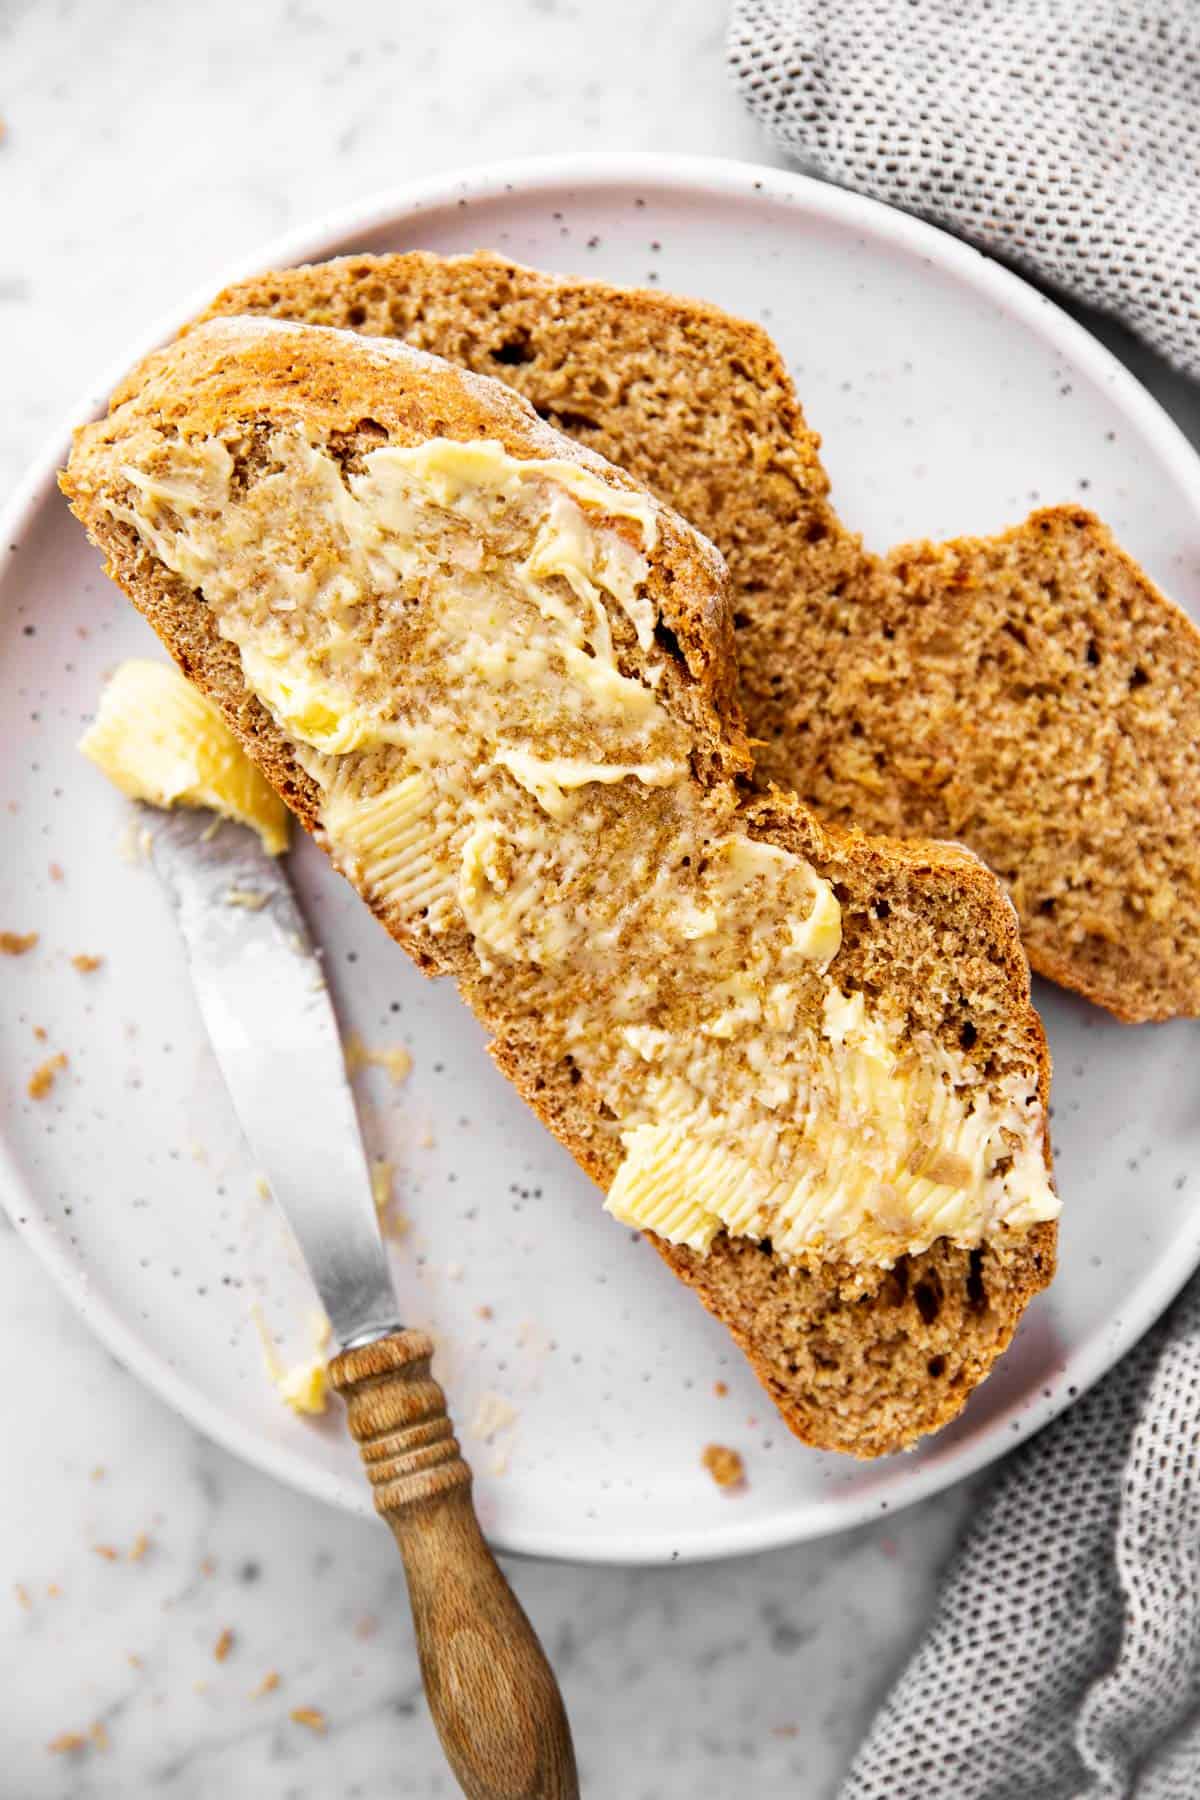
- toasted with butter and jam
- as an open-faced cheese sandwich
- with a hearty soup or stew – instant pot Irish stew or slow cooker Irish stew would be perfect!
Watch the recipe video
PS If you try this recipe, please leave a review in the comment section and add a star rating in the recipe card – I appreciate your feedback! Follow along on Pinterest, Facebook or Instagram.
Printable recipe
Traditional Irish Soda Bread
Recipe details
Ingredients
- 4 cups flour either all white OR half white, half whole wheat
- 1 teaspoon salt
- 1 teaspoon baking soda
- 1.5 cups buttermilk or a little more, if dough seems dry
Instructions
- Prep: Preheat the oven to 400°F (200°C). Line a baking sheet with a silicone baking mat OR with baking parchment and generously flour it.
- Make dough: Add flour, salt and baking soda to a large mixing bowl. Stir well. Slowly pour in the buttermilk while stirring with your fingers, until you have a sticky dough.
- Shape bread: Turn dough out on the prepared baking sheet and knead it 4-5 times. Shape into a disc of 6-7 inches in diameter (15-18cm).
- Finish and bake: Dust the top of the bread with flour. Make two deep incisions crosswise through the entire bread (it should look like a four-leaf clover, do cut almost through the bread!). Bake for 30-40 minutes, or until golden in color and hollow when tapped on the bottom. Cool on a rack before serving warm.
Notes
Ingredient notes
- Flour: You can make it with all white flour, or (my preferred method) turn it into a whole wheat Irish soda bread by using half whole wheat flour. I do not recommend making a 100% whole wheat soda bread, as it tends to turn out somewhat dense and heavy.
- Buttermilk: I very strongly recommend you use actual buttermilk to bake this bread. It does turn out the softest and rises the most with real buttermilk. If you want to make this right now and can’t get to a store, use regular milk with 1 tablespoon white vinegar stirred into, let this sit for 10 minutes on the counter before using. You can also use half milk and half plain yogurt (NOT Greek Yogurt!). You may need an additional splash of milk for the yogurt version.
- Baking soda: Please do not use baking powder in place of the baking soda. They are chemically not the same, and the authentic taste/texture happens with baking soda.
Recipe tips
- This dough should be handled as little as possible or you’ll knock out all the air that makes this bread rise.
- Since it’s a very close-textured dough, it’s difficult for the heat to get all the way through it. UNLESS you cross cut it really well. This is no time to be gentle – your unbaked bread should end up looking like a four leaf clover, with a cross cut that divides it into four sections.
- To check for doneness, tap the bottom of the bread – if it sounds hollow, your bread is done!
Storage tips
Soda bread tends to dry out quickly, and it’s best served on the day you made it. If you want to store leftovers for a day or two, wrap it into a clean kitchen towel and toast before serving.Freezer tips
You can freeze this bread, though I don’t do it often because it bakes so quickly, but it’s a great way to make ahead some tasty food. Wrap well in plastic wrap, then in aluminium foil. Label with the name and freeze for up to 3 months. Defrost on the counter for 15-30 minutes, then unwrap and place on a cooling rack. Defrost on the counter until no longer frozen. Either toast sliced or reheat the loaf in the oven at 325°F for 10-15 minutes.Nutrition
More recipe information
This recipe was first published on 03/04/2019. Updated with new photos, video and better text on 03/08/2021. The recipe writing has been improved, but ingredients and method have stayed exactly the same.




Hayley says
I made this bread last night and attempted to follow the recipe as written. my dough didn’t come together in a way that would allow me to knead it 4 or 5 times. it was crumbly and required a bit more buttermilk than the recipe called for. due to excessive kneading my bread was a bit more dense than anticipated but the flavor was still wonderful. I brushed the top of the bread with Irish garlic butter and it was devine.
Jo says
What a brilliant recipe. Results in super tasty bread & the tips on how to use leftovers are very helpful. Thank you!
Alice says
I’ll take the whole loaf, thank you very much! 🙂 love how simple yet delicious this is!
Nora says
Thanks Alice! It’s one of our favorite breads ??